
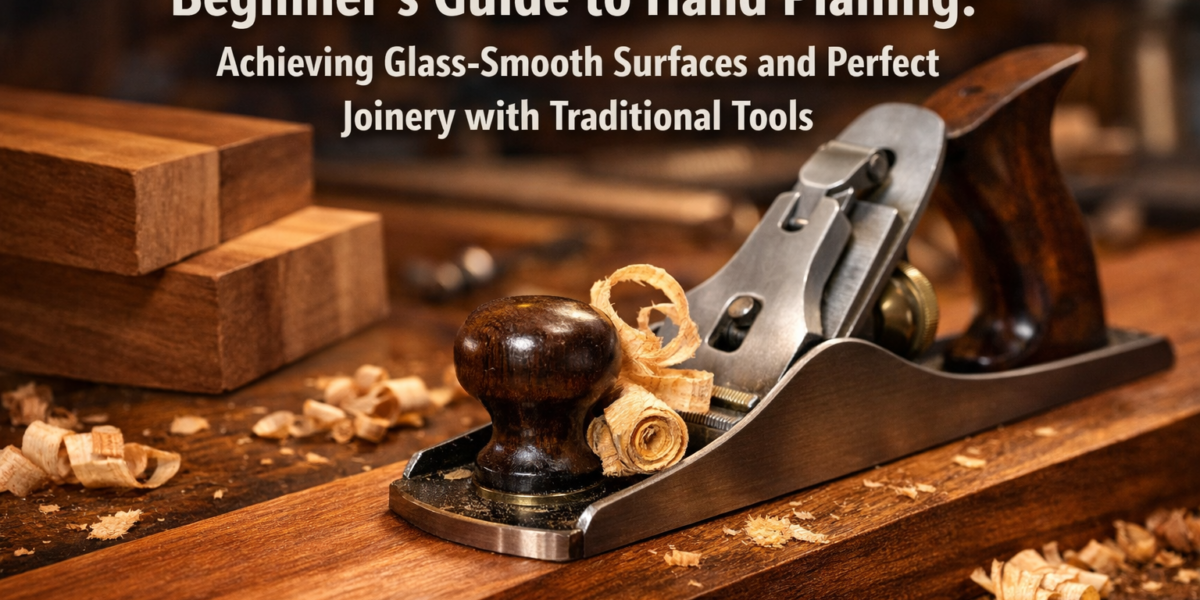

The whisper of wood fibers parting cleanly, the translucent curl of a perfectly shaved ribbon, and the sudden appearance of a surface so smooth it feels like glass – these are the hallmarks of mastery with a hand plane. While modern power tools offer speed, there’s an unparalleled precision and meditative satisfaction in traditional hand planing that remains essential for achieving truly exceptional woodworking results. This Beginner’s Guide to Hand Planing: Achieving Glass-Smooth Surfaces and Perfect Joinery with Traditional Tools will demystify the art, providing fundamental techniques for aspiring woodworkers in 2026 to refine their craft.
Key Takeaways
- Essential Tool Selection: Start with foundational planes like a smoothing plane and block plane, ensuring they are properly tuned.
- Sharpening is Paramount: A razor-sharp blade is the single most critical factor for effective and enjoyable hand planing.
- Mastering Stance & Stroke: Proper body mechanics and consistent pressure are key to consistent, smooth passes.
- Reading the Grain: Understanding wood grain direction prevents tear-out and ensures a pristine finish.
- Precision for Joinery: Hand planes offer unmatched accuracy for fitting joints perfectly, surpassing many power tool capabilities.
Essential Tools for the Beginner’s Guide to Hand Planing: Achieving Glass-Smooth Surfaces
Embarking on the journey of hand planing requires a few fundamental tools. Unlike power tools that demand significant investment, a basic set of hand planes can be acquired more affordably and offer a lifetime of use with proper care. The quality of your tools directly impacts your results, so it’s wise to invest in well-made examples, whether new or vintage.

Here’s a breakdown of the core planes you’ll need:
- Smoothing Plane (e.g., Stanley No. 4 or 4 1/2): This is your primary tool for creating those coveted glass-smooth surfaces. Its moderate length allows for flattening smaller surfaces and removing marks left by coarser tools.
- Block Plane (e.g., Stanley No. 9 1/2 or 60 1/2): A small, one-handed plane ideal for chamfering, end-grain work, and fine trimming tasks. Its low angle blade excels at cutting across the grain with minimal tear-out.
- Jointer Plane (e.g., Stanley No. 7 or 8): While a larger investment, a jointer plane is invaluable for flattening long edges and faces, ensuring perfectly straight and square stock for robust joinery. Its considerable length registers against high and low spots, allowing it to bridge inconsistencies and create truly flat surfaces. For more on achieving precision in joinery, consider exploring resources on Mastering Modern Hand-Cut Joinery: Adapting Classics for Live Edge and Modular Furniture.
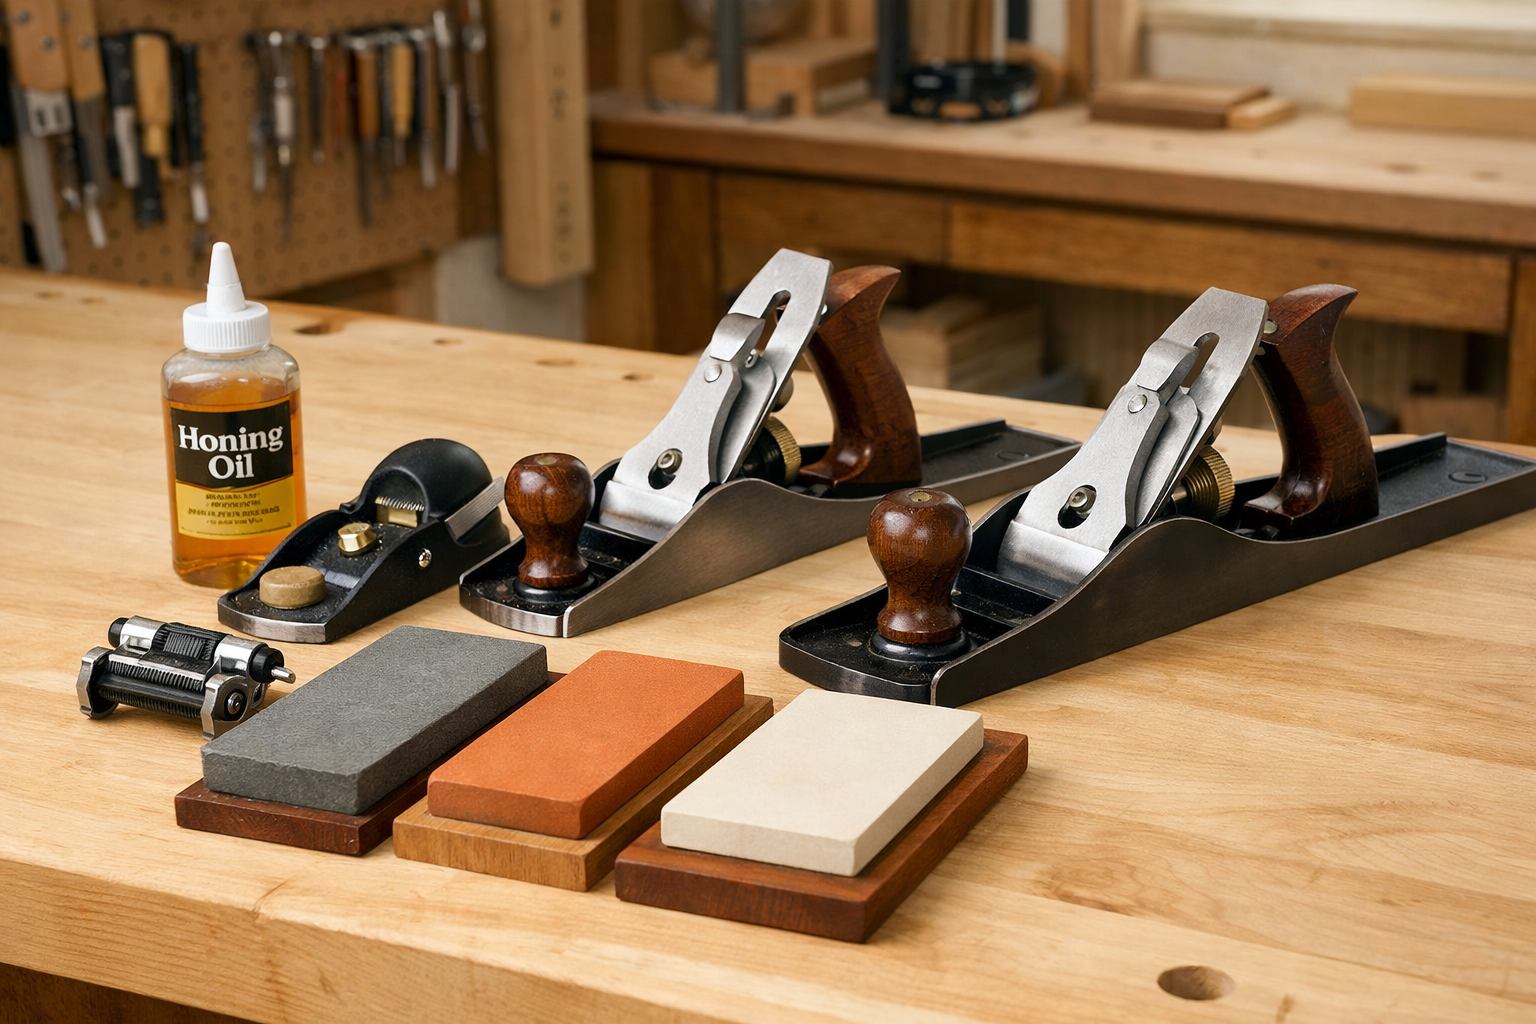
Beyond the planes themselves, a robust sharpening setup is non-negotiable. A dull plane is frustrating and ineffective. You’ll need:
- Sharpening Stones: A progression from coarse (1000 grit) to fine (4000-8000 grit) water stones or diamond plates.
- Honing Guide: This tool holds the blade at a consistent angle, simplifying the sharpening process for beginners.
- Leather Strop and Honing Compound: For achieving a razor-sharp, polished edge.
Tip for Tool Acquisition: Vintage planes, particularly those made by Stanley or Bailey, are often superior in quality to modern budget options. With a little restoration, they can perform exceptionally well.
Mastering the Fundamentals: Achieving Glass-Smooth Surfaces
The journey to glass-smooth surfaces begins not with brute force, but with finesse and understanding. Each pass of the plane should be deliberate and controlled, removing only the thinnest shaving of wood.
Setup and Stance
- Secure Your Workpiece: Always clamp your wood securely to a workbench. Bench dogs, a tail vise, or a simple stop block are essential to prevent movement during planing.
- Adjust Blade Depth: Start with a very shallow cut. A properly set plane will produce a whisper-thin shaving. Adjust the depth knob (on a bench plane) until you see a consistent, fine shaving emerging.
- Body Stance: Stand comfortably with your feet shoulder-width apart, facing the direction of the cut. Your weight should shift from your back foot to your front foot as you push the plane.
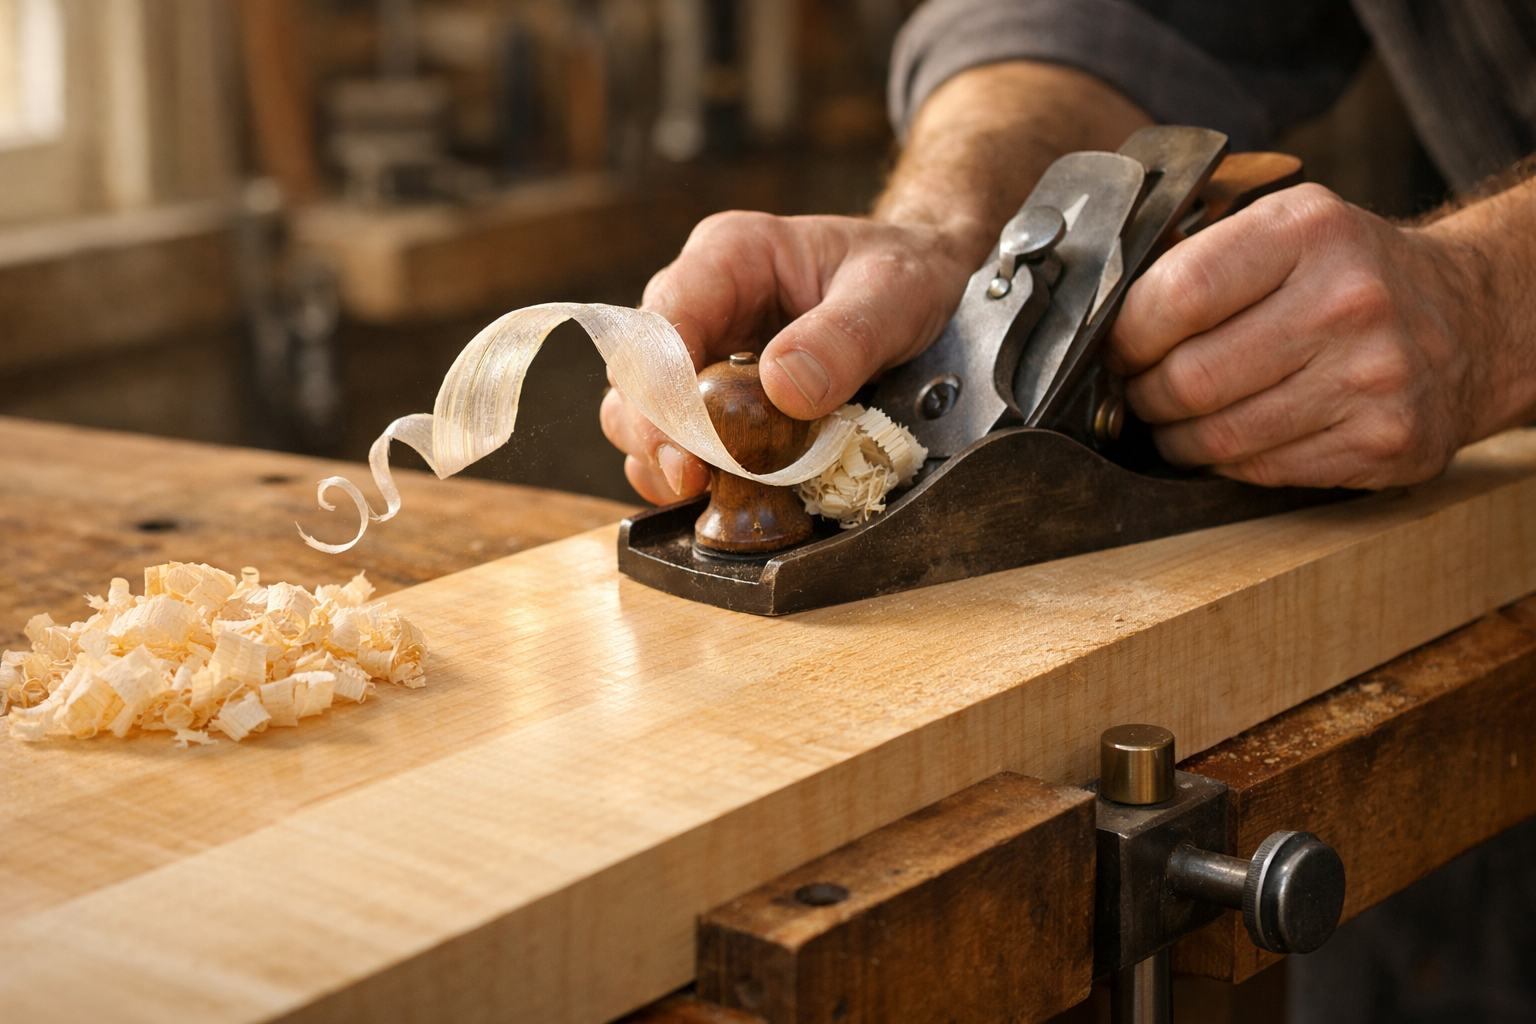
The Planing Stroke
- Reading the Grain: Before making a cut, observe the wood grain. Always plane with the grain, meaning the fibers are running away from the cutting edge. Planing against the grain will cause “tear-out” – ripped fibers that result in a rough surface. Think of it like petting a cat: you go with the fur, not against it.
- Initial Pressure: Apply downward pressure on the front knob of the plane at the start of the stroke.
- Even Pressure: As the plane moves across the wood, shift your downward pressure to the main handle at the rear of the plane. Maintain consistent, even pressure throughout the stroke.
- Follow-Through: Continue the stroke fully off the end of the workpiece.
- Listen and Feel: A sharp plane cutting properly will produce a consistent “whoosh” sound and feel smooth, without excessive effort. If it chatters or feels like it’s digging in, check your blade sharpness and depth setting.
Troubleshooting Common Issues
| Issue | Cause | Solution |
|---|---|---|
| Tear-out | Planing against the grain; dull blade | Change planing direction; sharpen blade; reduce depth of cut |
| Chatter Marks | Loose blade/cap iron; dull blade | Tighten blade and cap iron; sharpen blade; check for plane sole flatness |
| Uneven Surface | Inconsistent pressure; poor body mechanics | Practice even pressure distribution; adjust stance |
| Plane Skips/Stops | Dull blade; too deep a cut; knot/hard spot | Sharpen blade; reduce depth; try a block plane on difficult spots |
Mastering these fundamentals is crucial for achieving high-quality finishes and is an integral part of any woodworking project, from profitable beginner woodworking projects to more complex furniture pieces.
Hand Planing for Perfect Joinery
Achieving truly “perfect” joinery, where mating surfaces meet with no gaps and are perfectly aligned, is one of the most rewarding aspects of hand tool woodworking. Hand planes, particularly jointer planes and block planes, are indispensable for this level of precision.
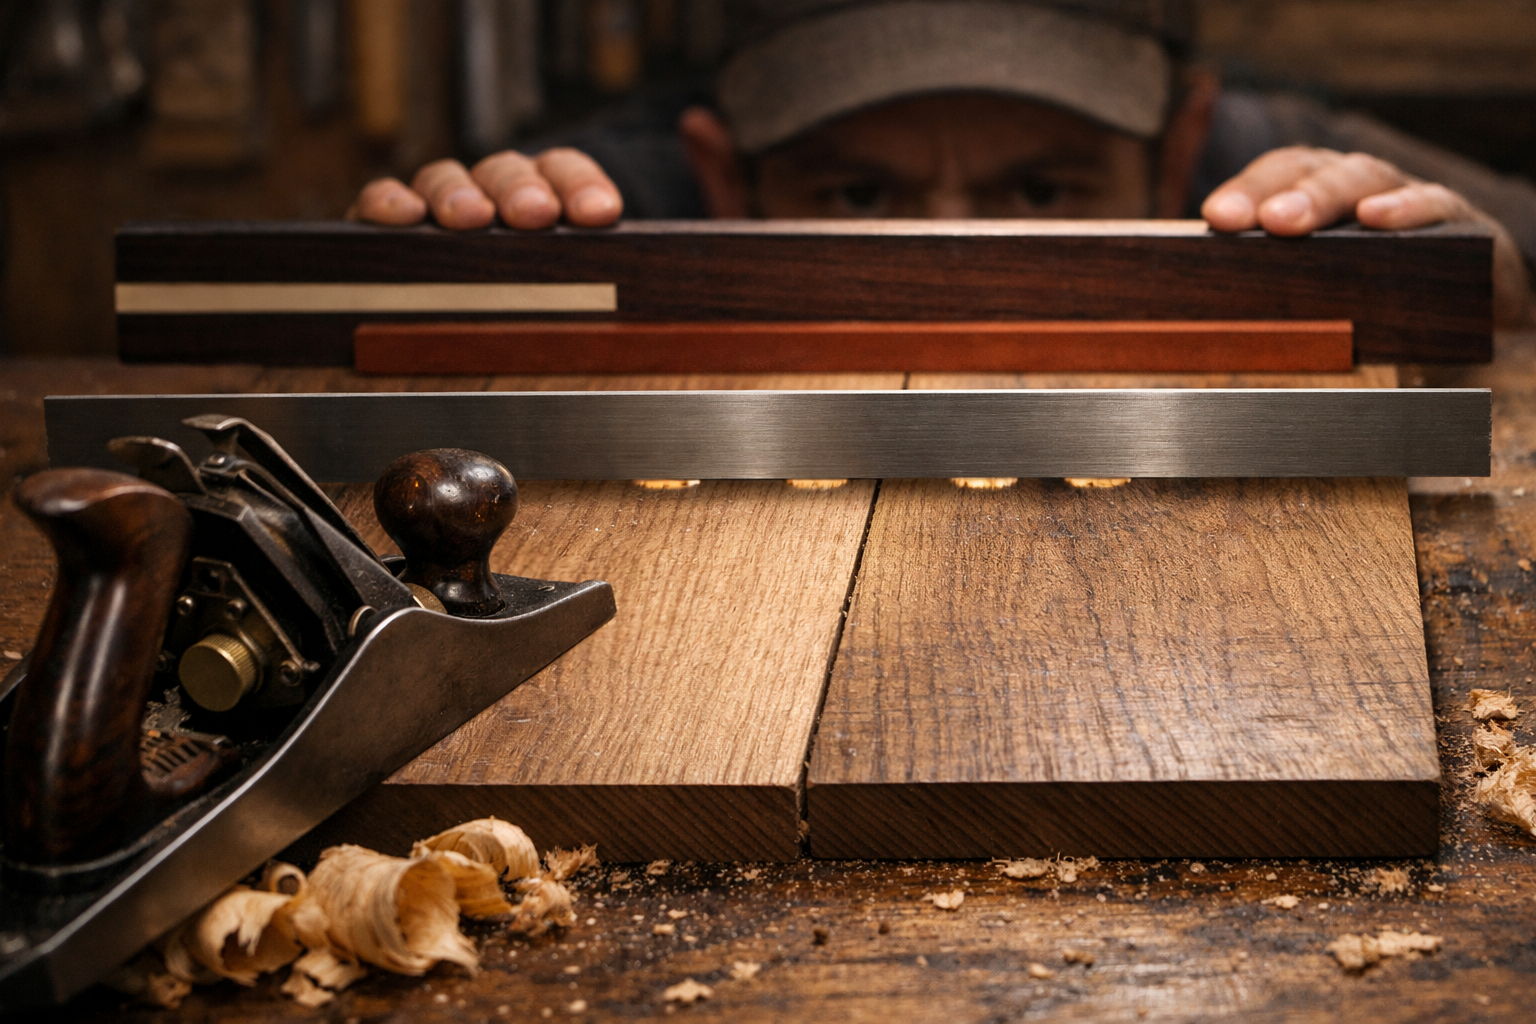
Squaring Edges and Faces
Before any joint can be cut, the stock must be perfectly square and true. This means:
- Flat Faces: Both broad surfaces of your board must be flat and parallel. Use a jointer plane with winding sticks to identify and remove high spots. Winding sticks are two identical, straight pieces of wood placed at either end of your workpiece. Sighting across them helps reveal twist.
- Straight Edges: The edges must be perfectly straight and square to the faces. A jointer plane, used with a fence or shooting board, is ideal for this. The long sole of the jointer plane naturally bridges hollows and humps, producing a consistently straight edge.
- Square Ends: For many joints, particularly those involving end grain, perfectly square ends are critical. A shooting board, combined with a sharp bench plane or block plane, allows for precise, repeatable end-grain trimming. This is especially useful for projects like DIY wooden wall clocks where accuracy is paramount.
Refining Joints with Hand Planes
Once the main joint components are cut (e.g., dovetails, tenons), hand planes offer the ability to fine-tune them for an impeccable fit.
- Tenon Cheeks: If a mortise and tenon joint is too tight, a smoothing plane or shoulder plane can be used to take microscopic shavings off the tenon cheeks until it slides in perfectly.
- Dovetails: A sharp chisel is often the primary tool for dovetails, but a block plane can be used to pare end grain shoulders for a cleaner, tighter fit. For advanced dovetail techniques, consider our guide on Mastering Dovetail Joinery for Drawers: Hand and Router Methods for Cabinet Builders.
- Joint Adjustments: Even after assembly, small misalignments can occur. A well-tuned smoothing plane can carefully level adjacent surfaces, removing glue squeeze-out and creating a seamless transition. This attention to detail is what sets hand-crafted pieces apart and contributes to the aesthetic of warm minimalism in woodworking.
Pull Quote: “The plane is an extension of the hand, allowing the craftsman to ‘feel’ the wood and achieve an intimacy with the material that power tools cannot replicate.”
Maintenance and Sharpening for Optimal Performance
A plane is only as good as its blade. Neglecting sharpening is the fastest way to frustration and poor results. Regular maintenance ensures your planes remain effective and a joy to use.
Blade Sharpening Steps
- Establish Bevel: Use your coarse stone (1000 grit) and honing guide to remove any nicks and establish a consistent bevel angle (typically 25-30 degrees for bench planes). Work until you feel a “burr” along the entire edge on the flat side of the blade.
- Refine the Bevel: Move to your medium stone (3000-4000 grit) and repeat the process, reducing the burr and refining the edge.
- Polish the Bevel: Progress to your fine stone (6000-8000 grit) for a mirror polish. The finer the grit, the sharper the edge.
- Remove the Burr (Back Micro-bevel): Place the blade flat on the fine stone and make a few light passes to remove the burr. You can also add a slight “micro-bevel” (1-2 degrees steeper) on the very edge of the bevel using the honing guide, which prolongs edge life.
- Strop: Finish by stropping the blade on a leather strop loaded with honing compound. Alternate between the bevel and flat side until the edge is incredibly sharp and feels smooth to the touch. It should easily shave arm hair.
Plane Body Maintenance
- Cleanliness: After each use, wipe down your plane to remove dust and wood shavings.
- Lubrication: Occasionally, apply a thin coat of camellia oil or a similar rust preventative to the bare metal parts of the plane body and sole, especially if you live in a humid climate. This prevents rust and allows the plane to glide more smoothly over the wood.
- Adjustments: Periodically check that all screws and bolts are tight. Ensure the frog (the adjustable component that supports the blade) is firmly seated.
By diligently following these sharpening and maintenance routines, your planes will consistently deliver the performance needed to create glass-smooth surfaces and achieve perfect joinery in all your woodworking endeavors in 2026 and beyond.
Conclusion
The Beginner’s Guide to Hand Planing: Achieving Glass-Smooth Surfaces and Perfect Joinery with Traditional Tools offers a gateway to a deeply satisfying aspect of woodworking. While requiring patience and practice, the rewards—impeccably smooth surfaces, perfectly fitting joints, and a profound connection to your craft—are immeasurable. In 2026, as technology advances, the timeless skill of hand planing remains a cornerstone of fine woodworking, providing a unique blend of precision, quiet concentration, and artistic expression. Embrace the learning curve, prioritize sharp tools, and observe the wood, and you will unlock the true potential of these traditional instruments.
Actionable Next Steps:
- Acquire a Quality Smoothing Plane: Start with a good quality No. 4 or No. 5 bench plane.
- Invest in Sharpening Gear: Purchase a basic set of sharpening stones and a honing guide.
- Practice on Scrap Wood: Don’t be afraid to make mistakes. Experiment with grain direction and blade depth on scrap pieces until you get a feel for the tool.
- Watch Demonstrations: Seek out videos and workshops from experienced hand tool woodworkers to visualize proper technique.
- Build a Project: Apply your new skills to a simple project that requires flat surfaces and square edges, such as a small box or shelf.
