
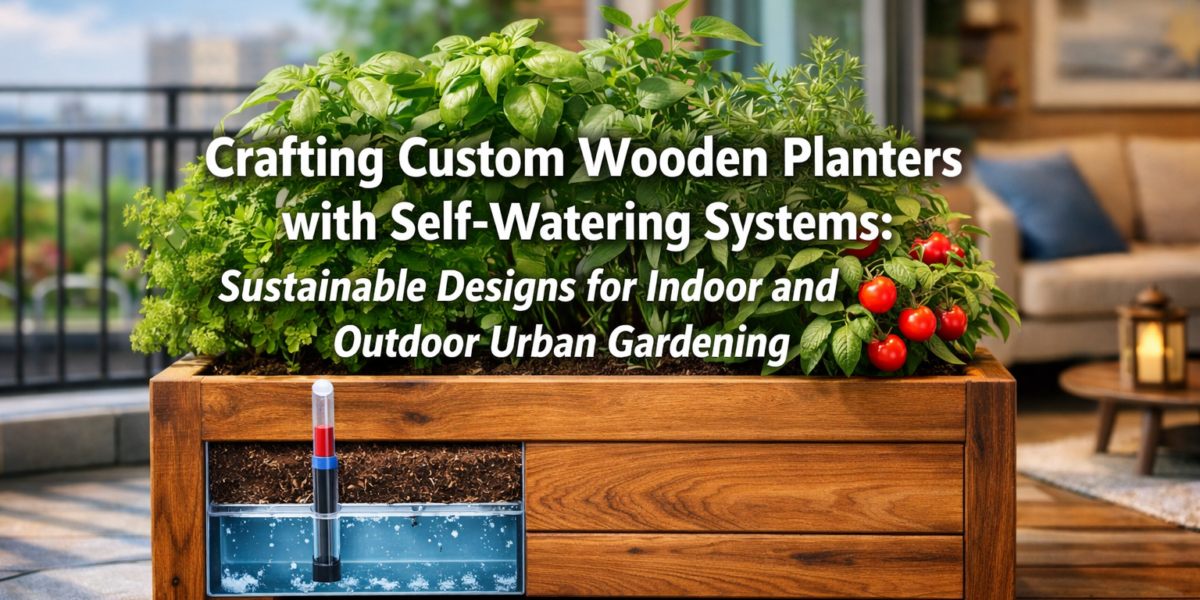

With global water scarcity concerns escalating, an astounding 70% of the world’s freshwater withdrawals are dedicated to agriculture, making efficient water use in gardening not just a preference but a necessity (FAO, 2021). For urban dwellers and busy homeowners, this translates into a powerful opportunity: combining woodworking skills with sustainable living by designing and building elegant wooden planters that incorporate passive self-watering technology. This article will delve into the comprehensive process of Crafting Custom Wooden Planters with Self-Watering Systems: Sustainable Designs for Indoor and Outdoor Urban Gardening, offering a blend of aesthetic appeal, functional efficiency, and environmental responsibility.
In an increasingly urbanized world, the desire for greenery and fresh produce within limited spaces is growing. Custom wooden planters offer a beautiful and versatile solution, allowing gardeners to tailor their containers to specific plants and spatial requirements. Integrating self-watering systems elevates these planters from mere decorative items to intelligent, low-maintenance gardening tools. This guide will provide the knowledge needed to create durable, attractive, and sustainable self-watering wooden planters for any setting in 2026.

Key Takeaways
- Custom wooden planters offer tailored aesthetics and functionality for diverse gardening needs.
- Self-watering systems significantly reduce water waste and gardening effort, promoting plant health.
- Selecting sustainable, rot-resistant wood and non-toxic finishes is crucial for longevity and safety.
- Effective design involves understanding various self-watering mechanisms, proper drainage, and plant requirements.
- DIY construction provides satisfaction, cost savings, and a personalized approach to sustainable urban gardening.
Foundations of Sustainable Planter Design and Self-Watering Mechanisms
The journey of Crafting Custom Wooden Planters with Self-Watering Systems: Sustainable Designs for Indoor and Outdoor Urban Gardening begins with a solid understanding of materials and the ingenious technology that keeps plants hydrated. Choosing the right wood is paramount for both durability and sustainability. Rot-resistant hardwoods like cedar, redwood, and cypress are excellent choices, particularly for outdoor use, due to their natural resistance to decay and insects. Reclaimed wood, salvaged from old barns, fences, or pallets, offers an even more sustainable option, adding character and minimizing environmental impact. For more on this, consider exploring Sourcing Reclaimed and Salvaged Wood: Quality Assessment, Restoration, and Safe Handling.
Softwoods such as pine or fir can be used, especially for indoor planters or if treated correctly with non-toxic, weather-resistant sealants. When selecting wood, always prioritize sustainably harvested options (FSC-certified) or reclaimed sources.
The heart of a self-watering planter lies in its ability to provide a consistent water supply to plants’ roots without daily manual intervention. Several mechanisms achieve this:
Understanding Self-Watering Principles
A typical self-watering planter consists of two main compartments: a water reservoir at the bottom and a planting area above it. A wicking system connects these two, drawing water up into the soil as needed. This capillary action mimics natural processes, ensuring plants receive moisture on demand.
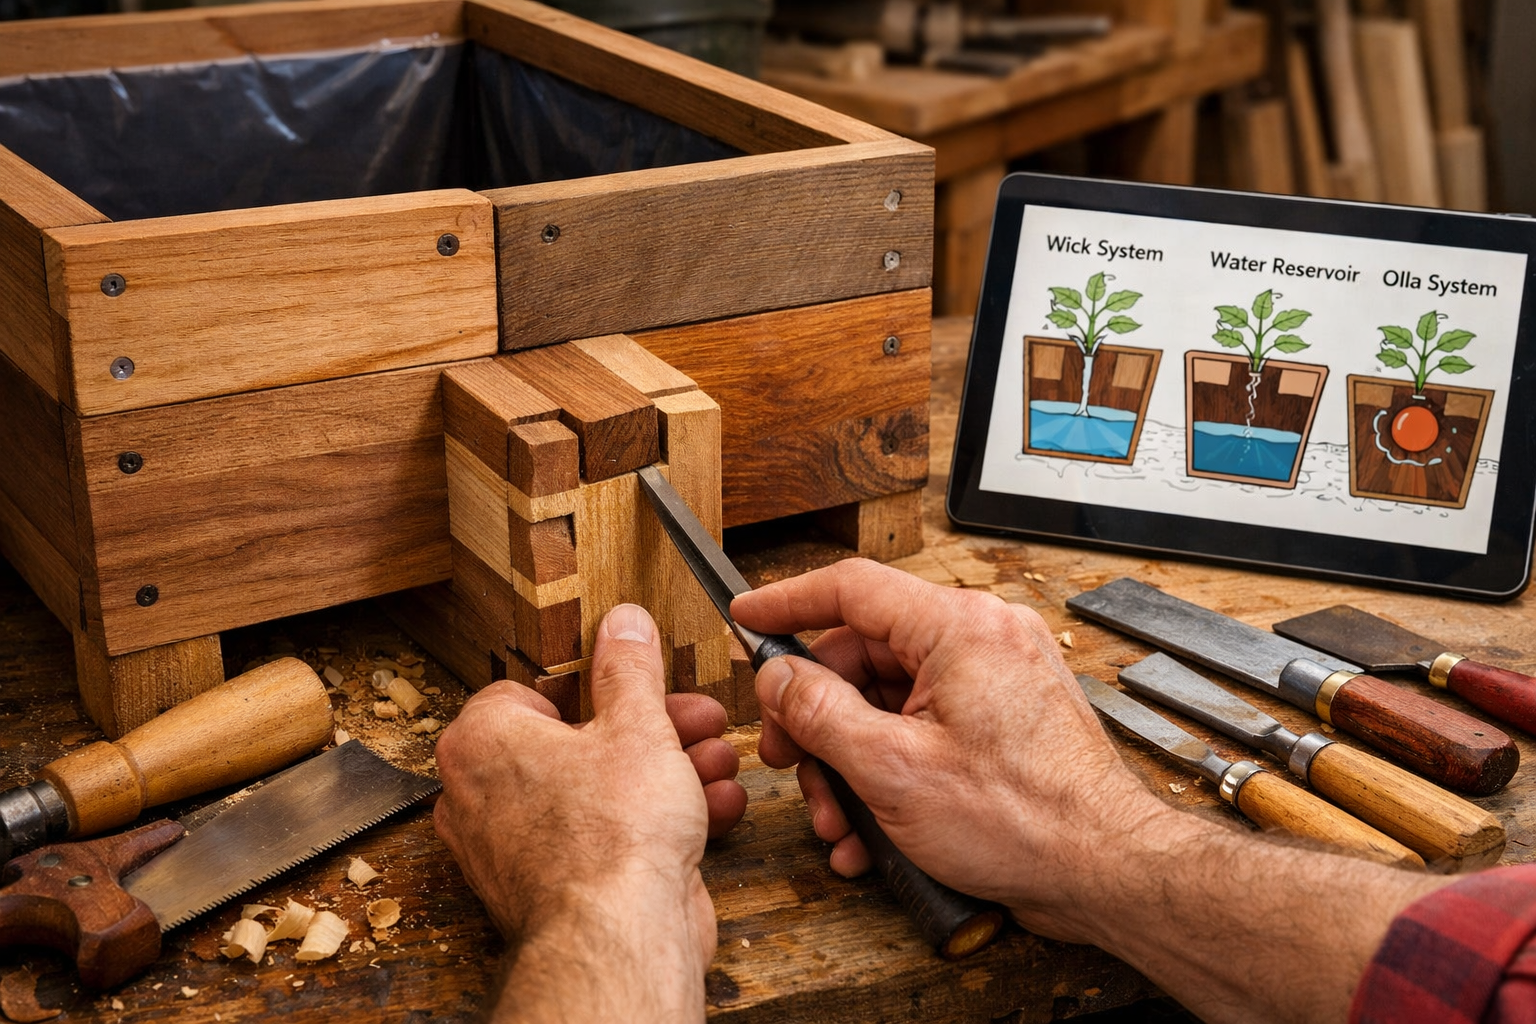
Common Self-Watering Systems:
- Wick Systems: This is perhaps the simplest and most common. Wicks, made from absorbent materials like felt, cotton rope, or strips of old t-shirts, extend from the planting medium down into the water reservoir. As the soil dries, water is drawn up the wicks to the roots.
- Sub-Irrigation Planters (SIPs): More sophisticated, SIPs feature a false bottom or an aeration screen above the water reservoir, creating an air gap. The soil directly contacts the water through specific wicking components (e.g., soil columns, fabric mats) that extend into the reservoir. This system provides a larger water contact area and better aeration.
- Olla Systems: While not strictly a ‘planter’ system, ollas are unglazed terracotta pots buried in the soil that slowly release water through their porous walls. They can be integrated into larger wooden planter designs, providing a passive, localized irrigation method.
| System Type | Mechanism | Advantages | Disadvantages | Best For |
|---|---|---|---|---|
| Wick System | Capillary action via absorbent wicks | Simple, low cost, easy to DIY | Wicks can clog, less efficient for large plants | Small to medium plants, herbs |
| SIP (Sub-Irrigation) | Soil contact with reservoir via wicking components | Excellent water efficiency, consistent moisture, good aeration | More complex to build, requires precise components | Vegetables, larger plants, containers |
| Olla System | Porous terracotta releases water slowly | Deep root watering, minimal water loss by evaporation | Limited to specific soil areas, potential breakage | Outdoor gardens, drought-tolerant plants |
For the wooden planter structure itself, durable joinery is essential. Techniques like Mastering Dovetail Joints with Hand Tools: A Step-by-Step Guide for Flawless Wood Joinery can enhance both strength and aesthetic appeal. When building, remember that wooden planters, especially outdoors, require robust construction to withstand the elements and the weight of soil and water.
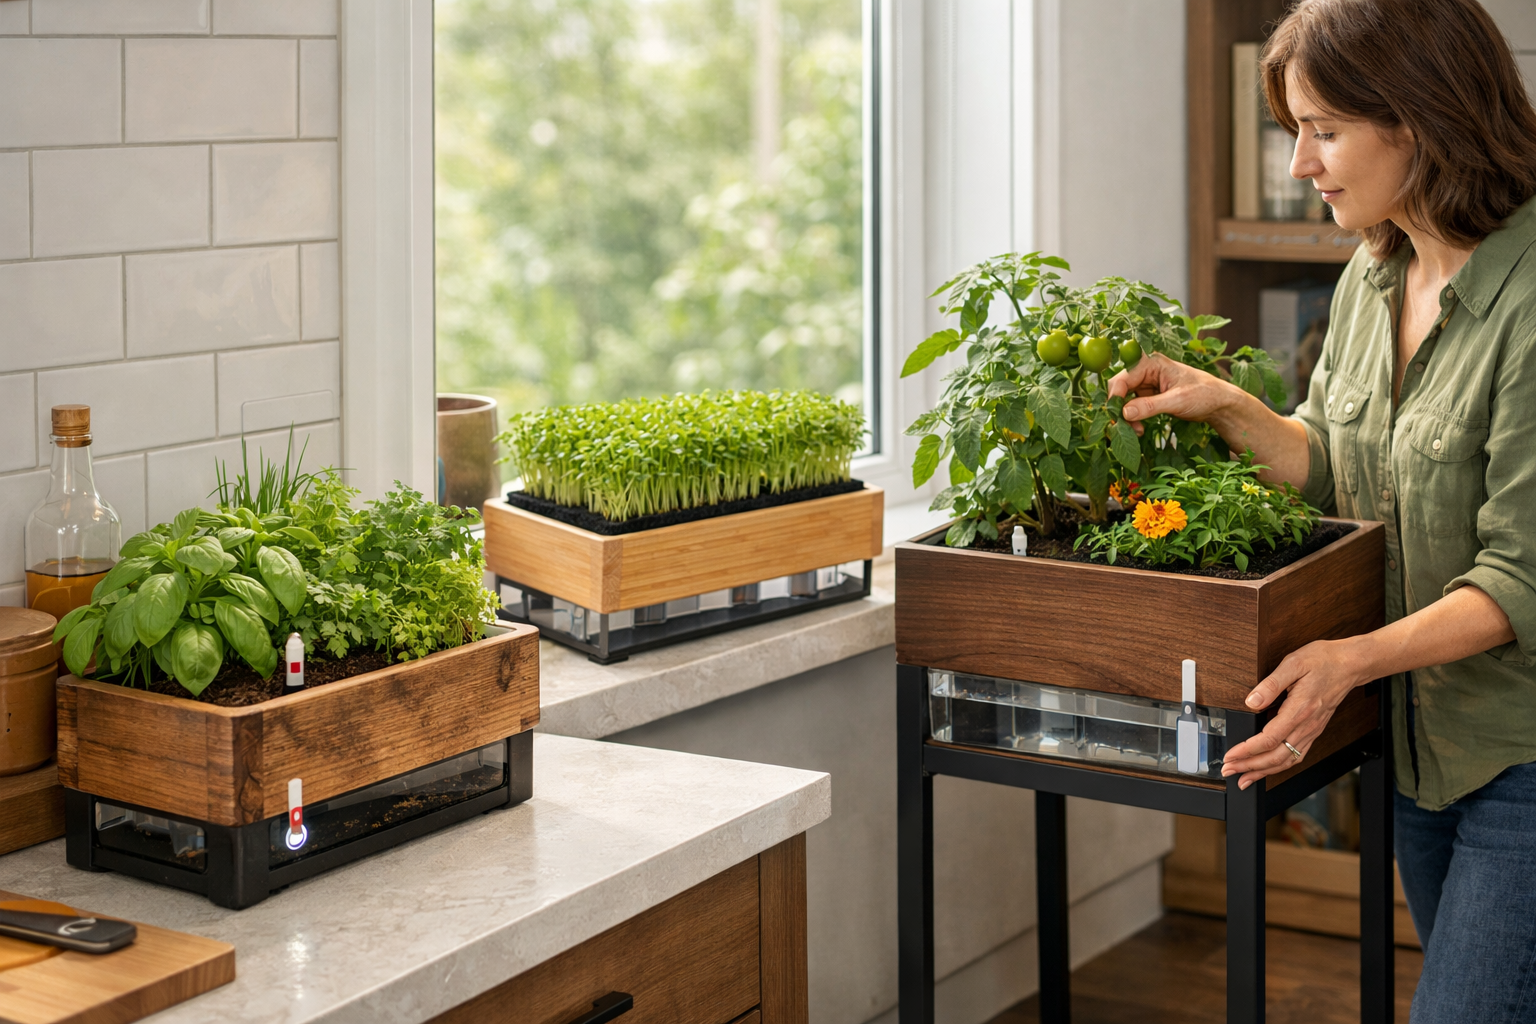
Designing and Building Your Custom Wooden Planter for Indoor Urban Gardening
The aesthetic and functional considerations for indoor self-watering planters differ slightly from their outdoor counterparts. Indoor planters often need to blend seamlessly with existing decor, maintain a clean appearance, and prevent any water leakage. When Crafting Custom Wooden Planters with Self-Watering Systems: Sustainable Designs for Indoor and Outdoor Urban Gardening for indoor use, choose woods that complement your interior design, such as maple for a modern look, or reclaimed oak for a rustic touch.
Design Considerations for Indoor Planters
- Size and Proportion: Tailor the planter size to your available space and the plants you intend to grow. Consider vertical designs for maximizing small areas, like tiered planters or wall-mounted options.
- Aesthetics: The visible wood grain, finish, and overall shape contribute significantly to the planter’s appeal. Consider Warm Minimalism in Woodworking: Balancing Clean Lines with Tactile Wood Materials for a contemporary look. Smooth, non-toxic finishes like linseed oil, tung oil, or zero-VOC sealants are ideal for indoor environments.
- Waterproofing and Liners: Even with a self-watering system, a secondary waterproofing layer is crucial for indoor use to prevent moisture damage to furniture or floors. Pond liners, thick plastic sheeting, or even a smaller, sealed plastic container inserted into the wooden planter can serve this purpose.
- Accessibility for Refilling: Ensure the water reservoir is easy to access for refilling. This can be a simple pipe extending from the reservoir up through the soil, or a removable side panel.
- Drainage (Overflow): While self-watering systems reduce the need for traditional drainage holes, an overflow hole for the reservoir is essential to prevent overwatering. This can be a small hole near the top of the reservoir, allowing excess water to escape. For more insights on drainage in general, refer to Crafting Custom Wooden Planters: Indoor and Outdoor Designs with.
Step-by-Step Indoor Planter Construction
Materials & Tools:
- Wood: Cedar, redwood, pine (treated with non-toxic sealant), or reclaimed wood.
- Waterproof liner: Pond liner or heavy-duty plastic sheeting.
- Wicking material: Felt strips, cotton rope, or capillary matting.
- PVC pipe/tubing: For the water fill tube and overflow.
- Fasteners: Stainless steel screws or waterproof wood glue.
- Tools: Saw (miter, table, or hand saw), drill, sander, measuring tape, clamps.
Building Process:
- Cut the Wood: Measure and cut all wooden pieces for the planter box, including the sides, bottom, and internal support for the false bottom/reservoir division.
- Assemble the Outer Box: Join the wooden panels to form the planter’s exterior. Use waterproof wood glue and stainless steel screws for durability. Ensure all joints are tight and square.
- Create the Reservoir: Design an internal compartment at the bottom to hold water. This can be a solid wooden base sealed with a waterproof coating or a separate waterproof container inserted into the base.
- Install the False Bottom/Wicking Platform: Above the reservoir, install a false bottom or a perforated platform. This platform supports the soil while allowing the wicking material to extend into the water below. Drill holes or create slats in this platform for the wicks.
- Integrate Wicking System: Attach your chosen wicking material to the false bottom, ensuring it reaches the future soil level and dips deep into the water reservoir.
- Add Fill Tube and Overflow: Drill a hole for a PVC fill tube that extends from the reservoir opening to just above the soil line for easy watering. Add a small overflow hole near the top of the reservoir compartment to prevent overfilling.
- Lining and Finishing: Line the planting area (above the wicking platform) with your waterproof liner, stapling or gluing it securely to the inside walls, ensuring it does not obstruct the wicks or fill tube. Apply your chosen non-toxic finish to the exterior of the wooden planter.
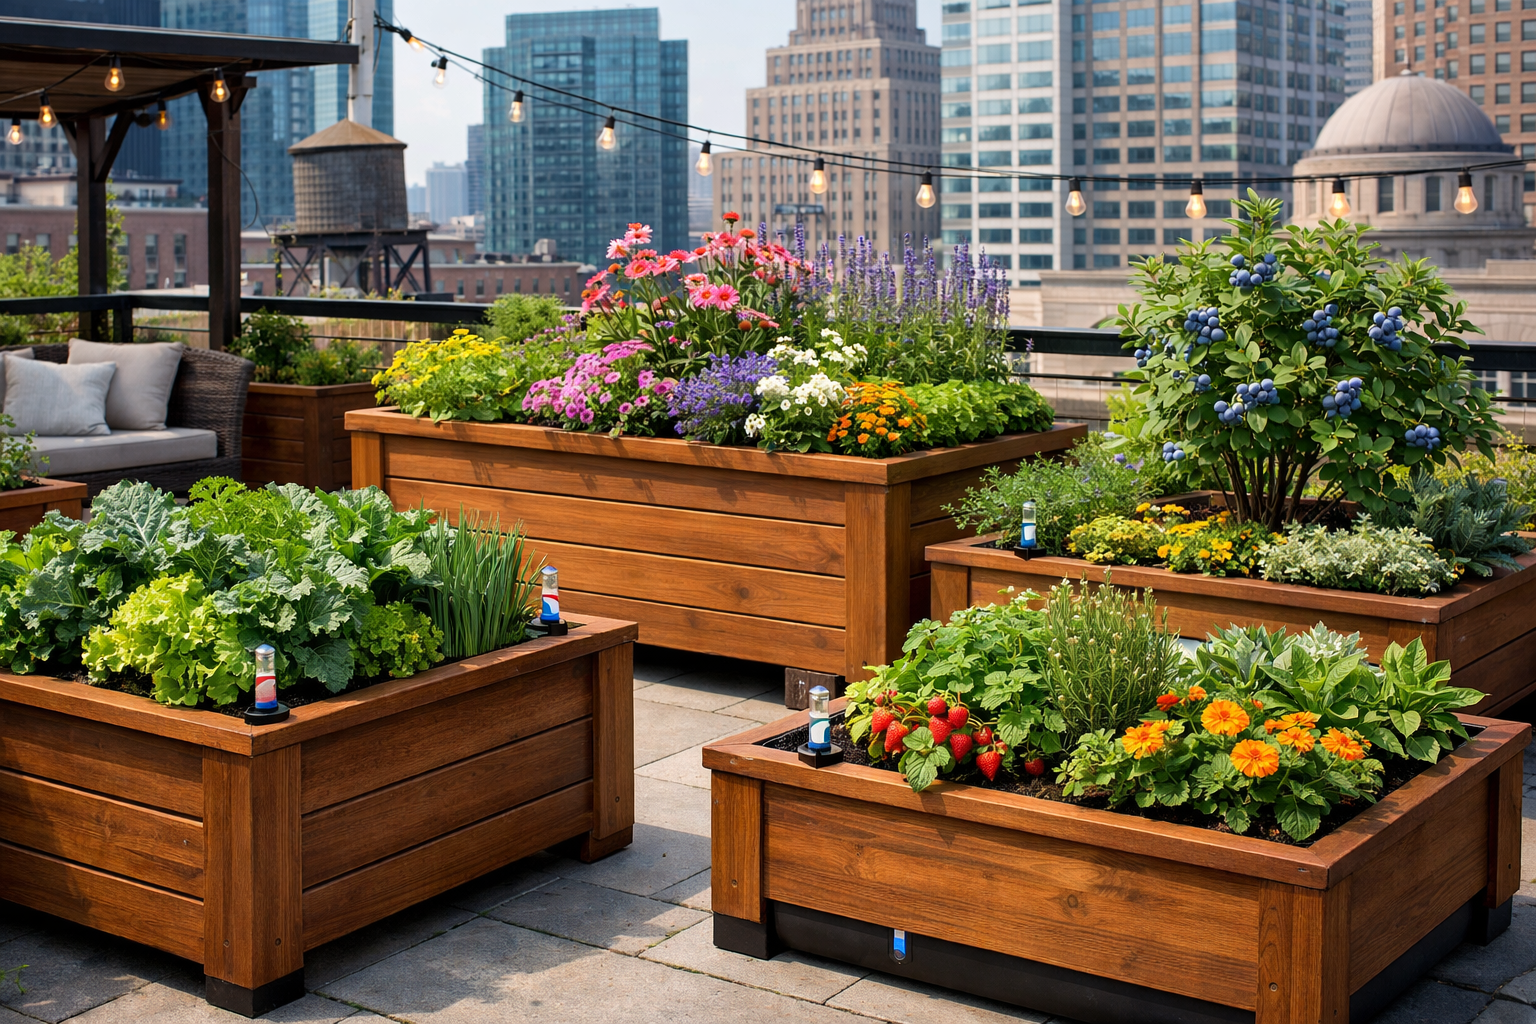
Expanding to Outdoor Urban Gardening: Durability and Large-Scale Designs
When Crafting Custom Wooden Planters with Self-Watering Systems: Sustainable Designs for Indoor and Outdoor Urban Gardening for outdoor environments, the emphasis shifts slightly towards robustness and weather resistance. Outdoor planters endure harsh sunlight, rain, and temperature fluctuations, demanding stronger materials and more resilient finishes. They are perfect for cultivating larger vegetables, small fruit trees, or a vibrant display of flowers on balconies, patios, or rooftops.
Key Considerations for Outdoor Planters
- Wood Selection: Naturally rot-resistant woods like cedar, redwood, or locust are highly recommended. If using less resistant woods, pressure-treated lumber (ensure it’s safe for edible plants if applicable) or extensive weatherproofing is necessary.
- Weatherproofing: Apply multiple coats of exterior-grade, UV-resistant sealant or stain to all surfaces, including the inside of the planter box before adding the liner. This protects the wood from moisture, rot, and sun damage. Regular maintenance will prolong the life of the planter.
- Structural Integrity: Outdoor planters, especially larger ones, will hold a substantial amount of soil and water. Reinforce corners with robust joinery, metal brackets, or larger fasteners. Consider cross-bracing for long sides to prevent bowing.
- Mobility: For very large planters, incorporating heavy-duty casters can make them easier to move for cleaning, rearranging, or protecting plants from extreme weather.
- Water Reservoir Capacity: Outdoor plants, exposed to sun and wind, typically transpire more water. Design a larger reservoir capacity to reduce the frequency of refilling.
Constructing a Large Outdoor Self-Watering Planter
Materials & Tools:
- Wood: Cedar, redwood, treated pine.
- Heavy-duty pond liner: Or a pre-formed plastic insert.
- Drainage cell/grates: For the false bottom support.
- Wicking fabric/perforated pipe: For water distribution.
- Exterior-grade screws and glue: Stainless steel is preferred.
- Tools: Circular saw, drill, impact driver, measuring tools, level, clamps.
Building Process:
- Frame Construction: Build a sturdy frame using thick, weather-resistant lumber. For large planters, consider a base frame on which the sides are attached. For ideas on robust woodworking, see Building Adirondack Chairs: Ergonomic Outdoor Seating with W.
- Attach Side Panels: Securely attach the side panels to the frame using exterior screws. Predrill holes to prevent wood splitting.
- Create the Reservoir and False Bottom:
- Reservoir: Line the entire bottom interior of the planter with a heavy-duty pond liner, ensuring it extends several inches up the sides. Secure it with staples or adhesive.
- False Bottom Support: Place sturdy wooden blocks or concrete pavers within the reservoir to support the false bottom.
- False Bottom: Lay down drainage cells or a perforated plastic sheet (e.g., rigid landscape drain tile) on top of the supports. This creates a solid platform for the soil while allowing the reservoir below. Ensure gaps for wicking material.
- Wicking and Fill System:
- Wicking: Place wicking fabric or perforated PVC pipes (with holes drilled for water distribution) on top of the drainage cells, ensuring good contact with the soil that will be added. These will draw water from the reservoir.
- Fill Tube: Install a wide PVC pipe vertically, extending from the reservoir through the false bottom to the top of the planter for easy water refilling.
- Overflow: Drill an overflow hole just above the top level of your intended water reservoir, preferably on a less visible side, to prevent waterlogging.
- Finishing: Apply several coats of exterior-grade wood sealer or stain. Pay special attention to end grains, which absorb the most moisture. Allow ample drying time between coats.
Planting and Maintenance Tips for Your Self-Watering Planters
Once your custom wooden planters are built and integrated with their self-watering systems, the real fun begins: planting!
- Soil Choice: Use a high-quality potting mix that is loose and well-draining. Avoid heavy garden soil which can compact and impede wicking action.
- Plant Selection: Choose plants with similar water requirements for each planter. While self-watering systems are versatile, grouping thirsty plants with drought-tolerant ones can lead to issues.
- Initial Watering: For the first few days after planting, top-water your plants as you would a traditional planter. This helps settle the soil and initiates the wicking action. After this, you can rely on the reservoir.
- Monitoring: Regularly check the water level in the reservoir. The frequency of refilling will depend on plant size, weather conditions, and reservoir capacity.
- Fertilization: Since nutrients can leach out of the soil with constant moisture, incorporate slow-release granular fertilizers into the potting mix or use liquid fertilizers in the reservoir.
- Cleaning: Periodically, especially between planting seasons, empty the planter, clean out any sediment from the reservoir, and inspect the wicking system for clogs or deterioration.
By diligently following these steps, you can create beautiful, efficient, and sustainable gardening solutions that thrive year-round.
Conclusion
Crafting Custom Wooden Planters with Self-Watering Systems: Sustainable Designs for Indoor and Outdoor Urban Gardening represents a powerful intersection of traditional woodworking artistry and modern eco-conscious living. These projects offer not only the satisfaction of building something functional and beautiful with your hands but also contribute significantly to sustainable gardening practices by conserving water and reducing maintenance. Whether you’re aiming to cultivate a serene indoor herb garden or a bountiful outdoor vegetable patch, the customizability of wooden planters combined with the efficiency of self-watering technology provides an unparalleled solution for urban gardeners in 2026. The journey from selecting sustainable wood to watching your plants flourish with minimal intervention is incredibly rewarding, fostering a deeper connection to nature right in your home or on your patio.
Actionable Next Steps:
- Assess Your Space: Determine where you want your planters and what size and style would best suit your indoor or outdoor area.
- Choose Your Wood: Research and select sustainable, appropriate wood types based on your design and environmental conditions. Consider local reclaimed wood sources.
- Sketch Your Design: Create a detailed plan, including dimensions, joinery, and the specific self-watering system you intend to implement.
- Gather Materials and Tools: Compile your shopping list and ensure you have the necessary woodworking tools. For tool tips, explore our guide on Power Tool Mastery for Decorative Wood Projects: Creating Pr.
- Start Building: Take your time, follow safety guidelines, and enjoy the process of creating a truly sustainable and custom gardening solution.
