
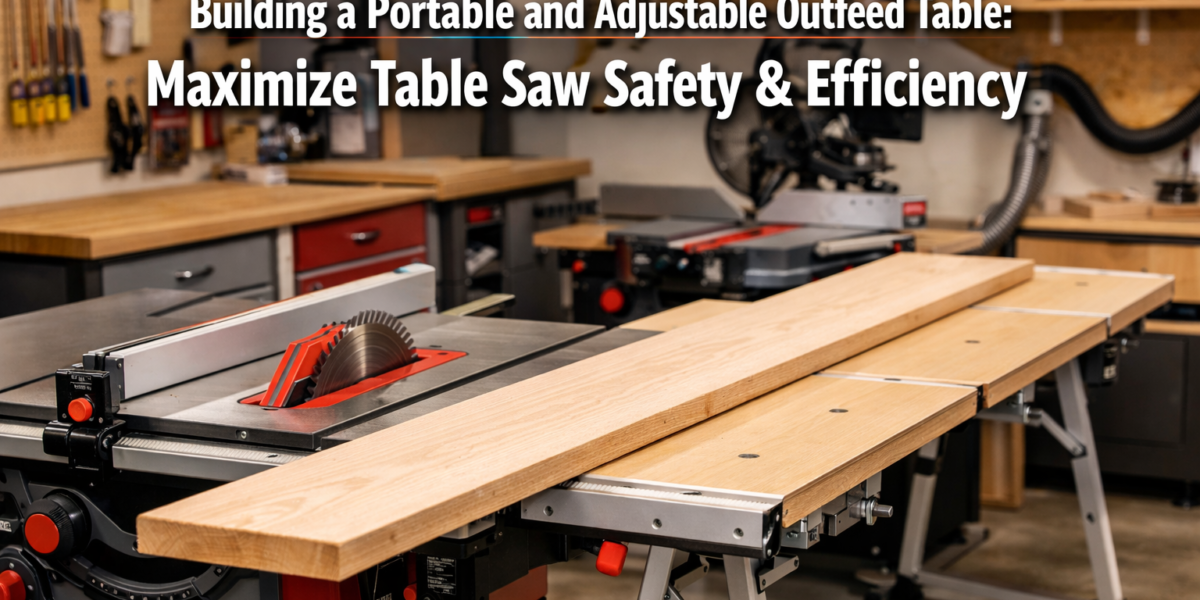

The unsettling reality for many woodworkers is that an unsupported workpiece emerging from a table saw can kick back with over 100 pounds of force, a statistic that underscores the critical need for proper outfeed support. In small or multi-use workshops, stationary outfeed tables are often impractical, leading to compromises that jeopardize safety and accuracy. This article will provide a comprehensive guide to Building a Portable and Adjustable Outfeed Table for Your Table Saw: Maximizing Safety and Efficiency in a Small Shop in 2026. This project empowers woodworkers to handle large panels and long boards with confidence, transforming their compact workspaces into safer, more productive environments.
Key Takeaways
- A portable and adjustable outfeed table significantly enhances safety by preventing kickback and providing stable material support.
- The design emphasizes mobility and adaptability, crucial for small workshops where space is a premium.
- Careful material selection and precise construction are key to a stable and durable outfeed table.
- Customization options allow the table to integrate seamlessly with various table saw models and workshop needs.
- Investing time in this build translates into long-term efficiency, accuracy, and peace of mind in your woodworking endeavors.
Why a Portable and Adjustable Outfeed Table is Essential for Your Small Shop
In a world where workshop space is often a luxury, the humble table saw remains the heart of many woodworking operations. However, without adequate support for material exiting the blade, this powerful tool can become a source of frustration and danger. Long rip cuts or wide crosscuts on unsupported lumber can lead to hazardous kickbacks, inaccurate cuts, and strained backs. This is precisely why Building a Portable and Adjustable Outfeed Table for Your Table Saw: Maximizing Safety and Efficiency in a Small Shop is not just a convenience, but a necessity.

A dedicated outfeed solution provides crucial stability, allowing the operator to focus on guiding the material rather than wrestling with its weight. For those working in garages, basements, or shared spaces, a permanent outfeed solution is often out of the question. This is where the magic of “portable” and “adjustable” truly shines.
Benefits of a Portable & Adjustable Outfeed Table:
- Enhanced Safety: Prevents workpiece drop-off and reduces the risk of dangerous kickback, especially with large sheets or long boards.
- Improved Accuracy: Consistent support throughout the cut ensures straighter, more precise results.
- Increased Efficiency: Reduces setup time and the need for awkward maneuvers or a second pair of hands.
- Space Optimization: When not in use, a portable table can be wheeled away, folded, or stored compactly, freeing up valuable floor space.
- Versatility: Adjustable height allows it to align perfectly with various table saws or even serve as an auxiliary workbench.
Imagine cleanly cutting an 8-foot sheet of plywood without it tilting, binding, or requiring a precarious balancing act. This type of table makes such tasks routine, transforming your small shop into a professional-grade workspace. It also complements other ergonomic improvements, like creating ergonomic workshop furniture to further prevent strain and increase productivity.

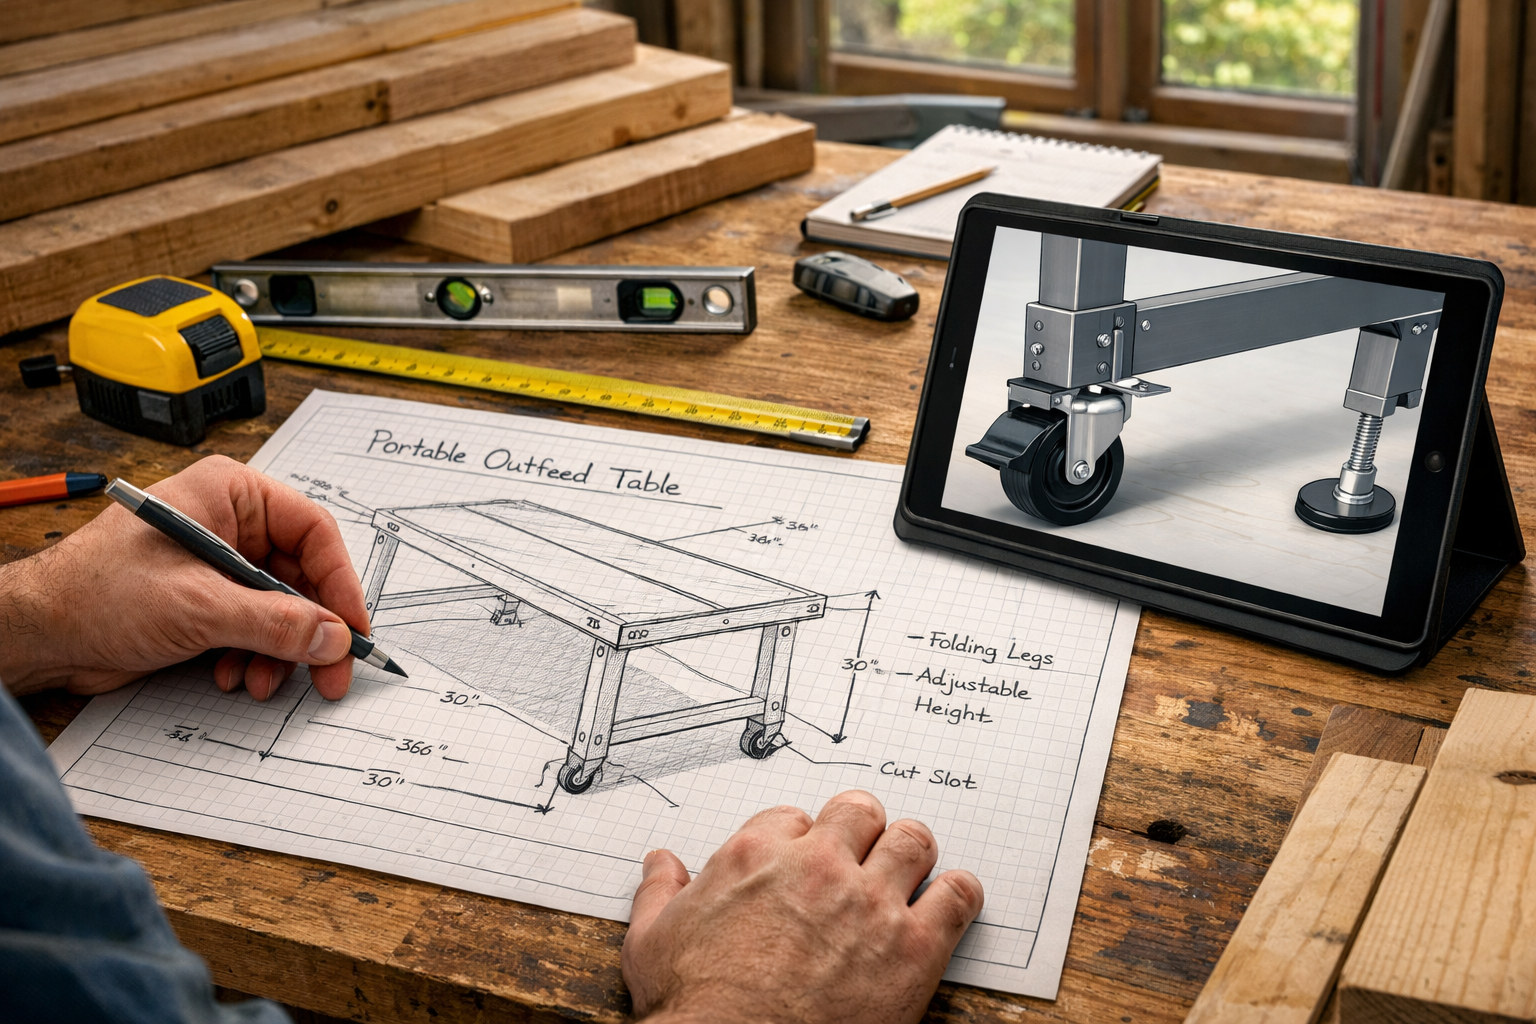
Key Design Considerations for Your Outfeed Table
Before diving into construction, thoughtful design is paramount. The goal is to create a unit that is robust, stable, and truly integrates with your existing table saw and workflow.
| Feature | Description | Why it Matters |
|---|---|---|
| Footprint | The dimensions of the tabletop and base should accommodate common sheet goods (e.g., 4×8 ft plywood) while remaining manageable for storage. Consider how it interacts with your existing table saw footprint, such as a Craftsman 137.248 table saw. | Balances generous support with the realities of a small shop. Too large, it’s cumbersome; too small, it’s ineffective. |
| Adjustable Height | The ability to precisely match the height of your table saw’s surface, typically using telescoping legs or screw jacks. | Critical for seamless material transfer. Any height discrepancy can cause binding, kickback, or inaccurate cuts. It also allows the table to be repurposed. |
| Portability | Incorporate robust locking casters (swivel and non-swivel) for easy movement and secure positioning. Some designs might include a folding mechanism. | Essential for small shops. Enables quick deployment when needed and compact storage when not, maximizing floor space. |
| Stability | A sturdy frame and strong joints are non-negotiable. The table must withstand the weight of heavy workpieces without wobbling. | Directly impacts safety and cut quality. A wobbly table is a dangerous table. |
| Top Material | A flat, smooth, durable surface that won’t scratch workpieces. Options include MDF, Baltic birch plywood, or laminate-covered plywood. | Provides a friction-free surface for easy material movement. Durability ensures longevity against wear and tear. |
| Storage (Optional) | Built-in shelves, drawers, or hooks for holding accessories, push sticks, or even other shop jigs. | Adds functionality, keeping frequently used items close at hand and contributing to a tidy, efficient workspace, much like optimizing your DIY modular desk organizers. |
Prioritize measuring your table saw’s height and footprint accurately. Consider the typical size of materials you cut. A common recommendation is an outfeed table that extends at least 3-4 feet from the saw blade and is as wide as the saw’s fence allows, or ideally, the full width of your largest rip capacity.
Materials and Tools Required for the Build
The success of Building a Portable and Adjustable Outfeed Table for Your Table Saw: Maximizing Safety and Efficiency in a Small Shop hinges on selecting the right materials and using appropriate tools. Quality materials ensure durability and stability, while the correct tools make the construction process smoother and more accurate.
Essential Materials
Here’s a breakdown of common materials, with suggestions for durability and cost-effectiveness:
- Plywood (¾” Baltic Birch or High-Quality Cabinet Grade):
- Quantity: One or two 4’x8′ sheets, depending on design complexity.
- Use: Tabletop, shelves, and possibly parts of the frame. Baltic birch offers excellent stability and strength.
- Dimensional Lumber (2x4s or 2x6s):
- Quantity: 4-6 pieces, 8 feet long.
- Use: Primary frame components, offering rigidity. Opt for straight, knot-free boards.
- Square Steel Tubing (1.5″ and 1.25″ square, 1/8″ wall thickness):
- Quantity: Several feet of each, to create telescoping adjustable legs.
- Use: The core of your adjustable height mechanism. Ensure the smaller tube slides smoothly inside the larger one with minimal play.
- Heavy-Duty Locking Casters (3-4 inch diameter):
- Quantity: 4 casters, with at least two being swivel casters that lock both rotation and wheel.
- Use: For mobility and locking the table in place.
- Leveling Feet/Adjustable Glides:
- Quantity: 4 (if not using casters or for fine-tuning height).
- Use: Provides fine height adjustment and compensates for uneven floors.
- Hardware:
- Wood Screws: Various lengths (e.g., 1 ¼”, 2 ½”) appropriate for your lumber and plywood thickness.
- Bolts, Washers, Lock Nuts: For securing the steel tubing and casters.
- T-nuts or Threaded Inserts: For attaching leveling feet if desired.
- Quick-Release Pins or Thumbscrews: For locking the adjustable legs at desired heights.
- Wood Glue: For strong wood-to-wood joints.
Material Selection Tips:
- Flatness: For the tabletop, ensure your plywood is perfectly flat. Any warp will compromise cut accuracy.
- Straightness: When selecting 2x4s or 2x6s, look down the length of the boards to ensure they are straight and free of twists.
- Steel Tubing: Purchase tubing that fits snugly. Too loose, and the table will wobble; too tight, and it won’t adjust smoothly.
Necessary Tools
Having the right tools will make this project much more enjoyable and accurate.
- Table Saw: (Of course!) For cutting plywood and lumber precisely. Ensure your table saw switch wiring diagram is correct for safe operation.
- Miter Saw or Circular Saw: For cross-cutting dimensional lumber.
- Drill/Driver: For pre-drilling holes and driving screws.
- Welder (Optional, but Recommended for Steel Legs): If you’re using steel tubing for adjustable legs, welding provides the strongest and cleanest joints. If no welder is available, strong mechanical fasteners with careful design can substitute.
- Measuring Tape, Ruler, Square: For accurate measurements and layout.
- Clamps: Essential for holding pieces together during assembly and gluing.
- Router (Optional): For rounding over edges or adding T-track to the tabletop. For more on this, see The Essential Guide to Router Bits.
- Sanding Equipment: For smoothing surfaces and edges.
- Safety Gear: Safety glasses, hearing protection, and dust mask are paramount.

Step-by-Step Construction Guide for Your Outfeed Table
This section outlines the process of Building a Portable and Adjustable Outfeed Table for Your Table Saw: Maximizing Safety and Efficiency in a Small Shop. This guide focuses on a common design featuring a plywood top, a robust wooden frame, and adjustable steel legs for optimal versatility.
Step 1: Measure and Cut Materials
Accuracy at this stage prevents issues later.
- Measure Your Table Saw:
- Measure the exact height of your table saw’s surface from the floor. This is your target outfeed table height.
- Measure the distance from the front of your table saw to the back, and the maximum width your fence allows. This will inform your table’s footprint.
- Cut Plywood for the Top:
- Cut your ¾” plywood to your desired tabletop dimensions. A common size for small shops might be 24″ to 36″ deep (extending from the saw) by 48″ to 60″ wide. Ensure the surface is perfectly flat.
- Cut Lumber for the Frame:
- Cut 2x4s or 2x6s to create a rectangular frame that will sit beneath your plywood top. This frame should be slightly smaller than your tabletop to allow for an overhang if desired, or flush.
- Consider a central cross-support for extra rigidity, especially for wider tables. Use strong joinery like lap joints, half-laps, or pocket screws for the frame.
Step 2: Assemble the Wooden Frame and Top
- Build the Frame: Assemble the cut lumber pieces using wood glue and screws or pocket hole joinery. Ensure all corners are square. Clamp the frame tightly while the glue dries.
- Attach the Tabletop: Apply a generous bead of wood glue to the top edges of your assembled frame. Carefully place the plywood tabletop onto the frame, ensuring it’s properly aligned and square. Secure it with wood screws driven from the top down into the frame, countersinking the screw heads for a smooth surface. Use plenty of screws (every 6-8 inches) to prevent future warping.
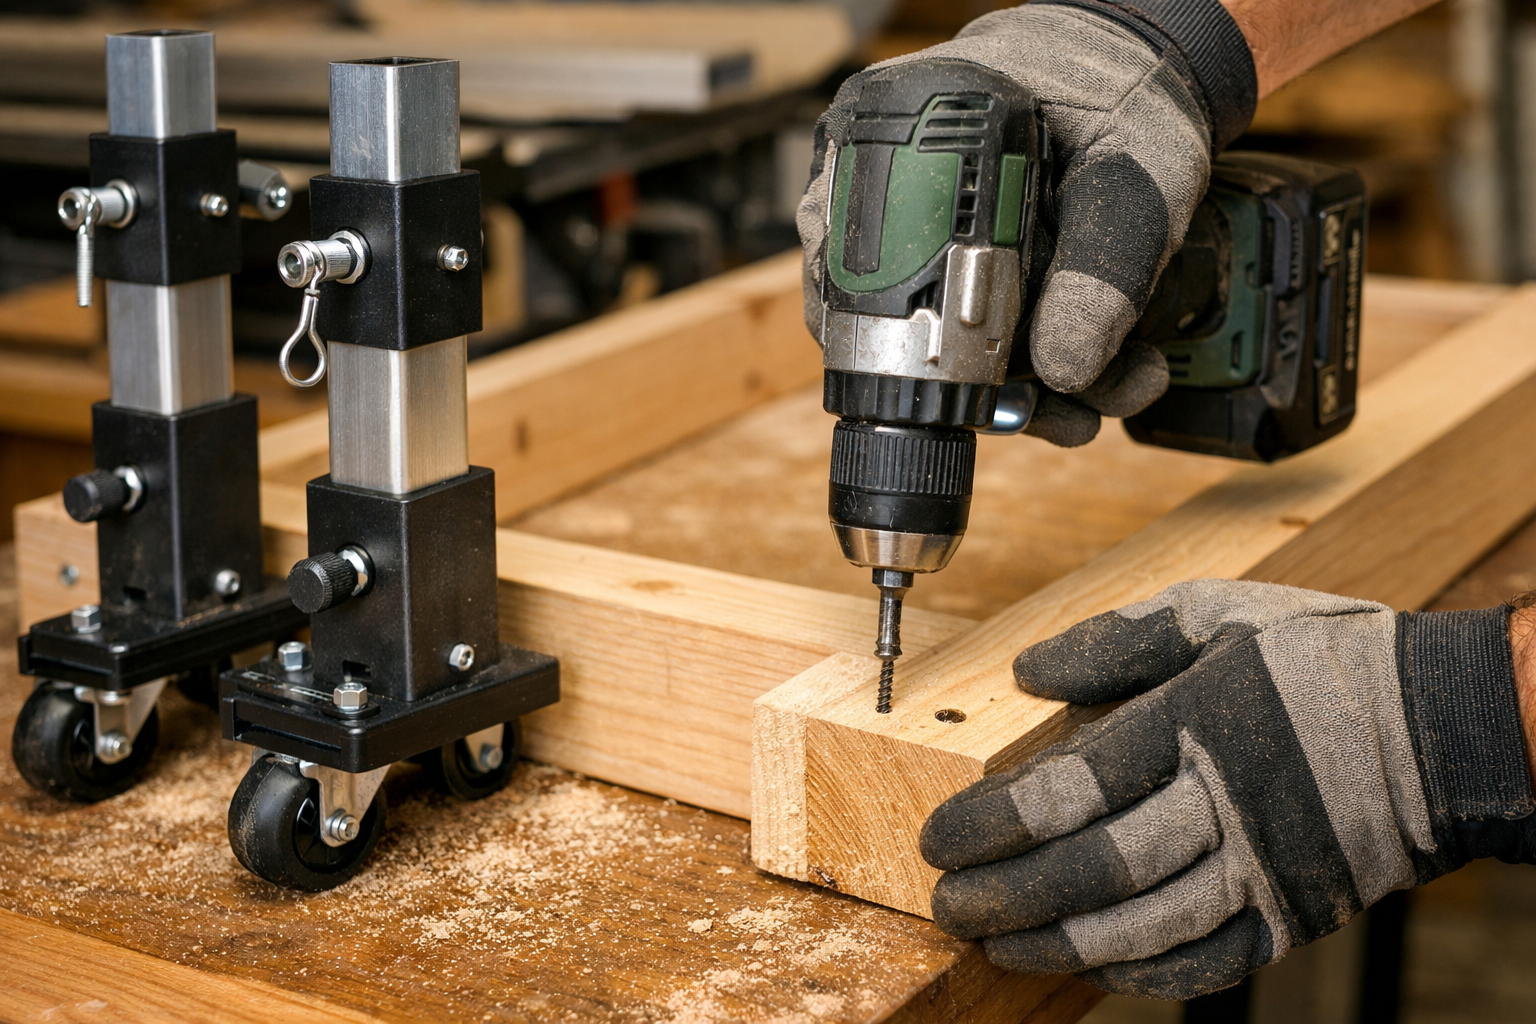
Step 3: Fabricate and Install Adjustable Steel Legs
This is the most critical part for adjustability and stability.
- Cut Steel Tubing:
- Cut four pieces of the larger square tubing (e.g., 1.5″) to a length that, when combined with your table saw’s height, allows for your desired range of adjustment. These will be the outer, fixed parts of the legs.
- Cut four pieces of the smaller square tubing (e.g., 1.25″) to a length that allows them to slide within the larger tubes and extend to your target table saw height. These are the inner, adjustable parts.
- Drill Adjustment Holes:
- In the inner (smaller) steel tubes, drill a series of holes (e.g., ⅜” or ½” diameter) spaced 1 inch apart along one side. Start drilling from the height that matches your table saw, and continue up/down for your desired adjustment range.
- In the outer (larger) steel tubes, drill a single corresponding hole on one side, positioned to align with the holes in the inner tube when it’s inserted.
- Weld or Bolt Outer Tubes to Frame:
- Securely attach the four outer steel tubes to the corners of your wooden frame. Welding provides the strongest connection. If welding isn’t an option, use heavy-duty bolts and washers, drilling through both the steel and the wood frame. Ensure these connections are extremely rigid.
- Insert Inner Tubes and Add Locking Pins:
- Slide the inner steel tubes into the outer tubes.
- For locking the height, use quick-release pins (commonly called hitch pins or clevis pins) that fit snugly through the aligned holes in both tubes. Alternatively, threaded knobs with bolts can be used for a more refined look.
- Install Casters and Leveling Feet:
- Attach the heavy-duty locking casters to the bottom of the outer steel tubes (or directly to the wooden frame if the legs are integrated differently).
- If using leveling feet in addition to or instead of casters, install T-nuts or threaded inserts into the bottom of the outer steel tubes (or wooden feet) and screw in the leveling feet. This provides additional fine-tuning.
Step 4: Finishing Touches and Customization
- Sand and Finish:
- Sand all wooden surfaces smooth, especially the tabletop, to prevent scratching workpieces. Apply a durable, low-friction finish like multiple coats of polyurethane or laminate to the top surface.
- Add T-Track (Optional):
- Rout channels into the tabletop and install aluminum T-track. This allows for the use of clamps, stop blocks, and other jigs, enhancing the table’s versatility. This can further improve safety alongside other essential woodworking jigs.
- Storage Solutions (Optional):
- Add shelves below the tabletop for storing push sticks, safety gear, or dust collection accessories. Consider integrating this with a DIY smart workshop dust collection system to keep your shop clean.
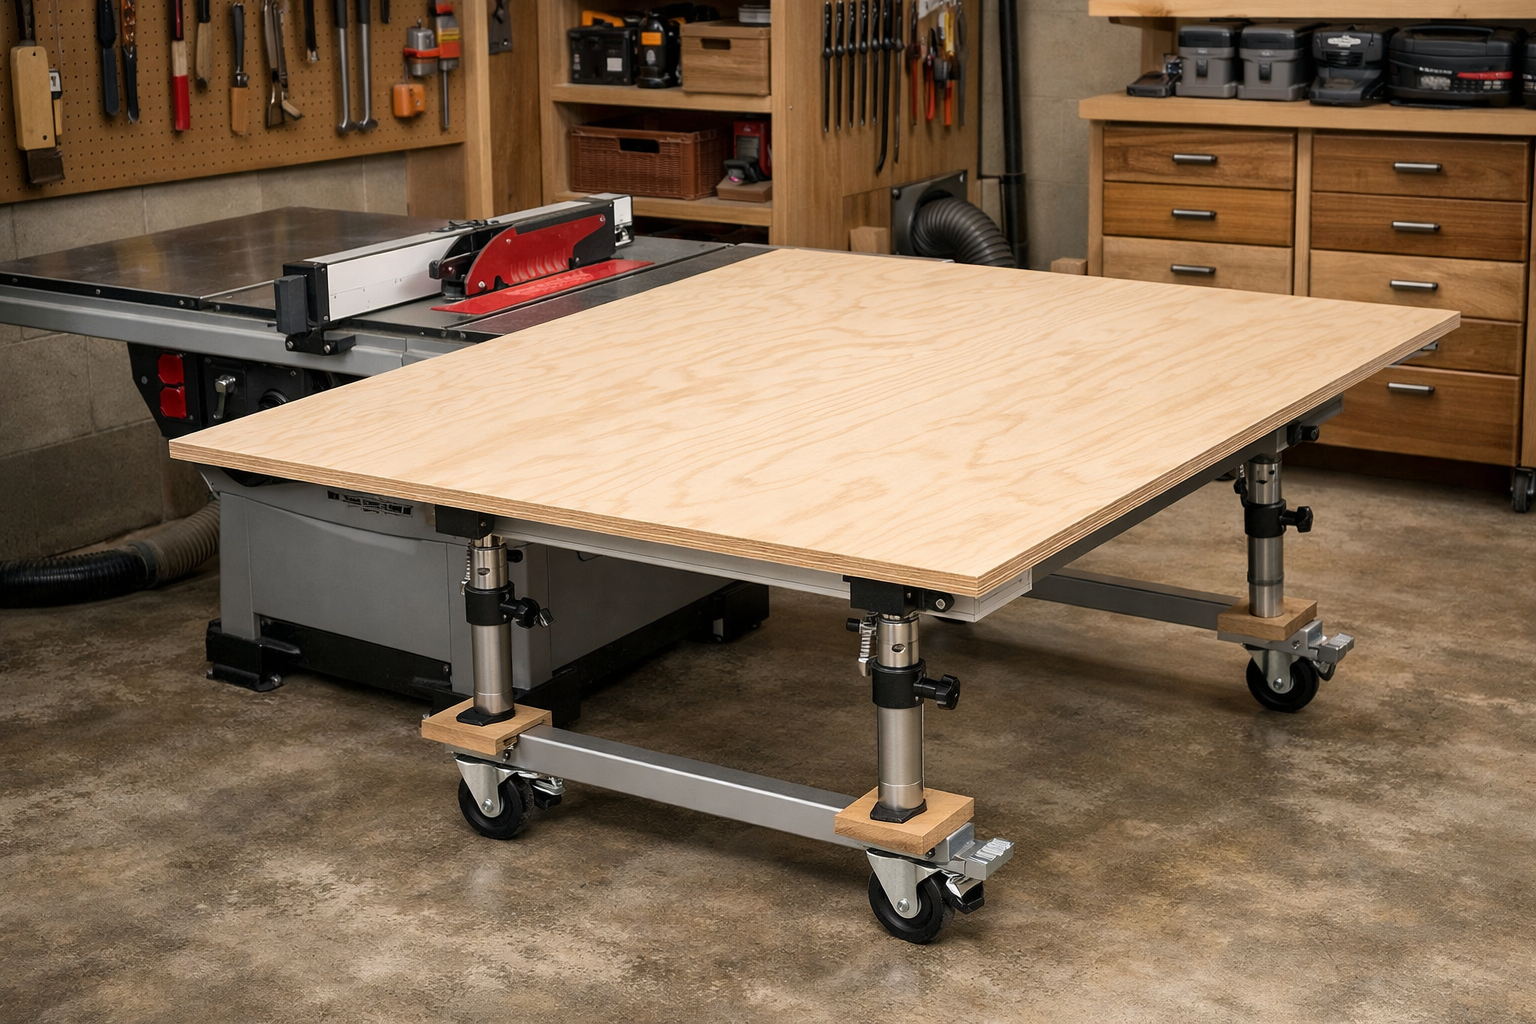
- Test and Adjust:
- Roll the table into position behind your table saw. Adjust the height precisely to match your table saw’s surface. Lock the casters and test its stability by applying pressure and placing a heavy workpiece on it. Make any necessary fine adjustments to the leveling feet.

Maximizing Safety and Efficiency in Your Small Shop
With your new portable and adjustable outfeed table, your small workshop gains a significant advantage in both safety and productivity. The key is to integrate this new tool seamlessly into your workflow.

Safety First
The primary benefit of Building a Portable and Adjustable Outfeed Table for Your Table Saw: Maximizing Safety and Efficiency in a Small Shop is enhanced safety.
- Eliminate Kickback Risks: Always use the outfeed table for long or wide cuts. It prevents the workpiece from dropping off the back of the saw, which is a major cause of kickback.
- Maintain Proper Posture: With proper outfeed support, you can maintain a comfortable, stable stance throughout the cut, reducing fatigue and improving control.
- Keep Hands Clear: The outfeed table provides consistent support, allowing you to keep your hands safely away from the blade as the material exits.
- Clear the Path: Before every cut, ensure the outfeed table is properly positioned, locked, and clear of any obstructions.
Optimizing Workflow and Efficiency
Beyond safety, this outfeed table streamlines many common woodworking tasks.
- Seamless Material Handling: Easily process full sheets of plywood or long lengths of lumber by simply rolling the outfeed table into place.
- Reduced Setup Time: No more scrambling for temporary supports or calling for a second person to assist with large cuts. The table is always ready.
- Multi-purpose Workbench: When not supporting the table saw, adjust its height to use it as an assembly table, an auxiliary workbench, or an additional surface for finishing projects like console tables. Its portability means you can move it exactly where it’s needed in your shop.
- Organized Workspace: By freeing up floor space when stored, the table contributes to an overall more organized and efficient shop. Consider integrating it with other space-saving solutions such as DIY compact entryway organizers to truly maximize your shop’s potential.
- Improved Cut Quality: Consistent support from the outfeed table prevents burning, blade deflection, and inaccurate measurements caused by material sag, leading to higher quality finished products.
Regular maintenance, such as checking the tightness of fasteners, ensuring casters roll smoothly, and keeping the tabletop clean and slick, will prolong the life and effectiveness of your outfeed table. This simple shop upgrade will undoubtedly become one of the most valuable additions to your small woodworking sanctuary in 2026.
Conclusion
The investment in Building a Portable and Adjustable Outfeed Table for Your Table Saw: Maximizing Safety and Efficiency in a Small Shop is a profound step towards a safer, more productive, and more enjoyable woodworking experience. This project tackles the common challenges of limited space and material handling head-on, providing a versatile solution that adapts to your needs rather than forcing you to adapt to its limitations. By carefully planning, selecting the right materials, and executing the build with precision, woodworkers can transform their table saw operations from a potential hazard into a confident, accurate, and efficient process. In 2026, the modern woodworker understands that intelligent shop organization and purpose-built jigs are just as crucial as the power tools themselves.
Actionable Next Steps:
- Measure Your Space & Saw: Accurately determine your table saw’s height and the available footprint in your shop.
- Sketch Your Design: Draw out your ideal outfeed table, considering dimensions, adjustability mechanisms, and any additional features like shelves or T-track.
- Source Materials: Compile a list of necessary wood, steel tubing, casters, and hardware, then source them from local suppliers or online. Prioritize quality for stability and longevity.
- Gather Tools: Ensure you have all the necessary cutting, drilling, and assembly tools at hand, including proper safety gear.
- Begin Construction: Follow the step-by-step guide, paying close attention to squareness, levelness, and strong joinery. Take your time, as precision here will pay dividends in use.
- Test and Refine: Once built, thoroughly test the table for stability, ease of adjustment, and seamless integration with your table saw. Make any final tweaks to ensure perfect alignment and safe operation.
This project is a testament to the fact that even in a small shop, intelligent design and thoughtful construction can lead to significant gains in safety, efficiency, and overall woodworking satisfaction.
