


The average woodworker spends countless hours sifting through disorganized lumber piles, inadvertently damaging valuable stock, or struggling to find the right piece for a project. This inefficiency doesn’t just waste time; it directly impacts project quality and profitability. Building custom storage solutions for specific wood types and sizes, thereby optimizing lumber organization, is not merely a convenience; it’s a critical investment that safeguards materials, streamlines workflow, and enhances overall productivity in any woodworking shop in 2026. Tailored storage prevents warping, reduces waste, and makes inventory management effortless, transforming a chaotic workspace into a highly efficient production zone.
Key Takeaways
- Customization is Key: Tailor storage systems (vertical, horizontal, mobile) to the specific dimensions, species, and quantities of lumber you frequently use to prevent damage and maximize space.
- Material Protection: Proper storage, considering air circulation and stability, is crucial for preventing warping, twisting, and moisture damage in valuable wood stock.
- Workflow Efficiency: Organized lumber significantly reduces time spent searching for materials, allowing for a more focused and productive woodworking process.
- Safety First: Design storage solutions that are structurally sound, easy to load and unload, and minimize the risk of lumber shifting or falling.
- Long-Term Investment: Investing in well-designed lumber storage saves money in the long run by protecting materials, reducing waste, and improving the longevity of your wood supply.
Analyzing Your Lumber Inventory: The First Step in Optimizing Lumber Organization
Before you even pick up a saw to build your storage, a thorough understanding of your current lumber inventory is essential. This foundational step dictates the design, capacity, and type of custom storage solutions you’ll need. Without this analysis, you risk building storage that is either insufficient or ill-suited for your specific wood types and sizes, defeating the purpose of optimizing lumber organization.

Categorizing Wood Types and Sizes
Start by taking a detailed inventory of every piece of wood you own. This isn’t just about counting boards; it’s about understanding their characteristics.
Wood Species: Different wood species have different properties. Hardwoods like oak, maple, and cherry are often heavier and more prone to specific types of wood movement, requiring stable, well-supported storage. Softwoods like pine or fir, while lighter, can be more susceptible to denting or crushing if not properly supported. Exotic woods or highly figured pieces, often more valuable, warrant extra protection. Knowing your species helps in grouping similar woods together and designing appropriate support.
Dimensions (Length, Width, Thickness): This is perhaps the most critical factor for storage design.
- Length: Longer boards (8-16 feet) require substantial horizontal or vertical support systems to prevent sagging or bowing. Shorter offcuts might benefit from dedicated bins or mobile carts.
- Width: Wide slabs, especially live-edge pieces, need flat, even support to prevent twisting. Plywood and sheet goods demand broad, stable platforms.
- Thickness: Heavy timbers and thick planks require robust shelves or racks, while thin veneers or smaller stock can be stored in more compact, perhaps even drawer-style, solutions.
Quantity and Future Needs: Assess how much of each type and size you have. Are you a hobbyist with a small, rotating stock, or a professional with a large, constantly replenished inventory? Consider your typical project scale and how much raw material you usually keep on hand. This helps determine the overall capacity needed for your custom storage solutions.
Storage Considerations for Different Wood Characteristics:
- Dimensionally Stable Wood: Wood that has been properly dried (kiln-dried or air-dried to equilibrium moisture content) is more stable. However, storing it incorrectly can still lead to problems. Ensure good air circulation to maintain its moisture content. For more on how wood reacts, consider reading about understanding wood movement: how to design and build furniture that lasts through seasonal changes.
- Green or Air-Drying Wood: If you mill your own lumber or source green wood, specific stacking methods (stickering) are vital for proper air circulation and even drying. These pieces will require distinct storage areas away from finished stock.
- Expensive or Exotic Woods: High-value woods should be stored in a way that minimizes the risk of physical damage, UV exposure, and theft. Enclosed cabinets or carefully padded racks might be appropriate.
By meticulously cataloging your lumber, you create a blueprint for effective storage design, ensuring that your custom solutions are perfectly aligned with your material needs. This organized approach is the cornerstone of truly optimizing lumber organization.
Designing Custom Storage Solutions: Vertical, Horizontal, and Mobile Approaches

With a clear understanding of your lumber inventory, the next phase involves designing the specific custom storage solutions. The most effective approach often involves a combination of vertical, horizontal, and mobile systems, each tailored to different wood types, sizes, and workshop dynamics. This multi-faceted strategy is key to truly Building Custom Storage Solutions for Specific Wood Types and Sizes: Optimizing Lumber Organization.
Vertical Lumber Storage
Vertical storage is ideal for longer, thinner stock and offers excellent space utilization, especially in workshops with limited floor space but ample wall height.
Key Design Principles:
- Stability: Long boards can be unstable if not properly secured. Design with sturdy uprights anchored firmly to wall studs.
- Accessibility: Ensure boards can be easily retrieved without shifting others. Open-front designs or individual slots are often best.
- Adjustability: Wood inventory changes. Adjustable shelves or pegs allow for flexibility as your stock evolves.
Common Vertical Solutions:
- Wall-Mounted Racks: These typically consist of vertical standards with cantilevered arms or pegs. They are excellent for storing dimensional lumber like 2x4s, 1x6s, and long trim pieces. Spacing of arms should accommodate varying lengths and prevent excessive sag.
- Pigeonhole Racks: For smaller, shorter offcuts or specific project pieces, a series of vertical dividers creating individual compartments can be highly effective. This prevents small pieces from getting lost or damaged.
- A-Frame Racks: While technically free-standing, A-frames provide a vertical orientation. They are good for storing a moderate amount of longer lumber and can be moved if built on casters.
Material Considerations: Use robust materials like 2x4s, structural plywood, or metal shelving components. Ensure all fasteners are heavy-duty and appropriate for the anticipated load.
Horizontal Lumber Storage
Horizontal storage is essential for wider, heavier stock, such as plywood sheets, wide slabs, and large dimensional timbers, where vertical presentation is impractical or risky.
Key Design Principles:

- Even Support: Wide boards and sheets must be supported along their entire length and width to prevent warping and sagging.
- Strength: These systems bear significant weight. Robust construction and strong fasteners are paramount.
- Airflow: Proper air circulation around all surfaces of the wood is critical to maintain stability and prevent moisture build-up.
Common Horizontal Solutions:
- Cantilever Racks: Similar to wall-mounted vertical racks, but designed to support longer, wider pieces horizontally. These are perfect for storing longer planks, wide boards, and even rough-sawn lumber. The arms should be strong enough to prevent deflection under heavy loads.
- Sheet Goods Storage: For plywood, MDF, or particle board, a dedicated horizontal stack with spacers for airflow, or a vertical lean-to rack for easier access, is ideal. If stacking horizontally, ensure the base is flat and strong.
- Heavy Timber Racks: For large beams or substantial slabs, extremely robust, wide-span racks built from heavy timbers or steel are necessary. These might be floor-supported or integrated into the workshop structure.
Important Note: When stacking horizontally, always use stickers (small, equally sized strips of wood) between layers to allow for airflow and prevent moisture traps.
Mobile Storage Solutions
Mobile solutions add flexibility and convenience, allowing you to bring lumber directly to your workspace or clear floor space when needed. They are particularly useful for smaller offcuts, project-specific lumber, or general shop organization.
Key Design Principles:
- Portability: Heavy-duty locking casters are non-negotiable for safety and ease of movement.
- Versatility: Design compartments that can hold various sizes and types of scrap or project-specific wood.
- Compactness: Mobile units should be designed to minimize their footprint while maximizing storage capacity.
Common Mobile Solutions:
- Offcut Carts: These can be simple bins on wheels or multi-tiered carts with dividers for different lengths and widths of smaller scraps.
- Project Carts: Load a cart with all the specific lumber needed for a current project, keeping it organized and ready at the workbench.
- Sheet Goods Carts: For moving single sheets of plywood or large panels, a specialized cart can prevent back strain and damage to materials.
Building Custom Storage Solutions for Specific Wood Types and Sizes: Optimizing Lumber Organization through a combination of these methods not only enhances efficiency but also protects your valuable wood. For example, a mobile dust collection cart can keep your workshop clean, but proper lumber storage ensures the wood itself remains pristine.
Building and Implementing Your Custom Storage Solutions

Once the designs are finalized, the real work of Building Custom Storage Solutions for Specific Wood Types and Sizes: Optimizing Lumber Organization begins. This phase focuses on construction, installation, and establishing practices that ensure your new system remains effective.
Selecting Materials and Tools
The longevity and safety of your storage solutions depend heavily on the materials and tools you use.
- Structural Materials: For uprights, beams, and shelves, opt for strong, straight lumber like 2x4s, 2x6s, or even steel square tubing for heavy-duty applications. Plywood (minimum 3/4-inch thick) is excellent for shelves, sheet goods storage, and building enclosed cabinets.
- Fasteners: Use appropriate fasteners. Heavy-duty screws (e.g., structural screws or lag screws) are often preferred over nails for their strength and resistance to pull-out. Bolts with washers and nuts are ideal for critical load-bearing connections.
- Tools: Standard woodworking tools will suffice: a miter saw or circular saw for cutting, a drill for pilot holes and driving screws, and measuring and marking tools. For precision and consistency, consider investing in essential woodworking jigs that can streamline repeatable tasks.
Construction Techniques for Durability and Safety
- Anchor Points: For wall-mounted racks, always locate and anchor into wall studs. Use a stud finder and ensure fasteners penetrate deep into the stud. For concrete walls, use appropriate concrete anchors.
- Load Distribution: Design your shelves and arms to distribute weight evenly. Avoid concentrating heavy loads on single points. For cantilevered arms, consider using diagonal braces for added support.
- Joinery: While simple butt joints with screws can work for light-duty storage, consider stronger joinery methods for heavier applications. Half-lap joints, mortise and tenon, or even simple dados can significantly increase the strength and stability of your racks.
- Edge Treatments: For plywood shelves or sheet goods, consider adding a solid wood edge banding to protect against dings and improve appearance.
Optimizing for Specific Wood Types and Sizes
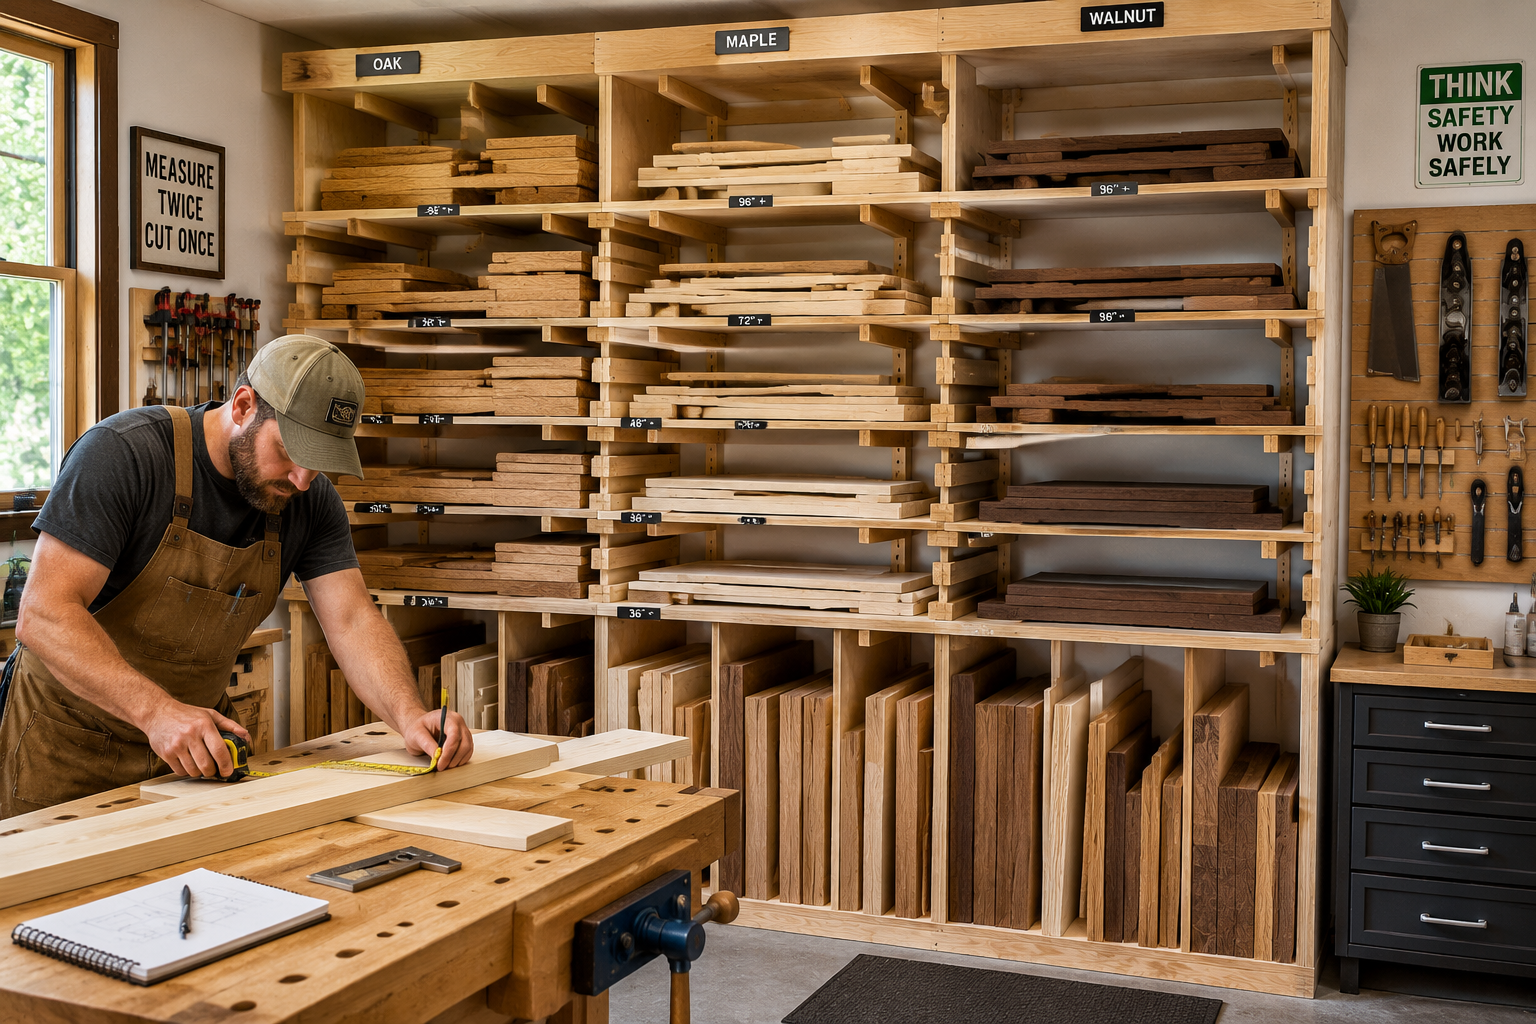
- Long Boards (e.g., 8-16 feet): Vertical racks are excellent. Ensure ample clearance from the ceiling and floor, and spaced arms to prevent bowing. Label sections for quick identification (e.g., “Oak – 10ft,” “Maple – 12ft”).
- Wide Slabs/Plywood: Horizontal cantilever racks are ideal, spaced closely enough to prevent sag. For sheet goods, a dedicated vertical slot system allows for easy access to individual sheets without disturbing others.
- Short Offcuts/Scraps: Implement dedicated bins, drawers, or mobile carts. Categorize by species, thickness, or even by intended use (e.g., “turning blanks,” “small project pieces”). This prevents small, valuable pieces from being overlooked or discarded. For ideas on utilizing these, explore turning shop scraps into design features.
- Exotic/Valuable Woods: Consider enclosed cabinets or bins that protect these pieces from dust, light, and accidental damage. Label them clearly.
Best Practices for Lumber Organization
- Labeling: Once your custom storage is built, implement a clear labeling system. Tags, color-coding, or chalkboards can indicate wood species, dimensions, and quantity.
- First In, First Out (FIFO): Try to use older stock before newer stock. This prevents wood from languishing indefinitely and potentially becoming unusable.
- Regular Audits: Periodically review your inventory and storage. Re-organize, consolidate, and discard unusable scraps. This ongoing maintenance keeps your system efficient.
- Environmental Control: While storage design helps, maintaining a stable temperature and humidity in your workshop is crucial for wood preservation. Extreme fluctuations can lead to warping and cracking, regardless of how well it’s stored.
By carefully planning, building robust solutions, and establishing smart organizational habits, you’ll successfully implement a system for Building Custom Storage Solutions for Specific Wood Types and Sizes: Optimizing Lumber Organization that serves your woodworking needs for years to come.
Conclusion
The journey of Building Custom Storage Solutions for Specific Wood Types and Sizes: Optimizing Lumber Organization is an investment that pays dividends in efficiency, material preservation, and peace of mind. By systematically analyzing your inventory, thoughtfully designing storage specific to each wood type and dimension, and employing robust construction techniques, you transform a cluttered workspace into a highly productive environment. In 2026, a well-organized lumber stock is not a luxury but a fundamental component of effective woodworking, ensuring that every project starts with the right material, in the right condition, exactly when you need it.
Actionable Next Steps
- Conduct a Full Lumber Audit: Dedicate time this week to thoroughly inventory all your current wood stock, noting species, dimensions, and quantities.
- Sketch Out Your Needs: Based on your audit, draw rough designs for vertical, horizontal, and mobile storage solutions that would best fit your workshop space and lumber types.
- Prioritize Construction: Identify the most critical storage solution to build first (e.g., for your most frequently used or valuable lumber) and gather the necessary materials and tools.
- Implement a Labeling System: As you build, plan for a clear, consistent labeling system to maintain organization moving forward.
- Schedule Regular Maintenance: Set a reminder for quarterly inventory reviews to keep your lumber storage system optimized and efficient.
Meta Title: Custom Wood Storage Solutions: Optimize Lumber Organization Meta Description: Learn to build custom storage solutions for specific wood types & sizes. Optimize lumber organization with vertical, horizontal, and mobile racks for efficiency.
