
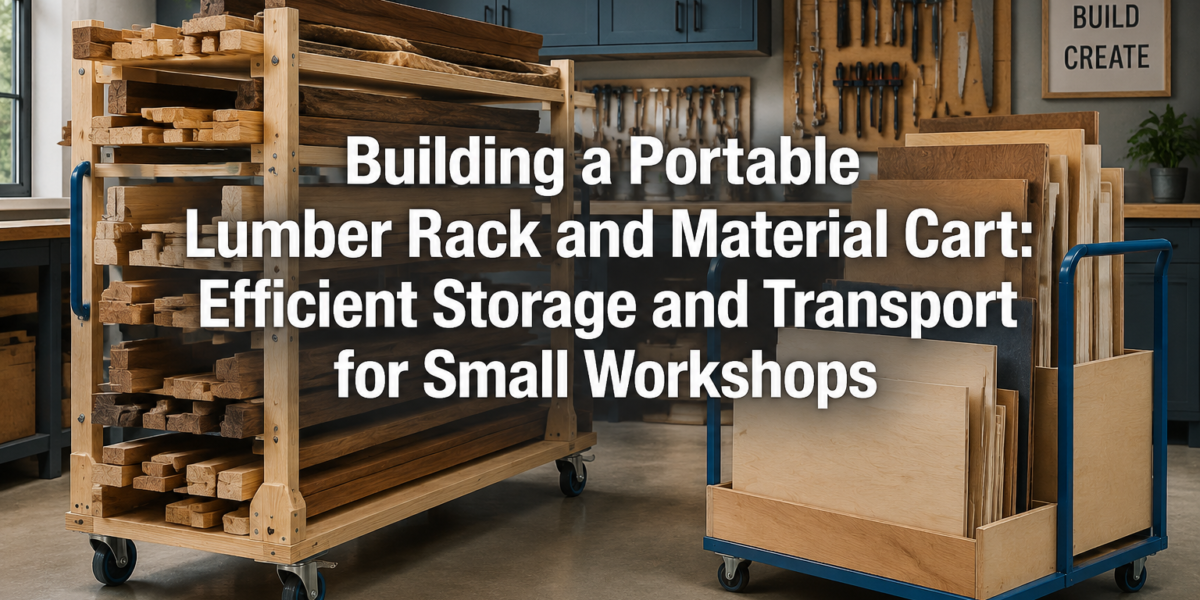

The persistent challenge of maximizing space in small workshops is a universal truth for woodworkers and DIY enthusiasts alike. With lumber prices fluctuating and project materials accumulating, the ability to efficiently store and transport these valuable resources becomes paramount. The solution isn’t always a larger shop, but smarter organization. This article delves into Building a Portable Lumber Rack and Material Cart: Efficient Storage and Transport for Small Workshops, a project designed to transform cluttered spaces into streamlined production hubs, allowing for easy access to stock and agile movement around even the most constrained work areas in 2026.
Key Takeaways
- A portable lumber rack and material cart significantly improves organization and efficiency in small workshops.
- Careful planning, including material selection and design considerations, is crucial for durability and functionality.
- The project can be customized to accommodate various sizes of dimensional lumber and sheet goods.
- Building this cart is an accessible project for most woodworkers, requiring common tools and materials.
- Investing time in this build will save countless hours in material handling and searching for stock.
Understanding the Need: Why a Portable Rack and Cart?
Small workshops, by definition, require innovative solutions to manage space. Lumber and sheet goods, often bulky and unwieldy, present one of the biggest storage headaches. Stacking them against a wall leads to digging for the piece you need, while leaving them on the floor creates tripping hazards and eats up valuable square footage. A dedicated, portable storage solution addresses these issues head-on.

Building a Portable Lumber Rack and Material Cart: Efficient Storage and Transport for Small Workshops means creating a system that:
- Consolidates Materials: Instead of scattered piles, all your lumber and sheet goods can reside in one designated, organized unit.
- Enhances Mobility: Mounted on heavy-duty casters, the entire unit can be moved around the shop, allowing you to clear floor space for large projects or bring materials directly to your machines.
- Improves Access: Cantilevered arms provide easy access to individual boards without disturbing the rest of the stack. A dedicated area for sheet goods keeps them upright and accessible.
- Boosts Safety: Eliminates tripping hazards and reduces the strain of manually lifting and carrying heavy materials across the shop.
- Optimizes Workflow: By having materials close at hand, you spend less time searching and more time crafting. This directly contributes to increased productivity, a common goal whether you’re building a compact and ergonomic workbench for small workshops or crafting custom workbenches and stools.
The design principles for such a cart prioritize stability, strength, and maneuverability. It must be robust enough to hold significant weight without tipping, yet agile enough to navigate tight corners. Considerations for material types—dimensional lumber, plywood, MDF—will influence the specific dimensions and features of your build.
| Material Type | Typical Dimensions (Approx.) | Storage Feature |
|---|---|---|
| Dimensional Lumber | 2x4s, 2x6s, 1x4s (6-16 ft lengths) | Cantilevered Arms |
| Plywood/MDF | 4×8 ft sheets, half sheets | Upright Slots/Supports |
| Scraps/Offcuts | Various sizes | Integrated Bins/Shelves |
This dual-purpose design combines a traditional lumber rack with a material cart, making it exceptionally versatile. Imagine effortlessly gliding a 4×8 sheet of plywood from storage directly to your table saw, or bringing a selection of dimensional lumber right to your workbench. This level of efficiency is a game-changer for any small woodworking operation. 
Designing Your Portable Lumber Rack and Material Cart
Before cutting any wood, a solid design plan is essential. Consider the types and quantities of materials you typically store. This will dictate the overall size and weight capacity of your cart.
Key Design Considerations
- Footprint: How much floor space can you realistically dedicate to the cart? Aim for a compact design that doesn’t hinder movement in your existing workflow.
- Height: Ensure the cart is a manageable height for loading and unloading, and that it can fit through doorways if you plan to move it between different areas.
- Capacity: Estimate the weight of your typical lumber stock. This will inform your material choices for the frame and the type of casters needed.
- Casters: Heavy-duty, locking swivel casters are non-negotiable. They provide stability when locked and smooth maneuverability when unlocked. Look for casters with a weight rating that far exceeds your estimated total load.
- Material Selection:
- Frame: For maximum strength and durability, 2x4s or 2x6s of construction-grade lumber (e.g., pine, spruce) are excellent choices. Plywood can also be used for specific structural elements.
- Cantilever Arms: These need to be strong enough to resist deflection. Laminated plywood strips or solid hardwood are good options.
- Sheet Goods Support: Plywood dividers or upright 2x4s can create stable slots for sheet materials.
- Modularity and Customization: Think about potential future needs. Can you add more arms later? Are there spaces for cut-offs or specialty wood? This foresight is crucial when tackling projects like building statement furniture pieces that sell.
A common design involves a sturdy base frame, often rectangular, with vertical posts at each corner. Horizontal “T” or “L” shaped cantilever arms extend from these posts to hold dimensional lumber. For sheet goods, a section of the cart will feature vertical dividers, creating slots where plywood or MDF can be stored on edge.
Sample Design Blueprint (Conceptual)
- Base: 2×4 or 2×6 frame, approximately 24-30 inches wide by 48-60 inches long.
- Vertical Supports: Four 2x4s, 48-60 inches tall, securely fastened to the base.
- Cantilever Arms: Multiple pairs of 12-18 inch arms, spaced 8-12 inches apart vertically, extending from the vertical supports. These can be secured with through-bolts, mortise and tenon joints, or robust pocket screws.
- Sheet Goods Section: A dedicated area at one end, using plywood dividers or additional 2x4s to create slots for sheets. This section might include a lower support ledge to prevent sheets from sliding off.
- Casters: Four heavy-duty, locking swivel casters mounted to the underside of the base.
When planning your cuts, optimize your material usage to minimize waste, a principle also explored in articles like “Turning Shop Scraps into Design Features.”
“A well-designed lumber rack isn’t just storage; it’s an extension of your workshop’s efficiency. It keeps materials safe, accessible, and supports a smoother workflow, especially when space is at a premium.”
Remember to account for the weight of the wood itself when designing. A cart filled with hardwoods will exert significantly more pressure on the casters and joints than one filled with softwoods. Proper joinery and fasteners are critical for safety and longevity. This foundational project can be just as impactful as creating ergonomic workshop furniture in transforming your workspace. 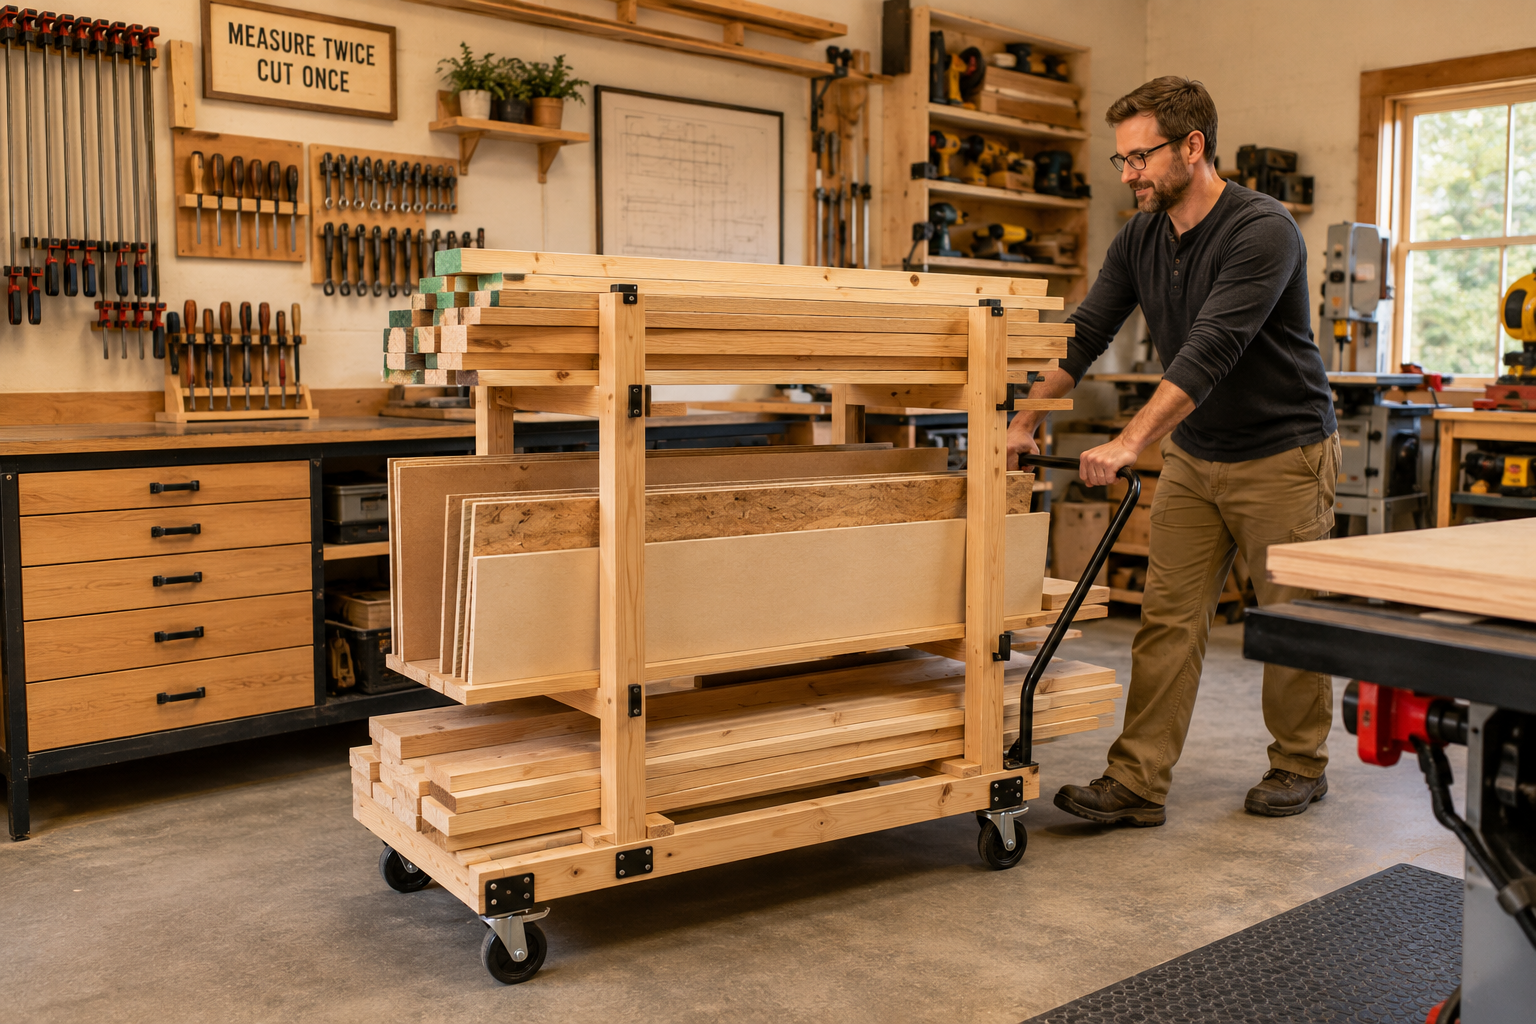
Building Your Portable Lumber Rack and Material Cart
With a clear design in mind, the construction process for Building a Portable Lumber Rack and Material Cart: Efficient Storage and Transport for Small Workshops can begin. Gather your materials and tools, ensuring you have everything you need for a smooth build.
Required Tools and Materials
Tools:
- Circular Saw or Miter Saw (for accurate cuts)
- Drill/Driver
- Tape Measure
- Speed Square or Combination Square
- Clamps (bar clamps or F-clamps)
- Wood Chisel (if using mortise and tenon)
- Sanding Block or Random Orbital Sander
- Safety Glasses and Hearing Protection
Materials:
- Dimensional Lumber (e.g., 2x4s, 2x6s) for the frame and supports
- Plywood (3/4 inch recommended) for cantilever arms and sheet goods dividers
- Heavy-duty Locking Swivel Casters (4 units, appropriate weight rating)
- Wood Screws (e.g., 2.5-3 inch construction screws, pocket screws)
- Wood Glue (e.g., Titebond III for strength and water resistance)
- Carriage Bolts with Washers and Lock Nuts (for critical load-bearing connections)
- Optional: Exterior-grade finish or paint for durability
Step-by-Step Construction Guide
- Cut All Components: Based on your design, accurately cut all dimensional lumber for the base frame, vertical supports, and plywood for the cantilever arms and sheet goods dividers. Precision here is key for a strong and square assembly.
- Assemble the Base Frame: Construct the rectangular base using wood glue and screws. For added strength, consider using lap joints or half-lap joints at the corners, secured with carriage bolts. Ensure the frame is perfectly square before proceeding.
- Attach Vertical Supports: Securely fasten the four vertical 2×4 or 2×6 supports to the corners of the base frame. Use robust joinery here; through-bolts with washers and lock nuts are highly recommended, supplemented with wood glue and screws. Make sure these are plumb and aligned.
- Install Casters: Mount the heavy-duty locking swivel casters to the underside of the base frame. Use appropriate length screws or bolts that penetrate deep into the frame for maximum holding power. Ensure the casters are positioned to provide maximum stability.
- Create and Attach Cantilever Arms:
- Cut plywood or solid wood strips for your cantilever arms.
- Determine the spacing for your arms based on the thickness of your lumber. Mark these positions accurately on the vertical supports.
- Attach the arms. This can be done by drilling pilot holes and using carriage bolts, through-tenons, or strong pocket screws with wood glue. Ensure each arm is level and firmly secured.
- Build the Sheet Goods Section: Install the vertical plywood dividers or 2×4 uprights for the sheet goods section. This typically involves cutting grooves or dadoes into a lower support rail and an upper cross-member, or simply screwing the dividers into place with ample glue. The spacing should accommodate various sheet material thicknesses.
- Reinforce and Finish:
- Inspect all joints for rigidity. Add additional screws, bolts, or bracing as needed.
- Sand all surfaces to remove splinters and sharp edges.
- Apply a protective finish, such as a polyurethane, paint, or stain, especially if your workshop experiences humidity fluctuations. This will protect the wood from moisture and wear.
Remember that strong joints are the backbone of any woodworking project. For details on securing components, our guide on mastering woodworking screws can offer valuable insights. For advanced joinery techniques, you might explore mastering dovetail joints with hand tools.
The completed portable lumber rack and material cart will be a game-changer for your small workshop, providing efficient storage and transport that will streamline your projects in 2026. This project embodies the principle of smart workshop upgrades, contributing to enhanced precision and safety. 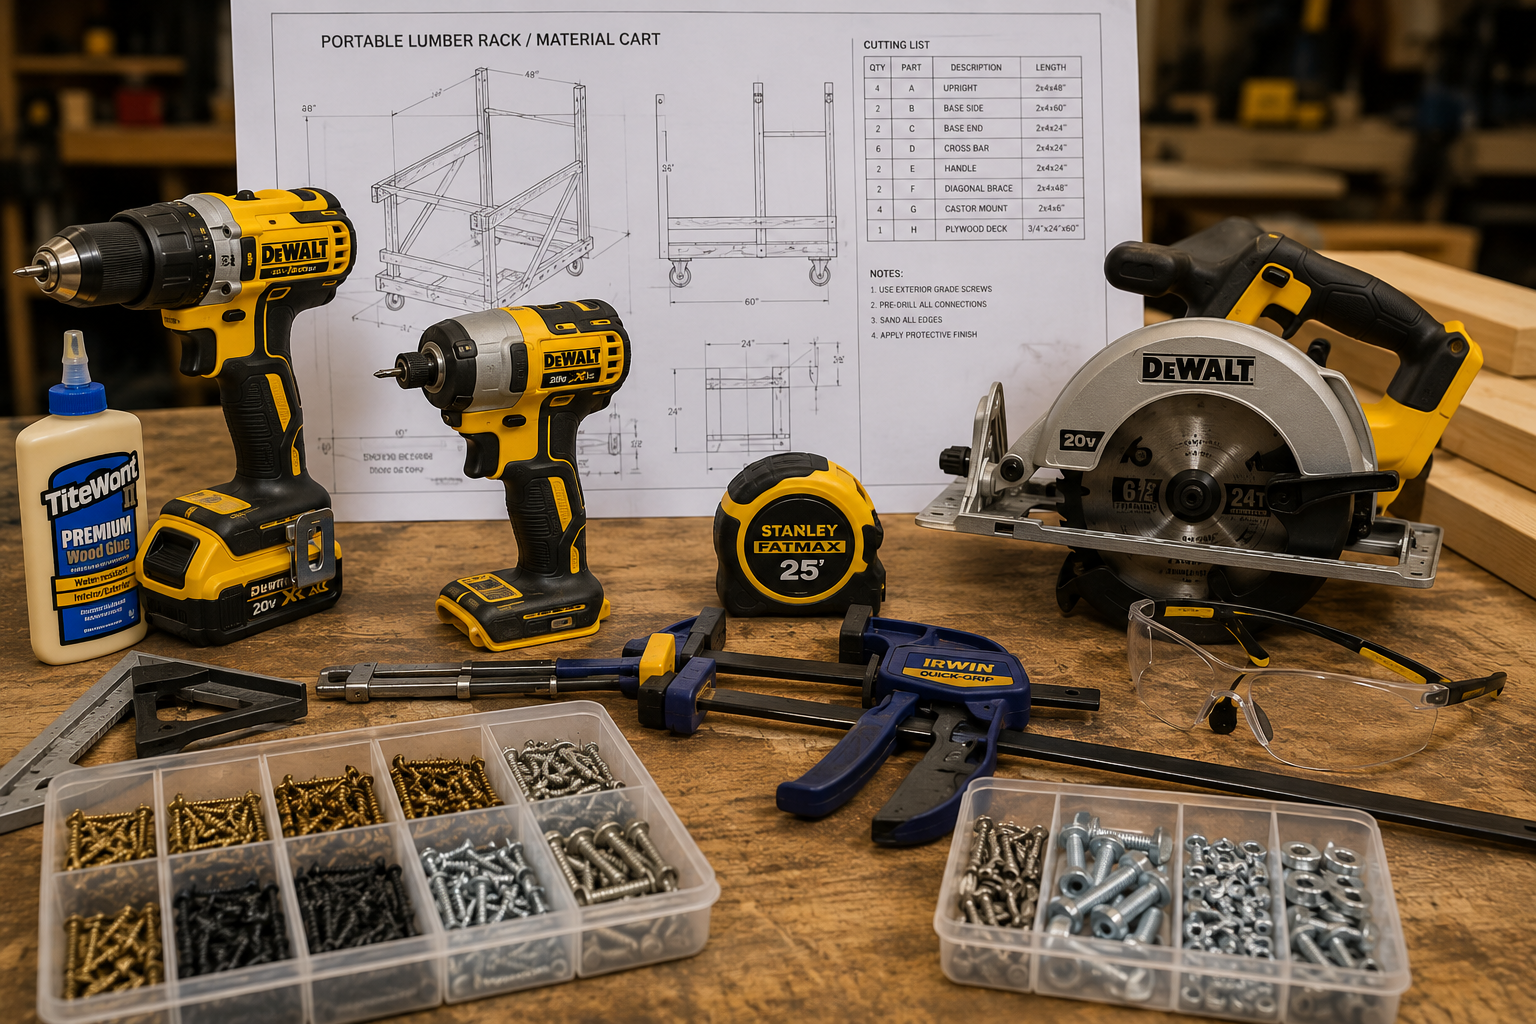
Conclusion
Building a Portable Lumber Rack and Material Cart: Efficient Storage and Transport for Small Workshops is more than just a woodworking project; it’s an investment in the efficiency, safety, and organization of your workspace. By consolidating materials, enabling easy movement, and improving access, this single build can dramatically enhance your productivity and enjoyment in the shop. No longer will you struggle to find the right board or navigate around cluttered piles.

This project is highly customizable, allowing you to tailor dimensions and features to your specific needs and the types of materials you work with most often. The principles of sturdy construction, heavy-duty mobility, and thoughtful design are key to its success. As your workshop evolves in 2026, consider other space-saving solutions like wall-mounted coat racks or efficient spice racks, but prioritize this fundamental mobile storage unit first.
Actionable Next Steps
- Assess Your Needs: Catalog the types and quantities of lumber and sheet goods you currently store. Measure your available workshop space to determine optimal dimensions for your cart.
- Finalize Your Design: Sketch out a detailed plan, including precise measurements, joinery methods, and hardware specifications.
- Gather Materials: Create a comprehensive cutting list and shopping list for wood, fasteners, and casters. Prioritize quality, especially for casters and structural lumber.
- Build with Precision: Follow your plan meticulously, paying close attention to squareness and strong joints. Don’t rush the assembly process.
- Load and Organize: Once built, load your materials onto the new cart, organizing them by type, size, or project. Experience the immediate improvement in your workshop’s functionality.
By undertaking this project, you’ll not only gain a valuable piece of workshop furniture but also refine your woodworking skills, making future endeavors even more rewarding.
