
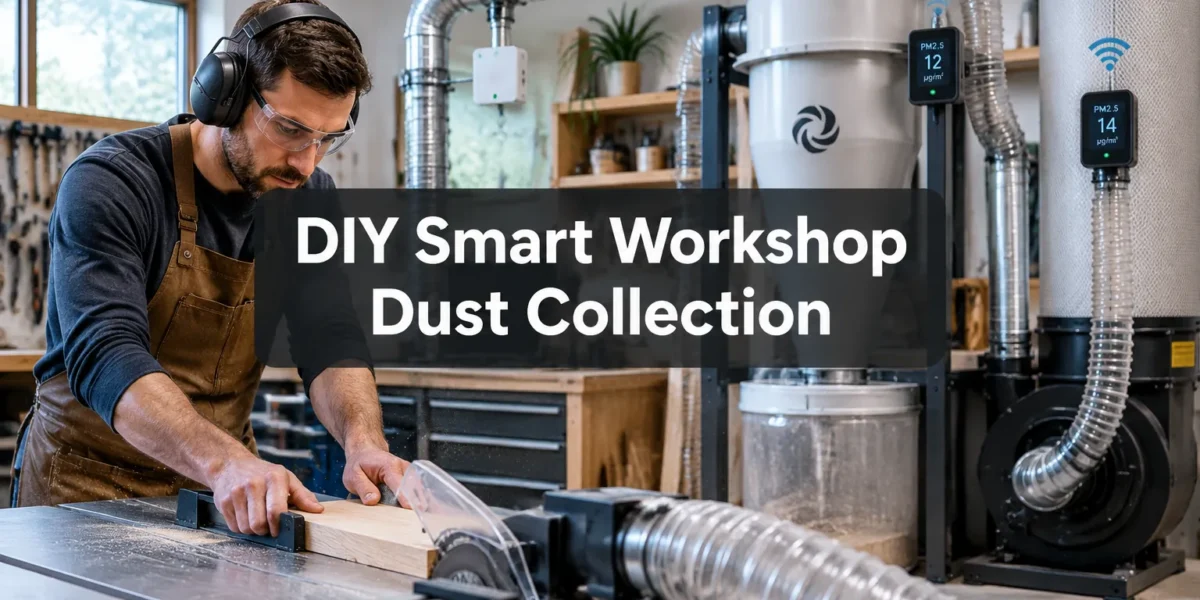
The insidious fine dust generated in woodworking and other workshop activities presents a significant health hazard, often underestimated until persistent respiratory issues arise. In 2026, relying solely on manual dust collection methods is not just inefficient; it’s a compromise on health and workshop longevity. The solution lies in a sophisticated yet accessible approach: building a DIY Smart Workshop Dust Collection System: Integrating IoT Sensors for Automated Air Quality. This advanced system not only captures airborne particulates but also intelligently monitors air quality, activating extraction precisely when needed, ensuring a consistently safer and cleaner environment.
Key Takeaways
- Automated Dust Control: IoT sensors enable automatic activation of dust collection based on real-time air quality, eliminating manual intervention.
- Enhanced Health & Safety: Continuous monitoring and proactive dust extraction significantly reduce exposure to hazardous airborne particulates.
- Optimized Energy Use: Systems only run when necessary, leading to considerable energy savings compared to always-on or manually operated setups.
- Data-Driven Insights: IoT data provides valuable information on dust generation patterns, helping optimize workshop layout and tool usage.
- Customizable & Scalable: DIY solutions offer the flexibility to tailor the system to specific workshop needs and expand it over time.
Understanding the Core Components of a DIY Smart Workshop Dust Collection System
A truly intelligent dust collection system goes beyond a simple vacuum. It involves a network of interconnected devices working in harmony to maintain optimal air quality. The foundation of a robust DIY Smart Workshop Dust Collection System: Integrating IoT Sensors for Automated Air Quality lies in understanding its key physical and digital components.
The physical aspects typically include a powerful dust collector, efficient ductwork, blast gates, and filtration units. The dust collector itself should be adequately sized for your workshop, often featuring a cyclone separator for larger debris and a fine-particulate filter (e.g., HEPA or MERV 16+) for microscopic dust. Ductwork, ideally smooth-walled and sized appropriately, directs airflow from individual tools to the collector. Crucially, automated blast gates are essential for directing suction only to the active tool, maximizing efficiency.
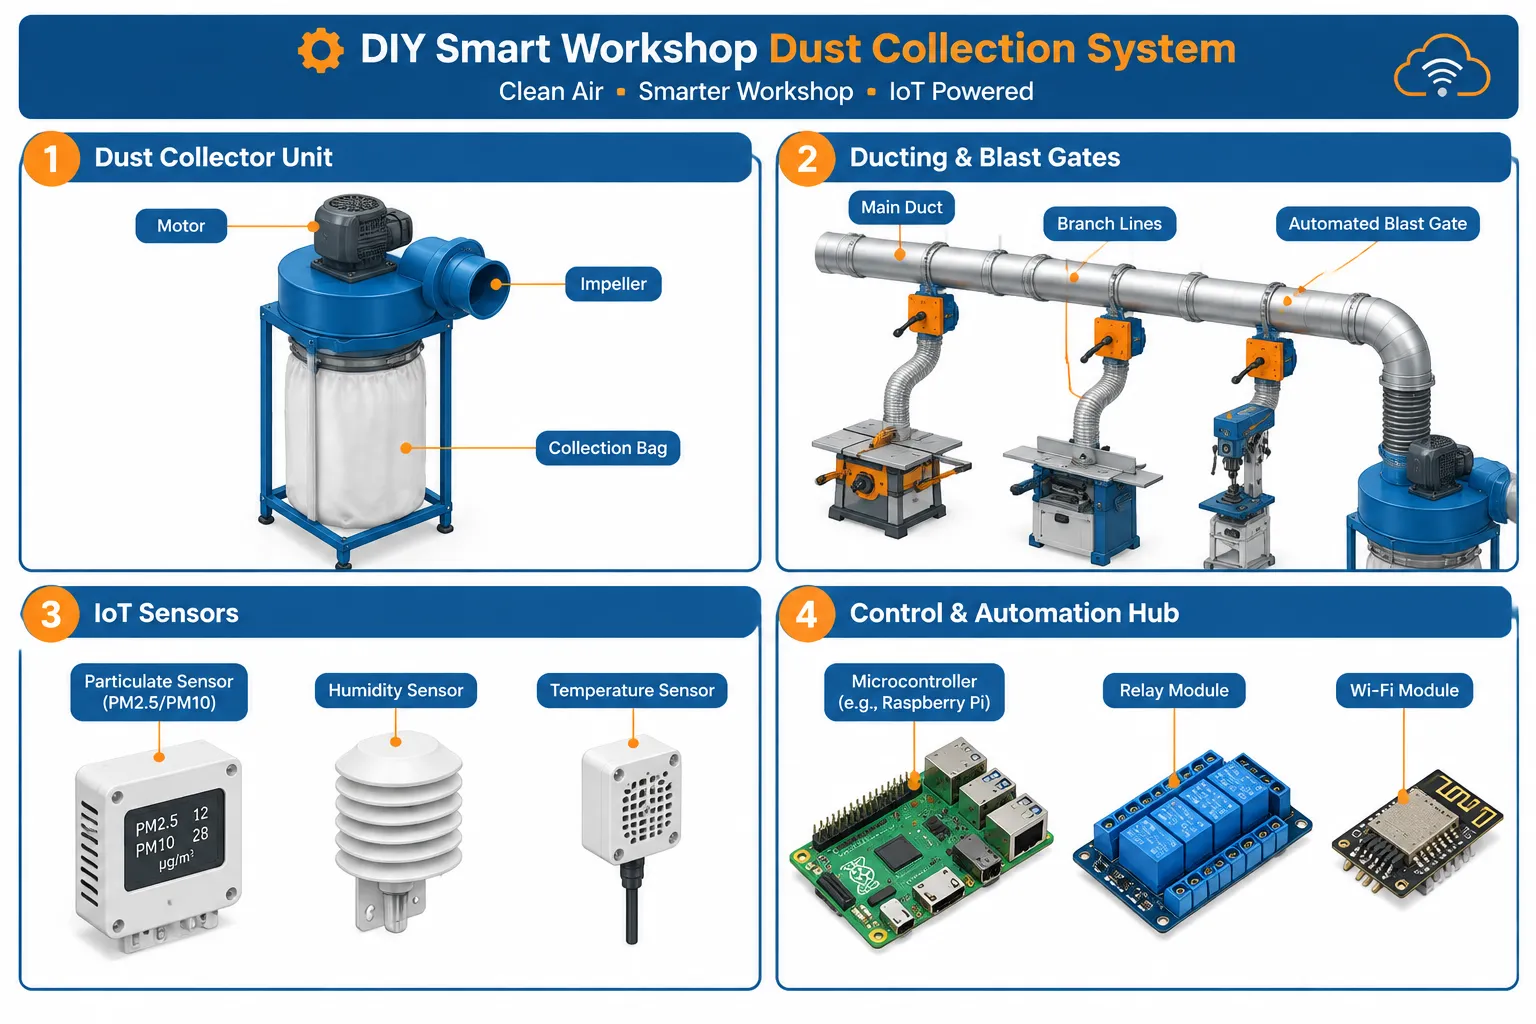
On the digital side, IoT sensors are the “eyes and ears” of the system. These include particulate matter (PM2.5, PM10) sensors, which measure the concentration of airborne dust. Additional sensors for temperature and humidity can provide a more complete picture of the workshop environment. A microcontroller (like an Arduino or Raspberry Pi) acts as the brain, processing sensor data and controlling actuators such as automated blast gates and the dust collector motor itself via relay modules. Connectivity is typically achieved through Wi-Fi or Bluetooth, allowing for remote monitoring and control via a smartphone or web interface.
Essential Components List
- Dust Collector Unit: Sized for workshop, preferably with a two-stage separation (cyclone + fine filter).
- Ductwork: Rigid metal or thick-walled PVC, appropriately sized for airflow.
- Automated Blast Gates: Motorized gates for directing suction to specific tools.
- IoT Air Quality Sensors:
- PM2.5/PM10 Sensor: Detects fine and coarse particulate matter.
- Optional: CO2, VOC, Temperature, Humidity Sensors: For comprehensive environmental monitoring.
- Microcontroller: e.g., Raspberry Pi, ESP32, Arduino for data processing and control logic.
- Relay Modules: To switch high-power devices (dust collector, blast gates) based on microcontroller commands.
- Power Supply: Appropriate power for sensors, microcontroller, and relays.
- Enclosure: To house the electronics safely.
- Software/Firmware: Custom code for sensor reading, data logging, automation rules, and web interface.
For larger workshops or complex setups, considering a centralized hub for all your smart workshop upgrades can further streamline control and data aggregation. Learn more about Diy Smart Workshop Upgrades Integrating Ai And Iot For Enhanced Precision And Safety.
Integrating IoT Sensors for Automated Air Quality Monitoring and Control
The true innovation in a DIY Smart Workshop Dust Collection System: Integrating IoT Sensors for Automated Air Quality lies in its ability to respond dynamically to environmental conditions. This integration transforms a passive system into an active, intelligent guardian of your workshop’s air.
The process begins with strategic placement of air quality sensors. PM2.5 sensors are critical and should be positioned near major dust-producing tools (e.g., table saw, planer, sander) and also at a central point to monitor overall ambient air quality. These sensors continuously sample the air and report particulate concentrations to the microcontroller.
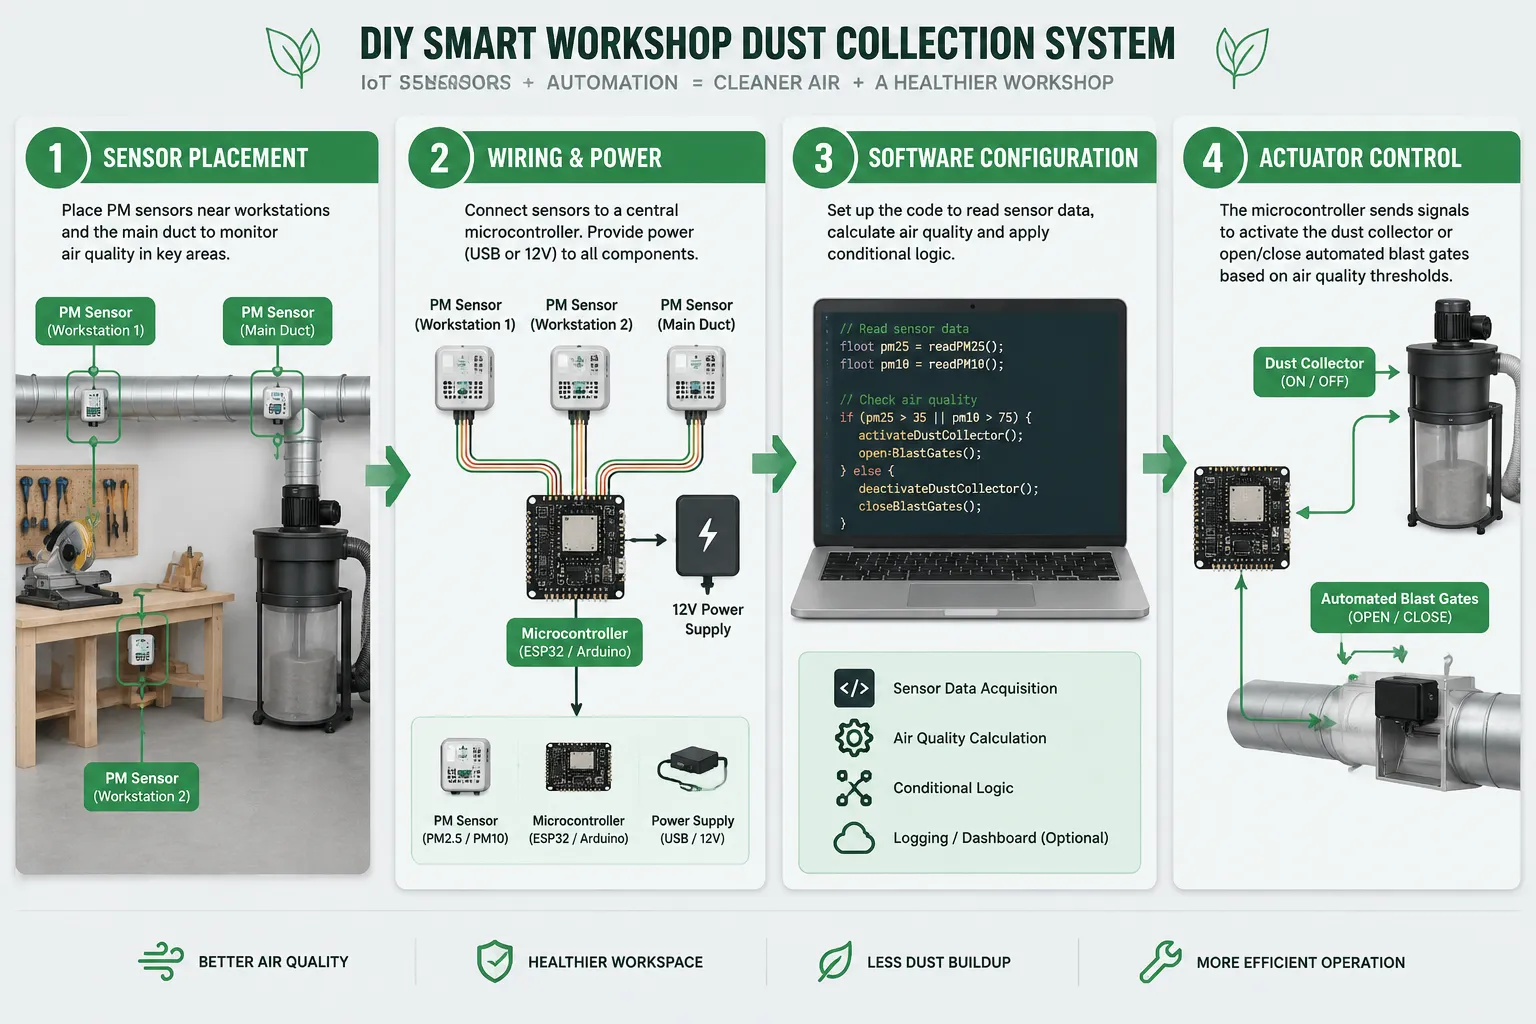
When a sensor reading exceeds a predefined threshold (e.g., 50 µg/m³ for PM2.5), the microcontroller initiates an action. This action might involve activating the main dust collector and simultaneously opening the blast gate for the specific tool identified as the source of dust. This targeted approach is far more efficient than running the entire system constantly. Conversely, once air quality returns to acceptable levels, the system can automatically shut down the dust collector and close the blast gates after a short purge cycle.
Automation Logic Example
| Condition | Action | Benefit |
|---|---|---|
| PM2.5 > 50 µg/m³ near Table Saw | Activate Dust Collector, Open Table Saw Blast Gate | Targeted dust extraction, immediate response |
| PM2.5 < 10 µg/m³ for 5 minutes | Deactivate Dust Collector, Close all Blast Gates | Energy saving, system reset |
| Tool Power Sensor detects Table Saw ON | Activate Dust Collector (if not already active), Open Table Saw Blast Gate | Proactive extraction, tool-activated |
| Ambient PM2.5 > 30 µg/m³ (no tool active) | Activate Dust Collector for 10 min, then monitor | General air purification |
This automation can be further refined by integrating current sensors with individual tools. When a tool is powered on, the system can proactively activate the relevant dust extraction even before significant dust is generated. This “tool-activated” dust collection provides an immediate response, preventing dust from ever becoming airborne. For ideas on integrating dust collection with specific tools, see our guide on Building A Portable Miter Saw Stand With Integrated Dust Collection And Outfeed Support.
Building and Optimizing Your DIY Smart Dust Collection System
Constructing a DIY Smart Workshop Dust Collection System: Integrating IoT Sensors for Automated Air Quality requires careful planning and execution. The build process typically involves setting up the physical ductwork, installing the sensors, wiring the control electronics, and programming the automation logic.
Start with the physical infrastructure. Ensure your ductwork is as straight as possible, minimizing bends and sharp turns that reduce airflow. Rigid ducting is superior to flexible hose for main runs. Secure all connections to prevent leaks, which can severely impact suction. Each tool connection should have a manual or automated blast gate.
Next, focus on the electronics. The microcontroller, relays, and power supply should be housed in a dust-proof enclosure. Wiring needs to be neat, clearly labeled, and secured to prevent accidental disconnections or shorts. Connect the PM sensors to analog or digital input pins on your microcontroller, following the sensor’s datasheet for accurate readings. For controlling the dust collector motor, a high-current relay module is essential, ensuring the microcontroller’s low-power output can safely switch the motor’s high voltage/current. Similarly, smaller relays or motor drivers will control automated blast gates.
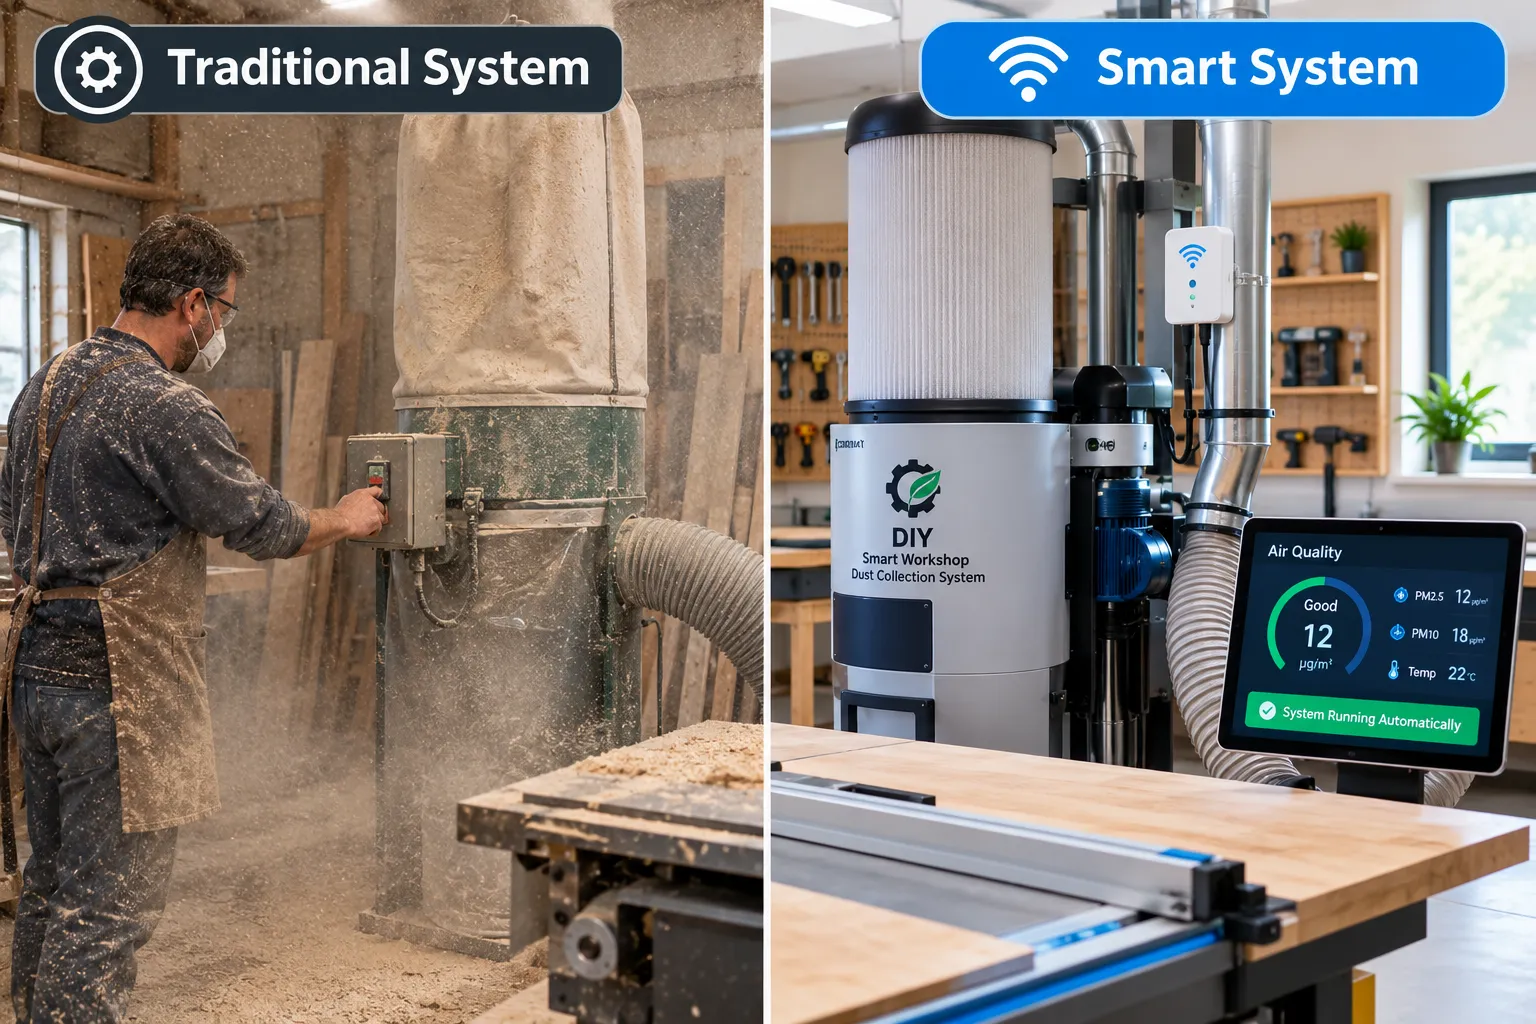
Software is where the “smart” aspect truly shines. You will need to write or adapt firmware for your microcontroller to:
- Read data from all connected sensors (PM2.5, PM10, etc.).
- Store data locally or transmit it to a cloud service for logging and analysis.
- Implement conditional logic (if-then statements) based on sensor readings.
- Control the relays for the dust collector and blast gates.
- (Optional) Host a basic web server on the microcontroller or push data to a dashboard for remote monitoring and manual overrides.
Calibration and testing are crucial post-build steps. Compare your PM sensor readings with a known baseline or another calibrated device if possible. Adjust your automation thresholds based on real-world workshop usage. Regularly inspect your system for leaks, worn filters, or sensor malfunctions. Continuous improvement and maintenance are key to ensuring the long-term effectiveness of your smart dust collection system.
To further enhance your workshop’s efficiency and safety, consider integrating this system with other smart solutions. Organizing your tools and materials in an efficient manner can reduce clutter, which in turn helps dust collection. Explore options like Smart Workshop Storage Solutions Maximizing Small Spaces With Modular Systems And Diy Organizers to complement your new dust system.
Conclusion
The pursuit of a cleaner, safer workshop environment is no longer a luxury but a necessity, especially for those who spend significant time woodworking or performing other dust-generating tasks. A DIY Smart Workshop Dust Collection System: Integrating IoT Sensors for Automated Air Quality represents a substantial leap forward from traditional, manually operated systems. By harnessing the power of IoT sensors, microcontrollers, and automation, you can create a workshop that actively monitors and responds to air quality challenges in 2026. This not only safeguards your health from harmful airborne particulates but also optimizes energy consumption and provides valuable insights into your workshop’s environmental dynamics.
The journey to building such a system is a rewarding one, combining woodworking skills with electronics and programming. While it requires an initial investment of time and effort, the long-term benefits in terms of health, efficiency, and a cleaner workspace are invaluable. Start by identifying your workshop’s specific needs, researching suitable components, and then gradually build out your smart system. With each step, you’ll be creating a more intelligent, responsive, and ultimately, a much safer environment for your craft.
References
- American Lung Association. (2023). Particle Pollution. Retrieved from https://www.lung.org/clean-air/outdoors/what-makes-air-unhealthy/particle-pollution
- National Institute for Occupational Safety and Health (NIOSH). (2021). Wood Dust. Retrieved from https://www.cdc.gov/niosh/topics/wooddust/default.html