
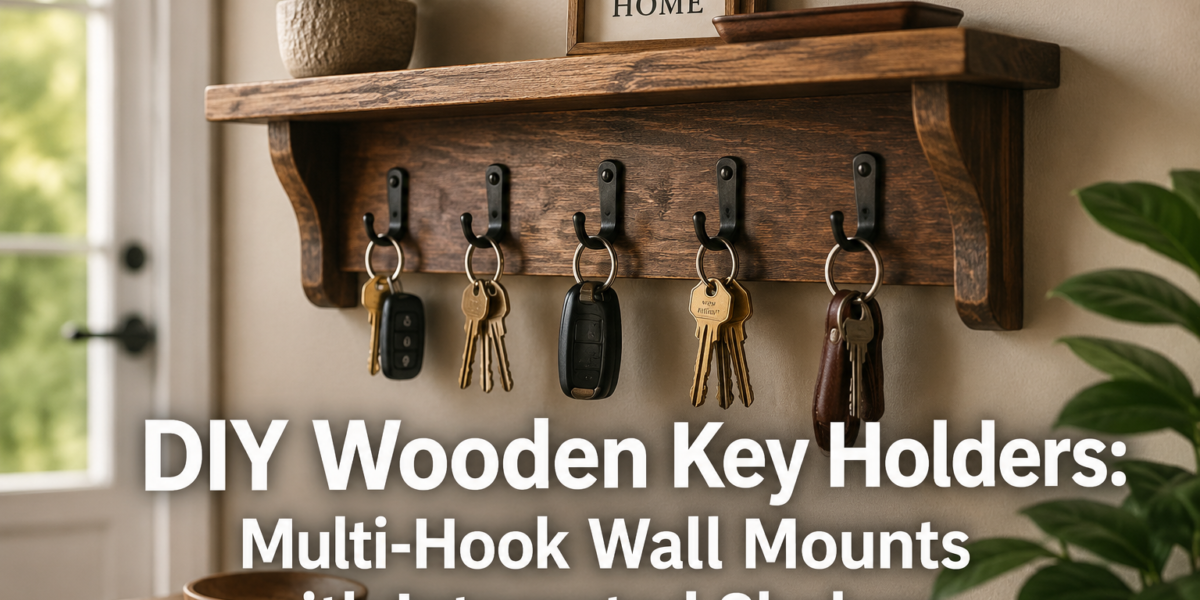

The average person spends an estimated 2.5 days per year searching for lost items, with keys often topping that frustrating list. Instead of succumbing to daily key-hunt rituals, imagine a custom solution that not only keeps your keys organized but also adds a touch of handcrafted elegance to your home. This guide delves into building DIY Wooden Key Holders: Multi-Hook Wall Mounts with Integrated Shelves, focusing on efficient construction techniques like brad nailers and the secure, hidden mounting of French cleats. These projects are perfect for beginner woodworkers looking to create highly functional, customizable entryway organizers.
Key Takeaways
- Efficiency First: Utilize brad nailers for quick assembly and French cleats for strong, hidden wall mounting.
- Customization is Key: Design your multi-hook wall mount with integrated shelves to fit specific needs, including varying hook counts and shelf dimensions.
- Beginner-Friendly: This project is ideal for those new to woodworking, offering practical skill development without complex joinery.
- Aesthetic & Functional: Combine the rustic charm of wood with practical storage for keys, mail, and small essentials, enhancing entryway organization.
- Personalization: Add unique touches like numbering hooks or incorporating decorative elements to make your key holder truly one-of-a-kind.
Designing Your DIY Wooden Key Holders: Multi-Hook Wall Mounts with Integrated Shelves
Creating effective DIY Wooden Key Holders: Multi-Hook Wall Mounts with Integrated Shelves begins with thoughtful design. The goal is to maximize utility while maintaining an appealing aesthetic that complements your home’s decor. Consider the space available in your entryway, the number of keys you need to store, and any additional items you’d like the shelf to hold.

Essential Design Considerations
Before cutting any wood, sketch out your design. Think about the overall dimensions. A common size might be 12-18 inches wide and 6-8 inches tall, with a shelf depth of 3-4 inches. However, these are merely suggestions; adapt them to your specific needs.
- Number of Hooks: How many key sets does your household have? Include a few extra for guests or future expansion. Hooks can be simple pegs, decorative metal hooks, or even repurposed items.
- Shelf Dimensions: The integrated shelf is crucial for added functionality. Will it hold mail, a wallet, sunglasses, or a small decorative item like a plant? Ensure the depth is sufficient for these items without protruding too far into your living space. For more inspiration on efficient entryway organization, check out our guide on DIY Compact Entryway Organizers: Building Wall-Mounted Solutions for Keys, Mail, and Small Accessories.
- Wood Species: The choice of wood significantly impacts the final look and durability.
- Pine: Affordable, easy to work with, and takes stain well. Great for beginners.
- Oak: Durable, strong grain, and a classic look. A bit harder to work with but offers a premium finish.
- Maple: Smooth, fine grain, and very durable. Excellent for a clean, modern aesthetic.
- Reclaimed Wood: Offers unique character and a sustainable option. Explore techniques for reclaimed wood finishing techniques to enhance its charm.
- Finish: Decide on a finish that matches your decor. Options include natural oil finishes, stains, paint, or clear lacquers. A durable finish will protect the wood from daily wear and tear.
Incorporating a French Cleat for Hidden Mounting
A French cleat is an excellent choice for securely mounting your key holder while keeping hardware hidden. This system consists of two pieces of wood, both with a 45-degree bevel cut along one edge. One piece is securely attached to the back of your key holder, with the bevel facing downwards and outwards. The other piece is mounted to the wall, with its bevel facing upwards and outwards. When the key holder is lifted and placed onto the wall cleat, the two bevels interlock, creating a strong, stable, and invisible mount. This method is particularly suitable for wall-mounted items that need to bear a little weight, such as mail or a small plant on the shelf.

Benefits of French Cleats:
- Strength: Distributes weight evenly across the mounting surface.
- Hidden Hardware: Creates a clean, minimalist look.
- Easy Installation/Removal: Allows for simple removal of the key holder for cleaning or relocation.
- Leveling: Easier to level than individual hangers, as you only need to level the wall cleat.
Construction Techniques: Brad Nailers and Efficient Assembly
Building DIY Wooden Key Holders: Multi-Hook Wall Mounts with Integrated Shelves doesn’t require advanced joinery. The focus here is on efficiency and accessibility, making it an ideal project for those new to woodworking or looking for a quick build. Brad nailers are invaluable for this, offering speed and precision.
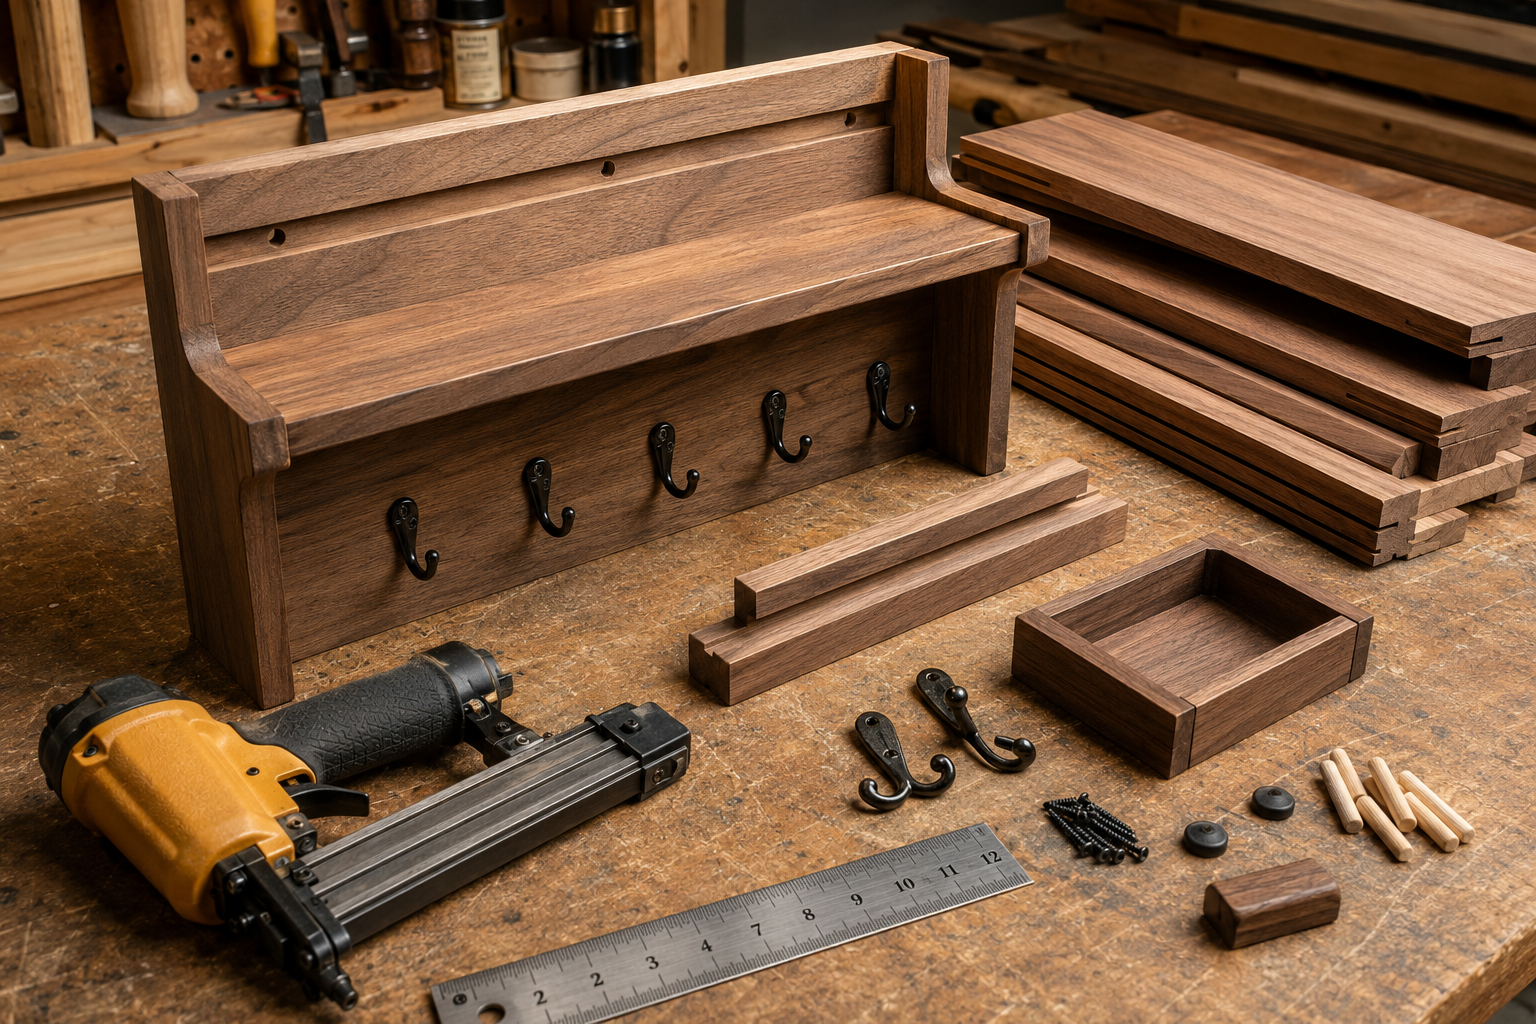
Tools and Materials
Here’s a basic list of what you’ll need:
- Wood: Your chosen species, cut to size.
- Brad Nailer: With appropriate brad nails (1-1.5 inches).
- Wood Glue: Essential for strong, lasting joints. For advice on selecting the right adhesive, consult The Ultimate Guide to Wood Glue: Choosing the Right Adhesive for Every Project, Joint, and Environmental Condition.
- Miter Saw or Hand Saw: For precise cuts.
- Router (Optional): For decorative edge profiles.
- Drill: For pilot holes and mounting hooks.
- Hooks: Metal, wooden pegs, or chosen alternatives.
- Sandpaper: Various grits (80, 120, 220).
- Wood Finish: Stain, paint, or protective oil.
- Measuring Tape, Pencil, Safety Glasses, Ear Protection.
Step-by-Step Assembly
Cut Your Components:
- Back panel (main body of the key holder).
- Shelf bottom.
- Shelf front/lip (if desired for a lip).
- French cleat pieces (one for the key holder, one for the wall).
- Optional: side pieces for the shelf, if not integrated directly into the back panel.
Prepare the French Cleat:
- Cut a piece of wood, slightly shorter than your back panel’s width, about 2-3 inches tall.
- Using a miter saw set to 45 degrees, cut lengthwise along one edge. You will now have two pieces with a 45-degree bevel.
- Attach one cleat piece to the top back edge of your key holder’s back panel using wood glue and brad nails. Ensure the bevel faces downwards and outwards.
Assemble the Shelf:
- Apply wood glue to the edges of the shelf bottom where it will meet the back panel and any side pieces.
- Secure with brad nails. Hold pieces firmly while nailing to ensure a tight joint.
- If adding a front lip, glue and nail it to the front edge of the shelf bottom.
Sand Everything Smooth:
- Start with coarser grit sandpaper (80-120) to remove any imperfections or saw marks.
- Progress to finer grits (180-220) for a smooth, ready-to-finish surface. Pay attention to all edges and surfaces.
Apply Your Chosen Finish:
- Follow the manufacturer’s instructions for your chosen stain, paint, or protective finish. Apply in a well-ventilated area. Multiple thin coats are usually better than one thick coat.
Install Hooks:
- Once the finish is dry, mark the positions for your hooks. Measure carefully to ensure even spacing.
- Drill pilot holes for the hooks to prevent wood splitting.
- Screw in or insert your chosen hooks.
Customization and Personalization
This is where your DIY Wooden Key Holders: Multi-Hook Wall Mounts with Integrated Shelves truly shine.
- Numbering Hooks: Use stencils, paint, or wood burning to number each hook. This helps assign specific keys to specific spots, reducing clutter and search time.
- Decorative Elements: Add a small routed edge, an engraved initial, or a contrasting wood inlay. For additional decorative woodworking ideas, explore Profitable Small-Batch Woodworking: High-Demand Decorative Projects.
- Color Contrast: Use different wood stains or paints for the shelf and the back panel to create visual interest.
- Integrated Storage: Beyond keys, consider adding a small magnetic strip for notes, a tiny cubby for coins, or a slot for outgoing mail. This elevates the functionality beyond simple key storage.
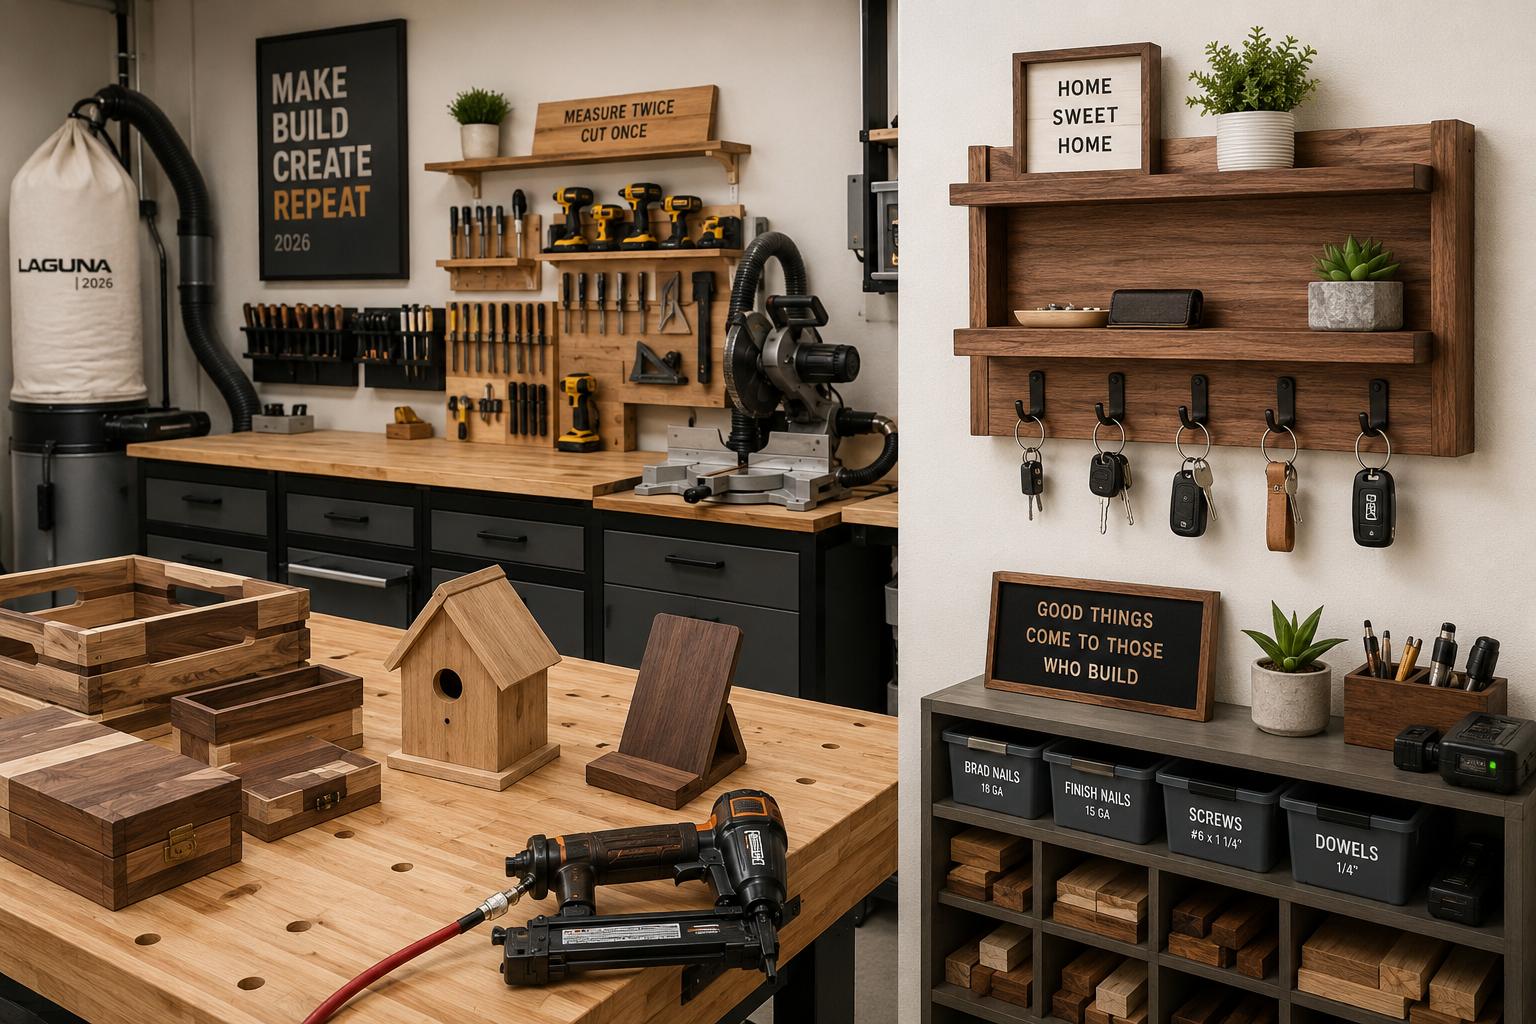
Mounting and Maintaining Your Key Holder in 2026
Once your DIY Wooden Key Holders: Multi-Hook Wall Mounts with Integrated Shelves is complete and finished, the final step is secure installation and understanding how to maintain its beauty for years to come. The French cleat system makes mounting straightforward and ensures a robust installation.
Secure Wall Mounting with a French Cleat
- Locate Wall Studs: Use a stud finder to locate at least two wall studs where you plan to mount the key holder. Mark their positions. If studs aren’t available, use heavy-duty wall anchors appropriate for the weight of your key holder and its potential contents.
- Mount the Wall Cleat: Take the second French cleat piece (the one without the key holder attached). Position it on the wall, ensuring it is perfectly level using a spirit level. The 45-degree bevel should face upwards and outwards.
- Secure the Cleat: Drill pilot holes through the cleat and into the wall studs (or pre-drilled anchor holes). Use sturdy screws that are long enough to penetrate the drywall and secure firmly into the studs. Make sure the cleat is flush and tight against the wall.
- Hang the Key Holder: Carefully lift your completed key holder and align the cleat on its back with the cleat mounted on the wall. Lower the key holder until the two bevels interlock, creating a snug and secure fit. Gently test its stability by pulling downwards.


Maintenance Tips for Longevity
Proper care will ensure your wooden key holder remains functional and beautiful for years.
- Regular Cleaning: Dust the surface regularly with a soft, dry cloth. For stubborn grime, lightly dampen a cloth with water and a mild wood cleaner, then wipe dry immediately.
- Avoid Harsh Chemicals: Do not use abrasive cleaners or strong chemical solvents, as these can damage the wood finish.
- Moisture Control: Wood is susceptible to moisture. Avoid placing wet items directly on the shelf and wipe up any spills promptly.
- Re-finishing (If Needed): Over time, depending on the finish, you might notice wear. For oil finishes, a fresh coat can be applied periodically. For lacquered or painted surfaces, light sanding and a new coat may be necessary. For specific wood finishing techniques, consider exploring resources like cool wood finishing techniques or danish oil vs linseed the ultimate wood finishing guide.
- Check Hardware: Periodically check that the screws holding the wall cleat are tight and that the hooks are secure.
These DIY Wooden Key Holders: Multi-Hook Wall Mounts with Integrated Shelves are more than just functional items; they are a statement of practical craftsmanship. The use of efficient tools and simple yet effective mounting systems makes this project accessible to nearly anyone with a desire to build.

Conclusion
The pursuit of an organized home often starts with small, intentional projects. Building DIY Wooden Key Holders: Multi-Hook Wall Mounts with Integrated Shelves is an ideal entry point for beginners in woodworking, offering a perfect blend of practical skill development and immediate utility. By leveraging tools like the brad nailer for efficient assembly and employing the robust, hidden mounting of a French cleat, woodworkers can create a professional-grade organizer that streamlines daily routines and enhances entryway aesthetics. The customizable nature of these multi-hook wall mounts, from the choice of wood to the layout of hooks and the integration of shelving, ensures that each piece can be uniquely tailored to an individual’s needs and style. In 2026, such handcrafted solutions not only reduce clutter but also add a touch of personal character to modern living spaces.

Actionable Next Steps:
- Sketch Your Design: Begin by drawing out your ideal key holder, considering dimensions, hook placement, and shelf depth.
- Gather Materials: Select your preferred wood and purchase necessary hardware and finishing supplies.
- Practice Cuts: If new to power tools, make a few practice cuts on scrap wood to build confidence.
- Build with Precision: Take your time with cuts, glue application, and brad nailing for a clean, durable finish.
- Personalize: Don’t shy away from adding unique touches that reflect your style, like numbered hooks or decorative elements.
Happy building, and may your keys always find their way home!
