
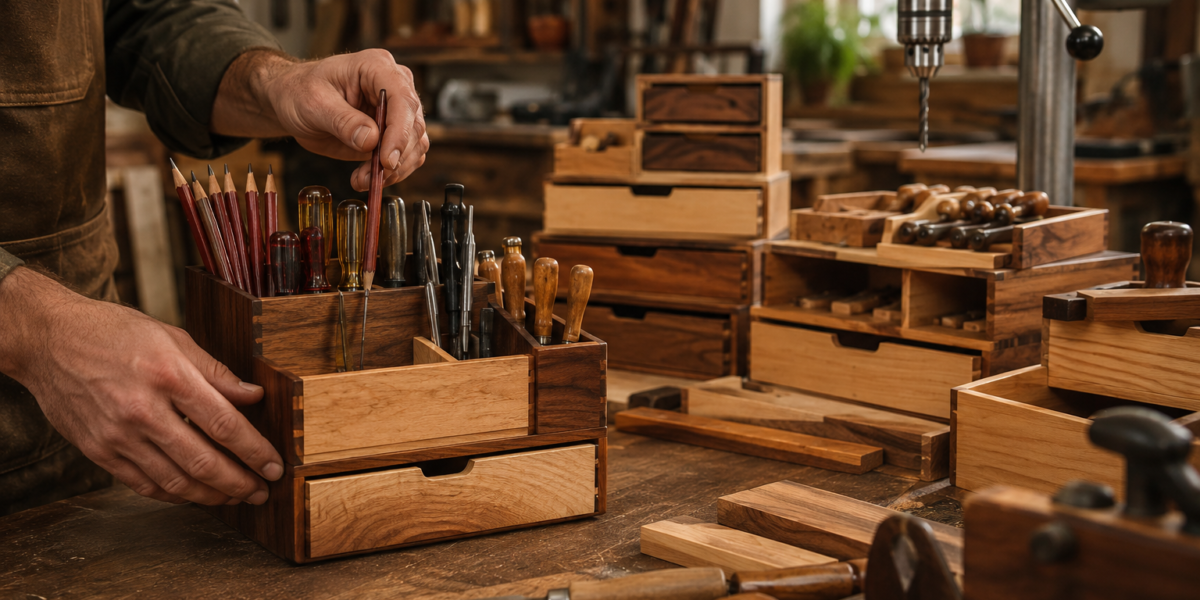
The surprising truth for many aspiring woodworkers is that the most impactful upgrades to their workshop often aren’t large, complex furniture pieces, but rather simple, quick builds that drastically improve organization and efficiency. Crafting DIY Wooden Pencil Holders and Tool Organizers, using readily available scrap wood, offers beginners an accessible entry point into woodworking while immediately transforming their workspace. These essential workshop projects not only hone fundamental skills like drilling and rack construction but also provide versatile storage solutions for both desk and garage environments in 2026.
Key Takeaways
- DIY wooden organizers are ideal starter projects for beginners, teaching fundamental woodworking skills.
- Scrap wood is an excellent, cost-effective material for creating these essential workshop items.
- Customized pencil holders and tool organizers significantly improve workspace efficiency and organization.
- Projects range from simple drilled blocks to more complex, multi-compartment designs, catering to various skill levels.
- These versatile builds are suitable for office desks, art studios, and woodworking garages, providing practical storage solutions.
The Foundation of Organization: DIY Wooden Pencil Holders
A cluttered desk or workbench can stifle creativity and productivity. The search for a misplaced pencil or a specific driver bit wastes valuable time and energy. This is where the concept of DIY Wooden Pencil Holders and Tool Organizers truly shines, especially for those just starting their woodworking journey. These projects are not only practical but also immensely satisfying, transforming chaotic spaces into orderly havens.
Simple Designs for Immediate Impact
For beginners, simplicity is key. A basic wooden block, precisely drilled with holes of varying sizes, can serve as an incredibly effective pencil holder. This project introduces several core woodworking concepts:
- Measuring and Marking: Accurate layout is crucial for evenly spaced and aligned holes.
- Drilling: Learning to use a drill press or a hand drill safely and effectively, understanding bit sizes, and achieving clean holes.
- Sanding: Finishing the wood for a smooth, professional feel.
Consider a piece of hardwood like oak, maple, or even pine for your first pencil holder. A block approximately 2″ x 4″ x 6″ provides ample space for multiple pens, pencils, and even small rulers.
Materials for a Basic Pencil Holder
| Item | Description | Why it’s useful for beginners |
|---|---|---|
| Wood Block | Scrap lumber (pine, poplar, oak) | Cost-effective, easy to work with |
| Drill Press/Hand Drill | For creating holes | Essential for accuracy and clean cuts |
| Drill Bits | Various sizes (e.g., 1/4″, 3/8″, 1/2″) | Accommodates different writing instruments/tools |
| Ruler/Square | For precise measurements and layout | Ensures straight lines and even spacing |
| Pencil | For marking drilling points | Basic but fundamental marking tool |
| Sandpaper | Grits from 100 to 220 | Smooths surfaces, removes splinters |
| Wood Glue (Optional) | If joining multiple pieces for a larger holder | Reinforces construction, adds durability |
| Wood Finish | Oil, wax, or clear coat | Protects wood, enhances aesthetics |
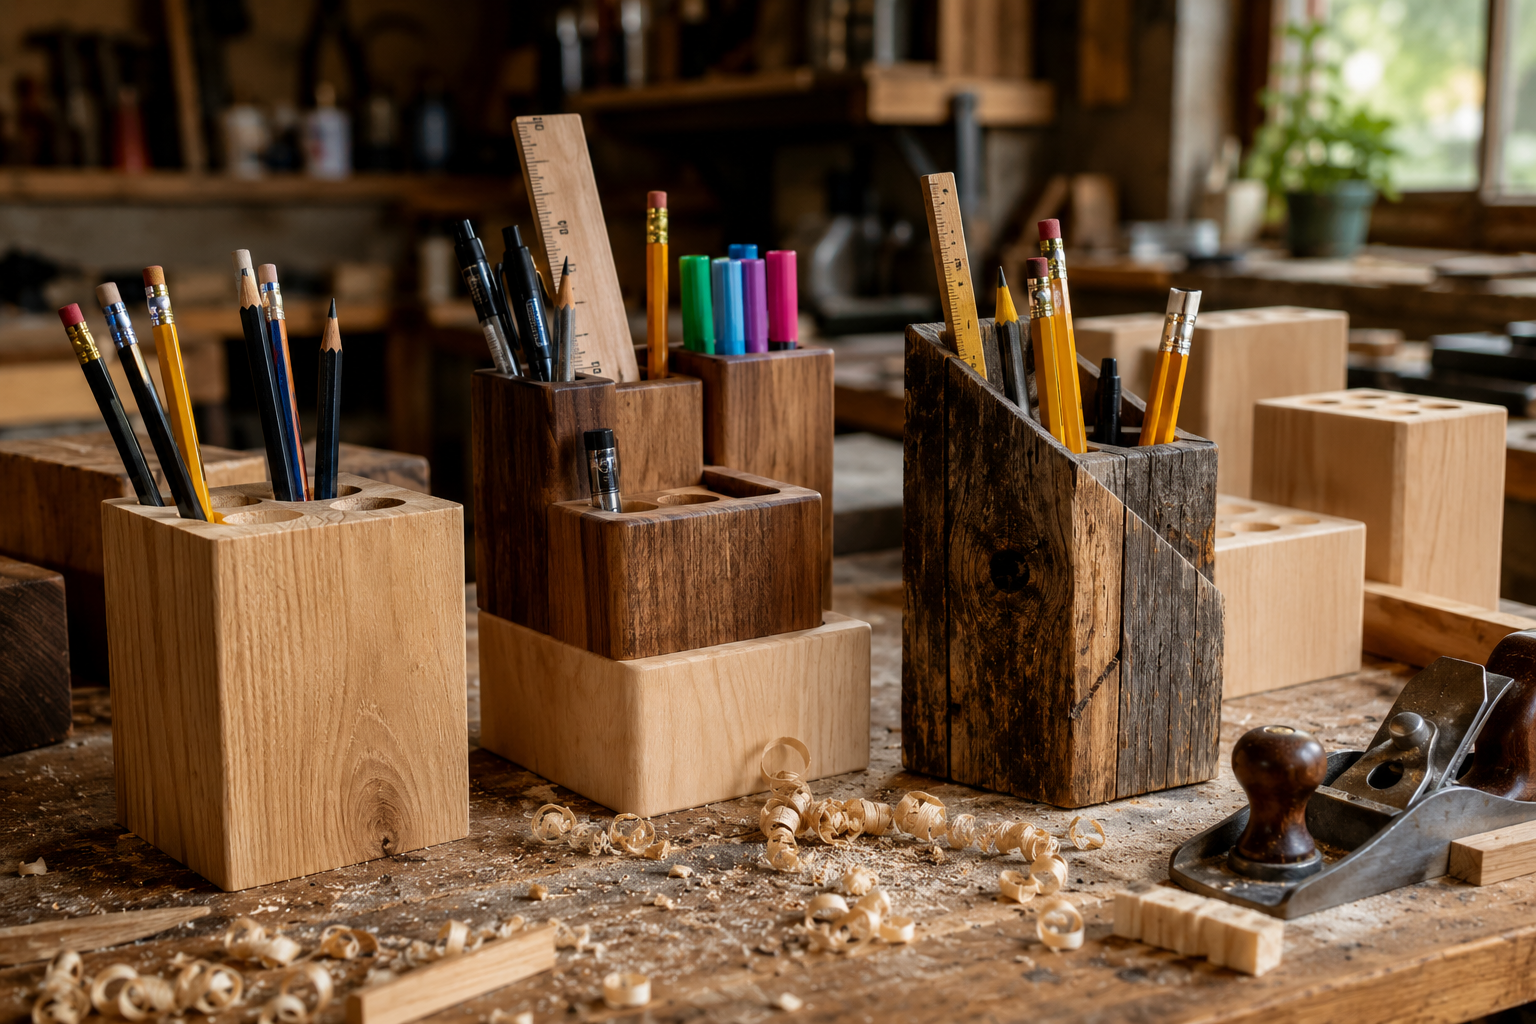
A great way to utilize smaller scrap pieces is to glue them together to form a larger block, then drill into the combined piece. This technique introduces basic joinery skills. For those interested in expanding their wood crafting, consider how these foundational techniques apply to other small projects like crafting wooden candle holders.
Enhancing Functionality and Aesthetics
Once comfortable with the basics, you can explore more advanced designs.
- Angled Holders: Drilling holes at an angle can present tools more ergonomically. This requires careful setup with a drill press or a steady hand with a power drill.
- Multi-Tiered Organizers: Stacking several smaller blocks or pieces of wood, each drilled with different sized holes, creates a multi-level organizer ideal for various items.
- Segmented Designs: Using thin pieces of wood to create individual compartments can offer a more refined look and specific storage for different tool types. This also provides an excellent opportunity to practice precise cutting and gluing.
Pull Quote: “The true beauty of DIY Wooden Pencil Holders and Tool Organizers lies in their adaptability; every design can be tailored precisely to the user’s unique needs and the specific tools they possess.”
Experiment with different wood species. The grain patterns and colors of various woods can add significant character. For example, a holder made from walnut will have a distinct look compared to one made from maple. Finishing choices also play a crucial role. A simple oil finish can bring out the natural beauty of the wood, while a clear coat provides more protection.
Workshop Essentials: Building Custom Tool Organizers
Moving beyond just pencils, the same principles of DIY Wooden Pencil Holders and Tool Organizers apply to creating custom storage for a wide range of workshop tools. These organizers are paramount for efficient workflow, allowing quick access to often-used items and preventing damage to delicate tools.
Designing for Specific Tools and Spaces
The first step in building a tool organizer is to assess your needs. What tools are constantly cluttering your workbench? How much space do you have available?
- Screwdriver Racks: A simple board with various sized holes or slots, mounted vertically or horizontally, keeps screwdrivers accessible.
- Chisel Holders: Similar to screwdriver racks, but often requiring wider, shallower slots to protect the blades. Consider adding a small ledge or dowel to prevent chisels from falling through.
- Wrench Organizers: A board with angled slots or strategically placed dowels can hold open-end or box-end wrenches, keeping them in order by size.
- Drill Bit Organizers: A block of wood with a grid of accurately drilled holes, often labeled with bit sizes, is invaluable. This project is an excellent exercise in precision drilling.
For inspiration on maximizing space, especially in a compact workshop, explore concepts from DIY Smart Workshop Storage Solutions: Maximizing Space and Organization for Every Tool.
Utilizing Scrap Wood Effectively
Scrap wood is a goldmine for these projects. Even small offcuts from larger builds can be repurposed.
- Plywood scraps: Excellent for backing boards or drawer dividers.
- Hardwood cut-offs: Ideal for sturdy tool holders that require durability.
- Dowels: Perfect for creating hanging points or dividers within compartments.
Think about the modularity of your designs. Can individual organizers be combined or rearranged as your tool collection grows? This approach aligns with the principles of DIY Modular Desk Organizers: Custom Solutions for a Clutter-Free Woodworking Workspace.
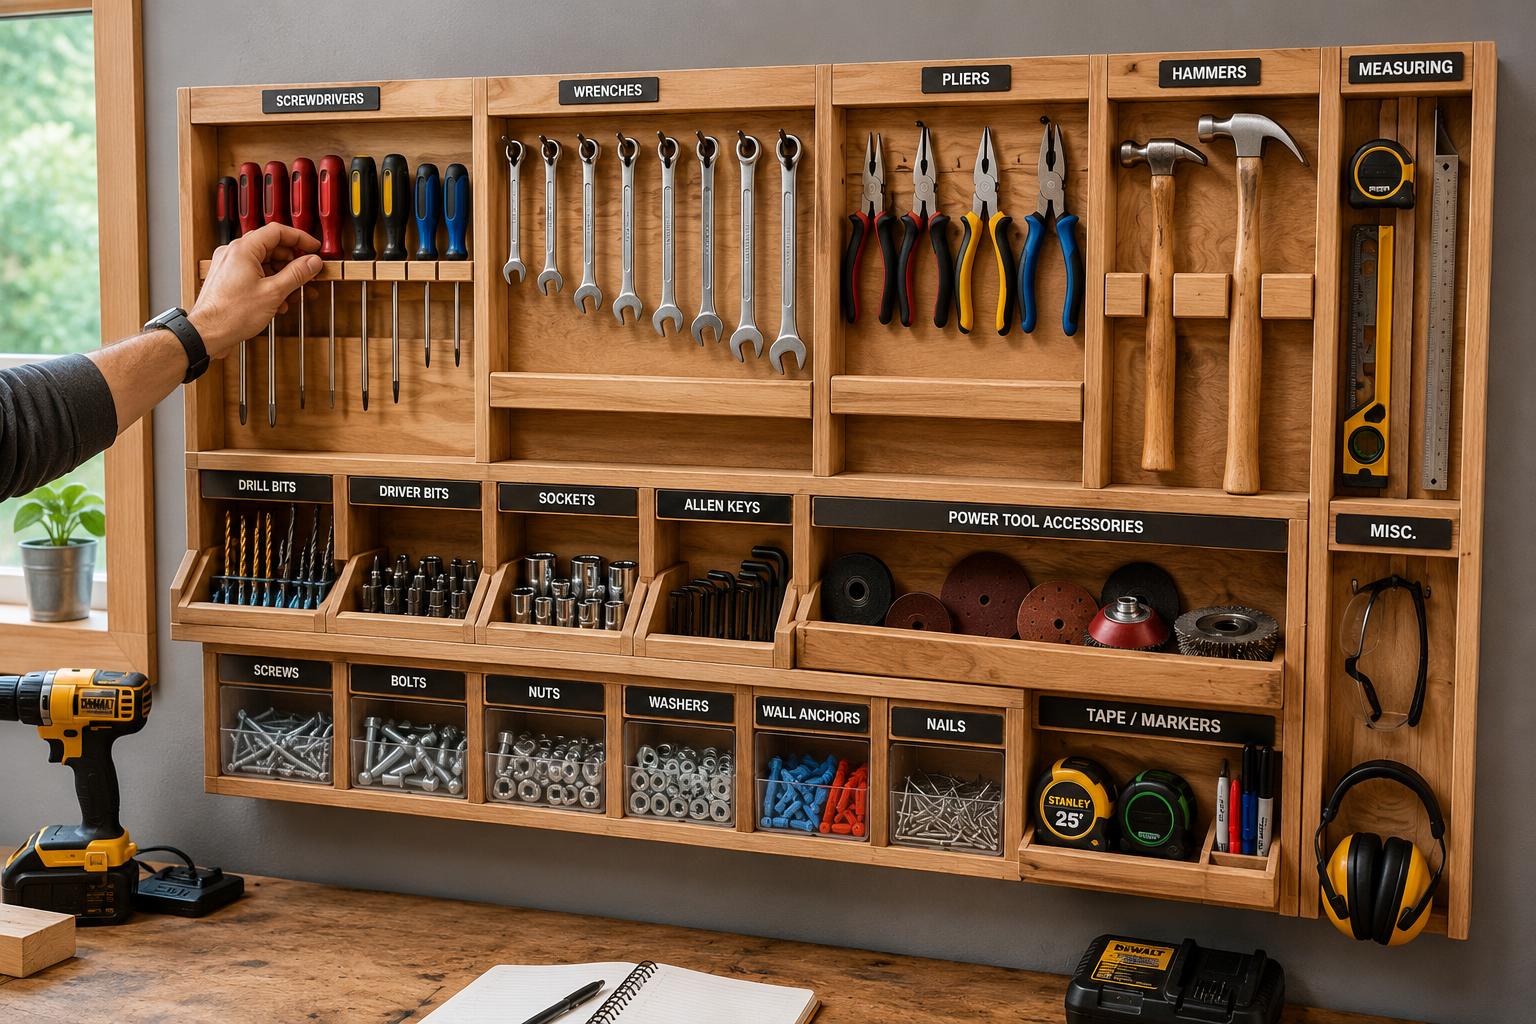
Common Tool Organizer Designs
| Organizer Type | Description | Best Suited For | Skills Practiced |
|---|---|---|---|
| Drilled Block Holders | Solid wood block with vertical holes | Pencils, screwdrivers, chisels, small files | Measuring, drilling, sanding |
| Slotted Racks | Board with angled or straight slots | Wrenches, pliers, larger screwdrivers | Accurate cutting, routing (optional) |
| Compartmented Trays | Tray with internal dividers, often custom-fitted | Small hardware, router bits, drill bits, fasteners | Joinery, precise cutting, gluing |
| Wall-Mounted Racks | Any of the above, mounted to a wall | Most tools, freeing up bench space | Mounting techniques, level installation |
| Magnetic Strips (Wood-Encased) | Wood housing a magnetic strip | Metal tools (chisels, knives, small hand tools) | Routing (for magnet), joinery |
Advanced Techniques and Finishes
As your skills develop, you can incorporate more advanced techniques into your DIY Wooden Pencil Holders and Tool Organizers.
- Joinery: Learning simple box joints or dovetails can add strength and aesthetic appeal to compartmented trays. This is a crucial step towards projects like mastering dovetail joinery for drawers.
- Routing: Using a router to create clean edges, dadoes for dividers, or recesses for specific tools.
- Laminating: Gluing thin strips of contrasting woods together can create striking patterns for your organizers.
- Finishing: Apply a durable finish, especially for tools that might come into contact with oils or greases. Polyurethane or a durable oil finish will protect the wood from wear and tear. For more on finishes, consider exploring high-gloss wood finishing techniques.
Remember, the goal is not just storage, but efficient storage. Each tool should have a designated, easily accessible home.
Essential Tools and Techniques for Beginner Woodworkers
Embarking on the journey of creating DIY Wooden Pencil Holders and Tool Organizers requires a fundamental understanding of basic woodworking tools and techniques. These projects are excellent for building confidence and proficiency with common workshop equipment.
Core Hand Tools
Even without a full suite of power tools, much can be accomplished with hand tools.
- Measuring Tape and Ruler: Absolutely essential for accurate dimensions.
- Pencil and Marking Gauge: For precise layout and marking cut lines.
- Square (Combination Square, Speed Square): For ensuring cuts and layouts are perfectly perpendicular.
- Hand Saw: For rough cutting lumber to size. A Japanese pull saw is a great option for beginners as it cuts on the pull stroke, offering more control.
- Chisels: While not always necessary for simple holders, a basic set of chisels can be invaluable for cleaning up joints or creating specific recesses. Learn more about their use in introduction to wood carving for beginners.
- Clamps: Crucial for holding pieces together during gluing and for securing workpieces to your bench for safe operations.
- Sandpaper and Sanding Blocks: For smoothing surfaces and preparing for finish.
Essential Power Tools for Small Projects
As you progress, a few power tools can significantly speed up and improve the accuracy of your builds.
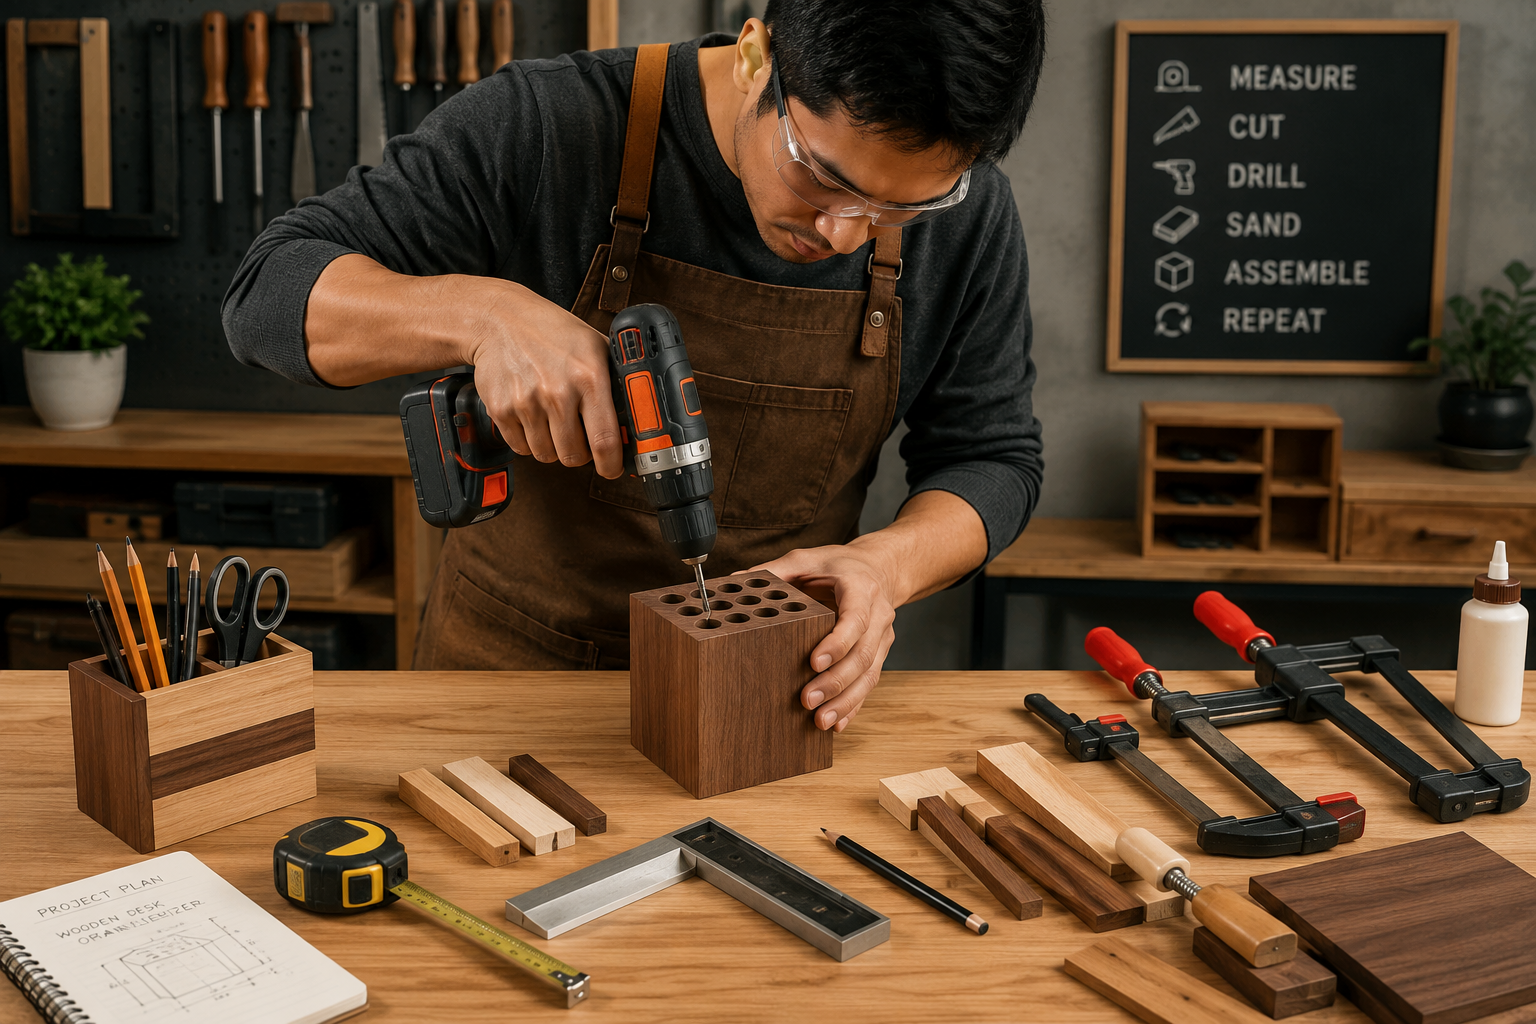
- Drill Press: While a hand drill works, a drill press offers unparalleled accuracy and repeatability for drilling straight holes—a common requirement for pencil and tool holders. It’s a key tool for achieving the clean holes needed in DIY Wooden Pencil Holders and Tool Organizers.
- Cordless Drill/Driver: Versatile for drilling pilot holes, driving screws, and performing various tasks.
- Jigsaw or Bandsaw: Excellent for cutting curves or irregular shapes if your designs move beyond simple blocks. The Mastering the Band Saw article offers great insights for using this tool.
- Orbital Sander: Speeds up the sanding process significantly, leading to smoother finishes with less effort.
Safety First in the Workshop
Regardless of the tools you use, safety is paramount. Always:
- Wear Eye Protection: Safety glasses or goggles are non-negotiable when cutting, drilling, or sanding.
- Use Hearing Protection: When operating loud power tools like a drill press or sander.
- Secure Workpieces: Use clamps or vises to hold your wood firmly. Never hold small pieces with your hands directly under a drill bit or near a blade.
- Read Manuals: Understand how to operate each tool safely and correctly before use.
- Maintain Sharp Tools: Dull tools require more force, increasing the risk of accidents.
Pull Quote: “Prioritizing safety measures is not just good practice; it’s a foundational element of responsible and enjoyable woodworking, especially when constructing DIY Wooden Pencil Holders and Tool Organizers.”
These simple DIY Wooden Pencil Holders and Tool Organizers projects are not just about creating storage; they are about building a solid foundation in woodworking. Each cut, drill, and sand stroke contributes to developing precision, patience, and a keen eye for detail—skills that will serve you well in all future woodworking endeavors.
Conclusion
The journey into woodworking, particularly for beginners, is often best started with projects that offer tangible results and immediate utility. DIY Wooden Pencil Holders and Tool Organizers exemplify this perfectly, providing essential workshop items that enhance efficiency and organization in 2026. By focusing on quick builds using scrap wood, new woodworkers can confidently hone fundamental skills such as accurate measuring, precise drilling, and effective finishing. These projects not only declutter spaces but also build confidence, laying a strong groundwork for more complex future endeavors. The satisfaction of crafting a functional, aesthetically pleasing organizer from raw materials is an invaluable reward, proving that even simple creations can significantly impact your productivity and enjoyment in the workshop.
Actionable Next Steps
- Assess Your Needs: Look at your desk or workbench. What items are always in disarray? Choose one area to tackle first.
- Gather Materials: Collect any scrap wood you have on hand. Even small pieces can be glued together.
- Sketch a Design: Before cutting, draw out a simple plan for your pencil holder or tool organizer, noting dimensions and hole/slot placements.
- Practice Safety: Re-familiarize yourself with your tools and always prioritize eye and ear protection.
- Start Simple: Begin with a basic drilled block pencil holder to get comfortable with the process.
- Experiment with Finishes: Apply a simple oil or wax finish to protect your creation and enhance its appearance.
By taking these steps, you’ll not only create practical organizational solutions but also cultivate a more structured and enjoyable woodworking practice.
SEO Meta Title: DIY Wooden Pencil Holders & Tool Organizers for Beginners SEO Meta Description: Learn to build DIY wooden pencil holders and tool organizers with scrap wood. Essential workshop projects for beginners, improving efficiency in 2026.