
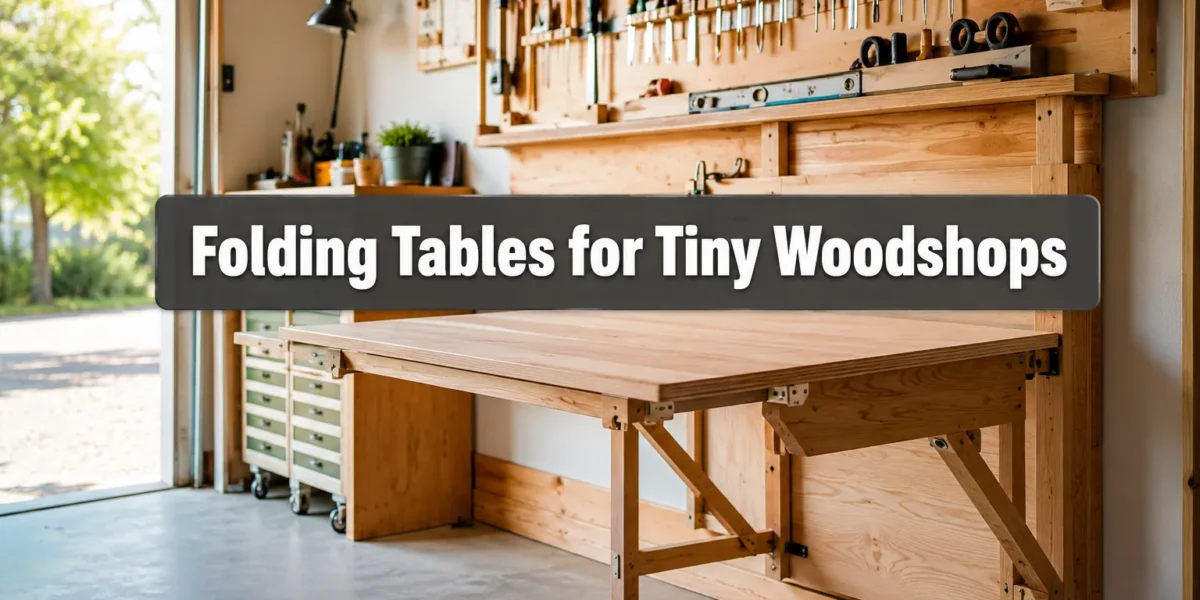
The average tiny woodshop measures a mere 100 square feet, a testament to the ingenuity required by woodworkers who refuse to let spatial constraints limit their craft. In such compact environments, every inch counts, making multi-functional solutions not just desirable, but essential. This is where Folding Tables for Tiny Woodshops: Choosing Dimensions, Hardware, and Wall Mounts for Multi-Use Surfaces becomes a game-changer, transforming cramped quarters into efficient, adaptable workspaces. Far from being a mere convenience, a well-planned folding table system can significantly expand a woodworker’s capabilities, allowing for diverse projects without needing a dedicated, permanent footprint.
Key Takeaways
- Folding tables are crucial for maximizing space and versatility in tiny woodshops.
- Careful dimension planning ensures the table fits the space and supports intended tasks.
- Heavy-duty hardware, including robust hinges and strong wall mounts, is vital for stability and safety.
- Consider specific table functions (assembly, routing, finishing) when selecting materials and design.
- Proper installation of wall mounts is paramount for the table’s load-bearing capacity and longevity.
Strategic Planning for Folding Tables for Tiny Woodshops: Choosing Dimensions and Placement
Maximizing efficiency in a small woodworking space begins with intelligent layout and equipment selection. For woodworkers in compact settings, a folding table is not just an extra surface; it’s a dynamic element that can adapt to the immediate needs of a project. The primary considerations revolve around choosing the right dimensions and identifying optimal placement for your multi-use surfaces.
Determining Ideal Dimensions for Your Folding Table
The “ideal” dimension for a folding table is subjective and depends heavily on the type of work you perform and the available wall space.
- Footprint When Open: Consider the largest piece you typically work on. A common size for a versatile woodworking table might be 24-30 inches deep and 48-72 inches long. This provides ample space for assembly, sanding, or even supporting larger pieces for a miter saw or router. Ensure that when fully extended, there’s still enough room to maneuver around the table and access tools.
- Footprint When Folded: Equally important is how much space the table occupies when not in use. A table that folds flat against the wall, ideally no more than 4-6 inches deep, is paramount. This allows for clear pathways and access to other tools or storage.
- Height: The ergonomic height of your workbench is critical for comfort and reducing fatigue. For most tasks, a height of 34-38 inches is standard, allowing for comfortable standing work. If you plan to use the table for specialized tasks like routing, consider a height that integrates seamlessly with other tools like a router table.
- Weight Capacity: Before settling on dimensions, estimate the maximum load the table will need to bear. This includes the weight of project pieces, tools, and any downward pressure applied during work. This estimate will directly influence your choice of materials and hardware.
Example Dimension Planning
| Task | Recommended Depth | Recommended Length | Optimal Height | Notes |
|---|---|---|---|---|
| General Assembly | 24-30 inches | 48-72 inches | 34-38 inches | Good for gluing, clamping, and general hand tool work. |
| Finishing Station | 18-24 inches | 36-60 inches | 36-40 inches | Slightly higher for better visibility; less depth needed for small finishes. |
| Router Table Integration | 24-30 inches | 30-48 inches | Matches other benches | Designed to either host a portable router or integrate with a smaller router plate. |
| Small Parts Work | 18-24 inches | 24-36 inches | 30-34 inches | Lower height for intricate work, allowing closer focus. |
Identifying Optimal Wall Placement
The wall chosen for your folding table is almost as important as the table itself.
- Structural Integrity: Always mount your table to wall studs or robust blocking. Drywall alone will not support the weight or stress of woodworking. Use a stud finder and confirm with pilot holes. For heavy-duty applications, consider adding a ledger board spanning multiple studs for maximum support.
- Workflow Integration: Position the table where it complements your existing workflow. Is it near your primary power tools? Does it provide a clear path to your dust collection system? Thinking about the journey of your materials from raw stock to finished product will guide optimal placement.
- Clearance and Access: Ensure that when the table is open, it doesn’t obstruct doorways, windows, or critical storage areas. When folded, it should not impede movement or block access to frequently used items. Also, consider the swing radius for opening and closing the table.
- Lighting: Natural light is ideal, but if not available, plan for adequate overhead and task lighting that illuminates the entire surface without casting shadows.
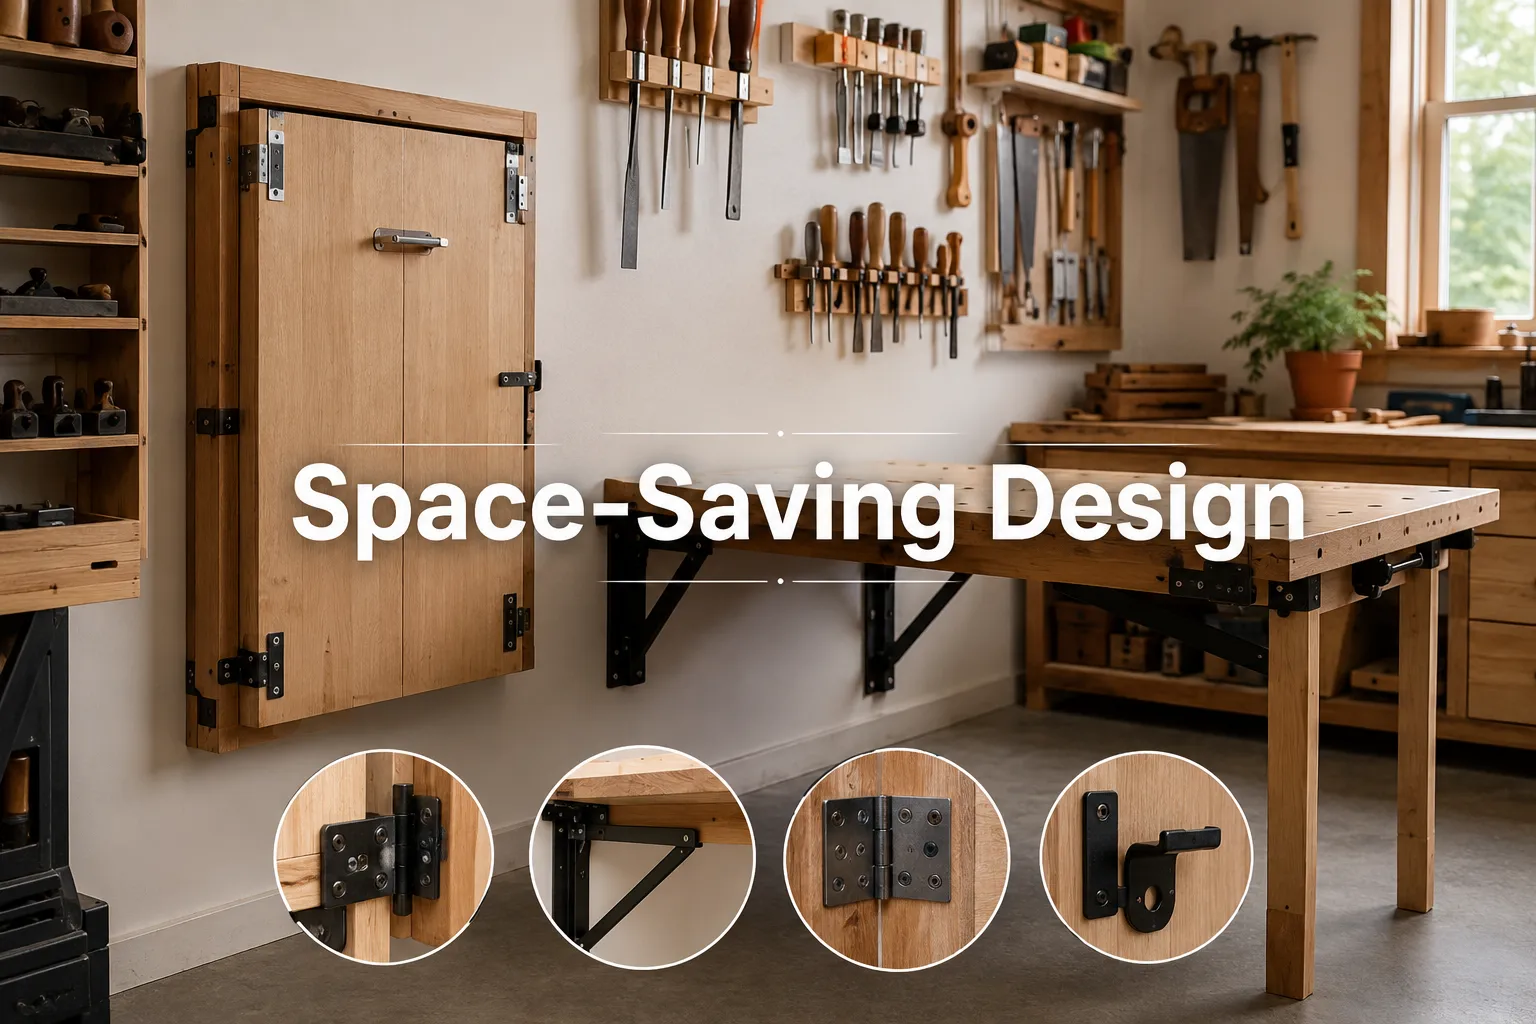
Essential Hardware and Wall Mounts for Robust Folding Tables
The integrity and functionality of your folding table hinge entirely on the quality and type of hardware used. Skimping on these components can lead to instability, premature failure, or even safety hazards. For Folding Tables for Tiny Woodshops: Choosing Dimensions, Hardware, and Wall Mounts for Multi-Use Surfaces, investing in robust hardware is non-negotiable.
Choosing the Right Hinges and Folding Mechanisms
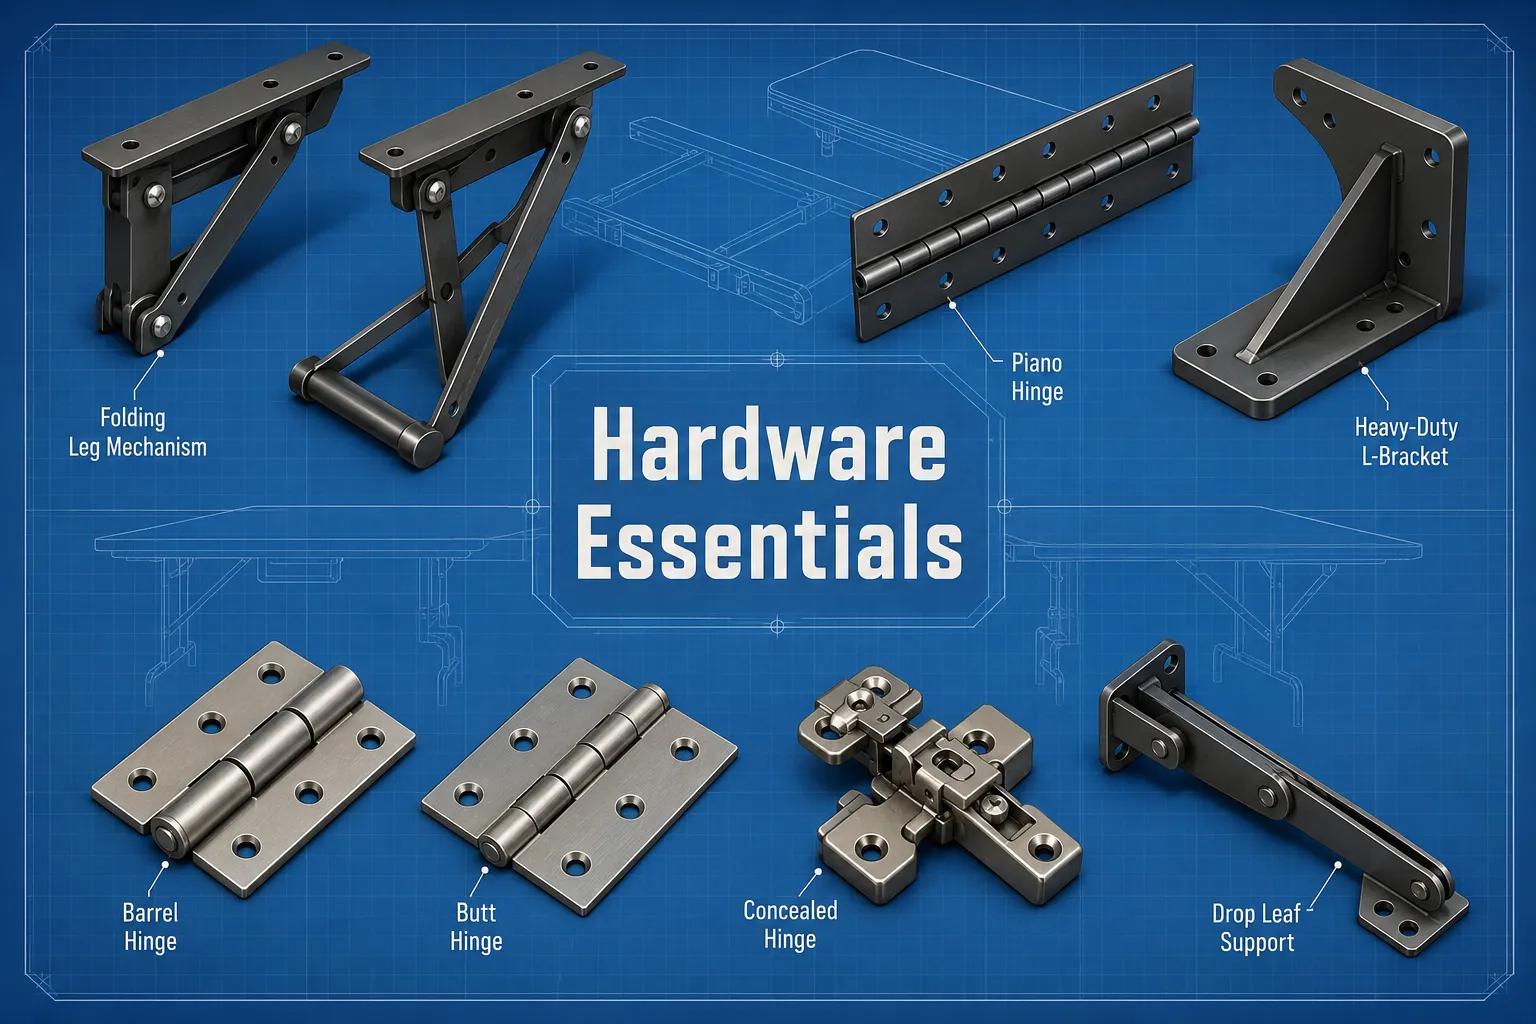
Hinges are the backbone of any folding table. Their selection depends on the table’s size, weight, and desired folding action.
- Piano Hinges (Continuous Hinges): These are excellent for supporting long spans and distributing weight evenly. They run the entire length of the folding joint, providing superior strength and preventing sagging. They are ideal for tables that fold in half or have extension leaves. Look for heavy-duty steel or stainless steel versions.
- Butt Hinges: Standard butt hinges are suitable for smaller, lighter folding sections. Choose hinges with thick gauge metal and long screws for secure attachment. For heavier tables, use multiple butt hinges spaced closely together.
- Concealed Hinges: While aesthetically pleasing, concealed hinges (like those used on cabinet doors) are generally not designed for the heavy loads and stresses of a woodworking bench. Avoid them for primary folding mechanisms.
- Folding Leg Mechanisms: If your table uses folding legs rather than being solely wall-mounted, select heavy-duty, locking leg brackets. These ensure the legs remain rigidly open during use and can be securely folded when not needed. Ensure they have a positive locking action to prevent accidental collapse.
- Spring-Loaded Brackets: Some designs incorporate spring-loaded or gas-strut assisted brackets for easier lifting and lowering of the tabletop. While convenient, ensure these are rated for the table’s weight and provide a secure lock in the open position.
Selecting Wall-Mount Brackets for Stability
The wall-mount system is perhaps the most critical component, bearing the entire weight of the table and its load.
- Heavy-Duty Folding Shelf Brackets: These are the most common and practical choice. They consist of a long arm that supports the table, hinged at the wall with a locking mechanism. Look for brackets made from thick-gauge steel, with a high weight rating. They should have a positive lock that engages automatically when the table is raised and a simple release mechanism for folding.
- Capacity: Always check the manufacturer’s stated weight capacity, and consider using more brackets than recommended for an added safety margin, especially for dynamic woodworking tasks.
- Length: The bracket arms should extend close to the full depth of your tabletop to provide adequate support and minimize leverage on the wall connection.
- Ledger Board with Support Legs: For exceptionally heavy-duty tables, a fixed ledger board securely fastened to multiple wall studs can support the back edge of the tabletop. The front edge would then rely on folding legs, eliminating the need for folding wall brackets. This setup often provides the most robust support. This approach aligns with principles of building a custom wood workbench but adapted for a folding design.
- DIY Wooden Bracket Systems: Some woodworkers opt to build their own wooden folding bracket systems, often using triangular supports that pivot and lock into place. While feasible for experienced builders, these require precise joinery and strong materials to ensure safety.
Hardware Selection Checklist
| Component | Key Considerations | Material |
|---|---|---|
| Hinges (Tabletop) | Weight distribution, smooth action | Heavy-duty steel, brass, stainless |
| Folding Leg Brackets | Positive lock, ease of operation | Steel |
| Wall-Mount Brackets | Weight capacity, locking mechanism, arm length | Thick-gauge steel |
| Fasteners | Length, thread type, material | Lag screws (into studs), machine screws (into metal brackets), wood screws (for table parts) |
| Reinforcement Plates | Spread load for mounting brackets | Steel or heavy-gauge plywood |
When installing, use appropriately sized lag screws to anchor wall brackets into studs. Predrill pilot holes to prevent splitting wood and ensure a strong bite. For the tabletop itself, use wood screws of sufficient length to penetrate well into the table material without going through the top.
Designing and Building Multi-Use Surfaces for Flexibility
The true power of Folding Tables for Tiny Woodshops: Choosing Dimensions, Hardware, and Wall Mounts for Multi-Use Surfaces lies in their adaptability. A well-designed folding table should be more than just a flat surface; it should serve multiple functions, enhancing your productivity and creative potential.
Material Selection for Diverse Applications
The material you choose for your tabletop will significantly impact its durability, weight, and suitability for various tasks.
- Plywood (Baltic Birch, Cabinet Grade): A top choice for work surfaces. Baltic birch plywood offers excellent strength, flatness, and screw-holding ability. Standard cabinet-grade plywood is also good, but choose at least 3/4-inch thickness for stability. A double layer (1 1/2 inches total) provides exceptional rigidity for heavy-duty work.
- MDF (Medium-Density Fiberboard): Offers a very flat, stable surface, ideal for assembly work or as a substrate for other surfaces. However, it’s heavy, not very moisture-resistant, and edges can be prone to damage. It’s often used as a core with a harder surface layer.
- Solid Wood: While beautiful, solid wood tabletops are susceptible to wood movement, which can cause warping or cracking, especially in fluctuating workshop environments. If used, consider a butcher block style or breadboard ends to mitigate movement. Understanding wood movement is key.
- Laminate or Melamine: These surfaces are durable, easy to clean, and offer low friction, which can be good for some assembly tasks but might be too slippery for others. They are typically applied over a plywood or MDF core.
Integrating Specialized Functions
Consider how your folding table can be more than just a flat surface.
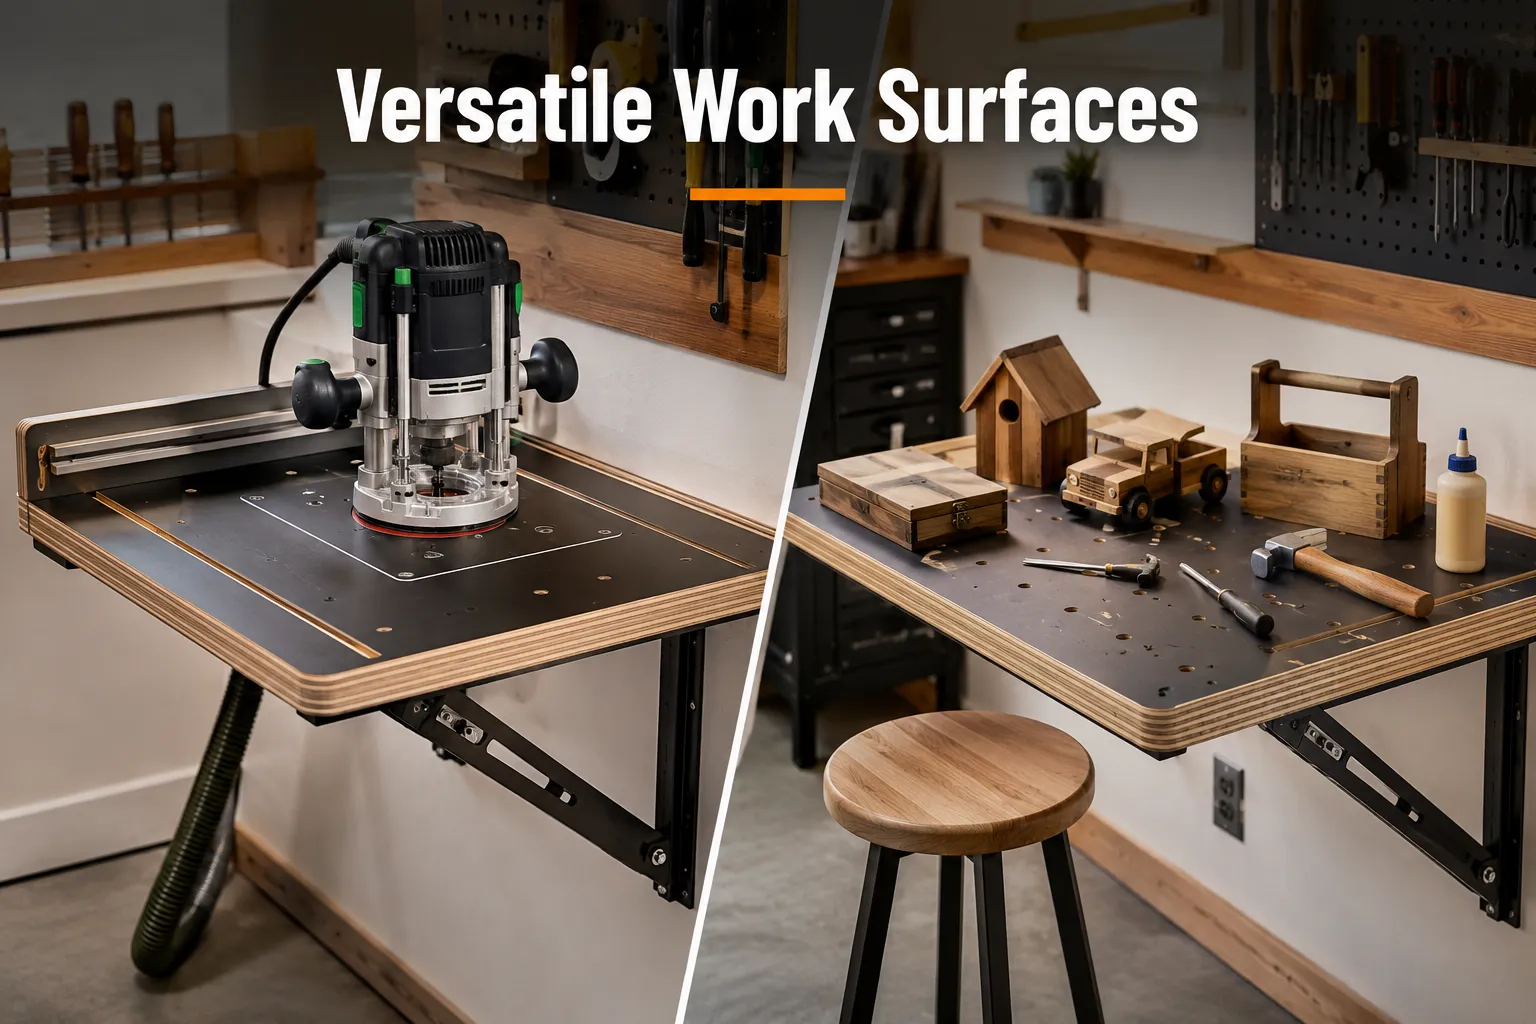
- Built-in T-Tracks or Bench Dog Holes: These are invaluable for clamping workpieces securely. Integrate a grid of bench dog holes (3/4-inch diameter is common) or embed T-tracks into the surface during construction. This turns a simple table into a versatile clamping station.
- Routing Station: A section of the tabletop can be designed to accept a router plate, effectively turning it into a compact router table when needed. Ensure proper dust collection integration.
- Assembly Table: For precise joinery and glue-ups, a flat, sturdy surface is paramount. Consider adding a replaceable top surface (like a thin sheet of MDF) that can be easily swapped out if it gets damaged by glue or finish.
- Finishing Table: When applying finishes, a dedicated, clean area is beneficial. A smooth, non-porous surface is ideal. Some woodworkers even build a removable top that is purpose-built for finishing, with a sacrificial layer or easy-to-clean material.
- Tool Storage Integration: While the table is folded, the wall space it reveals can be used for tool storage. Consider pegboards, French cleats, or shallow shelves for frequently used hand tools or measuring devices. This creates a multi-layered storage solution, as described in smart workshop storage solutions.
Design Considerations for Robustness and Aesthetics
- Edge Banding: Protect the edges of your plywood or MDF tabletop with solid wood edge banding or iron-on veneer. This increases durability and improves aesthetics.
- Reinforcement: For larger tables, add cross-members or a skirt underneath the tabletop to prevent sagging and increase overall rigidity.
- Finish: Apply a durable finish to your tabletop that can withstand the rigors of woodworking. Polyurethane is a popular choice for its hard-wearing properties. Avoid finishes that are too slippery.
- Leveling: Ensure the table is perfectly level when open. Use shims behind the wall brackets if necessary, or design adjustable feet if your table includes folding legs.
- Safety Features: Ensure all folding mechanisms lock securely in both the open and closed positions. Educate anyone using the shop on how to safely operate the folding table.
By carefully considering these aspects of material, function, and design, your folding table will become an indispensable asset in your tiny woodshop, enabling a broader range of projects from high-demand woodworking projects for 2026 to intricate custom pieces.
Conclusion
Creating an efficient and versatile workspace in a tiny woodshop demands innovative solutions, and a well-designed folding table is arguably one of the most impactful. By thoughtfully approaching Folding Tables for Tiny Woodshops: Choosing Dimensions, Hardware, and Wall Mounts for Multi-Use Surfaces, woodworkers can transform spatial limitations into opportunities for enhanced productivity and creative output. The strategic selection of dimensions ensures the table perfectly integrates into your workflow, while robust hardware guarantees stability and safety for every task. Finally, integrating multi-use surfaces and specialized functions ensures your folding table is not just a temporary workspace, but a dynamic, adaptable hub for all your woodworking endeavors.
The journey from a cramped corner to a highly functional woodworking haven is achievable with careful planning and execution. Prioritize quality materials and hardware, consider your specific woodworking needs, and always put safety first. Your folding table will not only reclaim valuable floor space but also unlock new possibilities for your craftsmanship.
Actionable Next Steps:
- Assess Your Space: Measure your available wall space and existing workshop layout.
- Define Your Needs: List the primary tasks you envision for the folding table (assembly, routing, finishing, etc.).
- Sketch Designs: Draw out potential table dimensions and folding mechanisms.
- Source Quality Hardware: Research and purchase heavy-duty hinges, wall mounts, and locking mechanisms.
- Build and Install: Construct your table with strong materials and securely install it to wall studs, ensuring it is level and stable.
SEO Meta Title: Folding Tables for Tiny Woodshops: Dimensions, Hardware, & Mounts SEO Meta Description: Maximize space in tiny woodshops with folding tables. Learn to choose dimensions, heavy-duty hardware, and wall mounts for multi-use surfaces.