
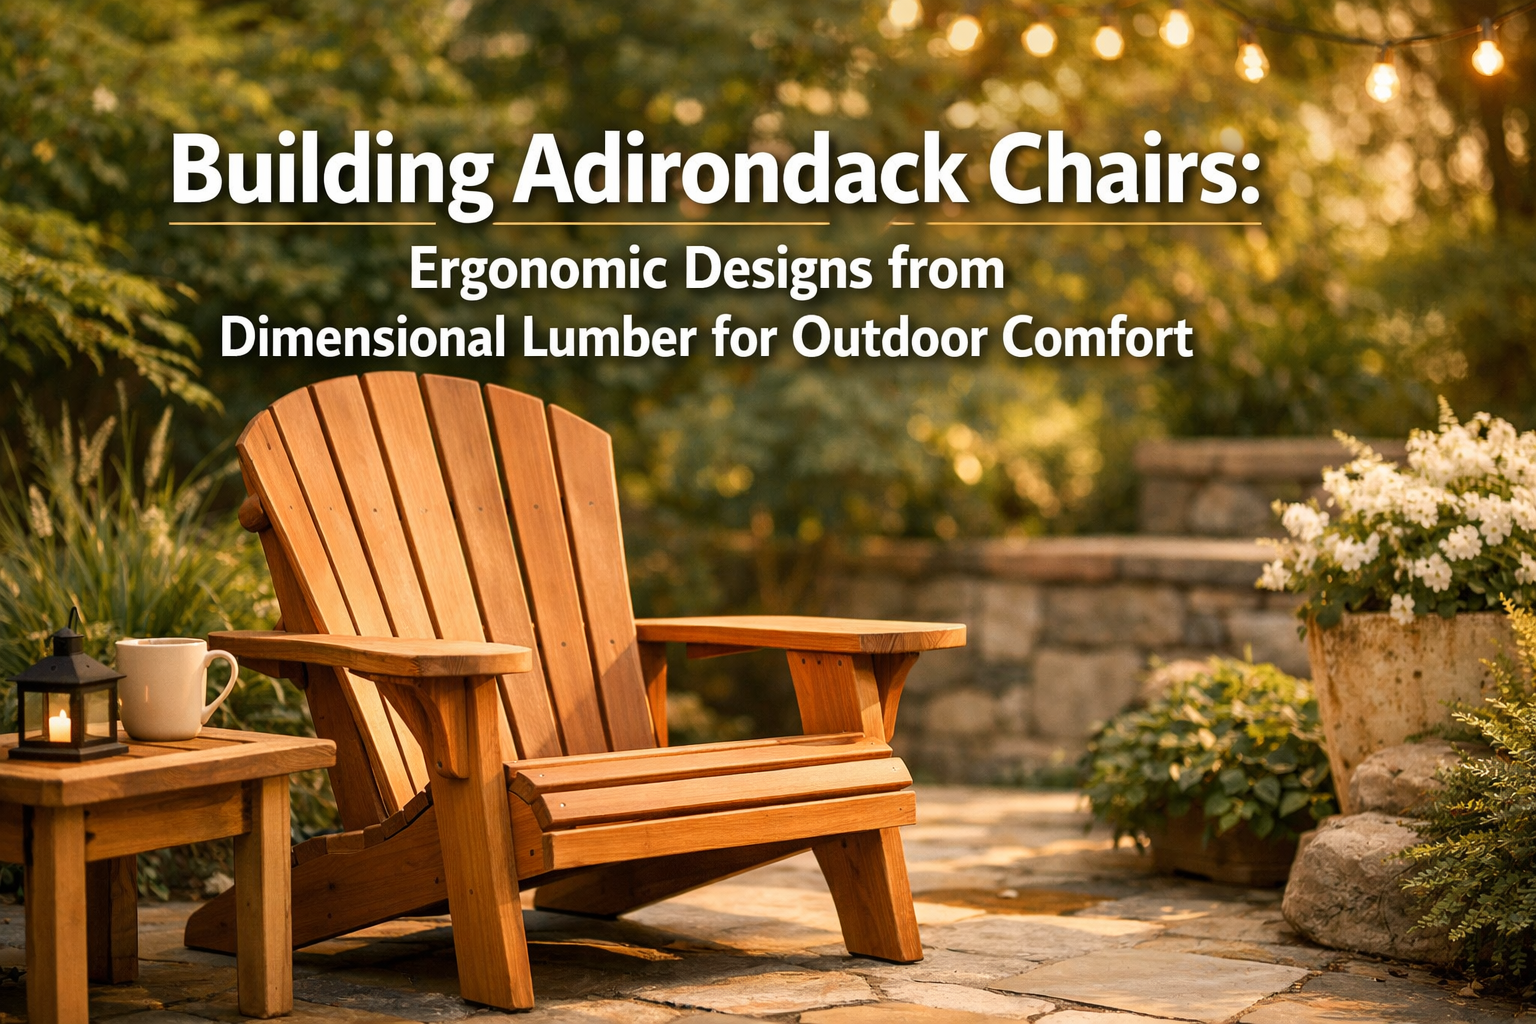

As the crisp air of 2026 invites more time spent outdoors, there’s a growing desire for comfortable, stylish, and durable patio furniture. Few pieces capture this blend of charm and relaxation quite like the classic Adirondack chair. Far from being merely decorative, a well-designed Adirondack chair offers unparalleled outdoor comfort, and the satisfaction of crafting one yourself is immense. This comprehensive guide will walk you through Building Adirondack Chairs: Ergonomic Designs from Dimensional Lumber for Outdoor Comfort, from selecting your materials to applying the final finish, ensuring your custom-built chairs become a beloved fixture in your outdoor living space for years to come. We’ll delve into ergonomic considerations, practical construction techniques, and how to create pieces that align perfectly with the warmth and texture trends of 2026, all using affordable and readily available dimensional lumber.
Key Takeaways
- Ergonomics are Paramount: Designing for comfort means understanding seat angle, backrest curve, and armrest height to create a truly relaxing experience.
- Dimensional Lumber is Ideal: Standard 2x4s, 2x6s, and other common sizes offer cost-effectiveness, strength, and ease of workability for outdoor furniture.
- Precision in Cuts: Accurate measurements and clean cuts are fundamental for strong joints and a professional finish, especially for beginners.
- Weather Protection is Crucial: Selecting the right wood and applying appropriate finishes will ensure your Adirondack chairs withstand the elements for long-term outdoor comfort.
- Personalization Enhances Value: Customizing designs, finishes, and even adding features like cup holders elevates the chair from a simple build to a unique piece of functional art.
The Foundation: Understanding Adirondack Chair Ergonomics and Material Selection
Designing for Ultimate Outdoor Comfort
The allure of the Adirondack chair lies in its distinctive reclined posture, wide armrests, and sturdy build. However, true comfort is not accidental; it’s the result of thoughtful ergonomic design. When undertaking Building Adirondack Chairs: Ergonomic Designs from Dimensional Lumber for Outdoor Comfort, paying close attention to these details can elevate a simple chair into a cherished retreat.

The primary ergonomic features to consider include:
- Seat Angle: Typically, the seat slopes backward at an angle between 10 to 15 degrees. This gentle recline helps distribute body weight evenly and promotes relaxation. A deeper recline (up to 20 degrees) can be extremely comfortable for lounging but might make getting up slightly more challenging.
- Backrest Curve and Angle: The backrest should not be flat. A gentle S-curve that supports the natural curve of the spine significantly enhances comfort. The backrest itself is also angled, usually around 25 to 30 degrees from vertical, working in conjunction with the seat angle to create that signature Adirondack lean.
- Armrest Height and Width: Wide, flat armrests are a hallmark of the Adirondack chair, providing ample space for resting arms, a book, or a beverage. The height should allow for a relaxed shoulder position, typically aligning with the seat height or slightly above it when measured from the ground.
- Seat Height (Front Edge): While the seat slopes, the front edge should be at a comfortable height for entry and exit, usually between 12 to 15 inches from the ground.
- Overall Dimensions: Standard Adirondack chairs are generous in size, allowing for comfortable seating for most adults. However, scaling dimensions for smaller individuals or children, or even for larger frames, can be a valuable customization.
Many plans available today incorporate these ergonomic principles, but understanding why these angles and curves are important empowers you to choose or adapt a design that truly works for you.
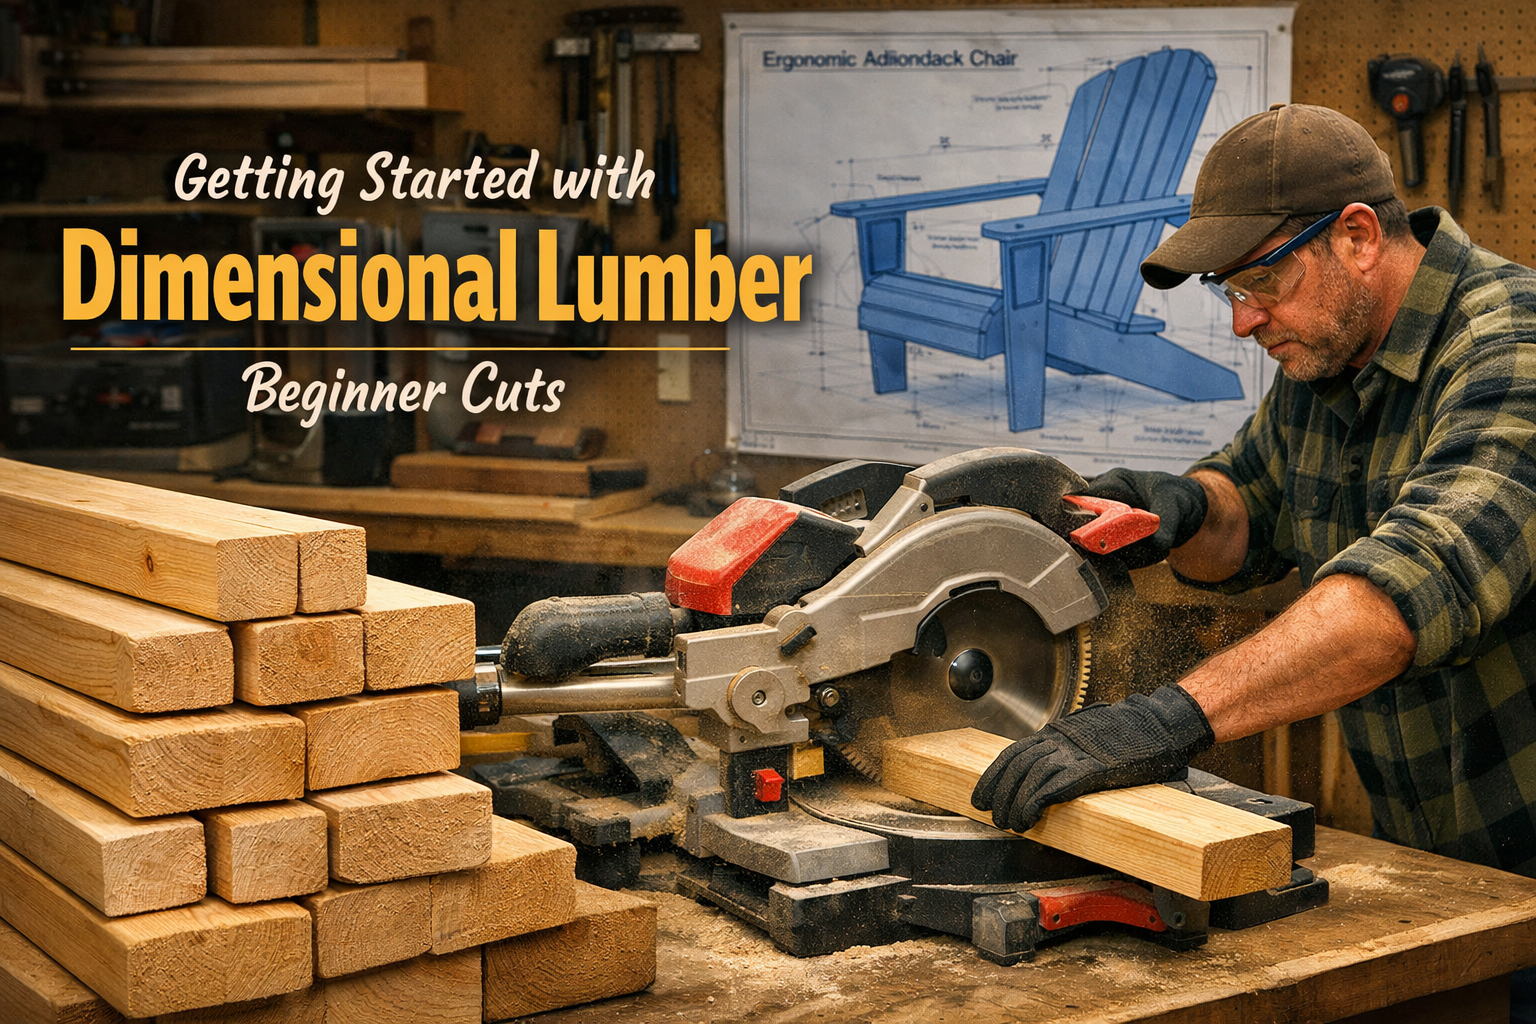
Selecting the Right Dimensional Lumber
Dimensional lumber refers to softwood or hardwood that has been milled to standard sizes, such as 2x4s, 2x6s, or 1x4s. It’s widely available, relatively inexpensive, and forms the backbone of most DIY woodworking projects, including the construction of robust outdoor furniture. For Building Adirondack Chairs: Ergonomic Designs from Dimensional Lumber for Outdoor Comfort, material selection is critical for longevity and aesthetic appeal.
Here’s a breakdown of excellent choices:
- Cedar:
- Pros: Naturally resistant to rot, decay, and insect infestation. It has a beautiful reddish-brown color that weathers to a silvery-grey if left untreated. Lightweight and easy to work with.
- Cons: Softer wood, more prone to dents and scratches than hardwoods. Can be more expensive than pine.
- Redwood:
- Pros: Similar to cedar in its natural resistance to decay and insects. Known for its rich red hue and attractive grain.
- Cons: Can be pricier and less readily available in some regions.
- Pressure-Treated Pine:
- Pros: Chemically treated to resist rot, fungal decay, and insect attacks, making it highly durable for outdoor use. Very affordable and widely available.
- Cons: Can be damp and heavy, which makes cutting and sanding a bit more challenging. The chemicals used can be irritating, requiring proper ventilation and dust masks. Not ideal for direct food contact.
- Cypress:
- Pros: Excellent resistance to rot and insects due to its natural oils. Relatively lightweight and easy to work with. Has an attractive grain and light color.
- Cons: May be less available in some areas compared to pine or cedar.
- Douglas Fir:
- Pros: Strong and relatively stable. Good resistance to rot when properly sealed. More affordable than cedar or redwood.
- Cons: Can splinter more easily than other woods. Requires good finishing for outdoor longevity.
For beginners, pressure-treated pine or cedar are often recommended due to their availability and ease of use. When purchasing dimensional lumber, always look for straight boards with minimal knots, twists, or warps. These imperfections can make assembly difficult and compromise the structural integrity and appearance of your finished chair. Consider consulting a guide on sourcing and selecting reclaimed urban lumber if you’re looking for unique, character-rich materials, though for a first Adirondack, standard dimensional lumber is often simpler.
Construction Phase: From Beginner Cuts to Advanced Curvatures
Essential Tools and Safety
Before diving into the cuts, ensure you have the right tools and prioritize safety.
Required Tools:
- Measuring Tape and Pencil: For accurate marking.
- Speed Square or Combination Square: For precise 90-degree and angled lines.
- Miter Saw or Circular Saw with Guide: For accurate crosscuts and angled cuts. A miter saw is especially useful for repeatable angled cuts.
- Jigsaw or Bandsaw: Essential for cutting curves for the backrest slats, armrests, and leg pieces.
- Drill/Driver: For pilot holes and driving screws.
- Orbital Sander or Sanding Blocks: For smoothing edges and surfaces.
- Clamps: Essential for holding pieces securely during assembly.
- Router (Optional): For softening edges with a round-over bit.
Safety Gear:
- Safety Glasses: Always protect your eyes from flying debris.
- Hearing Protection: Especially when using power saws for extended periods.
- Dust Mask: Important when sanding or cutting, especially with treated lumber.
- Gloves: To prevent splinters and provide a better grip.
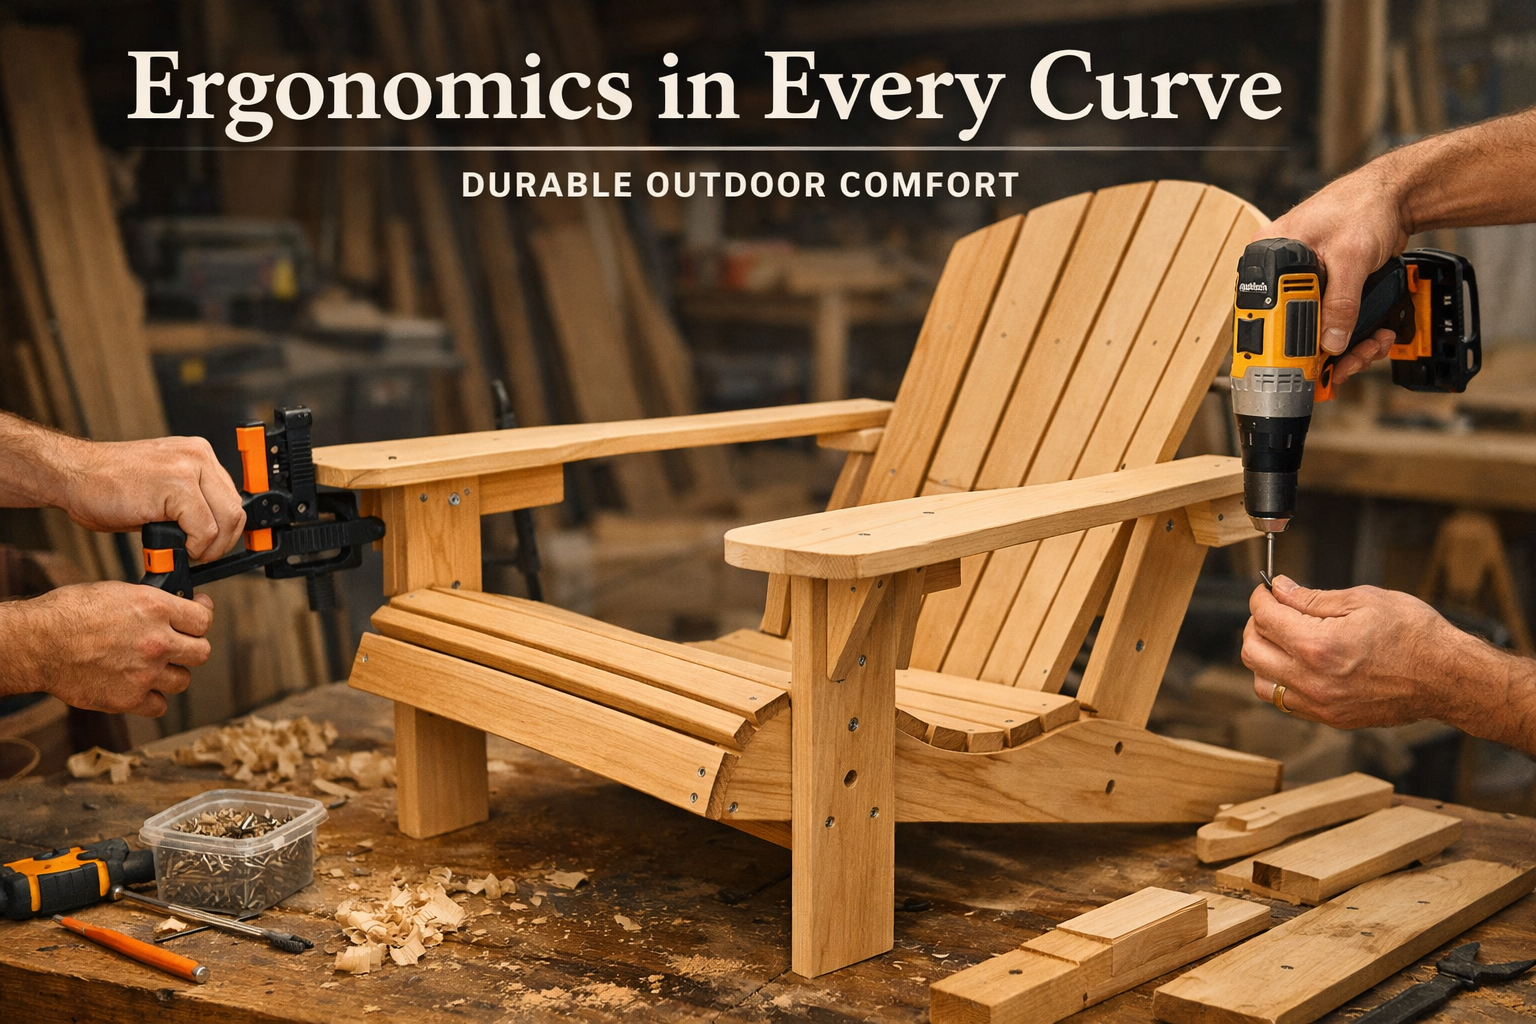
Step-by-Step Construction Guide
This section outlines a general approach to Building Adirondack Chairs: Ergonomic Designs from Dimensional Lumber for Outdoor Comfort. Specific plans may vary, but the principles remain the same. For a more in-depth look at fundamental techniques, consider reading our Beginner’s Guide to Building Adirondack Chairs: Comfortable.
1. Gathering and Cutting the Stock
Begin by printing out your chosen Adirondack chair plans. These plans will provide a comprehensive cut list, detailing the dimensions and angles for each component.
- Layout: Carefully transfer all dimensions onto your chosen dimensional lumber. Double-check all measurements before making any cuts.
- Straight Cuts: Use a miter saw or a circular saw with a straight edge guide to make all the straight crosscuts for the legs, stretchers, and frame components. Precision here is paramount for a sturdy chair.
- Curved Cuts: This is where the jigsaw or bandsaw shines.
- Backrest Slats: Mark the gentle curve for the top of each backrest slat. Some designs may have all slats the same length with a uniform curve, while others may vary in length and curvature to create a more pronounced ergonomic back.
- Armrests: The armrests typically have a distinctive shape, often wider at the front and tapering towards the back, with a smooth curve along the edges.
- Legs: The back legs often have a curve where they meet the ground, and sometimes the front legs also have a slight decorative curve.
- Templates: For identical curved pieces (like backrest slats), it’s highly recommended to create a single template from plywood or MDF. Cut this template perfectly, then use it to trace and cut all subsequent pieces, ensuring uniformity.
2. Pre-Drilling and Pocket Holes
Before assembly, it’s crucial to pre-drill pilot holes for all screws. This prevents splitting the wood, especially near ends or edges. For stronger, cleaner joints, consider using pocket hole joinery. This technique involves drilling angled holes into one piece of wood, allowing you to drive screws into the adjacent piece, creating a very strong and concealed joint. For more on woodworking screws, check out Mastering Woodworking Screws: Your Ultimate Guide for 2026.
3. Assembling the Sub-Assemblies
Most Adirondack chairs are built in sub-assemblies before final integration.
- Side Frames: Attach the front and back legs to the side stretchers. Ensure these are perfectly square and symmetrical.
- Backrest Frame: Assemble the vertical supports for the backrest.
- Seat Frame: Create the basic box or frame that will support the seat slats.
4. Attaching Slats and Armrests
- Seat Slats: Space the seat slats evenly, typically leaving a small gap (around 1/4 inch) between them for water drainage and wood expansion/contraction. Secure them with screws into the seat frame.
- Backrest Slats: Arrange the backrest slats, ensuring even spacing. The design usually calls for the middle slat to be the longest, with subsequent slats gradually shortening and/or curving to create the ergonomic arc. Attach them securely to the backrest supports.
- Armrests: Attach the armrests to the top of the side frames and connect them to the backrest supports. This is often a critical structural connection.
5. Final Assembly and Sanding
Bring all the sub-assemblies together. Use clamps to hold pieces firmly while driving the final screws. Once assembled, a thorough sanding is necessary.

- Initial Sanding: Start with a medium-grit sandpaper (e.g., 80-100 grit) to remove saw marks, rough edges, and any minor imperfections.
- Finer Sanding: Progress to finer grits (120-150 grit, then 180-220 grit) for a smooth, inviting finish. Pay extra attention to all edges and surfaces that will be in contact with skin. A smooth finish not only feels better but also helps the protective finish adhere more effectively. If you’re using rough-cut lumber for projects beyond chairs, consider our guide on using rough-cut lumber for flooring.
Finishing Touches: Protection, Personalization, and Enjoyment
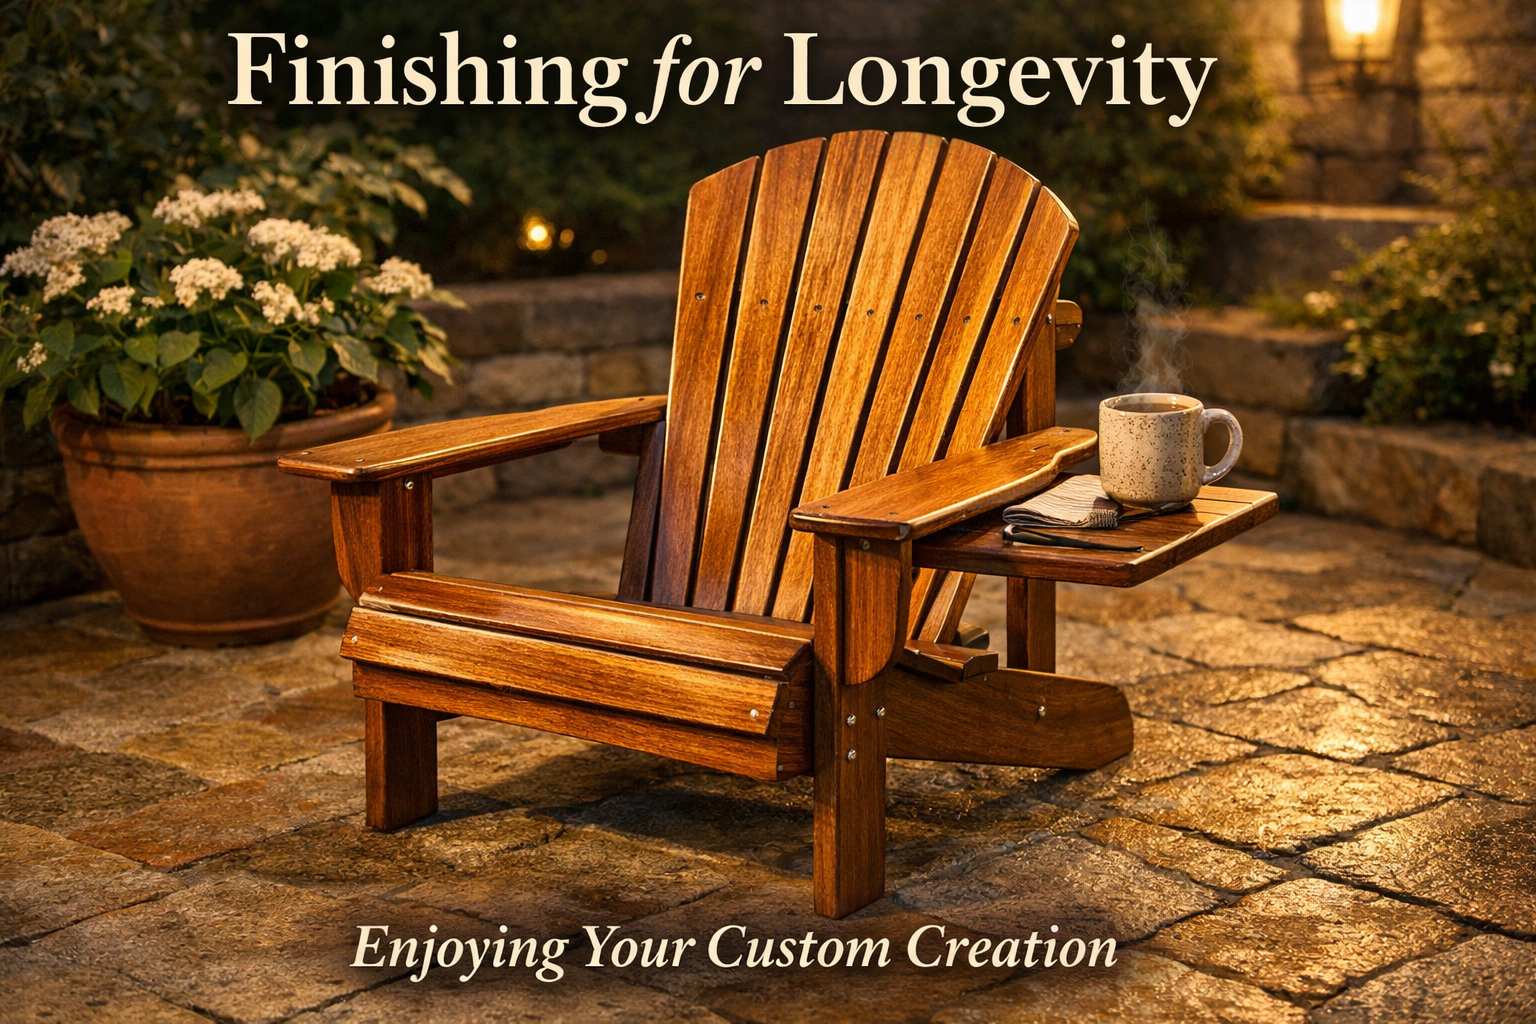
Protecting Your Investment: Outdoor Finishes
The outdoor environment is harsh on wood. Sunlight, rain, humidity, and temperature fluctuations can all cause damage. A proper finish is not just for aesthetics; it’s essential for protecting your chair and ensuring its longevity.
When Building Adirondack Chairs: Ergonomic Designs from Dimensional Lumber for Outdoor Comfort, consider these finishing options:
- Penetrating Oils:
- Description: These oils (e.g., teak oil, tung oil, linseed oil) soak into the wood fibers, nourishing them and providing protection from within. They highlight the natural beauty of the wood grain.
- Pros: Easy to apply and reapply. Provides a natural, low-sheen finish. Allows the wood to “breathe.”
- Cons: Requires more frequent reapplication (annually or bi-annually) compared to film-forming finishes. Less protection against physical abrasion.
- Application: Apply with a brush or rag, let it soak in, then wipe off excess.
- Stains with Sealers:
- Description: An exterior stain adds color to the wood, enhancing its appearance and providing UV protection. A clear exterior sealer or spar urethane is then applied over the stain for added durability and water resistance.
- Pros: Offers a wide range of color options. Provides good UV and moisture protection.
- Cons: Requires careful application to avoid lap marks. Can peel or chip over time if not properly maintained.
- Application: Apply stain, let dry, then apply multiple coats of exterior sealer, sanding lightly between coats. For more on various finishes, explore guides on dark wood finishing techniques or natural wood finishing techniques.
- Exterior Paint:
- Description: High-quality exterior paint offers the most robust protection against the elements, completely encapsulating the wood.
- Pros: Excellent durability and protection from UV, moisture, and rot. Wide array of color choices for personalization.
- Cons: Hides the natural wood grain. Can chip or peel if the surface isn’t properly prepared or if a low-quality paint is used.
- Application: Prime the wood first with an exterior wood primer, then apply two or more coats of high-quality exterior latex or oil-based paint.
“The choice of finish is as important as the wood itself. It’s the protective shield that transforms your raw lumber into a lasting piece of outdoor comfort.”
Regardless of the finish chosen, proper preparation is key. Ensure the wood is clean, dry, and thoroughly sanded before application. Follow the manufacturer’s instructions for application, drying times, and reapplication schedules. Regular maintenance will extend the life and beauty of your Adirondack chairs.
Personalization and Beyond
Your custom-built Adirondack chair isn’t just a piece of furniture; it’s a statement. Personalization allows you to truly make it your own and ensure it perfectly complements your 2026 outdoor living space.
- Color and Stain: Experiment with different stains to match existing patio furniture or create a vibrant contrast. Consider popular 2026 outdoor trends which lean towards natural wood tones, muted greens, and soft blues.
- Cushions and Pillows: Add custom-fit cushions and throw pillows in weather-resistant fabrics to enhance comfort and introduce pops of color and pattern.
- Accessories:
- Cup Holders: Integrate a discreet cup holder into one of the armrests for added convenience.
- Engravings/Carvings: For a truly personal touch, consider engraving initials, a date, or a small design into the backrest or armrests.
- Folding Mechanisms: Some advanced Adirondack chair plans incorporate folding mechanisms, making storage easier during off-seasons.
- Pairing with Other Projects: Consider building complementary pieces to create a cohesive outdoor seating area. You could craft ultimate DIY end tables to place beside your chairs, or even a profitable wooden bench for larger gatherings.
By taking the time to personalize your Adirondack chairs, you’re not just building furniture; you’re crafting an experience that enhances your outdoor comfort and reflects your unique style.
Conclusion
Building Adirondack Chairs: Ergonomic Designs from Dimensional Lumber for Outdoor Comfort is a deeply rewarding woodworking project that yields a timeless piece of furniture. From the initial selection of durable dimensional lumber to the precise cuts that form ergonomic curves and the final protective finish, each step contributes to creating a chair that offers unparalleled relaxation and stands up to the elements. The trends of 2026 embrace warmth, texture, and natural elements, making a handcrafted Adirondack chair an ideal addition to any patio or garden.
Remember, patience and precision are your most valuable tools. Don’t be afraid to take your time, double-check measurements, and learn from any minor setbacks. The journey of transforming raw lumber into a comfortable, inviting chair is part of the satisfaction. By following the guidance on ergonomic design, material selection, construction techniques, and protective finishes, you will not only build a chair but also cultivate a skill and a deeper appreciation for the craft.
Actionable Next Steps:
- Select Your Plan: Research and choose an Adirondack chair plan that suits your skill level and aesthetic preferences, ensuring it incorporates sound ergonomic principles.
- Gather Materials: Create a detailed shopping list for dimensional lumber, fasteners, and your chosen finish. Prioritize quality materials for longevity.
- Prepare Your Workspace: Organize your tools and ensure a safe, well-ventilated area for cutting, assembling, and finishing.
- Start Cutting: Begin with the straight cuts, then move on to the more intricate curves, perhaps starting with a practice piece if you’re new to jigsaw or bandsaw work.
- Assemble and Finish: Follow your plan diligently for assembly, paying close attention to joinery. Apply multiple coats of a high-quality outdoor finish for maximum protection and beauty.
- Enjoy: Place your custom-built Adirondack chair in your favorite outdoor spot, grab a good book, and relax in the comfort you created with your own hands.
Your handmade Adirondack chair will not only provide a perfect spot for outdoor comfort but will also be a testament to your craftsmanship for many years to come.
References
- Fine Woodworking Magazine. (2024). Outdoor Furniture Projects. Taunton Press.
- Home Depot. (2026). Dimensional Lumber Buying Guide. homedepot.com.
- Popular Woodworking. (2026). Adirondack Chair Building Plans. popularwoodworking.com.
