
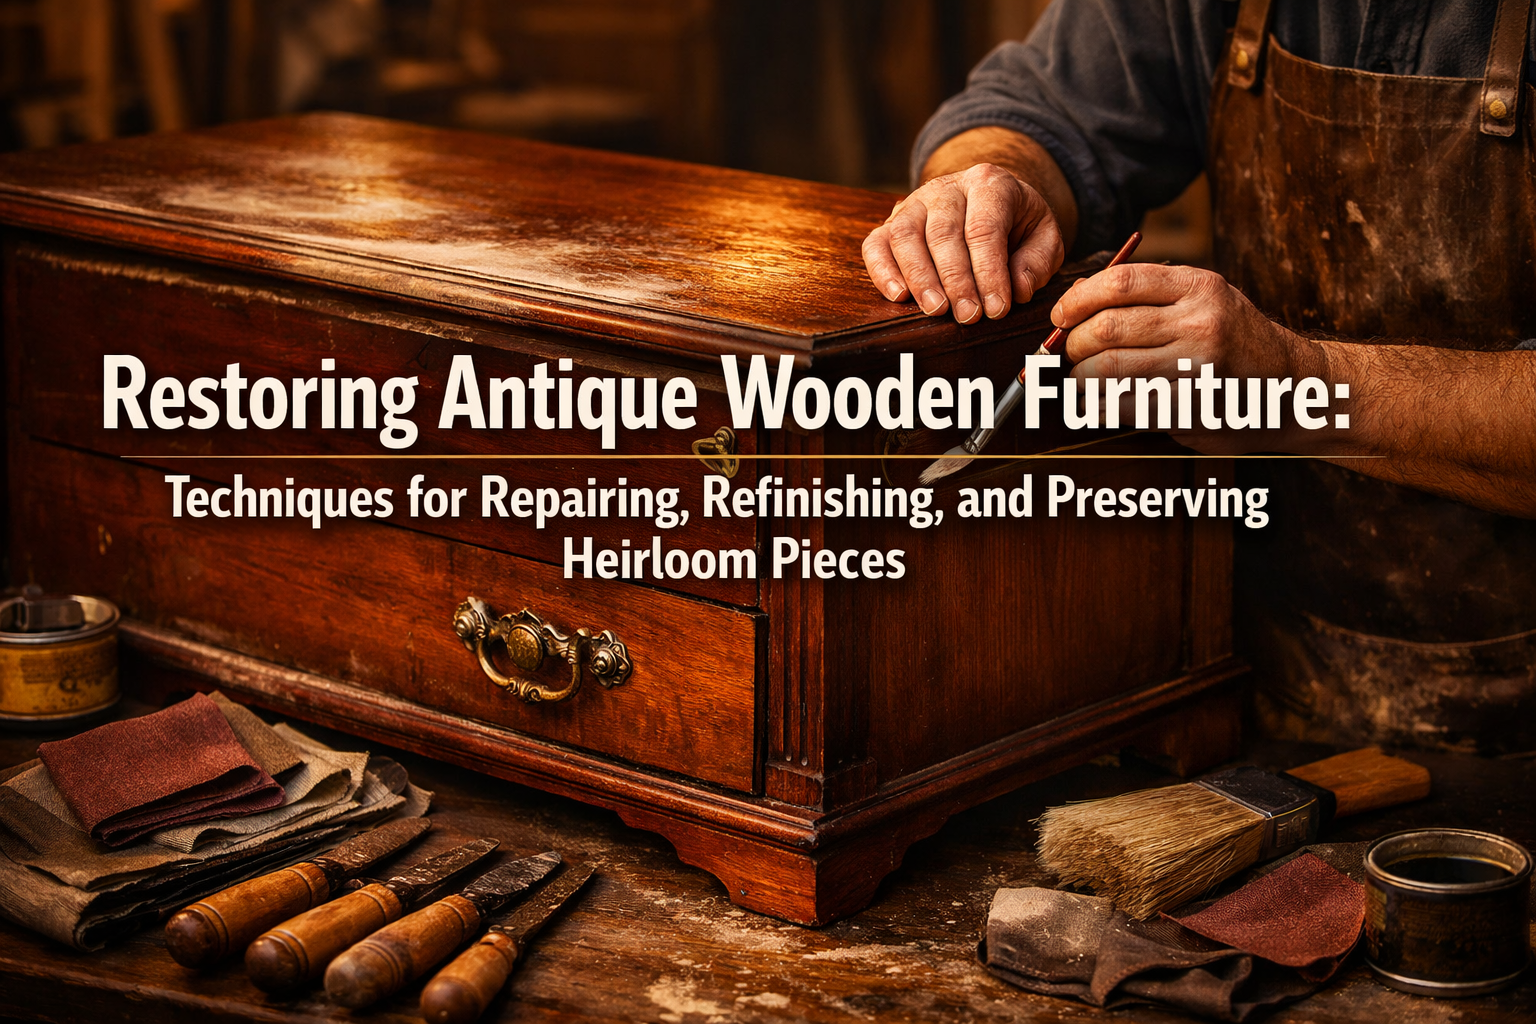

Embark on a journey to breathe new life into old wooden furniture. Antique wooden furniture holds not just aesthetic appeal but also a rich history, often carrying sentimental value as family heirlooms. Over time, these cherished pieces can suffer from wear, damage, and outdated finishes. This comprehensive guide will cover everything from structural repairs and veneer patching to stripping old finishes and applying new ones, ensuring the preservation of the history and integrity of your heirloom pieces. Mastering the art of restoring antique wooden furniture: techniques for repairing, refinishing, and preserving heirloom pieces transforms a dilapidated item into a treasured showpiece for generations to come.
{{IMG_SLOT_1}}

Key Takeaways
- Assessment is Crucial: Before any work begins, thoroughly evaluate the furniture’s condition to determine the extent of repairs needed and select appropriate restoration techniques.
- Prioritize Structural Integrity: Address all loose joints, broken components, and veneer damage before moving to surface treatments. Strong foundations are paramount.
- Thoughtful Refinishing: Choose finishes that complement the furniture’s age and style, opting for traditional methods when appropriate to maintain authenticity.
- Long-Term Preservation: Implement ongoing care strategies, including environmental control and regular maintenance, to protect your restored pieces from future damage.
- Patience and Precision: Restoring antique furniture is a meticulous process that requires patience, attention to detail, and a willingness to learn specific techniques.
Understanding the Initial Assessment and Preparation
The first step in Restoring Antique Wooden Furniture: Techniques for Repairing, Refinishing, and Preserving Heirloom Pieces is a thorough and thoughtful assessment. This crucial stage dictates the entire restoration plan, from the tools you’ll need to the finishing products you’ll apply.
Comprehensive Evaluation of Condition
Before picking up any tool, inspect the furniture systematically. Look for:
- Structural Integrity:
- Loose Joints: Are chair legs wobbly? Do drawer fronts separate from their sides?
- Cracks and Breaks: Identify any splits in solid wood or broken components.
- Missing Parts: Note any missing hardware, trim, or decorative elements.
- Wood Surface Condition:
- Scratches and Dents: Differentiate between superficial marks and deep gouges.
- Water Rings and Stains: Assess the depth and severity of discoloration.
- Woodworm or Pest Damage: Look for small holes and powdery residue, which may indicate active infestation.
- Veneer and Inlay:
- Lifting or Missing Veneer: Note areas where the thin wood layer is peeling or entirely absent.
- Cracked or Bubbled Veneer: Identify areas where moisture or impact has caused damage.
- Original Finish:
- Type of Finish: Is it shellac, varnish, lacquer, or oil? This influences removal and reapplication.
- Condition of Finish: Is it crazed, flaking, discolored, or sticky?
- Patina: Distinguish between true patina (age-related character) and dirt/grime. Sometimes, the original patina is what you want to preserve.
Essential Tools and Materials
A well-equipped workspace is vital for successful restoration. Here’s a basic list:
| Category | Essential Tools | Materials |
|---|---|---|
| Cleaning | Soft cloths, sponges | Mild detergent, mineral spirits, denatured alcohol |
| Disassembly | Screwdrivers, wrenches, mallets, pry bars (gentle) | None |
| Repair | Clamps (various sizes), chisels, wood glue (hide glue, PVA) | Wood shims, wood filler, veneer sheets, sandpaper |
| Stripping | Scrapers, abrasive pads, natural bristle brushes | Chemical stripper (if necessary), gloves, safety glasses |
| Sanding | Orbital sander, sanding blocks, detail sanders | Sandpaper (various grits: 80, 120, 180, 220, 320) |
| Finishing | Brushes, rags, spray gun (optional) | Stains, sealers, varnishes, oils, waxes, tack cloths |
| Safety | Respirator, safety glasses, gloves | Dust masks |
When working with reclaimed wood or specific types of wood, special considerations might apply. For instance, sourcing and restoring urban-harvested and reclaimed wood offers insights into handling such materials.
Repairing and Restoring Structural Integrity and Surfaces
This stage focuses on addressing all physical damage, ensuring the furniture is stable and sound before any refinishing begins. Patience and precision are key here, as these repairs form the foundation for a lasting restoration.
Fixing Loose Joints and Broken Components
Loose joints are common in antique furniture due to shrinking wood and failing glue.
- Disassembly: Carefully disassemble the joint. Label parts if necessary. Sometimes, applying moisture to swell the wood and loosen old hide glue can aid this.
- Clean Old Glue: Scrape or sand away all traces of old glue from both mating surfaces. This is critical for a strong new bond.
- Reglue and Clamp: Apply a high-quality wood glue (PVA glue for general use, or traditional hide glue for authentic restoration) to both surfaces. Assemble the joint, ensuring it’s square, and clamp firmly. Use cauls (wooden blocks) to distribute clamping pressure evenly and prevent dents. Allow ample drying time, typically 24 hours.
- Addressing Splits and Cracks: For splits in solid wood, force glue into the crack using a syringe or spatula. Clamp the piece until dry. If a section is missing, graft in a new piece of matching wood, shaping it precisely.
Repairing Veneer Damage
Veneer repair requires a delicate touch.
- Lifting Veneer: Carefully lift the loose veneer further if necessary (often aided by gently heating with an iron over a damp cloth). Scrape away old glue. Apply fresh veneer glue (PVA or hide glue) to the substrate and the underside of the veneer. Press the veneer down, using a roller or flat block, then clamp or weigh it down while drying.
- Missing Veneer: This is more complex. You’ll need a piece of veneer that matches the original wood species, grain, and thickness.
- Template: Create a paper template of the missing area.
- Cut Patch: Place the template on your new veneer, carefully matching the grain direction. Cut the patch slightly larger than the missing area.
- Fit: Place the patch over the missing area and lightly score around it with a sharp craft knife. Remove the patch, then carefully cut away the damaged edge of the original veneer to create a perfect fit for your patch.
- Glue: Glue the new patch in place, clamp, and allow to dry. Once dry, gently sand flush.
Dealing with Dents, Scratches, and Stains
Surface imperfections can often be repaired without extensive refinishing.
- Dents: Small dents can sometimes be raised by applying moisture and heat. Place a damp cloth over the dent and gently iron it. The steam will swell the compressed wood fibers. Repeat as needed.
- Scratches:
- Minor Scratches: Can be buffed out with fine steel wool and furniture polish, or masked with a touch-up pen or stain.
- Deeper Scratches: May require light sanding around the scratch, followed by filling with a tinted wood filler or a wax stick, then applying a matching finish.
- Stains:
- Water Rings: Can often be removed by gently rubbing with a soft cloth moistened with mineral spirits, or a non-gel toothpaste. For stubborn rings, fine steel wool with mineral spirits might be used, but this will require re-finishing the area.
- Dark Stains: Might require bleaching with oxalic acid (for water-soluble stains like ink or rust) or a two-part wood bleach (for deeper discoloration). Always test in an inconspicuous area first.
For specific guidance on wood finishing techniques that complement these repairs, refer to resources like oak wood finishing techniques or unique wood finishing techniques.
Refinishing and Preserving Heirloom Pieces
Once structural repairs are complete and surfaces are prepped, the focus shifts to revitalizing the aesthetic and protecting the furniture for the future.
Stripping Old Finishes
Stripping can be the most labor-intensive part of Restoring Antique Wooden Furniture: Techniques for Repairing, Refinishing, and Preserving Heirloom Pieces, but it’s essential if the old finish is extensively damaged or you wish to change the color completely.
- Mechanical Removal: For flaking or thick finishes, a cabinet scraper or even a heat gun (used with extreme caution to avoid scorching the wood) can remove much of the old finish.
- Chemical Strippers:
- Caustic Strippers: Effective but harsh, containing lye. Require neutralization and can darken some woods. Use in a well-ventilated area with full PPE.
- Solvent-Based Strippers: Less aggressive, often methylene chloride-free. Work by dissolving the finish. Apply, let sit, then scrape off.
- Water-Based/Eco-Friendly Strippers: Gentler alternatives, though they may require longer dwell times.
- Post-Stripping: After stripping, clean the wood thoroughly to remove all residue. A scrub with mineral spirits or denatured alcohol is often effective.
Sanding and Preparing for New Finish
Proper sanding is crucial for a smooth, even finish.
- Start Coarse, Go Fine: Begin with a coarser grit (e.g., 80 or 100) to remove any remaining finish or major imperfections. Progress through successively finer grits (120, 150, 180, 220, and sometimes 320 for very fine work).
- Sand with the Grain: Always sand in the direction of the wood grain to prevent unsightly swirl marks or cross-grain scratches.
- Detail Sanding: Use sanding blocks or folded sandpaper for edges, curves, and carved details.
- Dust Removal: After each grit, thoroughly remove all sanding dust using a shop vacuum, compressed air, and finally, a tack cloth. Remaining dust will impede finish adhesion and create blemishes.
Applying New Finishes
The choice of finish depends on the desired look, durability, and historical accuracy. For a broader understanding of various finishing options, our article on wood finishing techniques offers excellent insights.

- Stains: Applied before a clear topcoat to change or enhance wood color. Apply evenly, wipe off excess.
- Oil Finishes (e.g., Danish Oil, Tung Oil, Boiled Linseed Oil): Penetrate the wood, providing a natural, low-sheen look. They are easy to repair but offer less protection against moisture and scratches than film finishes. Danish oil vs. boiled linseed oil provides a detailed comparison.
- Shellac: A traditional finish, quick-drying, and repairable. Provides a warm, amber tone. Can be dissolved by alcohol.
- Varnish (Oil-Based): Durable, water-resistant, and offers good protection. Can be slow-drying.
- Lacquer: Fast-drying, very durable, and creates a clear, hard finish. Often applied by spraying.
- Polyurethane (Oil-Based or Water-Based): Extremely durable and scratch-resistant, available in various sheens. Water-based polyurethanes dry faster and clean up with water. Considerations for applying polyurethane in high humidity are important.
- Wax: Often used over other finishes (like shellac or oil) for added protection and a soft luster.
Apply thin, even coats, allowing adequate drying time between coats and light sanding with very fine sandpaper (320-400 grit) or fine steel wool between coats for optimal adhesion and smoothness.
Long-Term Preservation and Maintenance
Preserving your restored heirloom pieces is an ongoing commitment.
- Environmental Control:
- Humidity: Maintain stable humidity (45-55% relative humidity) to prevent wood from shrinking, expanding, or cracking. Use humidifiers or dehumidifiers as needed.
- Temperature: Avoid extreme temperature fluctuations.
- Light: Keep furniture out of direct sunlight, which can fade finishes and dry out wood. UV-protective window films can help.
- Regular Cleaning: Dust regularly with a soft, lint-free cloth. For deeper cleaning, use a damp cloth followed by a dry one, or a specialized furniture cleaner designed for your specific finish.
- Protection:
- Use coasters under drinks and placemats under hot dishes.
- Avoid placing furniture too close to heat sources or air conditioning vents.
- Apply a fresh coat of wax or polish periodically (e.g., annually) to protect the finish.
- Handle with Care: When moving furniture, lift rather than drag. Use felt pads under legs to prevent floor scratches.
For pieces with significant historical value, sometimes less is more when it comes to restoration. The goal is to stabilize and preserve, rather than completely alter. Think about the narrative the piece tells; reclaimed wood restoration often highlights this concept of adding soul through preservation.
Conclusion
Restoring Antique Wooden Furniture: Techniques for Repairing, Refinishing, and Preserving Heirloom Pieces is a rewarding journey that connects you with craftsmanship of the past and ensures these beautiful objects continue to tell their stories for generations to come. From the initial meticulous assessment to the delicate art of structural repair, careful refinishing, and diligent preservation, each step contributes to the longevity and renewed beauty of your cherished pieces.
Approach each project with patience, respect for the original craftsmanship, and a commitment to detail. The satisfaction of transforming a worn-out relic into a vibrant piece of history is unparalleled. By following these techniques, you’re not just fixing furniture; you’re safeguarding heritage and creating new memories with pieces that hold deep sentimental value.
Actionable Next Steps:
- Start Small: If you’re new to restoration, begin with a less valuable, simpler piece to practice techniques.
- Gather Supplies: Invest in quality tools and materials; they make a significant difference.
- Research Wood Species: Understand the specific characteristics of the wood you are working with, as this can influence repair and finishing choices.
- Document Your Work: Take “before” and “after” photos, and keep notes on the steps taken and products used. This serves as a valuable record and learning tool.
- Seek Expert Advice: For particularly complex or valuable pieces, consult with professional conservators or experienced restorers.
