

The average piece of fine furniture sees its value increase by 15-20% when adorned with expertly crafted wood inlay, according to industry valuations in 2026. This isn’t merely decoration; it’s an elevation of craftsmanship, a testament to precision, and a narrative woven into the very fabric of wood. For woodworkers looking to transcend basic construction and imbue their projects with enduring beauty and significant value, Mastering the Art of Inlay: Creating Geometric Patterns and Custom Designs with Contrasting Woods is an indispensable journey. This guide delves into the intricate world of decorative woodworking, transforming simple lumber into captivating masterpieces through the strategic use of contrasting wood species and meticulous design.
Key Takeaways
- Wood inlay is an ancient decorative technique that significantly enhances the aesthetic and monetary value of woodworking projects.
- Selecting contrasting wood species is crucial for visual impact, considering grain, color, and workability.
- Precision cutting, whether by hand or with power tools, is paramount for seamless, gap-free inlay work.
- Geometric patterns offer an excellent starting point for beginners, while custom designs allow for advanced artistic expression.
- Proper glue-up, sanding, and finishing techniques are essential to fully reveal and protect the beauty of your intricate inlays.
Understanding the Foundations of Wood Inlay
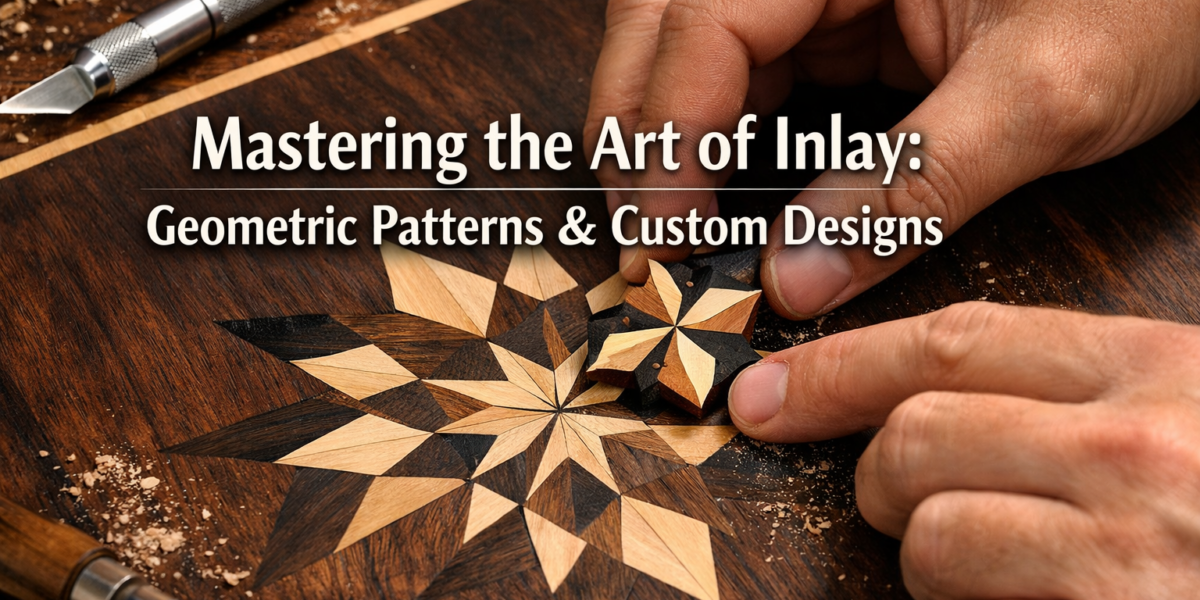
Wood inlay, often confused with marquetry (which typically covers an entire surface), involves inserting pieces of contrasting wood (or other materials) into a routed or carved recess on a solid wood substrate. The goal is to create a flush, smooth surface where the inlaid elements become an integral part of the design, rather than merely sitting on top. This technique has graced everything from intricate jewelry boxes to grand cathedral doors for centuries, proving its timeless appeal.

The art of inlay demands patience, precision, and an eye for detail. It’s a skill that elevates a woodworker from a builder to an artisan, capable of injecting personality and unique flair into every piece. In 2026, with a renewed appreciation for handcrafted items, mastering inlay offers a significant advantage in the competitive woodworking landscape.
Choosing Your Palette: Contrasting Woods for Maximum Impact
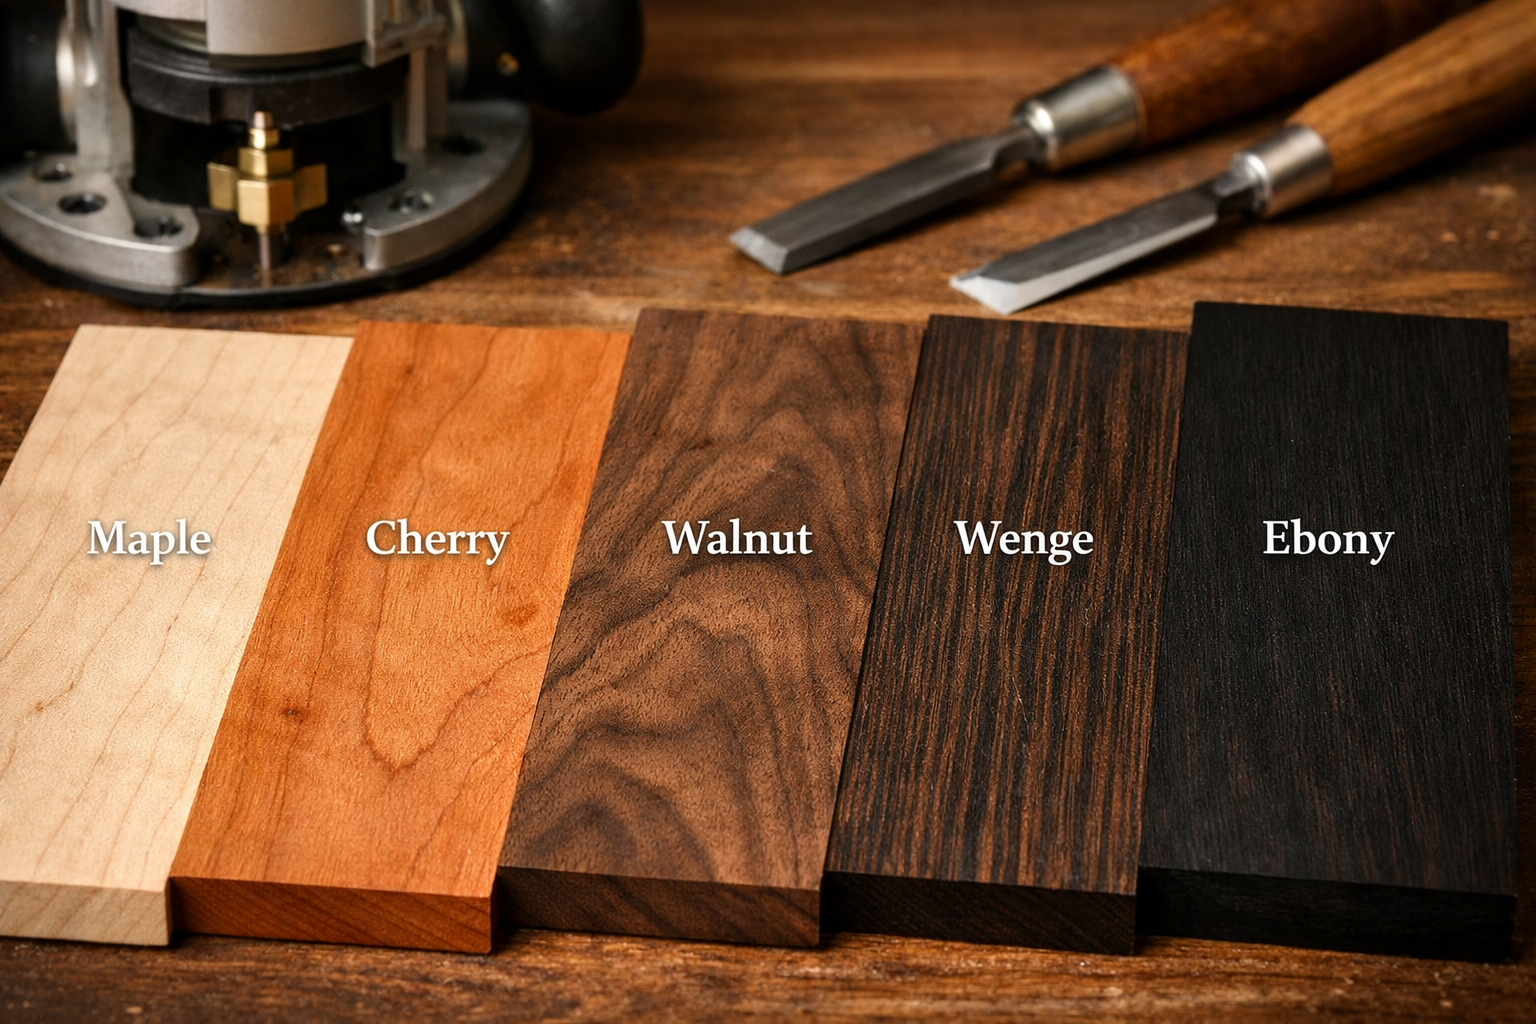
The success of any inlay project hinges on the thoughtful selection of wood species. Contrast is key, not just in color, but also in grain pattern and texture. A striking difference allows the inlay to “pop” and define the pattern clearly.
Consider these popular combinations for Mastering the Art of Inlay: Creating Geometric Patterns and Custom Designs with Contrasting Woods:
- Light-on-Dark:
- Maple or Holly against Walnut or Wenge: Offers stark visual drama. Maple provides a creamy white, while holly is almost pure white. Walnut offers rich chocolate tones, and wenge is nearly black.
- Ash or Sycamore against Mahogany or Padauk: Creates a vibrant contrast. Ash and sycamore have lighter, often wavy grains, which pair beautifully with the reddish-browns of mahogany or the bright red of padauk.
- Dark-on-Light:
- Ebony or Wenge against Maple or Poplar: A classic, sophisticated look. Ebony’s deep black is unmistakable, providing sharp lines against lighter woods.
- Cherry or Bloodwood against Birch or Aspen: Adds warmth and subtle contrast. Cherry mellows to a rich reddish-brown over time, and bloodwood offers a striking deep red.
When selecting woods, also consider their stability and hardness. Ideally, your inlay wood and substrate should have similar characteristics to prevent differential expansion and contraction, which can lead to cracks or gaps over time. Always source your materials carefully, ensuring they are properly seasoned and dimensionally stable. Our guide on turning shop scraps into design features offers valuable insights into utilizing smaller pieces effectively for inlay.
Techniques for Precision: Cutting Geometric Patterns and Custom Designs
The core of successful inlay lies in precision. Whether you’re crafting simple geometric patterns or intricate custom designs, the goal is to achieve a perfect, gap-free fit. Modern tools and techniques have made this more accessible than ever, but traditional hand skills remain invaluable.
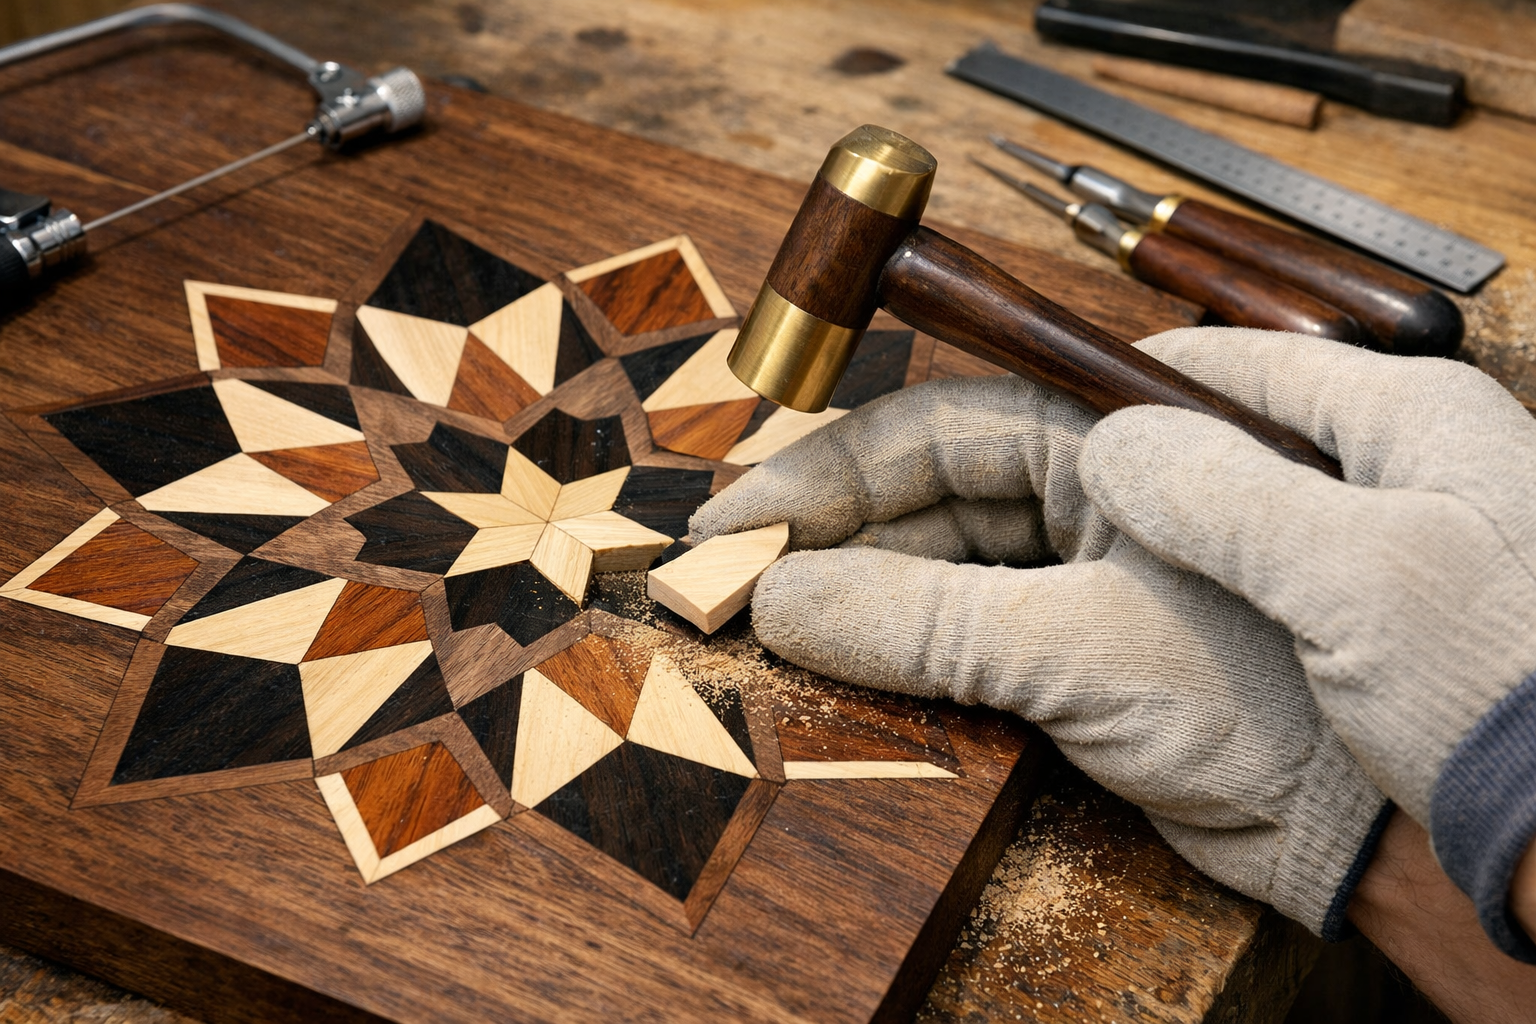
Geometric Patterns: The Perfect Starting Point
Geometric patterns, such as chevrons, checkerboards, or simple borders, are excellent for beginners. They teach fundamental cutting and fitting skills without requiring complex freehand work.
Tools and Methods:
- Hand Tools:
- Marking Knife & Chisel: For small, precise cuts. A sharp marking knife creates a clean shoulder for the chisel to pare down to.
- Coping Saw or Fret Saw: Ideal for cutting out internal shapes and removing waste.
- Router Plane: For consistently shallow recesses.
- Power Tools:
- Router with Inlay Kit: This is a game-changer for repeatable, precise inlays. An inlay kit typically includes a guide bushing and a specialized straight bit. The bushing rides against a template, while the offset of the bit creates both the recess in the substrate and the matching inlay piece from your contrasting wood.
- Laser Cutter: For highly intricate and repeatable designs, a laser cutter offers unparalleled precision, especially for thin veneers.
Step-by-Step for Geometric Inlay (Router Method):
- Design & Template: Create your geometric pattern. For router work, this translates into a physical template made from MDF or plywood. The template defines the outer boundary of your inlay.
- Rout the Recess: Secure your template to the substrate. Using a router with an inlay kit (guide bushing and straight bit), rout the recess to the desired depth. The bushing follows the inside edge of the template.
- Cut the Inlay Piece: Remove the template from the substrate. Attach it to your contrasting inlay wood. Now, using the same router bit and guide bushing, rout around the outside edge of the template. Because the bit’s offset is precisely matched by the bushing, the resulting piece will be slightly larger than the recess, allowing for a perfect friction fit.
- Fit and Glue: Test the fit. It should be snug, requiring gentle tapping. Apply a thin, even coat of wood glue (PVA glue is suitable) to both the recess and the inlay piece. Tap the inlay into place, ensuring it is flush. Use clamps if necessary to maintain pressure while the glue dries.
For more advanced router techniques, explore our guide on power tool mastery for decorative wood projects.
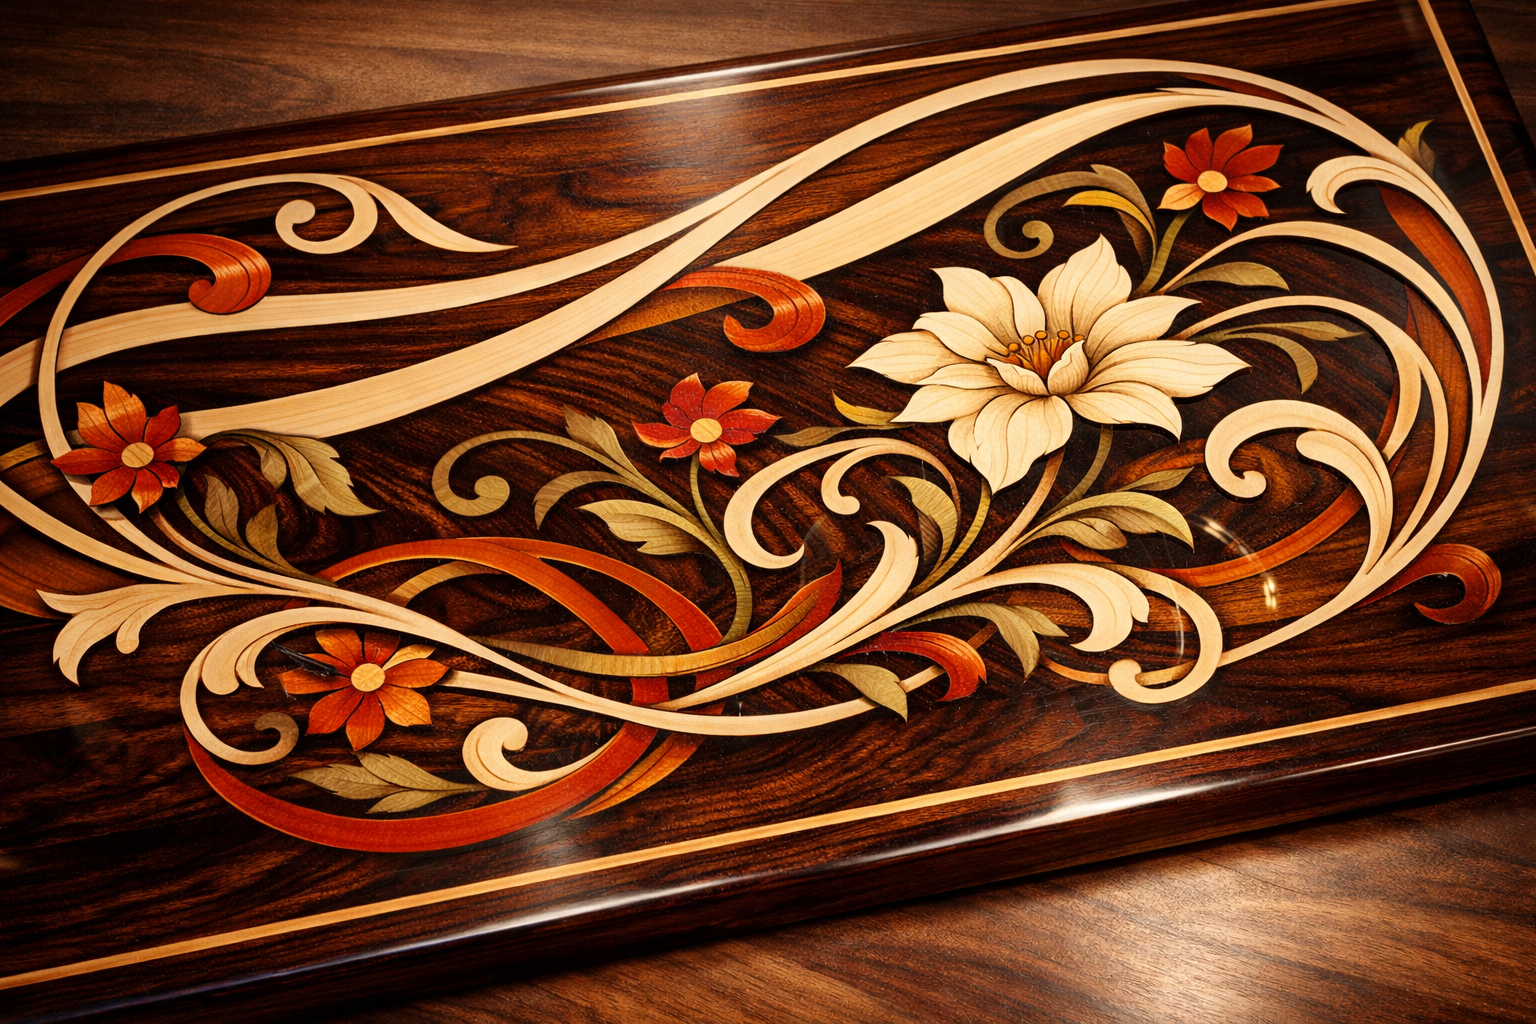
Custom Designs: Unleashing Artistic Vision
Once comfortable with geometric patterns, you can move on to custom designs – organic curves, pictorial elements, or unique motifs. These often require a blend of hand and power tool techniques.
Methods for Custom Designs:
- Hand-Cutting: For truly bespoke, intricate designs, hand-cutting offers unparalleled control. Trace your design onto the substrate, then use a very sharp marking knife to outline the shape. Carefully chisel out the waste to the desired depth. Cut the inlay piece slightly oversized, then pare it down with a chisel for a perfect friction fit. This method is incredibly rewarding, though time-consuming.
- Scroll Saw/Fret Saw: These saws are excellent for cutting intricate curves and internal cutouts in thinner inlay material (e.g., veneer). They allow for precision cutting of both the recess shape (by routing the outline first, then clearing waste) and the matching inlay piece.
- CNC Routers: For complex, repeatable custom designs, a CNC router is invaluable. It can precisely cut both the recess in the substrate and the matching inlay piece from different wood species, ensuring a perfect fit every time. This is particularly useful for production work or highly detailed artistic pieces.
“The magic of inlay isn’t just in the finished piece; it’s in the meticulous dance of hand and tool, transforming disparate woods into a harmonious whole.”
Finishing Your Inlay Masterpiece
Once your inlay pieces are glued in place and the adhesive has fully cured, the final stages of sanding and finishing are crucial. These steps reveal the true beauty of your work and protect it for years to come.

Sanding and Scraping
The goal is to achieve a perfectly flush surface where the inlay feels seamless to the touch.
- Initial Leveling: If your inlay pieces are slightly proud of the surface, start with a hand plane or a sharp cabinet scraper. This allows you to quickly remove excess material without damaging the delicate inlay edges that sanding might round over prematurely.
- Graduated Sanding: Begin with a relatively coarse grit sandpaper (e.g., 100-120 grit) and work your way up through finer grits (150, 180, 220, 320, or even 400). Always sand with the grain to avoid visible scratches. Take your time, checking regularly to ensure all previous grit scratches are removed before moving to the next. For delicate inlay, consider using sanding blocks to maintain flatness.
Applying the Finish
The right finish will enhance the contrasting colors and grain patterns of your inlay, providing depth and protection.
- Oil Finishes (e.g., Tung Oil, Linseed Oil): These penetrate the wood, bringing out the natural color and grain beautifully. They offer a warm, natural look but provide less surface protection against wear and moisture. Multiple coats are usually required.
- Varnish/Polyurethane: These create a durable surface film that offers excellent protection against moisture, scratches, and wear. They come in various sheens (matte, satin, gloss) and can provide a very high-end look. Apply thin, even coats, sanding lightly between coats (with a fine grit like 320-400) for optimal adhesion and smoothness.
- Shellac: A traditional finish that offers a beautiful, warm glow. It’s easy to repair but not as durable as varnish or polyurethane against water and alcohol. It also acts as an excellent sealer coat before other finishes. Our guide on unique wood finishing techniques provides more detailed options.
Tips for Finishing Inlay:
- Test on Scraps: Always test your chosen finish on scrap pieces of the same woods used in your inlay. This allows you to see how the colors will change and interact before applying it to your finished piece.
- Wipe-on Finishes: For intricate inlays, wipe-on finishes (like wipe-on poly or thinned varnish) can be easier to apply evenly without pooling in tight corners.
- Patience: Allow ample drying time between coats as recommended by the finish manufacturer. Rushing this step can lead to a less durable and aesthetically pleasing result.
Conclusion
Mastering the Art of Inlay: Creating Geometric Patterns and Custom Designs with Contrasting Woods is a rewarding pursuit that transforms ordinary woodworking into extraordinary artistry. From carefully selecting the perfect contrasting woods to executing precise cuts and applying a flawless finish, each step is an opportunity to imbue your projects with unparalleled beauty and craftsmanship. In 2026, as the demand for bespoke, handcrafted items continues to grow, these skills offer woodworkers a distinct advantage, allowing them to create pieces that are not only functional but truly heirloom quality.
Actionable Next Steps
- Start Simple: Begin with a small project like a cutting board or a decorative box lid using a simple geometric pattern and two contrasting woods.
- Invest in Quality Tools: A sharp marking knife, good chisels, and if possible, a router with an inlay kit, will make a significant difference in your precision. Consider upgrading your workbench for stability when working on detailed projects by checking out building a custom wood workbench.
- Practice Precision: Cut templates accurately. Practice routing recesses and matching inlay pieces on scrap wood until the fit is consistently tight.
- Experiment with Woods: Explore different wood combinations to understand their visual impact and workability. For inspiration on incorporating diverse materials, see warm minimalism in woodworking.
- Refine Finishing Techniques: The finish truly brings out the inlay. Practice various finishing methods on your test pieces to achieve the desired look and protection. For unique decorative touches, consider making wooden napkin holders with small inlay accents.
By embracing these techniques, you’re not just cutting and gluing wood; you’re crafting stories, adding character, and building legacies, one intricate inlay at a time.
