
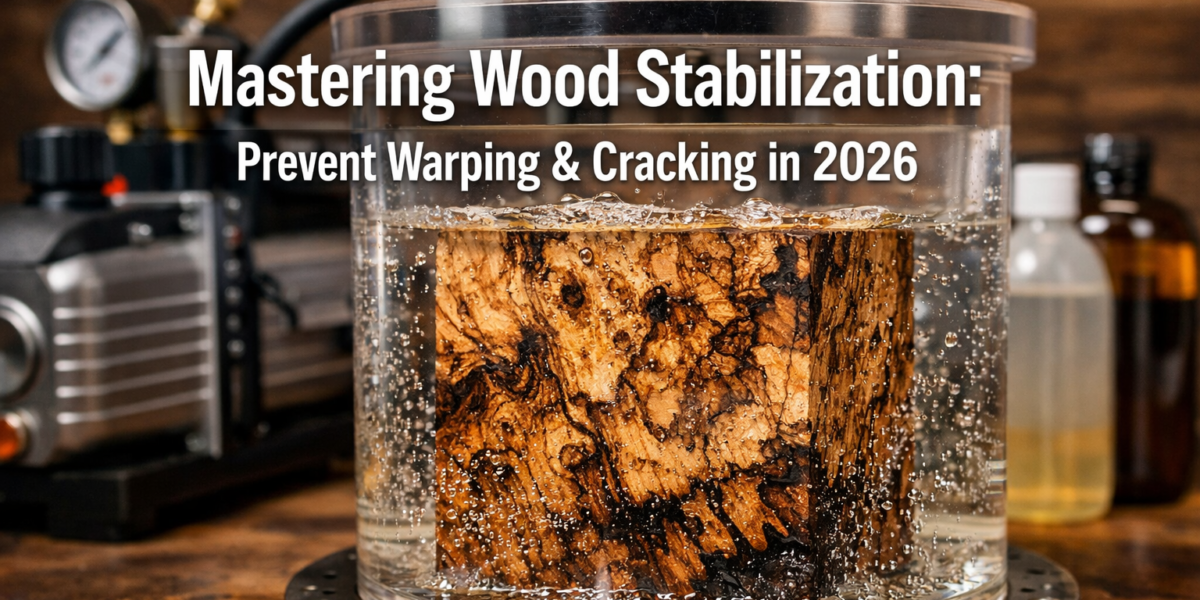

The average wood piece expands and contracts by as much as 10% across its grain with seasonal humidity changes, a seemingly minor fluctuation that can spell disaster for unique, highly figured, or punky timber. For woodworkers and artisans dedicated to preserving the intrinsic beauty of these challenging materials, mastering stabilization is not merely a technique—it’s an essential art. This comprehensive article serves as The Essential Guide to Wood Stabilizing: Techniques for Preventing Warping and Cracking in Unique Wood Pieces, ensuring your extraordinary projects stand the test of time, free from the ravages of moisture and movement.
Key Takeaways
- Understanding Wood Movement: Wood’s natural hygroscopic properties mean it constantly absorbs and releases moisture, leading to expansion (swelling) and contraction (shrinking), particularly in challenging woods like spalted or punky timber.
- Stabilization Methods Vary: Techniques range from air-drying and kiln-drying to chemical impregnation using resins and waxes, each suited for different wood types and project requirements.
- Vacuum Impregnation is Key for Unique Woods: For highly figured, spalted, or punky wood, vacuum stabilization with polymerizing resins like Cactus Juice offers superior penetration and long-term stability.
- Proper Curing is Crucial: The effectiveness of resin-based stabilization hinges on correct curing, often involving specific temperatures and durations, to fully harden the impregnating agent within the wood fibers.
- Long-Term Preservation: Implementing effective wood stabilizing techniques is fundamental for crafting durable, beautiful pieces that resist warping, cracking, and decay, enhancing both structural integrity and aesthetic value.
Understanding Wood Movement and Its Challenges
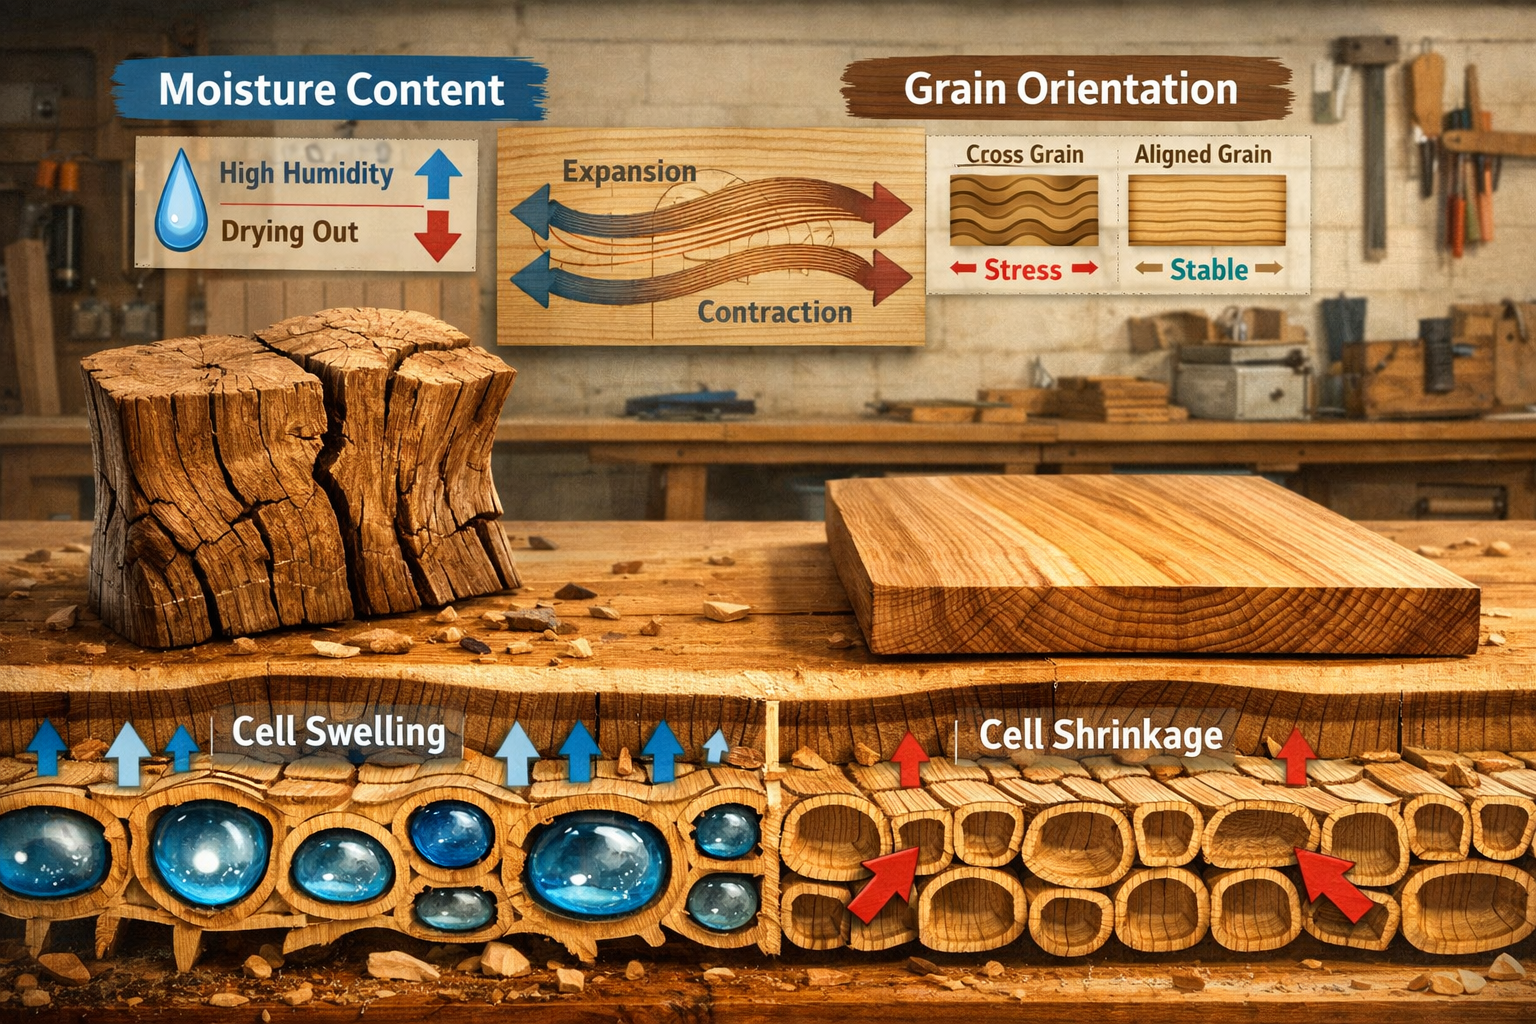
Wood is a fascinating, organic material that interacts constantly with its environment. Its primary nemesis? Moisture. As a hygroscopic material, wood continually attempts to equalize its internal moisture content with the surrounding air. When humidity is high, wood absorbs moisture and swells; when humidity is low, it releases moisture and shrinks. This constant expansion and contraction, known as wood movement, is the root cause of warping, cracking, and checking, particularly in unique wood pieces such as burls, spalted wood, or highly figured timber. These woods often have irregular grain patterns, areas of softer decay (punky wood), or internal stresses that make them exceptionally prone to movement and instability.

Why Unique Woods Are More Susceptible
Unique wood pieces, by their very nature, deviate from the uniform grain patterns found in dimensional lumber.
- Spalted Wood: This wood, partially decayed by fungi, exhibits striking black lines and unique colorations. However, the fungal activity often leaves areas of varying density—some parts solid, others soft and punky. This inconsistent structure makes it highly susceptible to uneven moisture absorption and catastrophic movement.
- Burls: Burls are abnormal tree growths characterized by chaotic, intertwined grain patterns. While incredibly beautiful, this irregular grain means internal stresses are unevenly distributed, leading to unpredictable warping and cracking as moisture levels change.
- Punky Wood: Often found in conjunction with spalted wood or burls, punky wood is soft, crumbly, and partially rotten. It has little structural integrity and will almost certainly disintegrate or distort without stabilization.
- Highly Figured Wood: Woods with pronounced figure (e.g., curly maple, birdseye maple) often have compressed or interlocked grain that also experiences uneven movement, albeit typically less dramatically than spalted or punky wood.
Without proper intervention, even the most exquisite raw material can transform into a frustrating, unusable mess. The goal of The Essential Guide to Wood Stabilizing: Techniques for Preventing Warping and Cracking in Unique Wood Pieces is to equip you with the knowledge to safeguard these treasures.
Table 1: Common Issues and Susceptible Wood Types
| Issue | Description | Most Susceptible Wood Types |
|---|---|---|
| Warping | Uneven shrinkage or swelling causing twisting, cupping, or bowing. | Burls, large slabs, unevenly dried lumber |
| Cracking/Checking | Splits along the grain, often due to rapid drying or internal stress. | Spalted wood, punky wood, end grain sections, thicker pieces |
| Disintegration | Soft areas breaking down, especially in decayed or punky regions. | Punky wood, severely spalted areas |
| Dimensional Change | General expansion/contraction leading to ill-fitting joints or finishes. | All wood, but exaggerated in unstable pieces |

Traditional and Advanced Wood Stabilizing Techniques
While traditional air-drying and kiln-drying are foundational for most woodworking, they are often insufficient for the highly challenging unique wood pieces we’re discussing. For these, advanced wood stabilizing techniques are crucial.
Air-Drying and Kiln-Drying
These are the first steps for any raw lumber, reducing the moisture content (MC) to an acceptable level for interior use (typically 6-8%).
- Air-Drying: A slow, natural process where wood dries outdoors. It’s gentle but takes considerable time (often a year per inch of thickness) and doesn’t always achieve uniform low MC, especially in large or irregular pieces.
- Kiln-Drying: Uses controlled heat and humidity to dry wood much faster and to a more consistent MC. While effective for standard lumber, it can still cause cracking or warping in highly stressed or irregular woods if not managed carefully.
For more on preparing wood for projects, consider exploring resources on sustainable wood sourcing.
Chemical Impregnation: The Modern Solution
For spalted, punky, or highly figured wood, chemical impregnation is the gold standard for long-term stability. This involves introducing a stabilizing agent into the wood fibers, which then hardens, preventing the wood from absorbing or releasing moisture.
1. Vacuum Stabilization with Resins
This is arguably the most effective method for truly problematic wood. It involves submerging the wood in a low-viscosity resin and then applying a vacuum.
- Process Overview:
- Preparation: Ensure the wood is thoroughly dry (below 10% MC, ideally 6-8%). Any moisture will impede resin penetration.
- Submersion: Place the dry wood in a vacuum chamber, fully submerged in a stabilizing resin (e.g., Cactus Juice, TurnTex brand).
- Vacuum Application: Apply a vacuum to the chamber. This pulls air out of the wood’s cellular structure, causing bubbles to rise. Maintain the vacuum until bubbling stops, indicating most air has been removed.
- Pressure Release: Release the vacuum. The atmospheric pressure then forces the resin deep into the evacuated cellular spaces.
- Soaking: Allow the wood to soak in the resin for several hours, or even overnight, to ensure maximum penetration.
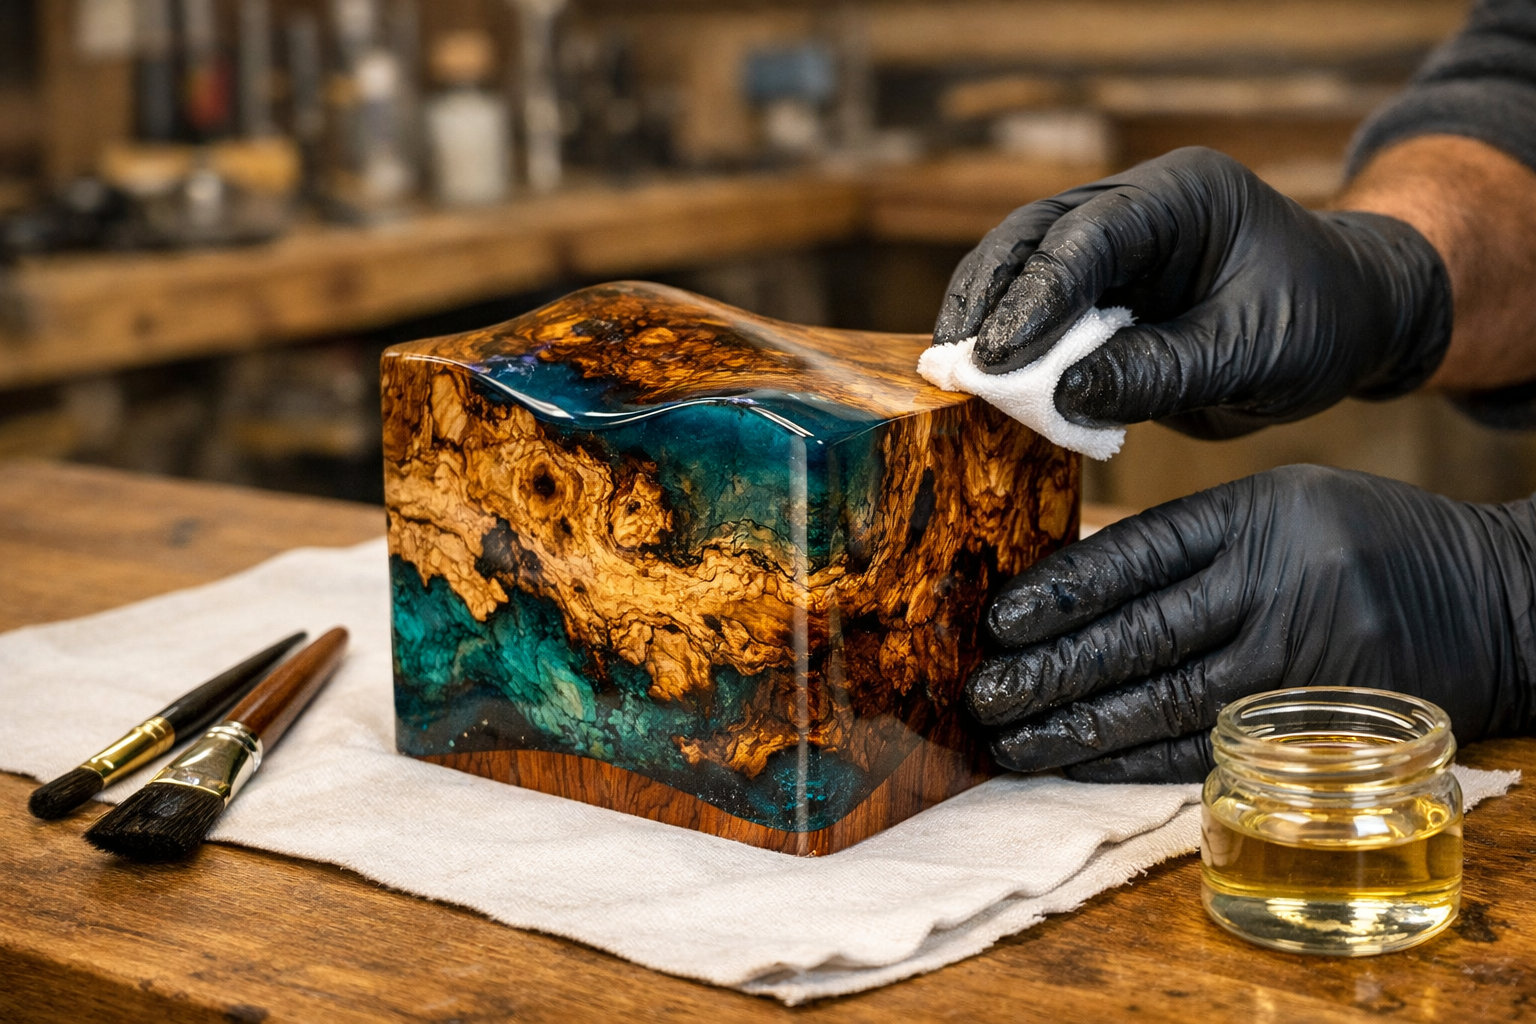
- Curing: Remove the wood and wrap it in foil to prevent surface curing. Cure in an oven at the manufacturer’s recommended temperature (typically 190-200°F or 88-93°C) for a specified duration. The heat polymerizes the resin, making it solid within the wood.
- Benefits: Deep penetration, complete saturation, significantly increased density and hardness, excellent resistance to moisture movement, and preserves delicate structures like punky wood.
- Drawbacks: Requires specialized equipment (vacuum pump, chamber, oven), resin can be expensive, and the process is time-consuming.
2. Penetrating Sealers and Waxes
While not as robust as vacuum resin stabilization, these methods offer some protection for less severe cases or as an initial treatment.
- Polymerizing Oils: Oils like tung oil or boiled linseed oil can penetrate wood pores and harden over time, providing some moisture resistance. Multiple coats are often required.
- Waxes: Paraffin wax or special wood stabilizing waxes can be melted and applied to wood, or wood can be submerged. The wax fills the pores, blocking moisture exchange. This is often used for bowl blanks or green wood to slow drying and prevent checking.
- Epoxy Resins (Surface/Partial): Thinner epoxies can penetrate somewhat, especially into softer wood. These are typically brushed on and offer good surface hardness and moisture resistance, but usually don’t achieve the deep, comprehensive saturation of vacuum impregnation. For discussions on adhesives, see The Ultimate Guide to Wood Glue.
3. PEG (Polyethylene Glycol)
PEG is a water-soluble synthetic wax used to stabilize green wood, particularly for preventing cracking during drying of larger, denser pieces or historical artifacts.
- Process: Green wood is soaked in a PEG solution for an extended period (months to years). The PEG replaces the water in the wood cells, and as the wood dries, the PEG remains, preventing the cells from collapsing and thus minimizing shrinkage and cracking.
- Benefits: Excellent for large green pieces, effective at preventing major cracking.
- Drawbacks: Can leave the wood feeling greasy, can affect finishing (some finishes don’t adhere well), and is a very slow process.

Implementing “The Essential Guide to Wood Stabilizing: Techniques for Preventing Warping and Cracking in Unique Wood Pieces” in Your Workshop
Successfully applying wood stabilization techniques requires attention to detail and understanding the specific needs of your material and project. Here’s how to integrate these methods into your woodworking practice for the best results in 2026.
Choosing the Right Technique
The choice of stabilization method largely depends on the wood’s condition and its intended use:
- For severely spalted, punky, or delicate burls: Vacuum impregnation with resin is paramount. It’s the only method that can truly solidify soft, crumbly areas and lock in the chaotic grain structures. Ideal for turning blanks, knife handles, or decorative inlays.
- For moderately figured woods or to reduce minor movement: Penetrating oils, waxes, or even simple, consistent air-drying followed by a good finish might suffice. Consider these for furniture components that will be joined securely.
- For large, green blanks intended for carving or turning: PEG treatment or careful wax-sealing of end grain can prevent catastrophic cracking during initial drying. Once dry, further stabilization might be considered. For those interested in turning, “Introduction to Wood Turning for Beginners” provides valuable insights into initial wood preparation.
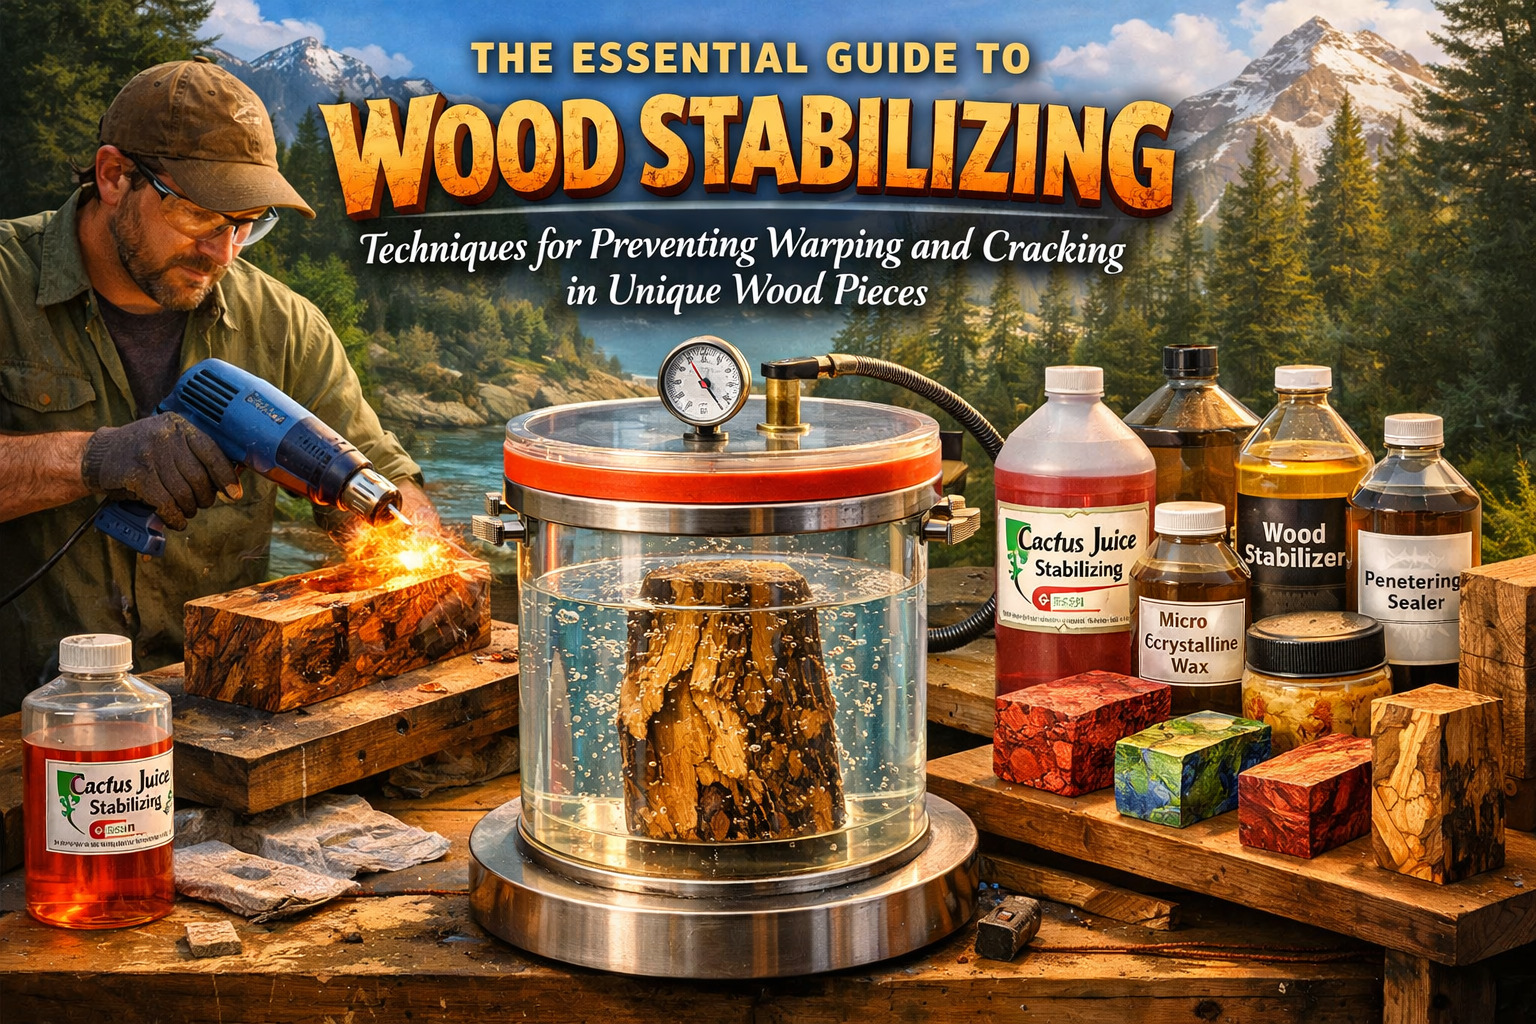
Essential Tools and Materials
To implement The Essential Guide to Wood Stabilizing: Techniques for Preventing Warping and Cracking in Unique Wood Pieces, you’ll need specific equipment:

- For Vacuum Stabilization:
- Vacuum Chamber: A robust, clear acrylic or metal chamber capable of holding a deep vacuum.
- Vacuum Pump: A reliable pump, preferably a two-stage rotary vane pump, capable of pulling at least 29″ Hg.
- Stabilizing Resin: Specific brands like Cactus Juice, TurnTex, or similar acrylic-based resins designed for wood stabilization. Always follow manufacturer’s instructions.
- Oven: A dedicated oven (not your kitchen oven due to fumes) capable of maintaining stable temperatures for curing.
- Safety Gear: Nitrile gloves, safety glasses, respirator (for handling resins and fumes).
- For Wax/Oil Treatments:
- Melting Pot/Crock Pot: For melting waxes.
- Brushes/Applicators: For applying oils and sealers.
- Waxes/Oils: Paraffin wax, beeswax, tung oil, boiled linseed oil.
Best Practices for Success
- Thorough Drying is Non-Negotiable: Before any resin-based stabilization, the wood must be as dry as possible. Any residual moisture will interfere with resin penetration and proper curing. Use a moisture meter to confirm readings below 10%, ideally 6-8%.
- Size and Shape Matters: For vacuum stabilization, smaller pieces (turning blanks, knife scales) are typically more effective. Very large pieces are challenging to stabilize completely through-and-through due to equipment limitations and resin costs.
- Prepare the Wood Surface: Lightly sand or plane the wood to expose fresh grain, allowing better resin absorption. Avoid heavy finishes or sealers prior to stabilization.
- Monitor the Process: Observe the vacuum chamber for bubbling cessation. During curing, ensure the oven maintains the correct temperature for the recommended duration.
- Safety First: Always work in a well-ventilated area when using resins and ovens. Wear appropriate personal protective equipment (PPE).
By following these guidelines and investing in the right equipment and materials, you can confidently tackle the most challenging wood pieces, transforming them into stable, breathtaking works of art that defy warping and cracking for years to come. For optimal results in shaping and joining, remember to maintain your tools; our guide on sharpening woodworking chisels and planes can be invaluable.

Conclusion
The allure of unique wood—its intricate grain, captivating figure, and rich history—is undeniable. However, these very qualities often come with the inherent challenge of instability. As woodworkers, our responsibility extends beyond mere craftsmanship to the preservation of these remarkable natural materials. The Essential Guide to Wood Stabilizing: Techniques for Preventing Warping and Cracking in Unique Wood Pieces illuminates the path to transforming problematic timber into enduring masterpieces.
By understanding the fundamental principles of wood movement and strategically employing techniques such as thorough drying, vacuum resin impregnation, and careful curing, you gain the power to harness the beauty of spalted, punky, and highly figured woods. This mastery ensures that your unique creations, whether a delicate turning, a decorative inlay, or a bespoke furniture accent, remain structurally sound and visually stunning for generations. Embrace these methods, and elevate your woodworking from crafting pieces to preserving natural art.
Actionable Next Steps:
- Assess Your Wood Stock: Categorize your unique wood pieces by their susceptibility to movement. Identify which ones would most benefit from advanced stabilization.
- Research Stabilization Kits: If new to vacuum stabilization, look into starter kits that include a chamber, pump, and resin.
- Practice on Scraps: Before committing a valuable piece, practice your chosen stabilization method on a similar scrap of less significant wood to refine your technique and understand the process.
- Invest in a Moisture Meter: A reliable moisture meter is an indispensable tool for ensuring your wood is adequately dry before stabilization.
- Prioritize Safety: Always acquire and use appropriate personal protective equipment (PPE) when working with chemicals and vacuum equipment.
SEO Meta Title: Wood Stabilizing Guide: Prevent Warping & Cracking in 2026 SEO Meta Description: Master wood stabilizing techniques in 2026 to prevent warping & cracking in unique wood pieces like burls & spalted wood. Essential guide for woodworkers.
