
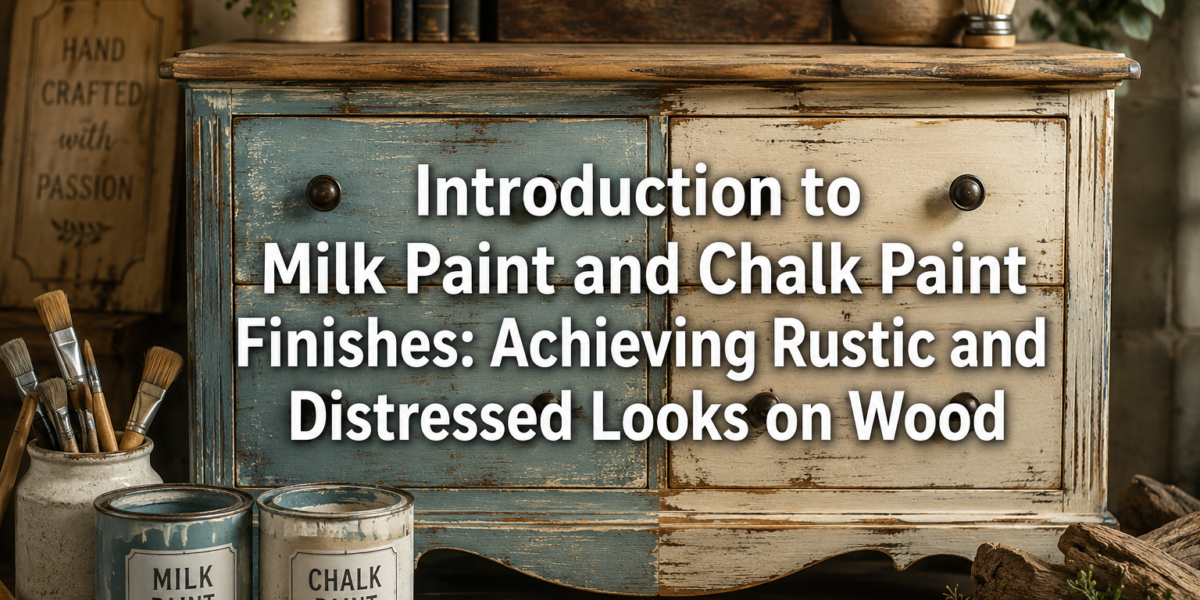
The average piece of furniture can increase in perceived value by over 30% when given a high-quality, thoughtfully applied distressed finish. This surprising statistic underscores the immense potential for transforming ordinary wooden items into coveted pieces with character and history. For woodworking enthusiasts and DIYers alike, mastering the nuances of specialty finishes is not merely about aesthetics; it’s about unlocking new creative avenues and enhancing the intrinsic appeal of their projects. This article offers an Introduction to Milk Paint and Chalk Paint Finishes: Achieving Rustic and Distressed Looks on Wood, guiding you through the distinct properties, application techniques, and creative possibilities these unique paints offer in 2026.
Key Takeaways
- Distinct Finishes: Milk paint offers a naturally authentic, often chippy look ideal for primitive distressing, while chalk paint provides a velvety, matte finish suitable for controlled distressing and waxing.
- Adhesion & Preparation: True milk paint requires a bonding agent on non-porous surfaces to prevent chipping, whereas chalk paint typically adheres well with minimal preparation.
- Achieving Distressed Effects: Both paints are excellent for creating rustic and distressed aesthetics, but the methods differ. Milk paint chips naturally, while chalk paint is distressed through sanding and waxing.
- Versatile Applications: These finishes are perfect for upcycling furniture, creating vintage decor, and adding character to new woodworking projects, offering a unique alternative to traditional stains and varnishes.
- Topcoats are Crucial: Sealing milk paint with oil, wax, or poly protects the finish, while chalk paint almost always benefits from wax or clear coat for durability and depth.
Understanding Milk Paint and Chalk Paint: An Introduction to Milk Paint and Chalk Paint Finishes: Achieving Rustic and Distressed Looks on Wood
When venturing into the world of rustic and distressed wood finishes, milk paint and chalk paint stand out as two distinct, yet equally effective, mediums. While often grouped together due to their shared ability to create aged appearances, they possess unique characteristics that dictate their application and the final look they achieve. Understanding these differences is the first step in mastering their use.
What is Milk Paint?
Traditional milk paint is one of the oldest forms of paint, dating back thousands of years. It’s an all-natural, biodegradable product made from milk protein (casein), lime, clay, and natural pigments. The beauty of authentic milk paint lies in its unpredictable nature. When applied to a clean, non-porous surface, it often “chips” or “crazes,” creating an instantly aged, authentically distressed look that is highly sought after.
- Composition: Casein protein, lime, clay, natural pigments.
- Appearance: Ultra-matte, very flat finish. Naturally tends to chip and flake on slick surfaces.
- Adhesion: Excellent on raw wood. On previously finished or sealed surfaces, a bonding agent is often required to ensure good adhesion and prevent excessive chipping, unless the chippy look is desired.
- Drying Time: Dries quickly, often within 30 minutes to an hour between coats.
- Durability: Needs a topcoat (oil, wax, or poly) for protection and enhanced durability, especially for furniture.
- Distressing Method: Achieves a naturally chippy, time-worn effect without much effort. Additional distressing can be done with light sanding.
“Authentic milk paint isn’t just a finish; it’s a connection to history, yielding results that feel genuinely antique rather than merely imitated.”
What is Chalk Paint?
Chalk paint, a relatively newer invention compared to milk paint, gained immense popularity for its ease of use and ability to adhere to almost any surface without extensive prep work. While its exact formula is proprietary to its various brands, it’s generally a water-based paint with a high mineral content, giving it a characteristic matte, chalky finish.
- Composition: Water-based, high mineral content, often calcium carbonate.
- Appearance: Velvety, ultra-matte, chalky finish. Does not typically chip unless heavily distressed or applied incorrectly.
- Adhesion: Exceptional adhesion to most surfaces (wood, metal, laminate, plastic) with little to no sanding or priming required.
- Drying Time: Dries relatively quickly, typically within 1-2 hours between coats.
- Durability: While durable, it almost always requires a topcoat (wax, clear coat, or lacquer) for protection against moisture, scuffs, and daily wear.
- Distressing Method: Easily distressed by sanding after drying, allowing for controlled removal of paint to reveal the underlying surface. Waxes can then be used to enhance the distressed areas and add depth.
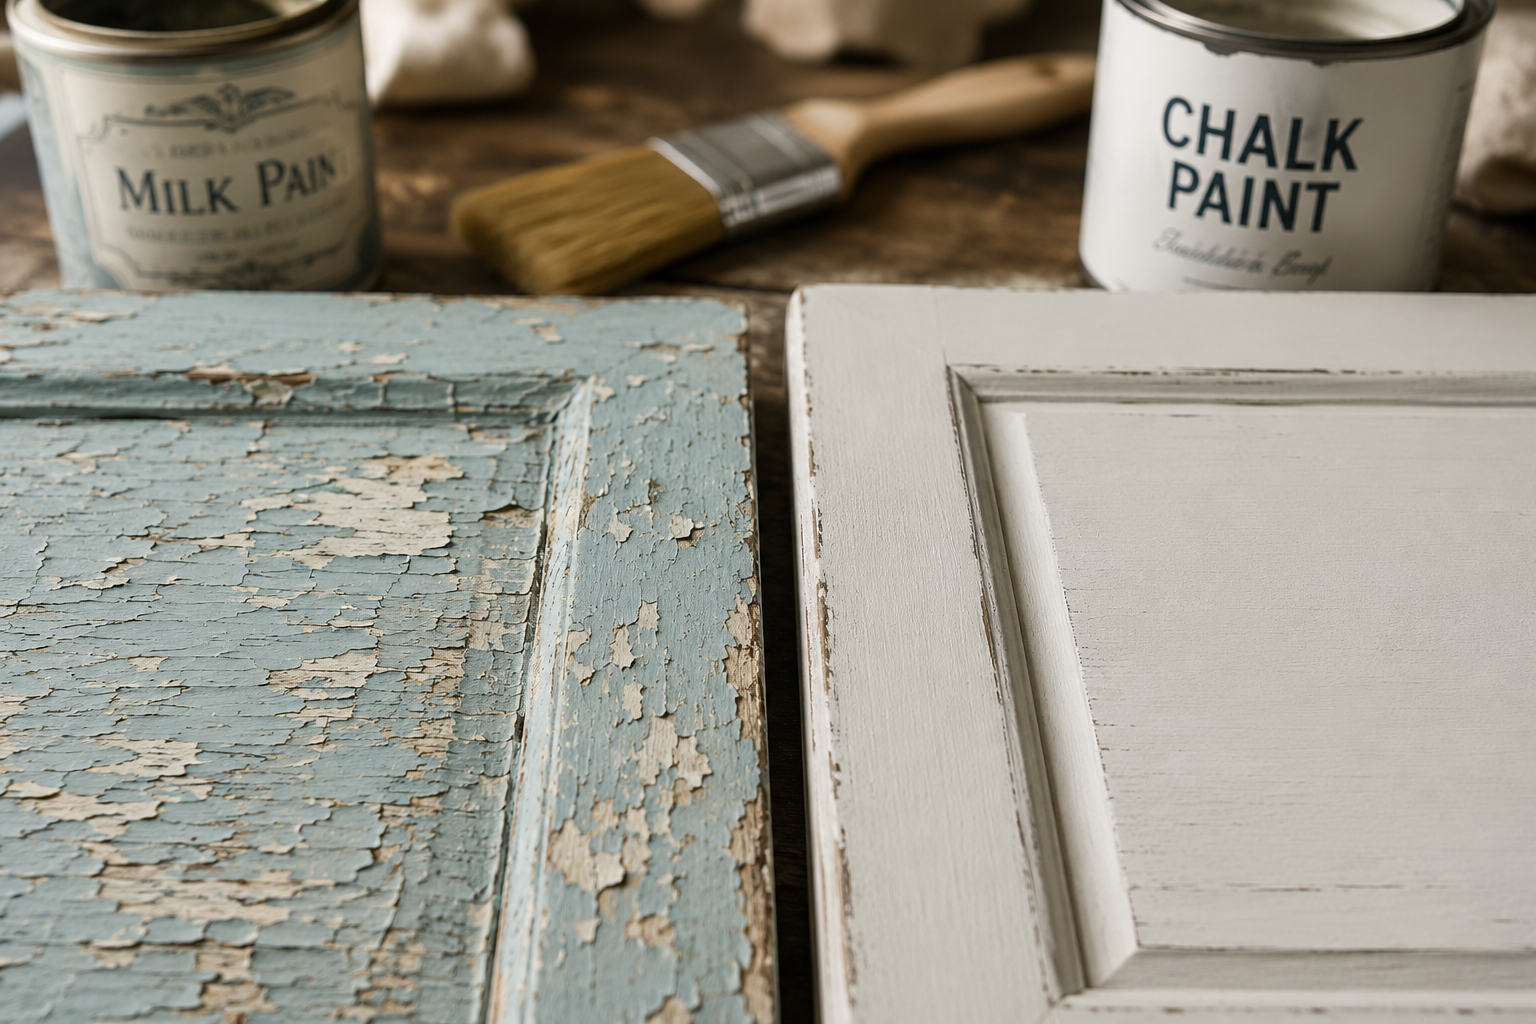
Key Differences at a Glance
| Feature | Milk Paint (Traditional) | Chalk Paint |
|---|---|---|
| Primary Ingredient | Casein (milk protein) | Calcium carbonate/mineral-based |
| Finish | Ultra-matte, porous, often naturally chippy | Velvety matte, smooth, chalky feel |
| Adhesion | Excellent on raw wood; bonding agent needed for slick surfaces | Excellent on most surfaces with minimal prep |
| Distressing | Natural chipping and flaking | Controlled sanding and waxing |
| Durability | Requires topcoat (oil/wax/poly) | Requires topcoat (wax/clear coat) |
| Odor | Low to none | Low |
| Mixability | Often comes in powder form to mix with water | Ready-to-use liquid |
| Historical Appeal | Very authentic, antique look | Vintage, farmhouse, shabby chic |
For those looking to explore more advanced techniques for wood finishing, including faux wood finishing techniques or reclaimed wood finishing techniques, understanding these foundational paints provides a strong base.
Application Techniques for Rustic and Distressed Finishes
Achieving that coveted rustic or distressed look on wood with milk paint and chalk paint is more about technique than brute force. Each paint has its own method for bringing out its unique charm. This section focuses on the practical application, making it easier to integrate into your woodworking projects in 2026.
Preparing Your Wood Surface
While both paints boast good adhesion, a little preparation goes a long way in ensuring a beautiful, lasting finish.
- Cleanliness: Always start with a clean surface. Use a mild degreaser or TSP alternative to remove dirt, grease, and grime.
- Sanding (Optional but Recommended): For milk paint, especially if you don’t want a chippy look on a slick surface, a light scuff sand (180-220 grit) can help. For chalk paint, sanding is generally not necessary unless the surface is very uneven or flaky.
- Repair: Fill any major holes or gouges with wood filler and sand smooth.
- Bonding Agent (Milk Paint Specific): If you’re using true milk paint on a non-porous surface (like laminate or a previously varnished piece) and want it to adhere fully without significant chipping, mix a milk paint bonding agent into your first coat.
Applying Milk Paint for a Distressed Look
- Mixing: If using powdered milk paint, mix it thoroughly with water according to package directions. Let it sit for 10-15 minutes for the pigments to fully dissolve, then stir again.
- First Coat: Apply a thin, even first coat. Don’t worry if it looks streaky; milk paint often evens out. For a very chippy look, apply directly to a clean, unsanded, unprimed surface.
- Drying: Allow the first coat to dry completely. You might see some natural chipping start to occur during this phase.
- Second Coat (and Third if Needed): Apply a second coat. If you desire deeper color or more coverage, a third coat may be necessary.
- Encouraging Chips (Optional): If natural chipping isn’t happening enough, you can gently scuff areas with fine-grit sandpaper after the first coat, or apply a resist (like Vaseline or a wax stick) to specific areas before painting the top coat.
- Sanding for Smoothness/Distressing: Once dry, lightly sand the entire piece with fine-grit sandpaper (220-320 grit) to smooth any rough spots and remove any loose chips. For more controlled distressing, focus on edges, corners, and raised details where natural wear would occur.
- Topcoat: Apply a protective topcoat. Options include:
- Natural Oil Finish: For a warm, durable finish (e.g., tung oil, hemp oil).
- Wax: Clear wax for a soft sheen and protection, or dark wax for an antiqued effect.
- Polyurethane/Polycrylic: For maximum durability, especially on high-traffic pieces.
For more inspiration on rustic wood finishing, explore our guide on rustic wood finishing techniques.
Applying Chalk Paint for a Distressed Look
- First Coat: Apply the first coat of chalk paint with a brush, roller, or sprayer. Chalk paint is thick, so you might need to thin it slightly with water if spraying or if you prefer a smoother application. Don’t overload your brush; thin coats are better.
- Drying: Allow the first coat to dry completely. Chalk paint dries to the touch quickly but ensure it’s fully cured before proceeding.
- Second Coat: Apply a second coat for full coverage. You can apply it in a cross-hatch pattern for texture or smoothly for a more uniform look.
- Distressing: This is where chalk paint shines for controlled distressing. Once the paint is completely dry (at least a few hours, preferably overnight), use fine-grit sandpaper (180-220 grit) to gently sand away paint on edges, corners, raised details, and areas that would naturally show wear. Start lightly and build up the distress. You can also use a wet cloth to rub away paint on edges for a softer look.
- Clean Dust: Wipe away all sanding dust with a damp cloth.
- Waxing/Sealing: This step is crucial for chalk paint to achieve durability and depth.
- Clear Wax: Apply a thin, even coat of clear wax with a wax brush or lint-free cloth. Work in small sections, wiping off excess as you go. Allow to cure (usually 24 hours to a few days).
- Dark Wax/Colored Waxes: For an antiqued or stained effect, apply dark wax after the clear wax (or directly if you want a more intense antique look). Apply sparingly and wipe back until the desired effect is achieved. Buff after curing for a soft sheen.
- Clear Coat: For higher durability on tabletops or high-traffic areas, use a water-based clear coat (polyurethane or polycrylic) instead of wax.
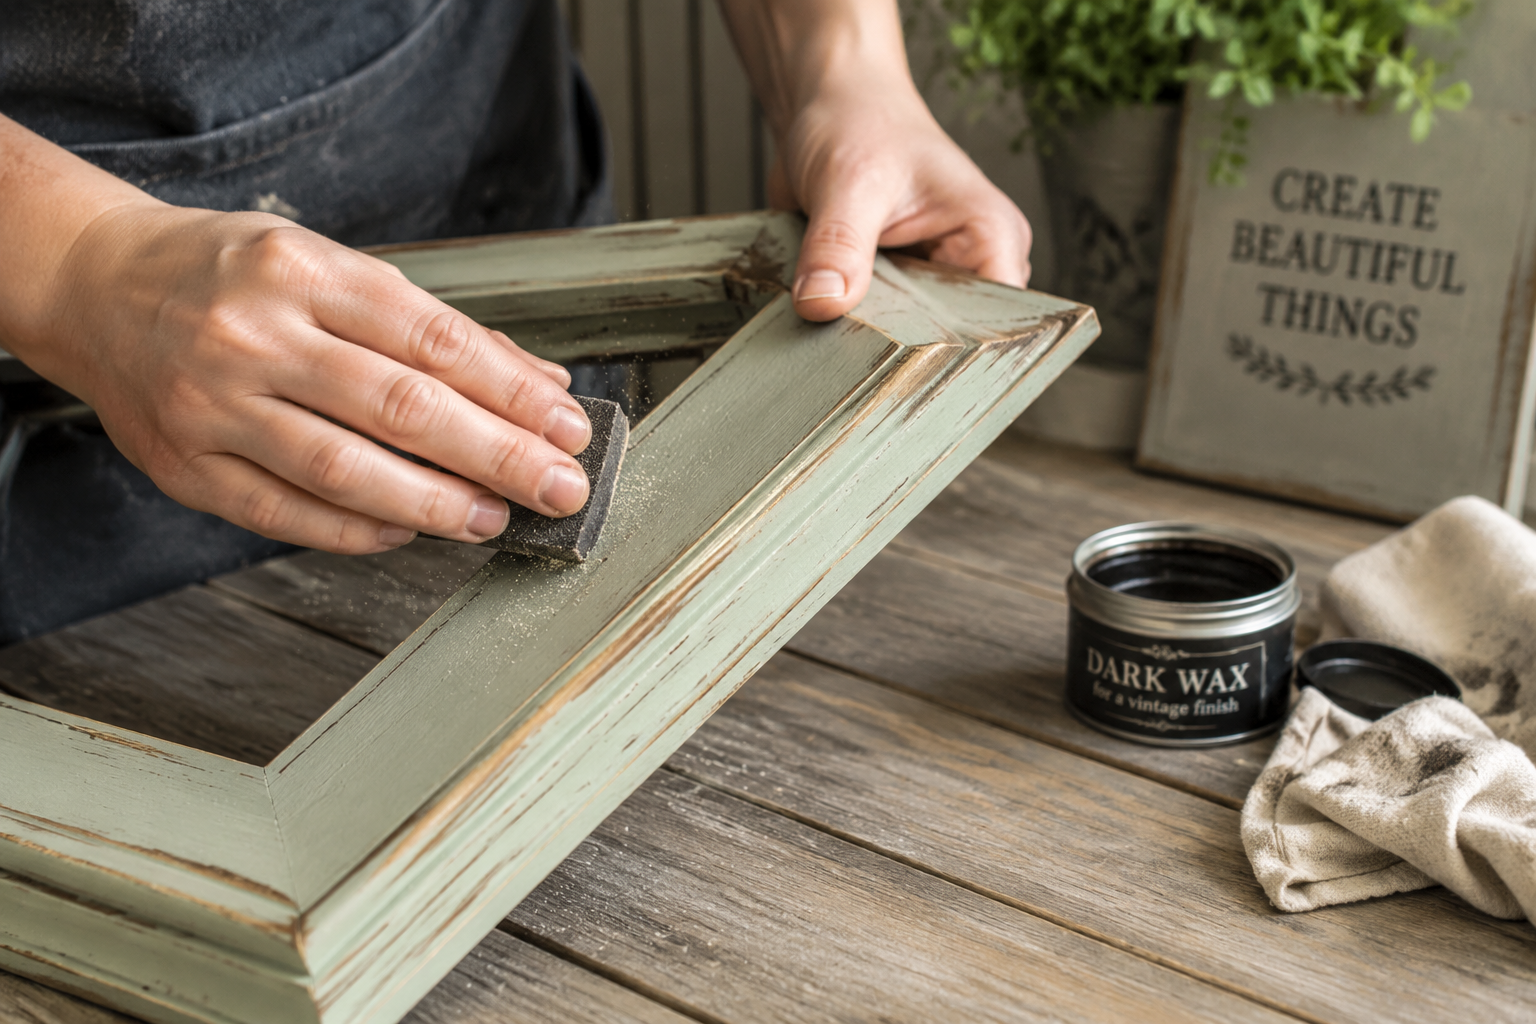
Both milk paint and chalk paint can create stunning, character-rich pieces. The choice often comes down to the desired level of natural chipping versus controlled distressing and the historical authenticity you aim for. For specific projects like building a modular home office desk system, considering the durability of the topcoat is especially important.
Creative Ideas and Project Inspirations
The versatility of milk paint and chalk paint extends far beyond simply painting a piece of furniture a single color. Their unique properties open a world of creative possibilities for Introduction to Milk Paint and Chalk Paint Finishes: Achieving Rustic and Distressed Looks on Wood, allowing woodworkers and DIY enthusiasts to craft truly unique, personalized items.
Upcycling Furniture
Old, neglected furniture pieces are prime candidates for a milk paint or chalk paint makeover.
- Farmhouse Chic Dresser: Use chalk paint in a soft white or gray, lightly distress the edges, and finish with a clear or dark wax for a cozy farmhouse aesthetic. Add new hardware for an updated look.
- Vintage Cabinet: Apply a vibrant milk paint color (like a deep blue or red) to an old cabinet. Let it chip naturally, then seal with hemp oil for a warm, aged patina. This creates a piece that looks like it has been passed down through generations.
- Dining Table Transformation: Use chalk paint on the base and legs of a dining table, distressing heavily. Consider leaving the tabletop natural or staining it a contrasting color for a two-toned effect.
- Rustic Bookcase: Paint a wooden bookcase with a neutral chalk paint. After distressing, apply a colored wax (e.g., black or brown wax) to specific areas to create shadows and emphasize architectural details.
Decorative Woodworking Projects
Smaller woodworking projects also benefit greatly from these finishes, adding personality and flair.
- Distressed Photo Frames: Paint raw wood photo frames with milk paint, allowing it to chip. Once sealed, the frames instantly gain a vintage appeal perfect for showcasing cherished memories.
- Wooden Signs: Create custom wooden signs with inspirational quotes or family names. Use chalk paint for the base, then stencil letters with a contrasting color. Lightly sand the entire sign to give it a weathered, hand-painted feel.
- Candle Holders: For projects like wooden candle holders for ambient decor, a distressed milk paint or chalk paint finish can add significant character. Imagine a set of chippy white milk paint pillar stands on a rustic mantel.
- Trays and Boxes: Simple wooden trays or storage boxes can be transformed into rustic decor items. Use a two-color distressed technique where a base color (e.g., dark brown) peeks through a lighter topcoat (e.g., cream chalk paint).
Layering and Two-Tone Effects
Both paints are excellent for creating layered finishes where multiple colors show through.
- Base Coat: Apply a darker or contrasting color first (e.g., dark gray chalk paint).
- Resist (Optional): On areas where you want the base color to show through prominently, apply a resist like wax or Vaseline.
- Top Coat: Apply a lighter or desired top color over the entire piece.
- Distressing: Once dry, sand or scrape areas, especially those with the resist, to reveal the underlying color. The contrast creates a dynamic, aged effect.
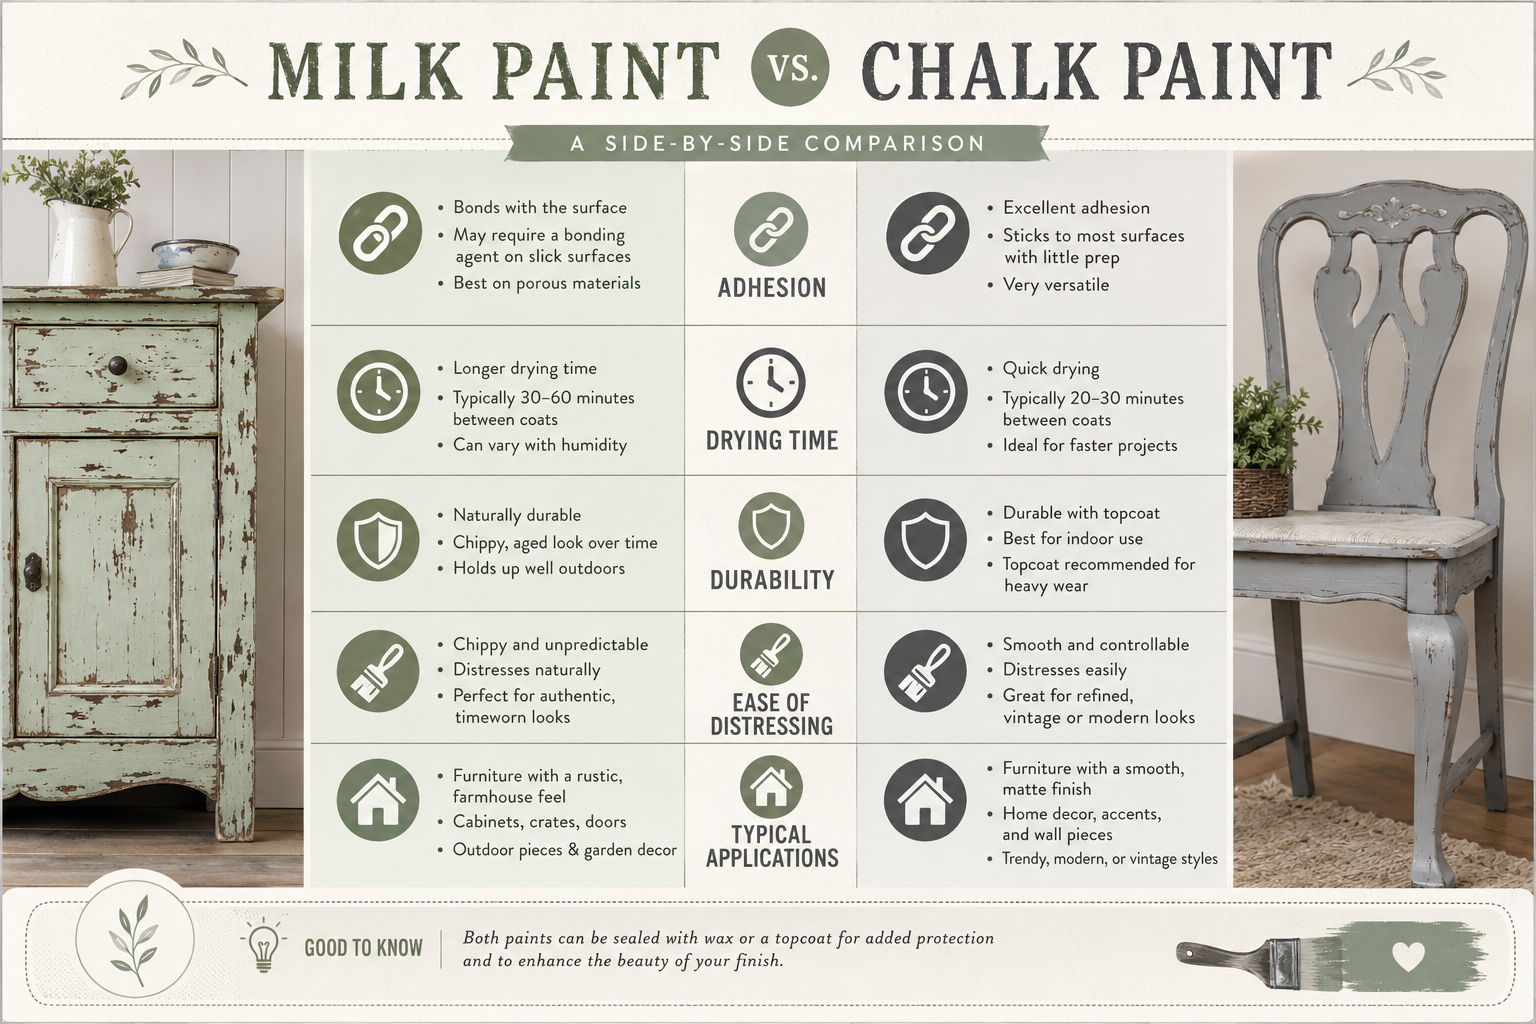
By embracing the unique qualities of milk paint and chalk paint, woodworkers can unlock endless creative possibilities. Whether it’s restoring an antique, upcycling a flea market find, or adding a personal touch to a new creation, these finishes provide a tangible link to craftsmanship and timeless design. For those interested in restoring antique wooden furniture, these paints can breathe new life into old pieces while respecting their historical integrity.
Conclusion
The Introduction to Milk Paint and Chalk Paint Finishes: Achieving Rustic and Distressed Looks on Wood reveals a fascinating world where history meets modern creativity. These two distinct paint types offer unparalleled opportunities to imbue woodworking projects with charm, character, and a sense of timelessness. From the organic, naturally chipping allure of traditional milk paint to the versatile, velvety matte finish of chalk paint, the ability to transform ordinary wood into extraordinary pieces lies in understanding and applying their unique properties.
As you embark on your next woodworking adventure in 2026, consider the profound impact these finishes can have. They allow for a departure from conventional stains and varnishes, inviting experimentation and personal expression. Whether you’re breathing new life into a forgotten heirloom or adding a rustic touch to a brand-new creation, milk paint and chalk paint are invaluable tools in the artisan’s toolkit.
Actionable Next Steps:
- Experiment Small: Before tackling a large piece, practice on scrap wood to get a feel for both milk paint and chalk paint, observing how they adhere and distress.
- Gather Supplies: Invest in quality brushes, sanding sponges, and the appropriate topcoats (waxes, oils, or poly) for your chosen finish.
- Choose Your Aesthetic: Decide whether you prefer the authentic, unpredictable chippiness of milk paint or the controlled, velvety distressing of chalk paint for your next project.
- Explore Tutorials: Watch online videos and read detailed guides to further refine your application and distressing techniques.
- Share Your Work: Join woodworking communities online or in person to share your creations and learn from others.
Embrace the artistry of these finishes, and watch your woodworking projects transform with character and soul.