
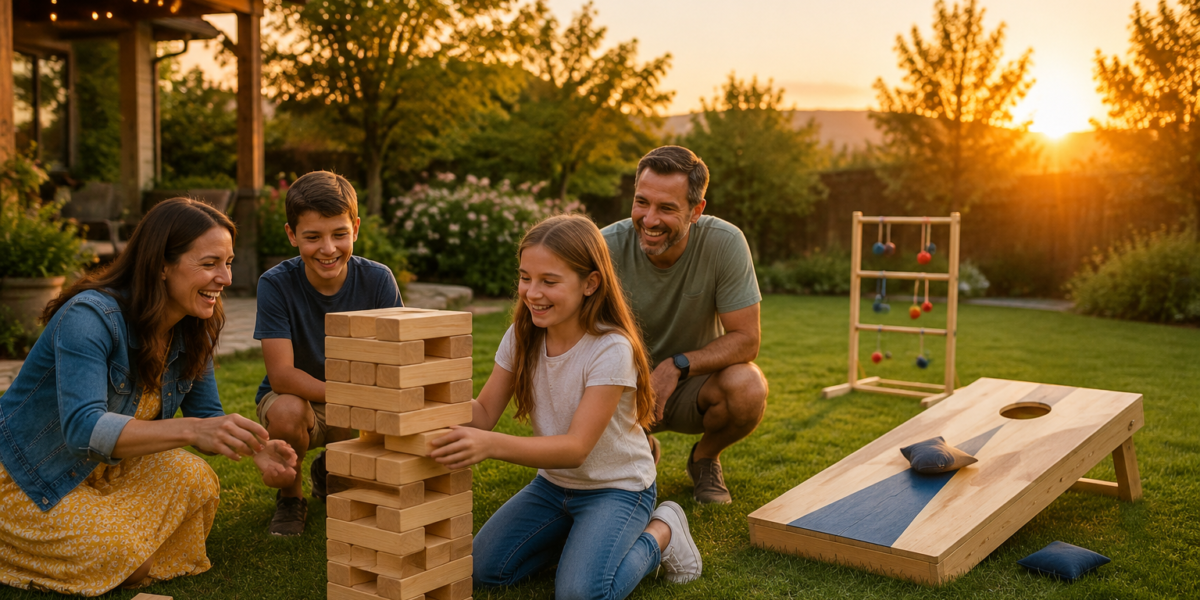

The average household in 2026 spends over $2,500 annually on entertainment, much of which is for activities outside the home. However, building DIY outdoor wooden games like Giant Jenga, cornhole boards, and ladder toss can significantly cut these costs while providing endless, engaging backyard fun. These projects offer not just entertainment but also the satisfaction of creating something durable and memorable with your own hands, transforming your outdoor space into a hub for family gatherings and friendly competition.
Key Takeaways

- Building your own giant Jenga, cornhole, and ladder toss games is a cost-effective way to enhance backyard entertainment.
- Careful material selection, precise cutting, and proper finishing ensure the durability and longevity of these outdoor wooden games.
- Customization options allow for unique designs that reflect personal style and add a special touch to your DIY projects.
- These projects provide valuable woodworking experience, from basic cuts to finishing techniques, suitable for various skill levels.
- Safety in tool use and proper care of the finished games are crucial for enjoyable and lasting backyard fun.
The Foundation of Fun: Essential Tools and Materials for DIY Outdoor Wooden Games: Building Giant Jenga, Cornhole Boards, and Ladder Toss for Backyard Fun
Embarking on the creation of DIY outdoor wooden games: building Giant Jenga, cornhole boards, and ladder toss for backyard fun requires a thoughtful approach to tools and materials. The right choices not only simplify the building process but also ensure the longevity and playability of your finished products. Investing in quality wood and appropriate finishes is paramount for games that will endure the elements and countless hours of enjoyment.
Selecting the Right Wood
For outdoor projects, durability and resistance to moisture are key. Here’s a breakdown of recommended wood types for each game:
- Giant Jenga: Standard 2×4 lumber is the most common choice due to its availability and cost-effectiveness. Pine or fir are excellent options. Ensure the wood is straight and free from significant knots or warps. The goal is uniformity for a stable game.
- Cornhole Boards: Plywood (preferably marine-grade or exterior-grade birch/baltic birch) for the playing surface and 2x4s for the frame provide a sturdy, smooth finish. Cedar or pressure-treated pine can be used for the frame if desired, offering enhanced weather resistance.
- Ladder Toss: PVC pipes are often used, but for a truly wooden game, select durable hardwoods like oak or maple for the rungs and a sturdy softwood like treated pine or cedar for the vertical supports. This blend offers strength and aesthetic appeal.
When purchasing lumber, consider sourcing sustainable options. Sustainable Wood Sourcing for the Modern Woodworker: Beyond Reclaimed offers excellent insights into environmentally responsible choices.
Essential Tools for Your Workshop
A well-equipped workshop is crucial for efficient and accurate construction. Here are the tools you’ll need:
| Tool Category | Specific Tools | Purpose |
|---|---|---|
| Cutting Tools | Miter Saw or Circular Saw, Jigsaw, Hand Saw | Precise cuts for blocks, boards, and various shapes |
| Measuring Tools | Tape Measure, Carpenter’s Square, Pencil, Ruler | Accurate dimensioning and marking |
| Drilling Tools | Cordless Drill, Drill Bits | Creating holes for screws, bolts, and game components |
| Fastening Tools | Wood Clamps, Screwdriver (manual or drill attachment) | Securing pieces during gluing, driving screws |
| Sanding Tools | Orbital Sander, Sandpaper (various grits), Sanding Blocks | Smoothing surfaces for safety and finishing |
| Finishing Tools | Paint Brushes, Rollers, Rags | Applying stains, paints, and protective coats |
| Safety Equipment | Safety Glasses, Hearing Protection, Dust Mask | Protecting yourself from sawdust, noise, and debris |
For those new to woodworking, a Beginner’s Guide to Building a Simple Wooden Bookshelf can provide a foundational understanding of basic tools and techniques that apply here.
Hardware and Adhesives
- Wood Glue: High-quality exterior wood glue is essential for strong, durable joints, especially for pieces that will be exposed to the elements.
- Screws/Bolts: Use exterior-grade screws (galvanized or stainless steel) that are appropriate for the wood thickness. For cornhole legs, carriage bolts and wing nuts allow for easy folding and storage.
- Finish: Exterior-grade paint, stain, or polyurethane provides protection against moisture, UV rays, and general wear and tear. Choose options specifically designed for outdoor use.
- Beanbags/Bolas: For cornhole, you’ll need eight beanbags (four of two different colors). For ladder toss, six bolas (three of two different colors) are required. These can be purchased or sewn DIY.
Taking the time to gather the right materials and tools will streamline your building process for DIY outdoor wooden games, ensuring a successful and enjoyable project.
Step-by-Step Construction Guides for DIY Outdoor Wooden Games: Building Giant Jenga, Cornhole Boards, and Ladder Toss for Backyard Fun
Building your own DIY outdoor wooden games: building Giant Jenga, cornhole boards, and ladder toss for backyard fun is a rewarding endeavor. Follow these detailed steps to create durable and engaging games.
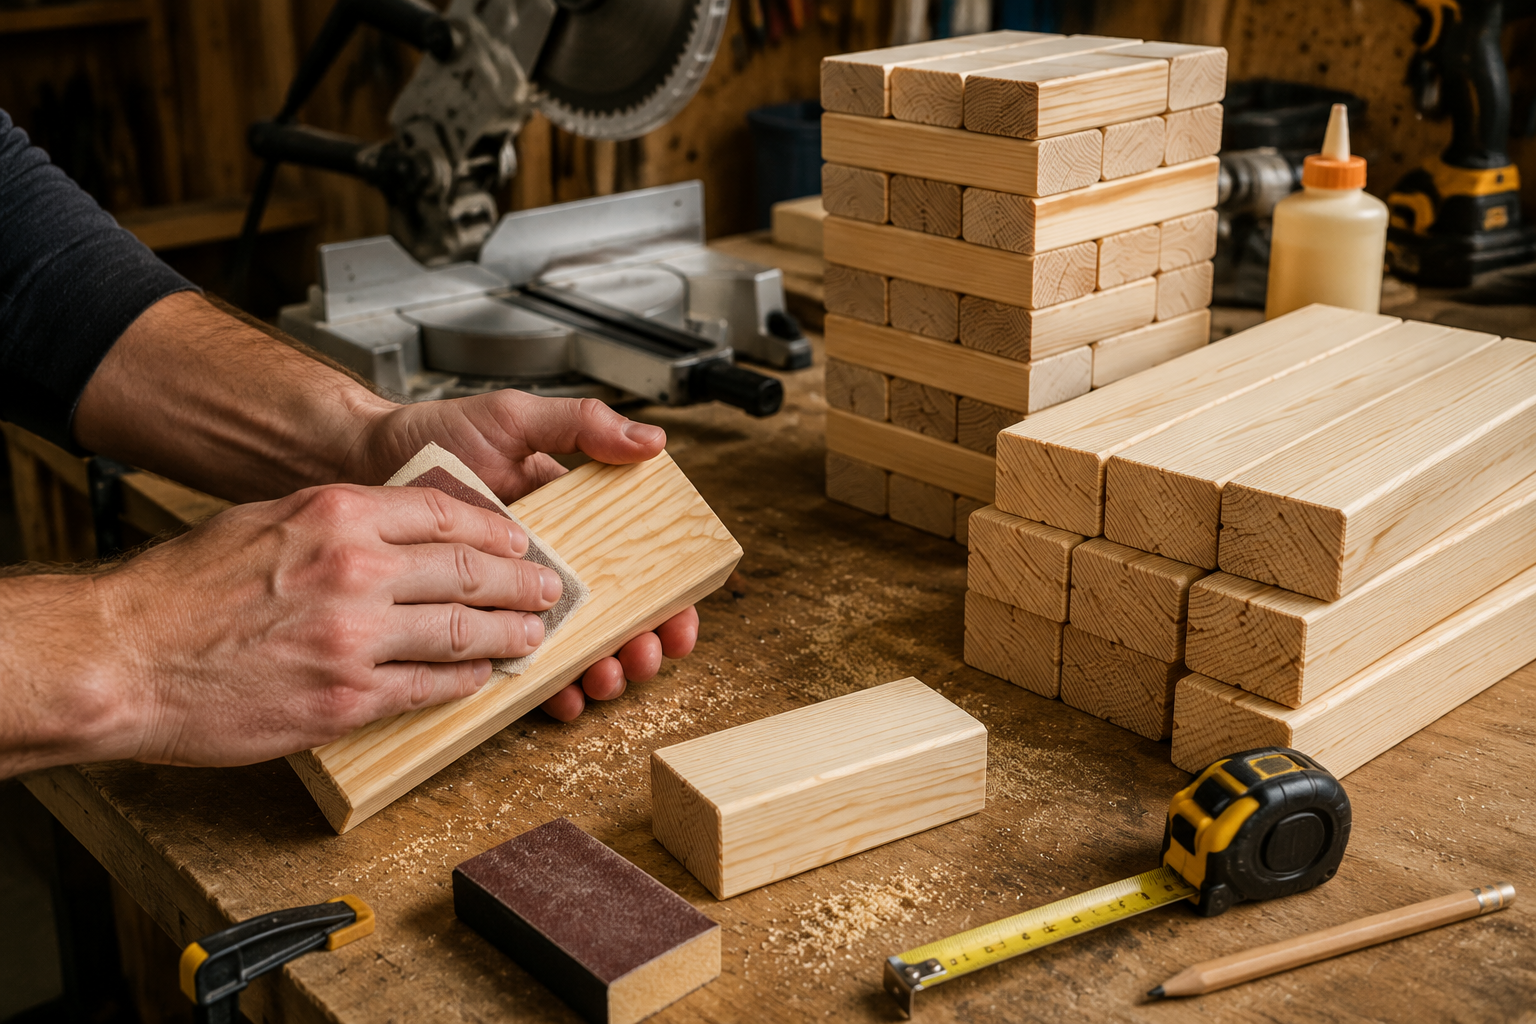
Building Giant Jenga
Giant Jenga typically uses 54 blocks, each three times as long as its width, and slightly less than half its length in height. A common size uses 2×4 lumber.
Materials:
- (9) 8-foot long 2×4 boards (this will give you enough for 54 blocks, plus a few extra for mistakes)
- Exterior wood glue (optional, for repairing any split blocks)
- Exterior-grade sealant or paint (optional)
Steps:
Cut the Blocks:
- Measure the actual width of your 2x4s. They are typically 1.5 inches wide.
- Each Jenga block needs to be exactly 1.5 inches thick, 1.5 inches wide, and 4.5 inches long (three times the width).
- Using a miter saw or circular saw, cut your 2x4s into 54 individual blocks, each 4.5 inches long. Precision is crucial for a stable tower.
- Safety Tip: Always wear safety glasses and hearing protection when operating power tools. For more on tool safety, consider resources like Power Tool Mastery for Decorative Wood Projects.
Sand All Surfaces:
- Using an orbital sander or sanding blocks, thoroughly sand all six sides of each block. Start with 80-grit sandpaper to remove rough edges and saw marks, then move to 120-grit for a smoother finish.
- Smoothness is critical for blocks to slide easily without snagging.
Finish (Optional but Recommended):
- Apply an exterior-grade sealant, paint, or stain to protect the wood from moisture and UV damage. This will prolong the life of your game. Allow ample drying time between coats.
- Avoid thick coatings that might make the blocks sticky. A light coat or two is sufficient.
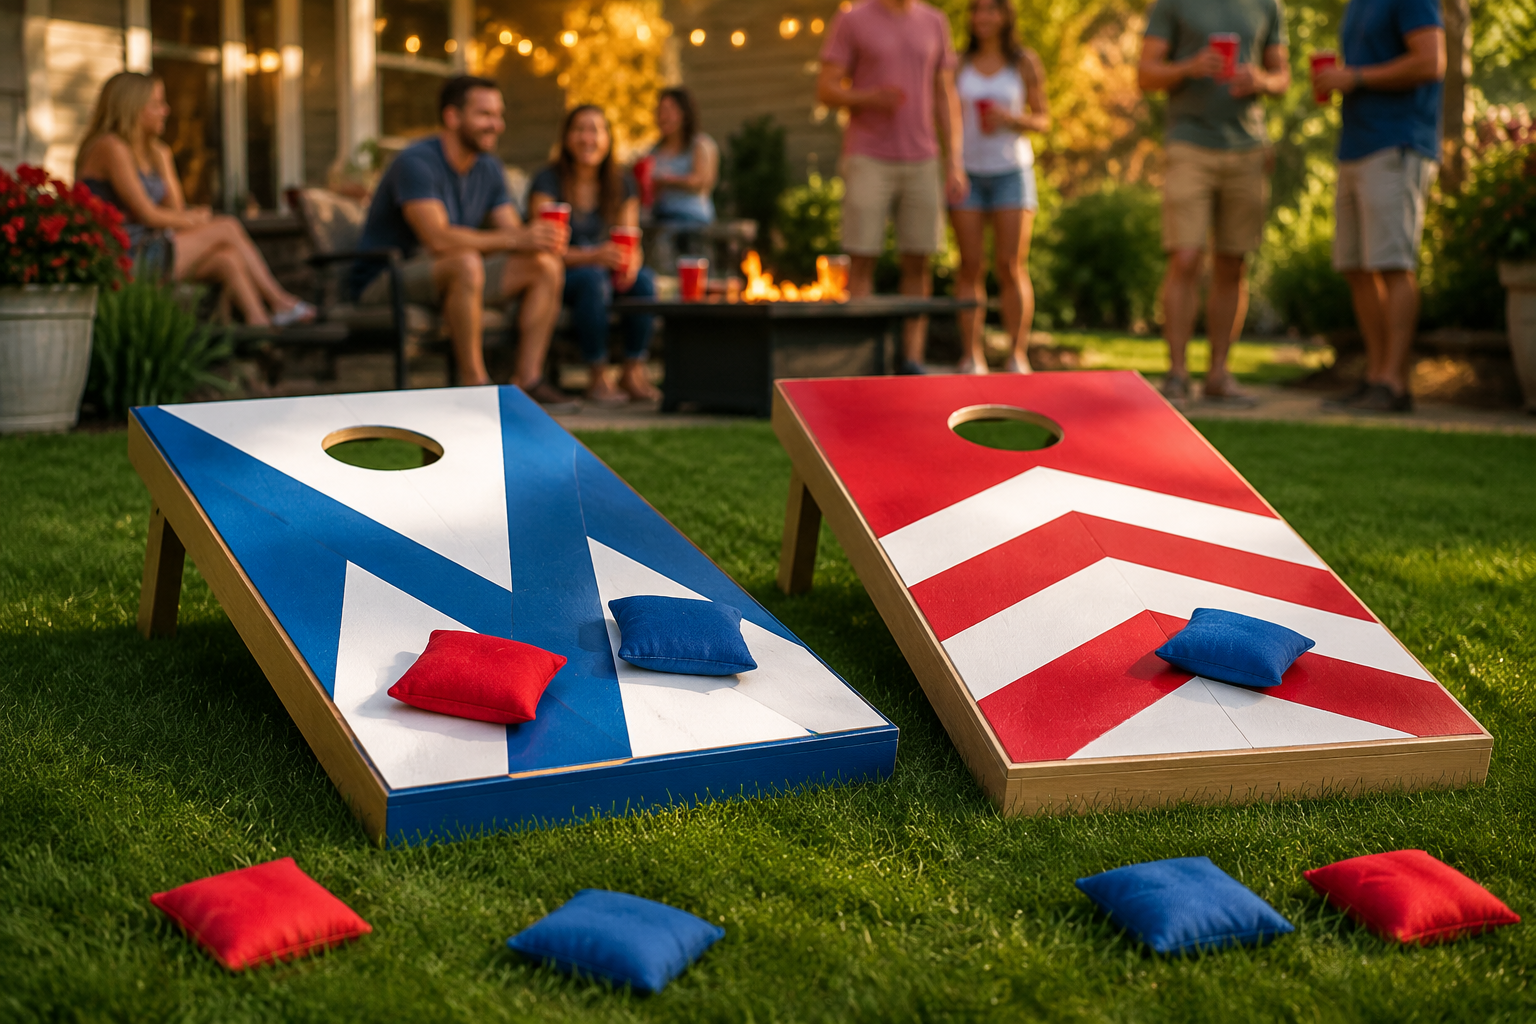
Building Cornhole Boards
Standard cornhole boards are 2 feet wide by 4 feet long, with a 6-inch hole centered 9 inches from the top and 12 inches from each side. The front edge stands 2.5-4 inches off the ground, and the back edge stands 12 inches off the ground.
Materials:
- (1) 4×8 sheet of 1/2-inch or 3/4-inch exterior-grade plywood (for two playing surfaces)
- (4) 8-foot 2×4 boards (for frames and legs)
- Exterior wood glue
- 2.5-inch exterior-grade screws
- (4) 1/2-inch x 4.5-inch carriage bolts with washers and wing nuts (for legs)
- Exterior paint or stain, primer
- Beanbags (8 total, 4 of each color)
Steps:

Cut Plywood Tops:
- Cut two pieces of plywood to 24 inches by 48 inches each.
- Using a compass or string and pencil, draw a 6-inch diameter circle centered 9 inches from the top edge and 12 inches from the sides.
- Cut out the holes using a jigsaw. Sand the edges smooth.
Build the Frames:
- For each board, cut two 2x4s to 48 inches (long sides) and two 2x4s to 21 inches (short sides).
- Assemble the frame using wood glue and 2.5-inch screws, ensuring it forms a perfect rectangle. Predrill pilot holes to prevent splitting.
- Attach the plywood top to the frame using wood glue and screws, flush with the outer edges.
Construct and Attach Legs:
- Cut four 2x4s to 11.75 inches each for the legs. Round one end of each leg using a jigsaw – this rounded end will be the pivot point.
- Measure 1.75 inches from the top of the short side of the frame and mark the center. Drill a 1/2-inch hole through the frame at this point.
- Align the rounded end of a leg with the drilled hole on the frame. Mark and drill a corresponding 1/2-inch hole through the leg.
- Attach the legs to the frame using the carriage bolts, washers, and wing nuts. Ensure the legs can pivot freely and fold under the board.
Finish and Decorate:
- Thoroughly sand all surfaces.
- Apply a primer, then paint or stain your boards with exterior-grade finishes. This is where you can get creative with custom designs! Unique Wood Finishing Techniques could offer inspiration.
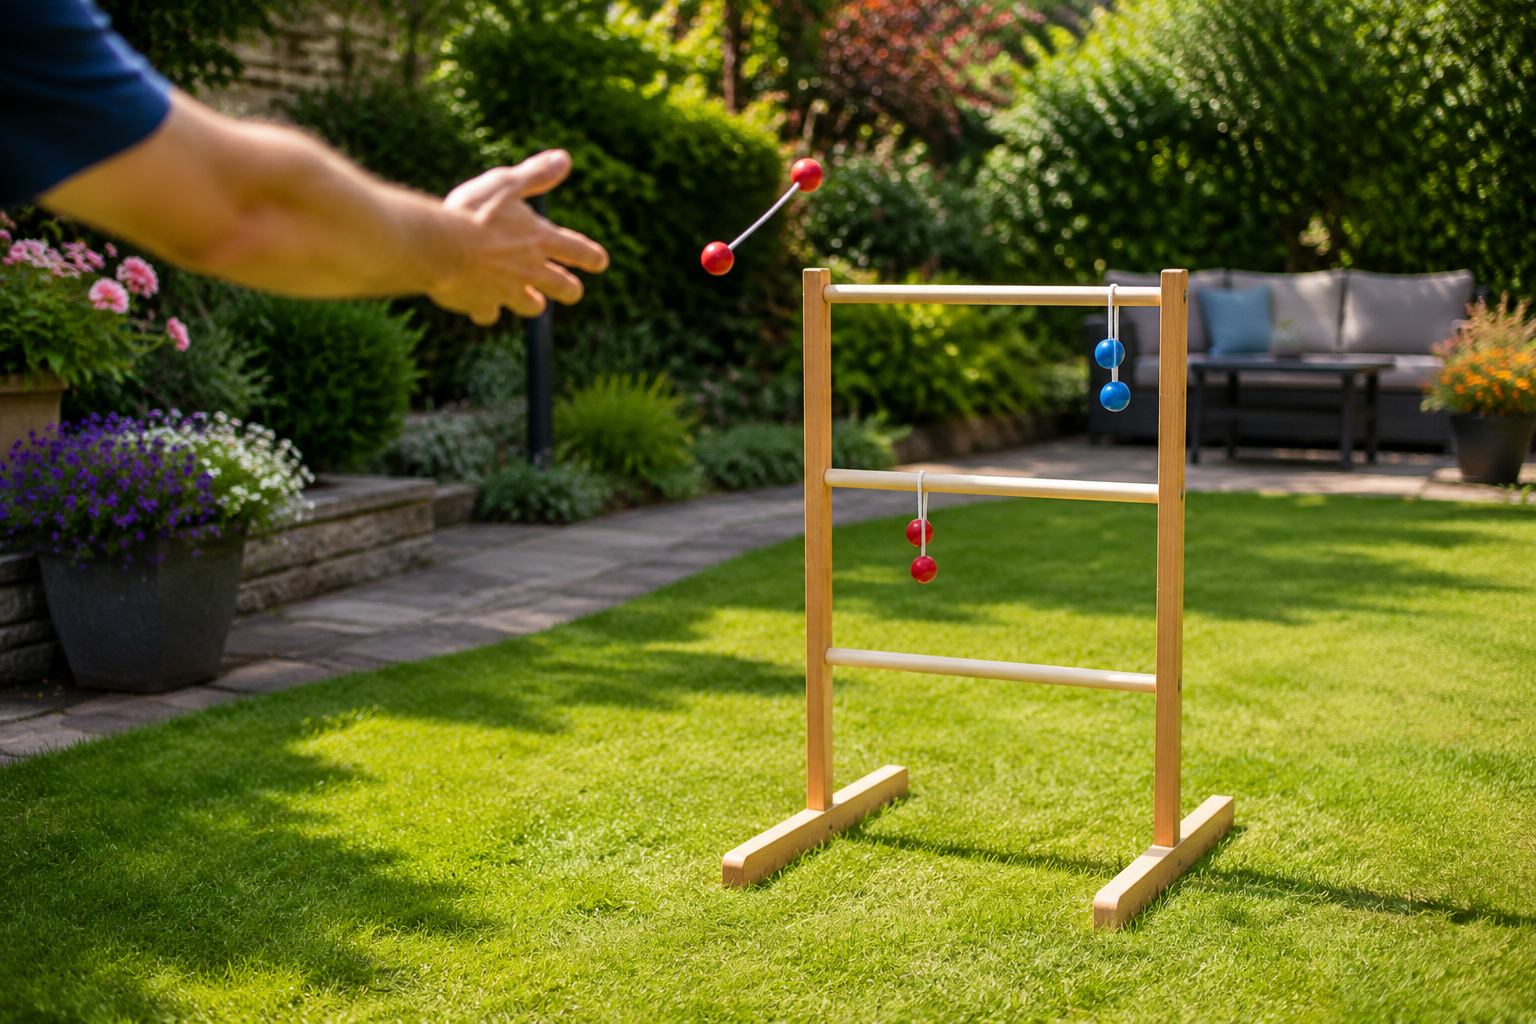
Building Ladder Toss
A ladder toss game typically has three rungs, usually 20-24 inches wide, spaced 12 inches apart. The base provides stability.
Materials:
- (4) 2×4 boards, 6 feet long (for vertical supports and base)
- (3) 1-inch diameter wooden dowels, 24 inches long (for rungs)
- Exterior wood glue
- 2.5-inch exterior-grade screws
- 1.5-inch exterior-grade screws
- Six bolas (three of two different colors)
- Exterior paint or sealant (optional)
Steps:
Cut Vertical Supports and Base:
- Cut two 2x4s to 30 inches each for the vertical supports.
- Cut two 2x4s to 24 inches each for the base feet.
- Cut one 2×4 to 12 inches for the base brace (connecting the feet).
Assemble the Base:
- Create two T-shaped bases by attaching one 24-inch 2×4 (foot) perpendicular to the bottom center of each 30-inch vertical support, using wood glue and 2.5-inch screws.
- Attach the 12-inch base brace between the two T-shaped sections, 6 inches up from the ground, ensuring the supports are parallel and 20 inches apart. This forms the stable frame.
Prepare and Attach Rungs:
- Measure and mark three points on each vertical support: 12 inches, 24 inches, and 36 inches from the bottom of the support (not the base). These are your rung locations.
- At each marked point, predrill a hole slightly smaller than the dowel diameter, centered on the face of the 2×4. The holes should not go all the way through initially.
- Apply wood glue inside the drilled holes. Insert the 24-inch wooden dowels (rungs) into the holes, ensuring they are level.
- Secure each rung with a 1.5-inch screw through the side of the 2×4 into the dowel for added strength.
Finish and Decorate:
- Sand all rough edges and surfaces.
- Apply exterior-grade paint or sealant to protect the wood and personalize your game.
By meticulously following these steps, you can confidently create impressive and durable DIY outdoor wooden games, ready for years of enjoyment in your backyard. DIY Wooden Toys and Games: Crafting Heirloom Pieces for Children and Adults can offer further inspiration for crafting long-lasting wooden entertainment.
Finishing, Maintenance, and Customization for Your DIY Outdoor Wooden Games: Building Giant Jenga, Cornhole Boards, and Ladder Toss for Backyard Fun
Once the construction phase is complete for your DIY outdoor wooden games: building Giant Jenga, cornhole boards, and ladder toss for backyard fun, the focus shifts to finishing, maintenance, and personalization. These steps are crucial for enhancing aesthetics, ensuring longevity, and making the games truly your own.
The Importance of Proper Finishing
Proper finishing is not merely about aesthetics; it’s a critical protective measure for outdoor wooden games. Wood, especially common softwoods like pine, is susceptible to moisture, UV radiation, and insect damage. An appropriate finish creates a barrier that can extend the life of your games by years.
Finishing Options:
- Paint: Offers the most vibrant color options and can fully conceal the wood grain. Use exterior-grade primer followed by two coats of exterior latex or acrylic paint. This is ideal for cornhole boards where a smooth, uniform surface for designs is often desired.
- Stain: Penetrates the wood, enhancing its natural grain while providing color. Stains are great for Giant Jenga blocks or ladder toss components where you want to highlight the wood’s inherent beauty. Always follow with an exterior-grade topcoat.
- Sealant/Varnish: Clear finishes like spar urethane or marine varnish offer excellent UV and moisture protection. They are suitable for all games, particularly if you want a natural wood look. Apply multiple thin coats, sanding lightly between coats.
Application Tips:
- Always apply finishes in a well-ventilated area.
- Ensure the wood is clean, dry, and free of dust before applying any finish.
- Follow manufacturer instructions for drying times and recoating.
- Consider applying a wood conditioner before staining to achieve a more even color absorption, especially on pine.
Maintenance for Longevity
Even with proper finishing, outdoor wooden games require regular maintenance to remain in top condition.
- Cleaning: Periodically wipe down surfaces with a damp cloth to remove dirt, pollen, and debris. For stubborn grime, a mild soap solution can be used, followed by a rinse and thorough drying.
- Inspection: Regularly inspect your games for signs of wear, such as cracking, peeling paint, loose screws, or splintering wood. Address these issues promptly.
- Storage: The most effective way to protect your games is to store them indoors or under a covered area when not in use. This significantly reduces exposure to rain, snow, and harsh sunlight. Custom covers can also provide protection for larger items like cornhole boards.
- Re-finishing: Depending on exposure and use, you may need to re-apply a protective finish every 2-3 years. Sand lightly to create a good adhesion surface before re-finishing. This aligns with principles discussed in Reclaimed Wood Finishing Techniques, which highlight the importance of re-protecting wood surfaces.
Personalization and Customization Ideas
One of the greatest advantages of building your own DIY outdoor wooden games is the ability to customize them.
- Themed Cornhole Boards: Paint team logos, family crests, abstract art, or even holiday themes on your cornhole boards. Use stencils for intricate designs.
- Color-Coded Jenga Blocks: Paint sets of Jenga blocks in different colors or add numbers/symbols for an added layer of game play or scoring.
- Engraved Details: Use wood burning tools or stencils to add personalized messages, names, or dates to any of the game pieces. For those interested in this technique, Crafting Engraved Wooden Coasters: Laser and Hand Tool Techniques for Personalized Gifts offers relevant guidance.
- Stained Ladder Toss: Instead of paint, use different shades of exterior stain on the ladder toss rungs and supports to create a natural, multi-toned effect.
- Integrated Storage: Design cornhole boards with integrated handles for easier carrying, or a latch system to keep legs folded during transport. You could even consider a compact, modular storage solution for your blocks, similar to concepts in Building Modular Wood Storage Systems for Small Workshops.
By dedicating time to finishing, maintenance, and personalization, your DIY outdoor wooden games will not only look great but will also provide lasting enjoyment for many seasons to come.
Conclusion
Creating DIY outdoor wooden games like Giant Jenga, cornhole boards, and ladder toss offers an enriching blend of craftsmanship and family entertainment. The process, from selecting suitable lumber and mastering essential tools to applying protective finishes and adding personal touches, is a journey in itself. By investing your time and effort, you not only save money on store-bought alternatives but also craft durable, custom pieces that will become cherished fixtures in your backyard for years to come.

These games serve as more than just leisure activities; they are catalysts for connection, laughter, and memorable moments with friends and family. Furthermore, undertaking these projects enhances your woodworking skills, providing a sense of accomplishment with each completed game. As you enjoy your handcrafted outdoor games this year, remember the satisfaction of building something beautiful and functional with your own hands.
For those inspired to explore more woodworking projects or refine their skills, consider delving into resources like Profitable Woodworking for Beginners: Building and Selling H for ideas on smaller, high-demand items, or Hand Tool Mastery for Detail Work: Chisels, Hand Planes, and to elevate your precision. Your journey into creating engaging wooden pieces for home and yard is just beginning.
SEO Meta Title: Build Giant Jenga, Cornhole, Ladder Toss: DIY Outdoor Wooden Games for Fun
SEO Meta Description: Craft durable DIY outdoor wooden games like Giant Jenga, cornhole, and ladder toss for backyard fun in 2026. Get step-by-step building guides.
