
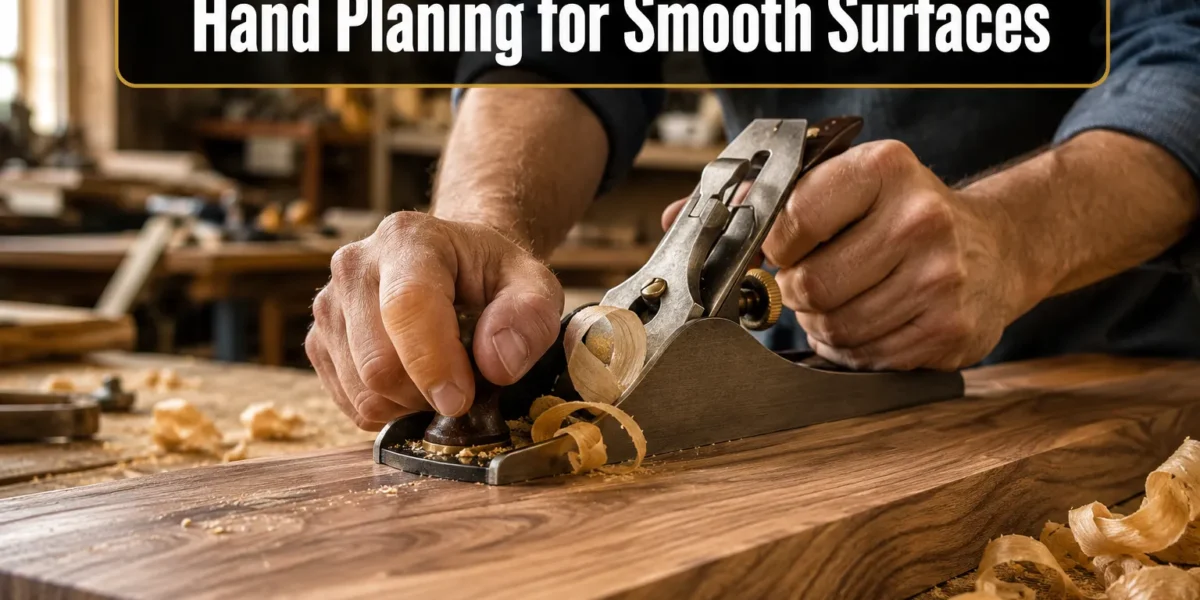
The pursuit of perfectly flat, glass-smooth wooden surfaces without the roar and dust of power sanders is not merely an aesthetic choice; it’s a profound re-engagement with woodworking craftsmanship. For centuries, artisans relied solely on the subtle power and precision of hand planes to transform rough timber into exquisite finished pieces. In 2026, as interest in traditional skills and sustainable practices grows, mastering Hand Planing Techniques for Beginners: Achieving Smooth Surfaces Without Power Sanders offers a rewarding pathway to superior results, quiet satisfaction, and a deeper connection to your materials. This comprehensive guide will demystify the art of hand planing, enabling you to achieve remarkable finishes with patience and practice.
Key Takeaways
- Hand planing offers superior surface quality, greater control, and a quieter, dust-free woodworking experience compared to power sanders.
- Selecting the right plane for the task, from a scrub plane for rough work to a smoothing plane for fine finishes, is crucial for effective planing.
- Proper plane setup, including blade sharpness, depth of cut, and cap iron adjustment, directly impacts planing success and surface quality.
- Mastering body mechanics, understanding grain direction, and practicing consistent strokes are fundamental Hand Planing Techniques for Beginners.
- Troubleshooting common issues like tear-out, chattering, and uneven surfaces is essential for achieving consistently smooth results.
The Enduring Appeal of Hand Planing: Why Go Manual in 2026?
In an era dominated by power tools promising speed and efficiency, the resurgence of hand planing might seem counterintuitive. However, for those dedicated to fine woodworking, the advantages are compelling. Hand planes offer unparalleled control over the wood surface, allowing for minute adjustments that power sanders simply cannot replicate. They produce crisp, clean shavings rather than fine dust, creating a healthier, quieter workshop environment. Moreover, the tactile feedback gained from a sharp plane gliding across wood fosters a deeper understanding of the material and a greater sense of accomplishment.

A hand-planed surface possesses a unique luster, a “sheen” that results from the blade cleanly severing wood fibers rather than tearing and abrading them. This surface is ideal for accepting finishes, leading to richer colors and superior clarity in your final product. For beginners, the process of learning Hand Planing Techniques for Beginners provides a foundational skill set that enhances precision in all aspects of woodworking, from joint fitting to final surface preparation.
Essential Hand Planes for Your Toolkit
Before diving into techniques, understanding the types of hand planes available is vital. Each serves a specific purpose, contributing to the overall process of achieving smooth surfaces.
- Jack Plane (Fore Plane): Typically 12-15 inches long, the jack plane is your workhorse. It’s used for initial flattening and straightening of rough lumber, capable of taking heavy shavings.
- Jointer Plane: The longest of the bench planes (22-24 inches), the jointer plane is used for creating perfectly straight edges and flat faces over long spans, crucial for glue-ups.
- Smoothing Plane: At 7-10 inches, this is your finishing tool. With a finely set blade and tight mouth, it takes whisper-thin shavings to achieve that coveted smooth, blemish-free surface. This is where most of your effort for achieving smooth surfaces without power sanders will be focused.
- Block Plane: A small, one-handed plane, usually with a low-angle blade. Excellent for end grain, chamfers, and small tasks.
- Scrub Plane: Features a highly cambered (curved) blade and wide mouth, designed for rapid material removal on very rough stock.
For beginners, a good quality jack plane and a smoothing plane are excellent starting points. Consider investing in reputable brands or restoring vintage tools for optimal performance. You can learn more about revitalizing old tools in our guide on Restoring Vintage Woodworking Hand Tools: A Guide to Rust Removal.
Setting Up Your Hand Plane for Optimal Performance
A dull plane is worse than no plane at all. The cornerstone of effective Hand Planing Techniques for Beginners is a razor-sharp blade. Sharpening is a skill in itself, but with modern sharpening jigs and abrasives, it’s accessible to everyone. Aim for a primary bevel of 25 degrees, with a micro-bevel of 1-2 degrees higher for durability.
Blade Sharpness and Depth of Cut
A truly sharp blade will slice through paper effortlessly and leave a mirror-like finish on the wood. Once sharp, setting the depth of cut is critical. For smoothing, you want the thinnest possible shaving, barely visible, like a translucent ribbon.
To adjust:
- Invert the plane and look down the sole.
- Use the depth adjustment knob to advance the blade until it protrudes slightly.
- Check the projection evenly across the mouth. You should see a consistent, hair-thin line of blade edge.
- If the blade is skewed, use the lateral adjustment lever to square it with the sole.
Cap Iron and Mouth Opening
The cap iron (or chip breaker) plays a vital role in preventing tear-out, especially when planing against the grain or in tricky areas. It curls the shaving upwards, breaking the fibers before they can split ahead of the cutting edge.
- For coarse work (jack plane), set the cap iron 1/32″ – 1/16″ back from the cutting edge.
- For fine smoothing, set it very close, about 1/64″ or even tighter. This creates a smaller mouth opening, reducing tear-out and allowing for thinner shavings.
The mouth opening, the slot through which the blade projects, also impacts performance. A tighter mouth (often adjusted by moving the frog forward) is desirable for fine smoothing, as it provides more support to the wood fibers just ahead of the blade, further reducing tear-out and helping you achieve smooth surfaces without power sanders.
Mastering Basic Hand Planing Techniques for Beginners
With a sharp, well-set plane, the real work begins. Effective hand planing is a rhythmic dance between your body, the tool, and the wood. Focus on consistency, proper stance, and understanding wood grain.
Stance and Grip
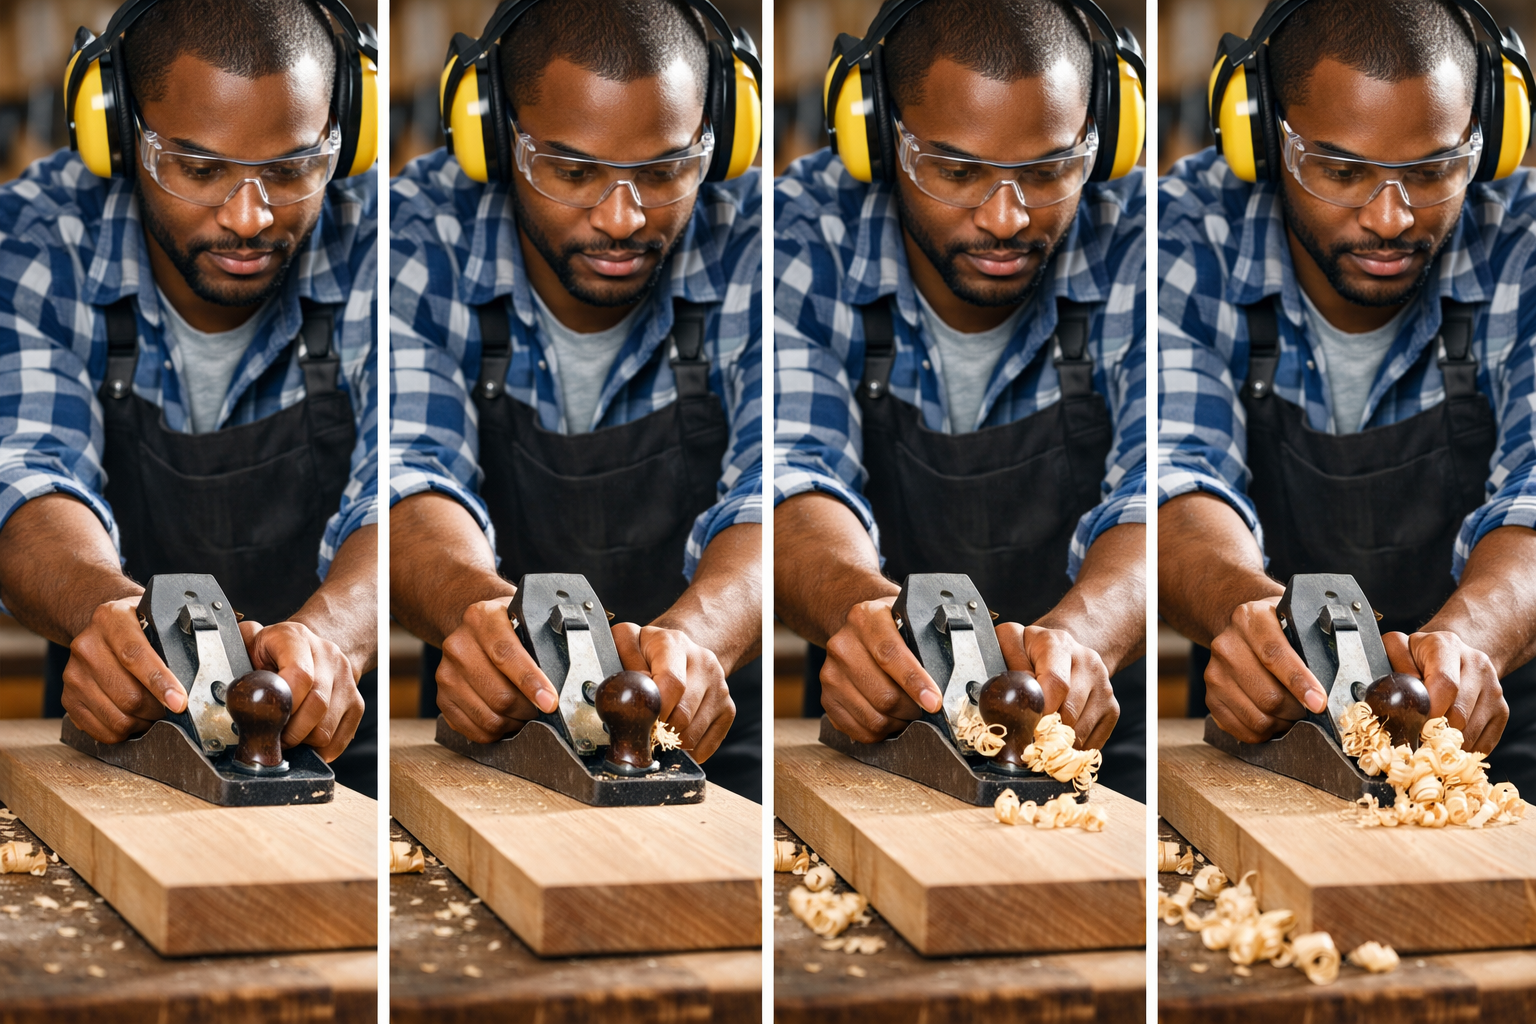
Your body weight is your power. Stand comfortably, with your feet shoulder-width apart, perpendicular to the workbench. As you push the plane, shift your body weight forward, using your legs and core, not just your arms.
- Front Hand: Grips the knob, applying downward pressure over the front of the plane. This helps engage the blade and prevents it from diving or skipping.
- Rear Hand: Grips the tote (handle), primarily for propulsion and steering, with a lighter downward pressure.
Maintain a relaxed but firm grip. Excessive force leads to fatigue and poor control.
Understanding Grain Direction
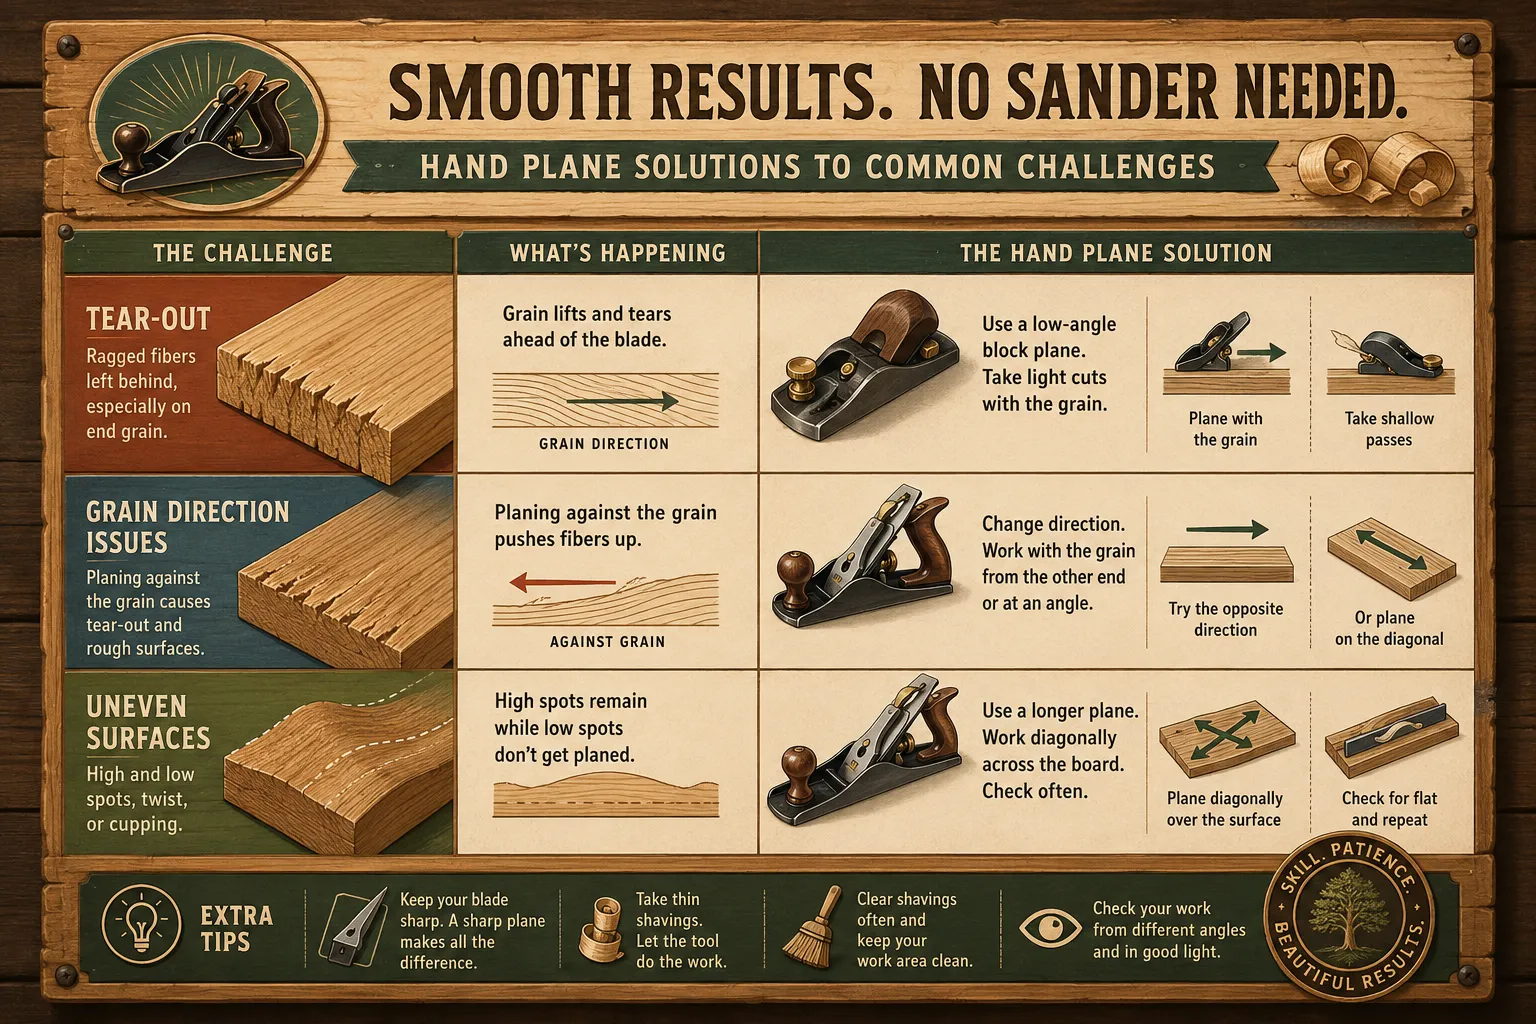
This is arguably the most crucial concept in Hand Planing Techniques for Beginners. Wood has a directional grain; planing with the grain produces smooth shavings, while planing against it causes tear-out, where wood fibers are ripped out rather than cleanly cut.
- Identify Grain: Look at the edge of the board. The grain “points” in a direction. Plane in the direction the grain runs downhill, or where the fibers appear to be leaning away from the direction of your cut.
- Visual Test: Take a very light test pass. If you get clean, continuous shavings, you’re with the grain. If you get resistance, chattering, or tear-out, try planing from the opposite end.
Always plane with the grain for the best results, especially when aiming for a super-smooth finish. Sometimes, grain patterns are complex (e.g., figured wood); in these cases, a finely set plane with a tight mouth and a very low-angle block plane can help.
The Planing Stroke: From Rough to Smooth
The planing stroke involves a controlled motion, balancing downward pressure with forward movement.
- Start: Place the front of the plane on the leading edge of the board, applying pressure primarily with your front hand.
- Middle: As the plane enters the wood, distribute pressure evenly between both hands.
- End: As the plane exits the board, shift pressure to your rear hand to prevent the plane from digging into the trailing edge.
For initial flattening with a jack plane, overlap each stroke by about half the width of the blade. For smoothing, overlap slightly less, focusing on long, continuous passes. The goal is to produce uniform, translucent shavings across the entire surface. For more advanced applications, like creating precise joinery, explore Mastering Dovetail Joints with Hand Tools: A Step-by-Step Guide for.
Advanced Tips and Troubleshooting for Smooth Surfaces Without Power Sanders
Even with a sharp plane and good technique, challenges will arise. Knowing how to troubleshoot common issues will save you frustration and improve your results when applying Hand Planing Techniques for Beginners.
Dealing with Tear-Out
Tear-out is the most common and frustrating issue. It occurs when wood fibers are torn out below the cutting line, leaving a rough, splintered surface.
- Check Grain Direction: This is usually the culprit. Always plane with the grain.
- Tighten Cap Iron/Mouth: Set the cap iron very close to the cutting edge and ensure the mouth opening is as tight as possible for smoothing.
- Skew Planing: For stubborn grain, try skewing the plane (planing at an angle to the grain direction). This presents the blade at a shearing angle, mimicking a lower cutting angle and reducing tear-out.
- Sharpen Blade: A dull blade crushes fibers; a sharp one slices them.
Preventing Chatter and Uneven Surfaces
- Chatter: A vibrating, rippled surface. Often caused by a loose blade, a dull blade, or a poorly adjusted cap iron. Ensure everything is tight and sharp.
- Uneven Surfaces (High Spots/Low Spots): This comes down to consistent pressure and follow-through.
- “Shoot Board” for Edges: For perfect 90-degree edges, use a shooting board. This fixture guides your plane to create perfectly square edges, which is essential for glue-ups and joinery.
- Winding Sticks: These are two perfectly straight, parallel sticks placed at either end of your board. By sighting across them, you can easily identify twists or “wind” in the board, guiding your planing to flatten it.
- Focus on Consistency: Practice long, continuous strokes with even pressure. Let the plane do the work. Don’t force it.
Finishing Touches and Maintenance
Once you achieve a perfectly smooth, planed surface, it’s typically ready for finishing. Light hand-sanding with very fine grit (320 or 400) might be an option if you prefer, but often a well-planed surface needs no sanding at all.
Regular maintenance of your planes is crucial. Keep the sole waxed (e.g., with paste wax) to reduce friction. Clean the blade and cap iron after use to prevent rust. Store planes in a dry environment. Consider our guide on Hand Tool Mastery for Detail Work: Chisels, Hand Planes, and for more insights into precision tool use.
Conclusion
Mastering Hand Planing Techniques for Beginners: Achieving Smooth Surfaces Without Power Sanders is a journey that enriches your woodworking experience and elevates the quality of your finished projects. It demands patience, practice, and a keen understanding of your tools and material. While power sanders offer speed, the precision, control, and satisfying tactile feedback of hand planing yield surfaces of unmatched quality, free from swirls and dust. As you delve into this traditional craft, you’ll not only develop a vital skill but also gain a deeper appreciation for the nuanced beauty of wood. Embrace the quiet hum of a sharp blade and the gentle curl of a perfect shaving, your woodworking will be all the better for it in 2026 and beyond.
Actionable Next Steps:
- Acquire a Quality Plane: Start with a good smoothing plane. It doesn’t have to be new; a vintage plane, properly restored, can be an excellent performer.
- Invest in Sharpening Gear: Obtain a reliable sharpening system (e.g., wet stones, diamond plates, or sandpaper on glass) and a sharpening jig.
- Practice on Scrap Wood: Don’t hesitate to practice your stance, grip, and stroke on inexpensive scrap lumber to build muscle memory and confidence.
- Learn to Read the Grain: Dedicate time to understanding how wood grain behaves. This skill is invaluable for all woodworking tasks.
- Watch and Learn: Supplement your reading with videos from experienced hand tool woodworkers to see techniques in action.
References
- Landis, M. (2014). The Essential Woodworker: Tools & Techniques. Sterling Publishing Co., Inc.
- Schwarz, C. (2009). The Anarchist’s Tool Chest. Lost Art Press.
SEO Meta Title: Hand Planing for Beginners: Smooth Wood Without Power Sanders SEO Meta Description: Master hand planing techniques in 2026 to achieve perfectly smooth wood surfaces. Learn plane setup, grain direction, and essential strokes without power sanders.