
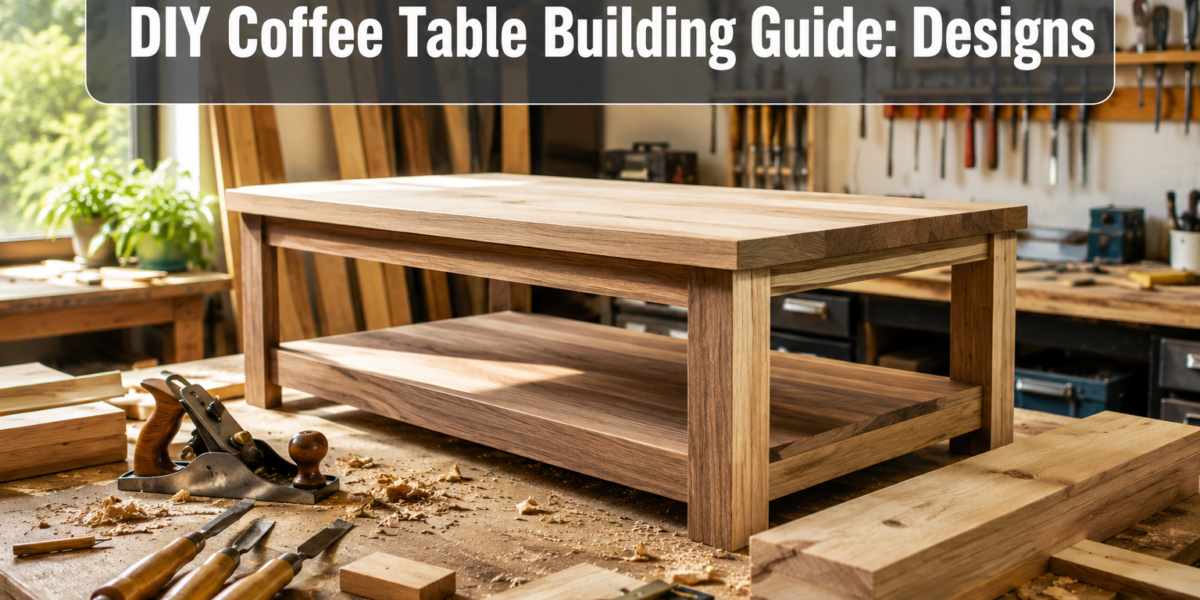
The average homeowner in 2026 often faces a dilemma: finding a coffee table that perfectly matches their aesthetic and functional needs without breaking the bank. Mass-produced options rarely offer the unique character or specific dimensions desired, leading many to explore the rewarding world of DIY. A carefully crafted, custom coffee table can become the focal point of a living space, reflecting personal style and skill. This comprehensive DIY Coffee Table Building Guide: Designs from Simple to Advanced offers practical insights, design ideas, and construction techniques to empower both novice and experienced woodworkers to create stunning pieces.
Key Takeaways
- Building your own coffee table allows for complete customization in design, size, and material, often at a lower cost than retail.
- Beginner-friendly designs typically involve simple cuts and basic joinery like butt joints, focusing on structural stability.
- Advanced projects introduce complex joinery (e.g., mortise and tenon, dovetails), curved elements, and unique material combinations.
- Proper wood selection, accurate measuring, and safe tool usage are crucial for successful and durable builds.
- Finishing techniques, from stains to polyurethanes, significantly impact the table’s appearance and longevity, protecting it for years to come.
Getting Started: Simple DIY Coffee Table Designs for Beginners
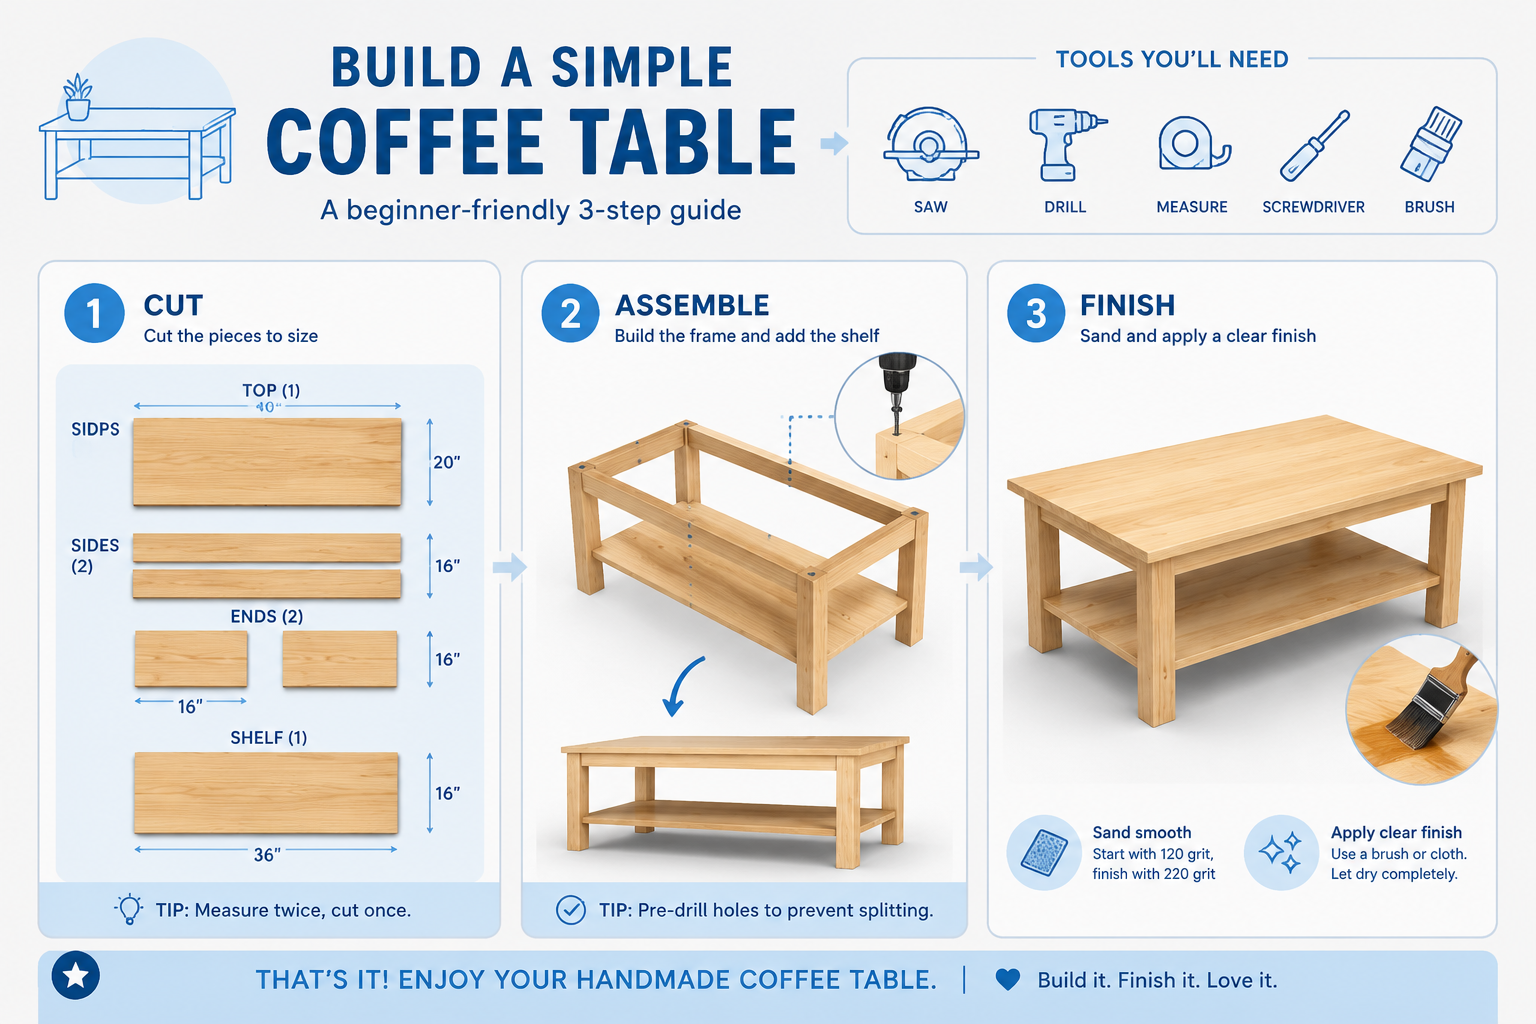
Embarking on your first woodworking project can feel daunting, but a simple coffee table is an excellent starting point. These designs prioritize straightforward cuts, basic joinery, and readily available materials, ensuring a high probability of success for beginners. The goal here is to build confidence and familiarize yourself with fundamental tools and techniques.
Essential Tools and Materials
Before cutting any wood, gather your tools. For simple designs, you won’t need an extensive workshop.
Basic Tool List:
- Measuring Tape and Pencil: For accurate marking.
- Circular Saw or Miter Saw: For straight cuts. A miter saw offers more precision for repeatable angles.
- Drill/Driver: For pilot holes and driving screws.
- Clamps: Essential for holding pieces securely during assembly and gluing.
- Sandpaper (various grits) or Orbital Sander: For smoothing surfaces.
- Safety Glasses and Hearing Protection: Always prioritize safety.
Common Materials:
- Plywood or MDF: Affordable and stable, great for tabletops and simple bases.
- Pine or Poplar Boards: Easy to work with, inexpensive, and takes stain well.
- Pocket Hole Screws or Wood Screws: For strong, concealed joints or visible fasteners.
- Wood Glue: For reinforcing joints.
- Wood Filler: To cover screw holes or minor imperfections.
- Finish: Paint, stain, polyurethane, or a combination.
Simple Design Idea 1: The “Box” Coffee Table
This design is essentially a sturdy wooden box, often featuring an open shelf for storage.
- Cut List:
- One large rectangular piece for the top.
- Four identical pieces for the side panels (these form the height).
- One piece for the bottom shelf (optional).
- Assembly:
- Attach the four side panels to each other using butt joints reinforced with wood glue and screws. Pocket holes are an excellent beginner-friendly option for clean, strong joints. Consider referring to a Beginner’s Guide to Essential Woodworking Joints for more details on basic joinery.
- Secure the top panel to the assembled base.
- If adding a bottom shelf, create dado cuts in the side panels or use corner braces for support.
- Finishing: Sand thoroughly, then apply your chosen paint or stain and protective clear coat.
Simple Design Idea 2: Hairpin Leg Coffee Table
This design combines a solid wooden top with modern metal hairpin legs, offering a clean, minimalist aesthetic with minimal woodworking.
- Wood Top: Select a sturdy piece of wood, a solid slab, a glued-up panel, or even a thick piece of plywood. Ensure it’s flat and smooth. Consider using a live edge slab for a rustic touch if you’re comfortable with its preparation.
- Preparation: Sand the wood top meticulously, rounding over edges slightly with sandpaper or a router if desired.
- Attach Legs: Purchase pre-made hairpin legs. Flip the wood top upside down and position the legs evenly. Mark and pre-drill holes for the screws. Secure the legs firmly with appropriate wood screws.
- Finishing: Apply a durable finish to the wood top. Since the legs are typically metal, they require no additional finishing.
Intermediate to Advanced DIY Coffee Table Building Guide: Designs and Techniques
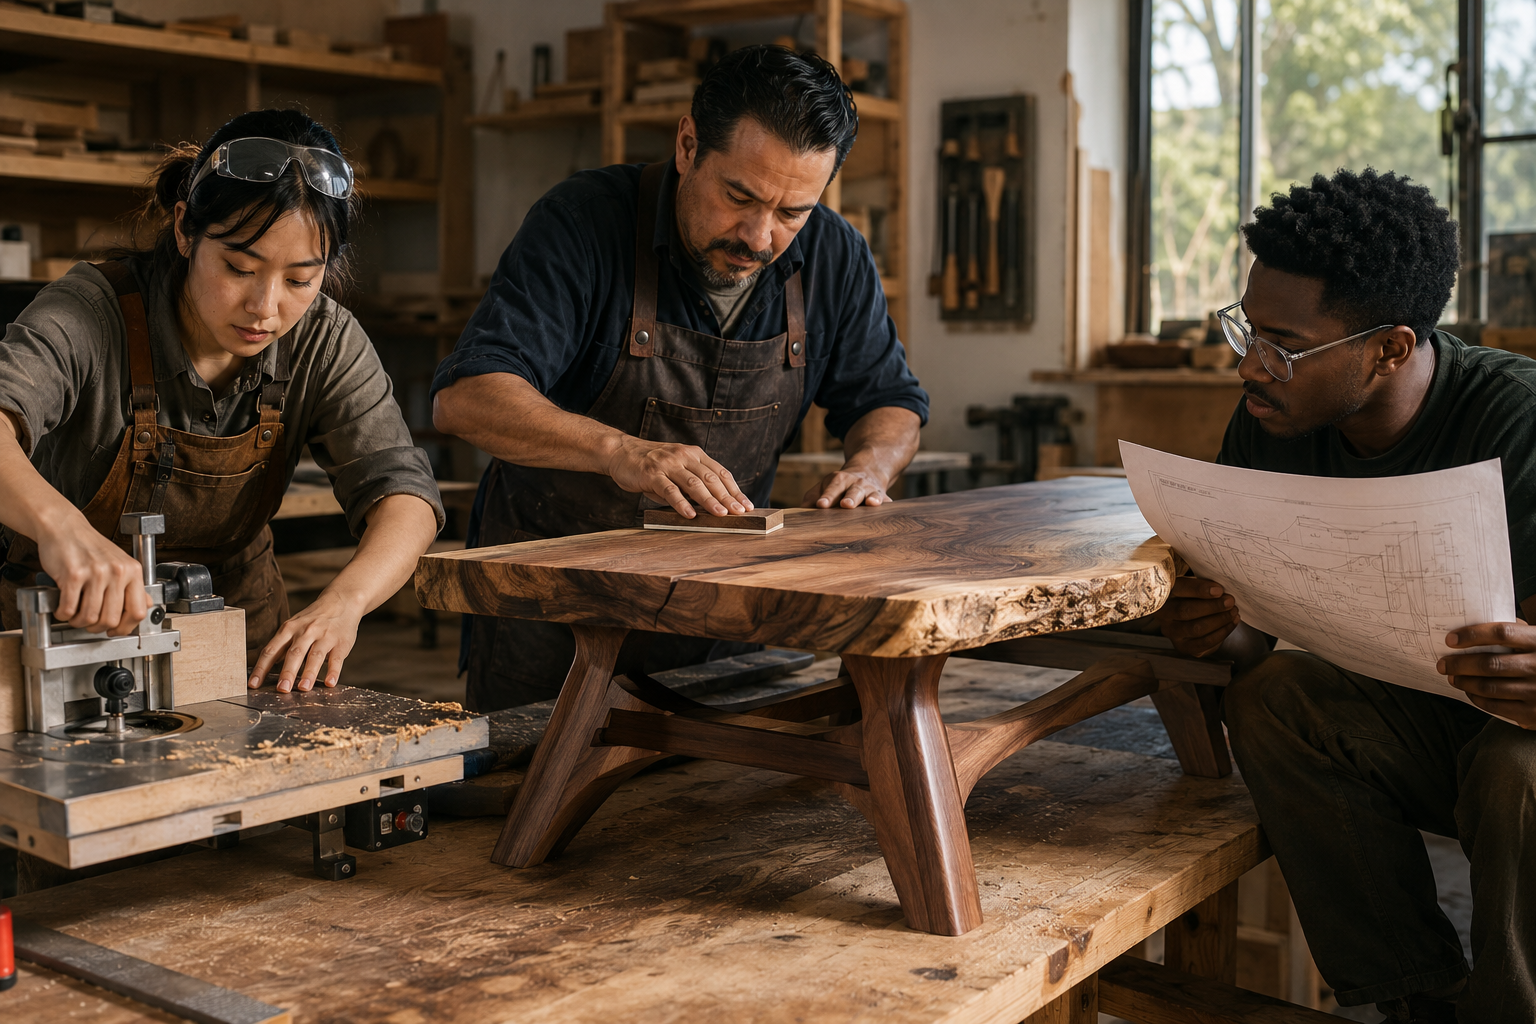
Once you’ve mastered the basics, the world of woodworking opens up to more complex and rewarding projects. This section of our DIY Coffee Table Building Guide: Designs from Simple to Advanced delves into more intricate joinery, varied materials, and advanced finishing techniques, allowing for truly unique and durable pieces.
Exploring Advanced Joinery
Moving beyond screws and glue, advanced joinery provides superior strength, aesthetics, and longevity.
- Mortise and Tenon Joints: A classic and incredibly strong joint, ideal for attaching legs to rails. It involves cutting a rectangular hole (mortise) into one piece and a corresponding protrusion (tenon) on another. Mastering the Router Table can greatly assist in creating precise mortise and tenon joints.
- Dovetail Joints: Known for their exceptional strength and beauty, dovetails are perfect for drawer boxes or exposed joinery on a coffee table. They require precision and can be cut by hand or with a router jig.
- Half-Lap Joints: Simpler than mortise and tenon but still very strong, often used for cross-bracing or where two pieces meet at an intersection.
Material Selection and Combination
Expanding your material palette can lead to stunning results.
- Hardwoods: Oak, maple, walnut, and cherry are durable, beautiful, and can be finished to a high sheen. They are more challenging to work with than softwoods but yield superior results. Understanding wood movement is crucial when working with hardwoods to prevent warping and cracking.
- Glass or Acrylic Inserts: Can add a modern touch, reveal storage, or showcase decorative elements within the table’s frame.
- Resin: Epoxy resin can be combined with wood (especially live edge slabs) to fill voids, create river tables, or encapsulate decorative objects, offering a contemporary and artistic finish.
- Metal Accents: Beyond hairpin legs, custom metal bases or decorative inlays can provide industrial chic or modern elegance.
Advanced Design Ideas
1. Mid-Century Modern Tapered Leg Coffee Table:
This design focuses on clean lines, subtle curves, and tapered legs.
- Top: Often a solid hardwood panel or veneered plywood.
- Apron: A frame (apron) is built beneath the tabletop using mortise and tenon or sturdy dowel joints.
- Legs: The defining feature. Legs are typically splayed outward and tapered on two or four sides from top to bottom. This requires careful marking and precise cuts, often on a table saw with a tapering jig.
- Joinery: Mortise and tenon or robust dowel joints are ideal for attaching the legs to the apron.
2. Live Edge River Table:
A truly artistic and advanced project, often involving epoxy resin.
- Slab Selection: Choose two complementary live edge wood slabs. The natural edges will form the “river banks.”
- Preparation: Clean and prepare the slabs. Ensure they are flat. You might need a planer or a router sled for this.
- Form Building: Create a watertight form (often from melamine) around the slabs to contain the resin.
- Resin Pour: Mix and pour colored or clear epoxy resin into the gap between the slabs, allowing it to cure in layers if necessary.
- Finishing: Once cured, remove the form, plane or sand the entire surface flat, and apply a durable, high-gloss finish to both wood and resin.
Finishing Your Coffee Table: From Protection to Polish
The finishing process is where your coffee table truly comes to life. A well-executed finish protects the wood, enhances its natural beauty, and defines the overall aesthetic. This section of the DIY Coffee Table Building Guide: Designs from Simple to Advanced covers key steps and common finishes.
Surface Preparation: The Foundation of a Great Finish
No finish, no matter how expensive or meticulously applied, can hide poor surface preparation.
- Sanding: Start with a coarse grit (e.g., 80-100) to remove milling marks and major imperfections. Progress through finer grits (120, 150, 180, 220) until the surface is uniformly smooth. For hardwoods, you might go up to 320 or 400 grit. Always sand with the grain.
- Dust Removal: Thoroughly remove all sanding dust using a shop vacuum, compressed air, and finally, a tack cloth. Any dust remaining will be trapped under the finish.
- Wood Conditioning (Optional): For softwoods like pine, a pre-stain wood conditioner helps ensure a more even stain application, preventing blotchiness.
Types of Finishes
Choosing the right finish depends on the desired look, durability, and ease of application.
- Stains: Change the color of the wood while allowing the grain to show through. Available in oil-based, water-based, and gel formulations. Always test stains on scrap wood of the same type to ensure the desired color.
- Paints: Offer opaque color and full coverage, ideal for modern or distressed looks. Use a primer for best adhesion and durability.
- Clear Coats (Topcoats): Provide protection against spills, scratches, and UV damage.
- Polyurethane: Highly durable, available in oil-based (more ambering, slower drying) and water-based (clearer, faster drying) formulas. Offers excellent protection for high-traffic surfaces like coffee tables. Apply multiple thin coats, sanding lightly between coats.
- Varnish: Similar to polyurethane, often used for outdoor furniture, but can also be applied indoors. Provides strong protection.
- Lacquer: Dries very fast and builds a beautiful, hard film. Often sprayed for best results, requiring proper ventilation.
- Oil Finishes (Danish Oil, Tung Oil, Linseed Oil): Penetrate the wood rather than forming a film on top. They offer a more natural look and feel, enhancing the wood’s grain. Less durable than film-building finishes, requiring more frequent reapplication. Explore the differences between Danish Oil vs. Linseed Oil for an in-depth comparison.
- Wax: Provides a soft luster and some protection, often used over other finishes for an added layer of depth and feel.
Application Tips for a Flawless Finish
- Work in a Clean, Well-Ventilated Area: This prevents dust contamination and ensures safety.
- Apply Thin Coats: Multiple thin coats are always better than one thick coat, which can sag, bubble, or dry unevenly.
- Follow Manufacturer Instructions: Drying times, recoat times, and application methods vary by product.
- Sand Lightly Between Clear Coats: Use a very fine grit (e.g., 320 or 400) or Scotch-Brite pad to lightly scuff the surface between clear coats. This creates a mechanical bond for the next coat and knocks down any dust nibs. Clean thoroughly afterward.
- Allow Full Cure Time: While a finish may feel dry to the touch in hours, it often takes days or even weeks to fully cure and reach maximum hardness. Handle with care during this period.
Conclusion
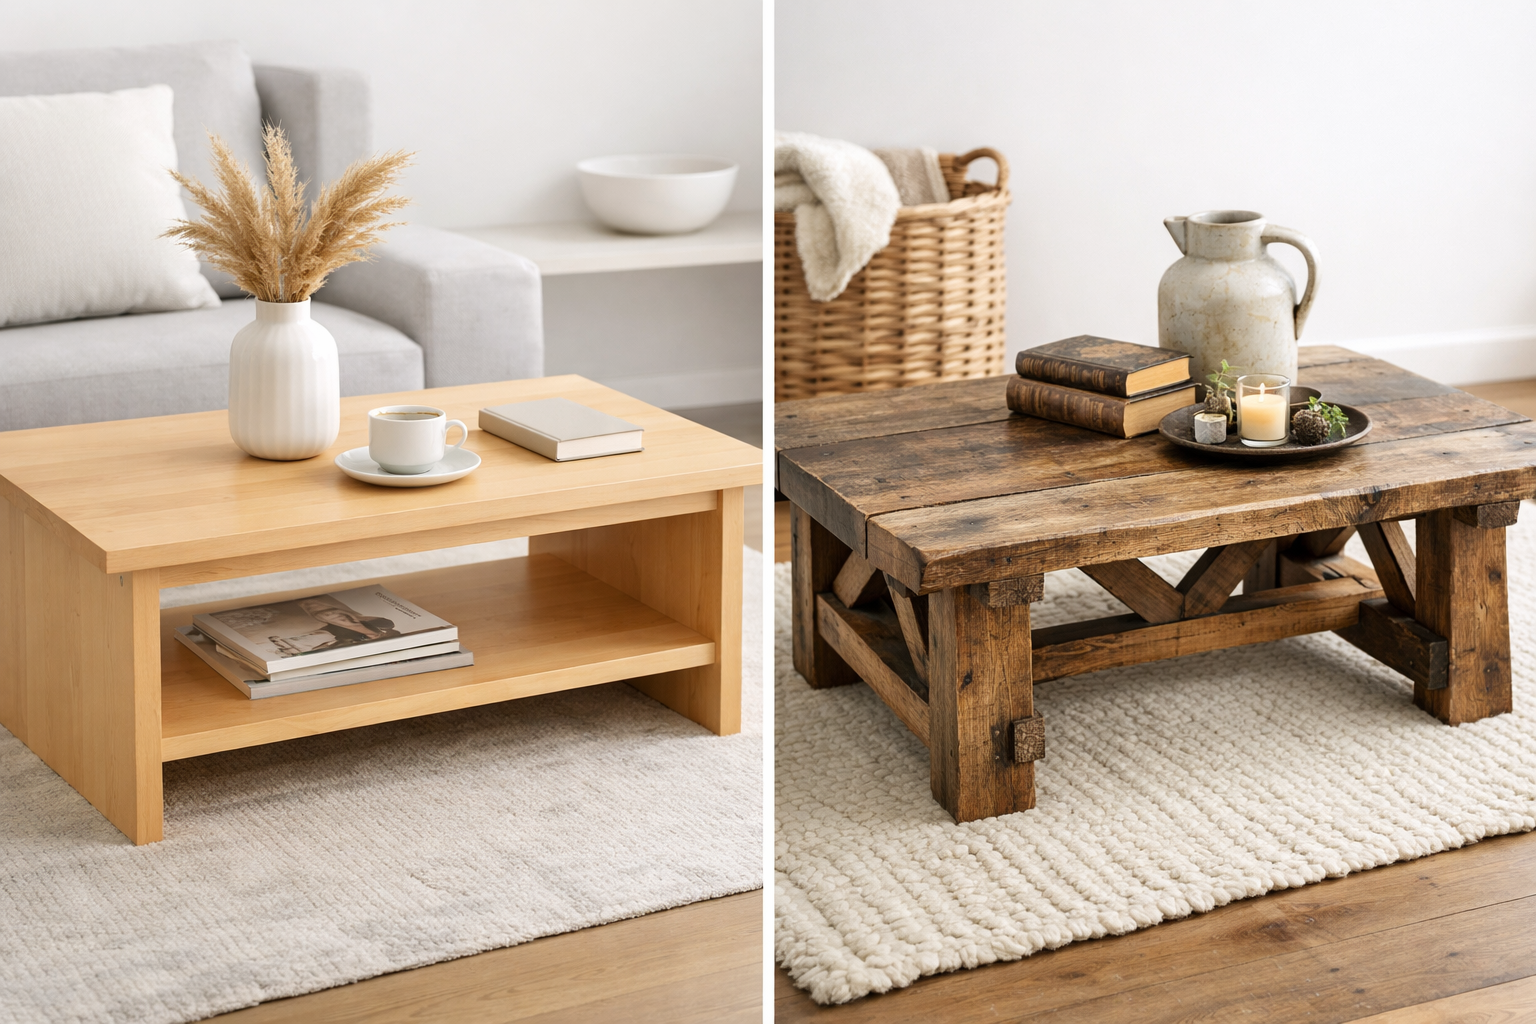
Building a DIY coffee table, from simple to advanced designs, is a deeply satisfying endeavor that blends creativity with practicality. Whether you opt for a basic, functional piece or an intricate, artistic creation, the journey enhances your woodworking skills and results in a unique furniture item that perfectly suits your home. By understanding the different design approaches, choosing appropriate tools and materials, and diligently applying finishing techniques, you can construct a durable, beautiful, and personalized coffee table that will serve as a cherished centerpiece for years to come in 2026. Take the time to plan your project thoroughly, prioritize safety, and enjoy the process of bringing your vision to life.
Actionable Next Steps:
- Define Your Design: Sketch out your ideal coffee table, considering its size, style (simple box, modern, rustic, etc.), and desired features.
- Create a Cut List and Materials List: Based on your design, determine all necessary wood dimensions and other materials (fasteners, finish, legs, etc.).
- Gather Your Tools: Ensure you have all the necessary tools for your chosen design, or plan to acquire/borrow them. Consider visiting a local makerspace if you need access to specialized equipment like a custom wood workbench or a router table.
- Start Simple: If you’re new to woodworking, begin with a straightforward design to build confidence and learn fundamental techniques.
- Prioritize Safety: Always wear appropriate personal protective equipment (PPE) and follow safe tool operating procedures.
- Enjoy the Process: Woodworking is a craft that requires patience and precision, but the rewards of creating something with your own hands are immeasurable.
References
- Fine Woodworking Magazine. (2024). Essential Joinery: The Woodworker’s Guide to Making Strong and Beautiful Joints. Taunton Press.
- The Family Handyman. (2023). The Best Wood Finishes to Protect Your DIY Projects. Retrieved from familyhandyman.com
- Popular Woodworking Magazine. (2023). Coffee Table Projects: 14 Easy-to-Build Designs. F+W Media.
SEO Meta Title: DIY Coffee Table Guide: Simple to Advanced Designs 2026 SEO Meta Description: Build your dream coffee table in 2026 with our comprehensive DIY guide. Explore designs from easy beginner projects to advanced techniques, wood selection, and finishing.