

The average lifespan of a well-cared-for hand tool can easily span generations, outlasting most power tools. However, this longevity and peak performance hinge entirely on consistent sharpening and meticulous maintenance. Neglecting these fundamental practices not only leads to frustratingly poor results, think torn wood fibers, inaccurate cuts, and splintering, but also poses a greater risk of injury as dull tools require excessive force. This guide provides The Essential Guide to Hand Tool Sharpening and Maintenance: Keep Your Chisels, Planes, and Saws Razor Sharp, ensuring your woodworking remains precise, efficient, and enjoyable for years to come in 2026.
Key Takeaways
- Regular sharpening of chisels, planes, and saws is crucial for precision, efficiency, and safety.
- Understanding the proper angles, grits, and techniques for each tool type is fundamental.
- Preventative maintenance, including cleaning, rust prevention, and proper storage, extends tool life.
- A systematic approach to sharpening and maintenance will transform your woodworking experience.
- Investing time in tool care saves time and frustration during actual projects.
Mastering the Art of Sharpening Chisels and Plane Irons
Achieving a truly sharp edge on chisels and plane irons is perhaps the most impactful skill a woodworker can develop. A razor-sharp edge pares wood effortlessly, leaving a glass-smooth surface that requires minimal sanding. Dull edges, conversely, tear and bruise wood, making precise work impossible.
Understanding Bevels and Grits
The bevel angle is critical for the performance and durability of your chisel or plane iron.
- Chisels: Most chisels are sharpened to a primary bevel of 25 to 30 degrees. A secondary micro-bevel of 30 to 35 degrees is often added at the very edge to enhance durability and make sharpening quicker.
- Plane Irons: Bench planes typically use a 25-degree primary bevel with a 30-degree micro-bevel. Specialized planes, like those for very hard woods or specific tasks, might use slightly different angles.
The sharpening process involves a progression of abrasive grits:
| Grits (Typical Progression) | Purpose | Notes |
|---|---|---|
| Coarse (150-600 grit) | Establish primary bevel, remove nicks/damage | Reshape edge quickly. |
| Medium (800-2000 grit) | Refine the primary bevel, remove coarse scratches | Essential for a consistent, flat bevel. |
| Fine (3000-8000 grit) | Create a keen edge, remove medium scratches | Begin to feel the edge “pop” into sharpness. |
| Super Fine (10,000+ grit) | Polish the edge, remove fine scratches, strop | Achieve a mirror polish and hair-shaving sharp edge. |
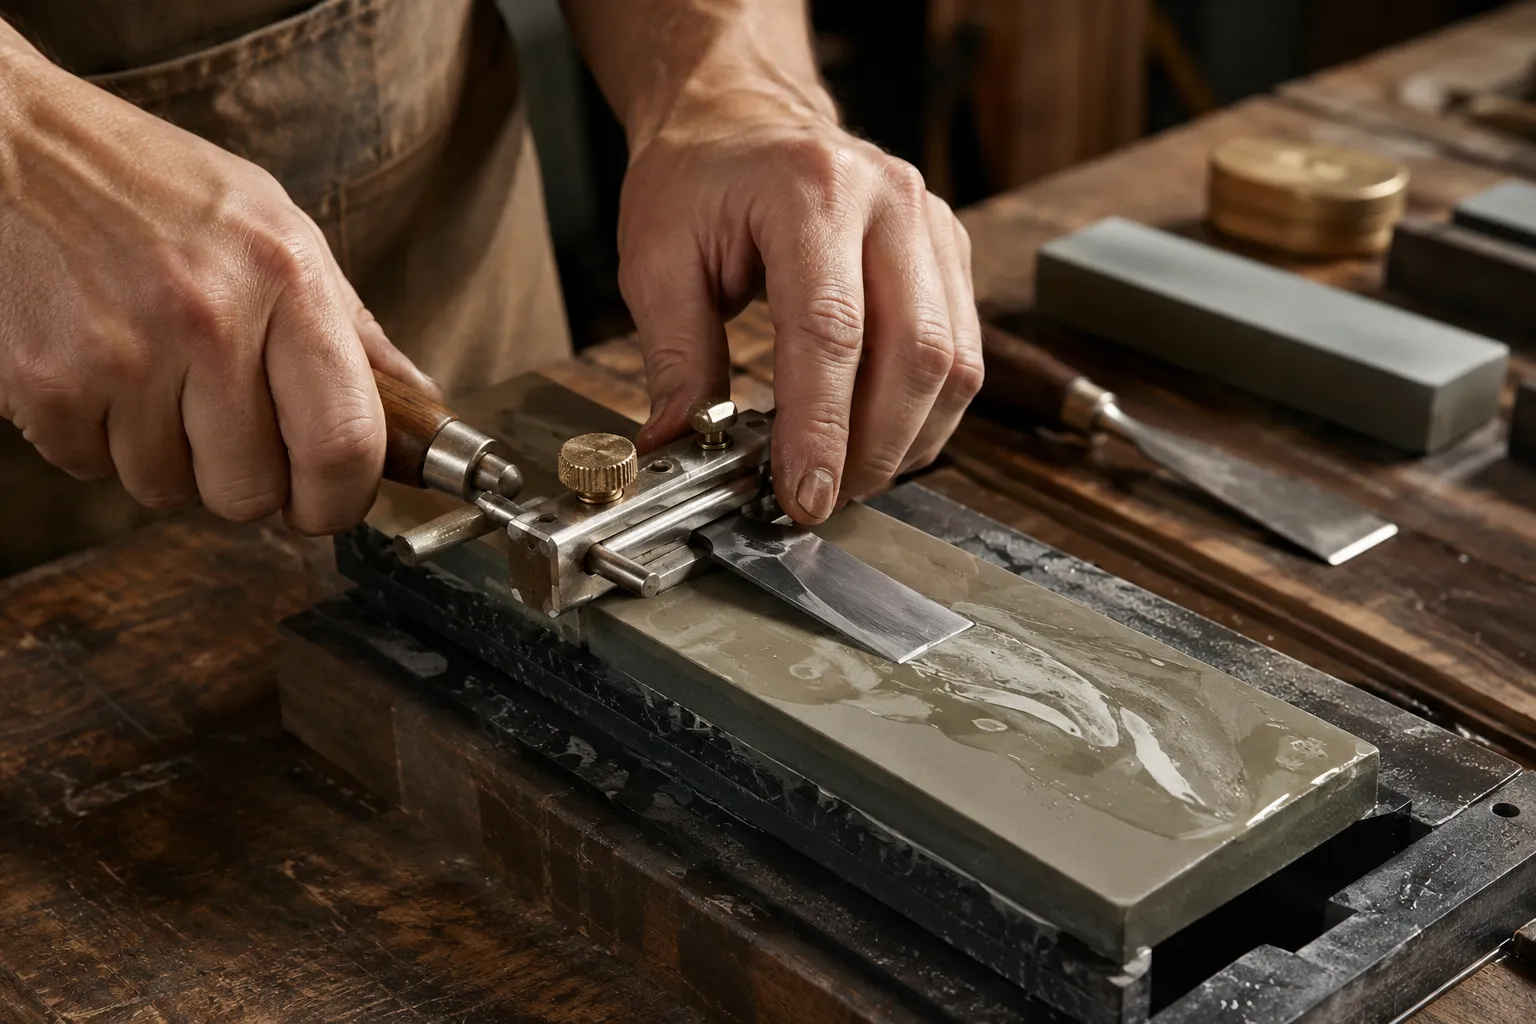
Waterstones are a popular choice for their ability to create a fast-cutting slurry, while oilstones are durable and long-lasting. Diamond plates offer extreme durability and flatness, making them excellent for flattening other stones or for very quick sharpening.
The Sharpening Process for Chisels and Plane Irons
- Flatten the Back: Before sharpening the bevel, the back of the chisel or plane iron must be perfectly flat, especially for the first inch or so from the cutting edge. Use progressively finer grits on a flat surface (diamond plate or sandpaper on glass) until a mirror polish is achieved. This ensures a true reference surface for precise cuts.
- Set the Bevel Angle: Use a honing guide to consistently set your chosen bevel and micro-bevel angles. This removes the guesswork and ensures repeatable results. Place the tool in the guide and adjust the extension until the desired angle is achieved.
- Progress Through Grits: Start with a coarse stone (if necessary to remove significant damage or establish a new bevel) and work your way up. For each grit:
- Push the tool forward, applying even pressure, feeling the resistance as metal is removed.
- Pull back lightly to avoid damaging the stone.
- Ensure the entire bevel makes contact with the stone.
- Continue until you raise a burr (a tiny lip of metal) on the opposite side of the cutting edge. This indicates you have sharpened the entire edge.
- Remove the Burr: Flip the tool over and lightly run the flat back across the finest stone or a leather strop a few times to remove the burr. You will feel the burr detach.
- Stropping: For the ultimate edge, strop the tool on a leather strop charged with honing compound. Make several passes on the bevel side, then a few on the flat back, until the edge is mirror-polished and incredibly sharp.
For beginners, developing basic hand tool skills, including proper sharpening, is key before tackling complex projects. Our guide, Introduction to Traditional Hand Tool Woodworking: Essential Tools and First Projects Without Power, offers an excellent starting point.
Essential Maintenance for Chisels, Planes, and Saws
Sharpening is only half the battle. Proper maintenance ensures your tools remain in top condition, preventing rust, warping, and premature wear. This section of The Essential Guide to Hand Tool Sharpening and Maintenance: Keep Your Chisels, Planes, and Saws Razor Sharp covers critical care practices.
Cleaning and Rust Prevention
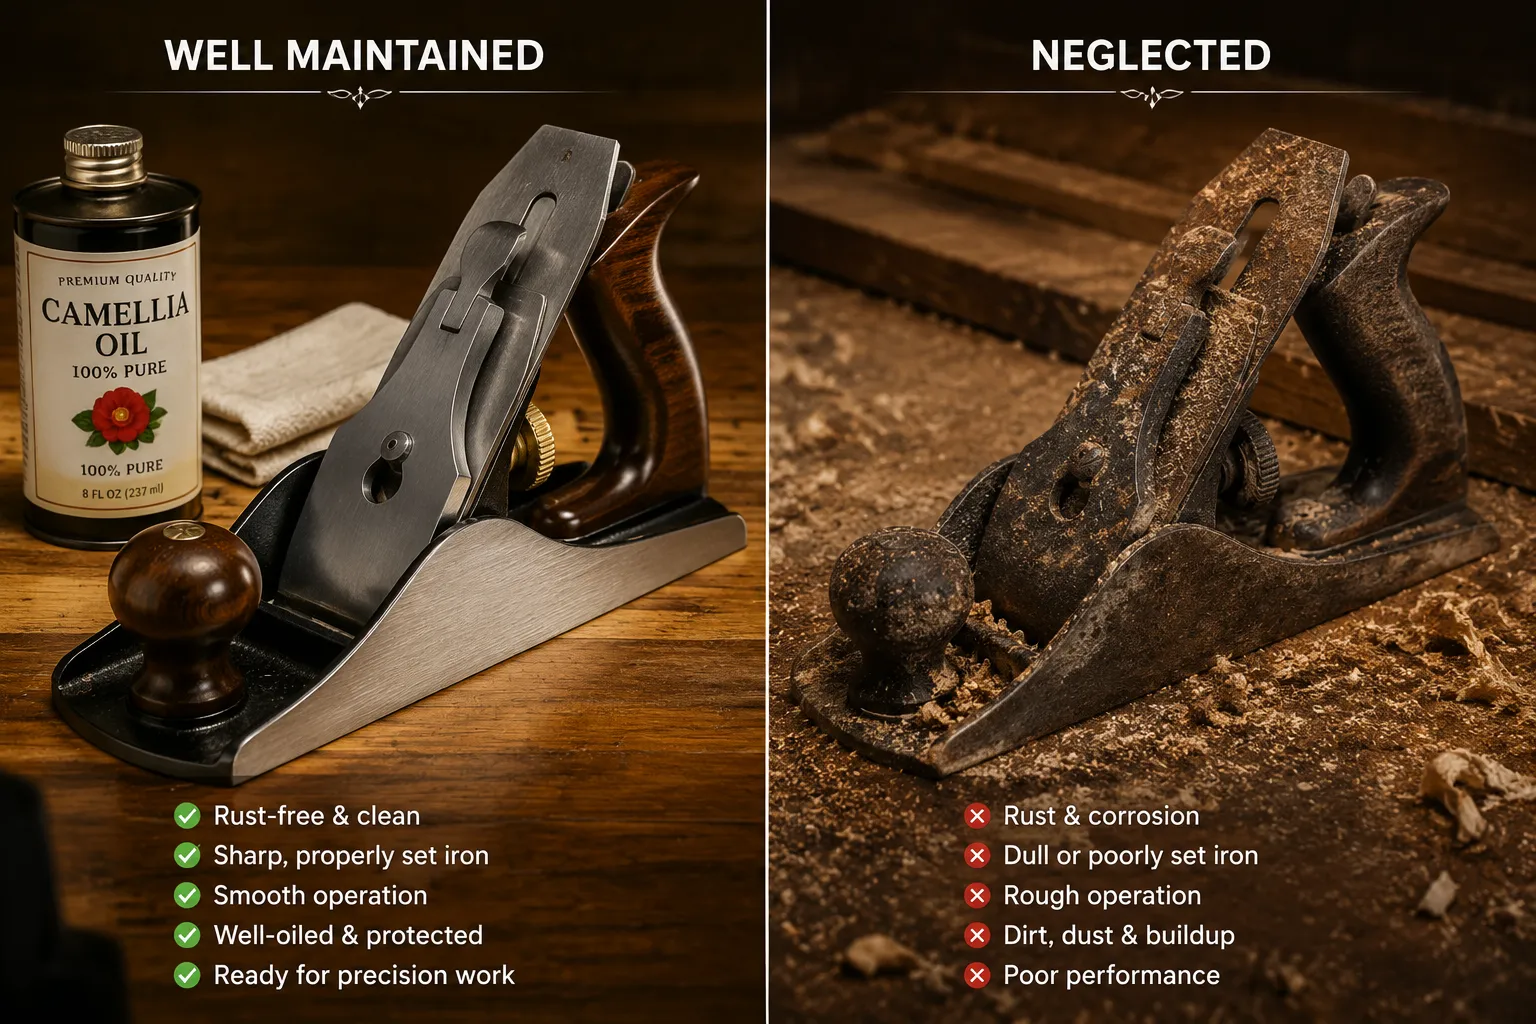
Rust is the archenemy of hand tools. It can quickly pit cutting edges and seize moving parts.
- Clean After Every Use: Wipe down tools immediately after use to remove sawdust, oils, and moisture. A stiff brush can remove stubborn debris from plane soles or saw teeth.
- Apply Rust Preventative: After cleaning, apply a thin coat of camellia oil, paste wax, or a dedicated rust preventative to all metal surfaces. This creates a barrier against moisture. For chisels and plane irons, focus on the bevel and the first inch of the back. For planes, coat the sole and blade. For saws, apply to the entire blade.
- Remove Existing Rust: For light rust, fine steel wool or a rust-removing abrasive eraser can be effective. For heavier rust, consider a chemical rust remover or electrolysis, followed by thorough cleaning and oiling. More details on saw restoration can be found in our guide on Restoring and Sharpening Hand Saws: Bringing Vintage Tools Back to Life for Precision Cutting.
Plane Maintenance Beyond the Blade
Hand planes have several components that require attention for optimal performance:
- Sole Flatness: A truly flat sole is crucial for accurate planing. Periodically check the sole for flatness with a straightedge. If it’s not flat, it can be lapped using sandpaper on a flat surface (such as a granite tile or thick glass).
- Lateral Adjustment and Frog: Ensure the lateral adjustment lever moves freely and holds the blade securely. The frog, which supports the plane iron, should be tightly seated against the body. Adjusting the mouth opening (the gap between the frog and the front of the plane) can optimize performance for different tasks, from fine shavings to heavy cuts.
- Chipbreaker: The chipbreaker (or cap iron) should be set very close to the cutting edge of the plane iron (1/32″ to 1/16″ is common). This helps curl and break the shavings, preventing tear-out, especially in figured wood. Ensure its mating surface against the plane iron is clean and flat.
Proper Storage
How you store your tools significantly impacts their longevity.
- Dry Environment: Store tools in a dry, stable environment to minimize rust. If your workshop is humid, consider a dehumidifier or storing tools in tool rolls treated with rust-inhibiting agents.
- Edge Protection: Protect sharp edges from accidental bumps and contact with other tools. Chisel guards, tool rolls, or dedicated storage cabinets with custom slots are ideal. For saws, use saw scabbards or hang them individually to prevent teeth from being damaged. DIY Wooden Pencil Holders and Tool Organizers: Workshop Essentials for Beginners can provide ideas for protective storage.
- Organized Storage: An organized workshop not only protects your tools but also makes them easier to find and use. Consider building a DIY Wall-Mounted Tool Cabinet with French Cleats for efficient and protective storage.
Sharpening and Maintaining Hand Saws
Sharpening a hand saw is a more intricate process than sharpening a chisel, but it is equally rewarding. A sharp saw cuts quickly, cleanly, and with minimal effort, reducing fatigue and improving accuracy. This final section of The Essential Guide to Hand Tool Sharpening and Maintenance: Keep Your Chisels, Planes, and Saws Razor Sharp focuses on this specialized skill.
Understanding Saw Tooth Geometry
Saw teeth are not just simple points; they have specific geometries designed for their cutting action.
- Rake Angle: The angle at which the leading edge of the tooth meets the wood. Rip saws typically have a more aggressive, positive rake angle for efficient cross-grain cutting, while crosscut saws have a more neutral or slightly negative rake angle to shear wood fibers.
- Fleam Angle: The angle at which the side of the tooth is filed. Crosscut saws have a significant fleam (typically 15-25 degrees), creating knife-like edges that score and sever wood fibers. Rip saws have little to no fleam.
- Set: The slight outward bend of each tooth, alternating left and right. Set creates a kerf (the width of the cut) that is wider than the saw plate, preventing the plate from binding in the wood. Too much set wastes material and causes a rough cut; too little causes binding.
The Saw Sharpening Process
Saw sharpening typically involves three main steps: jointing, shaping/filing, and setting.
- Jointing: This involves running a flat file across the top of the teeth, perpendicular to the saw plate, until a small flat facet appears on the very tip of every tooth. This ensures all teeth are the same height.
- Shaping and Filing:
- Secure the saw in a dedicated saw vise.
- Use a three-cornered file (triangular file) of the appropriate size for the saw’s teeth per inch (TPI).
- File each tooth, following its existing geometry (rake and fleam angles) or adjusting to your desired angles. The jointed facets will disappear as you file.
- File every other tooth from one side, then flip the saw and file the remaining teeth from the other side. This helps maintain consistent tooth geometry.
- Continue until all jointed facets are gone and a small burr is raised on the opposite side of each tooth.
- Setting: Use a saw set tool to bend each tooth slightly outward, alternating left and right. The amount of set depends on the wood type (more set for green or resinous wood, less for dry hardwood). Aim for just enough set to prevent binding. Too much set can be detrimental to cut quality and material yield.
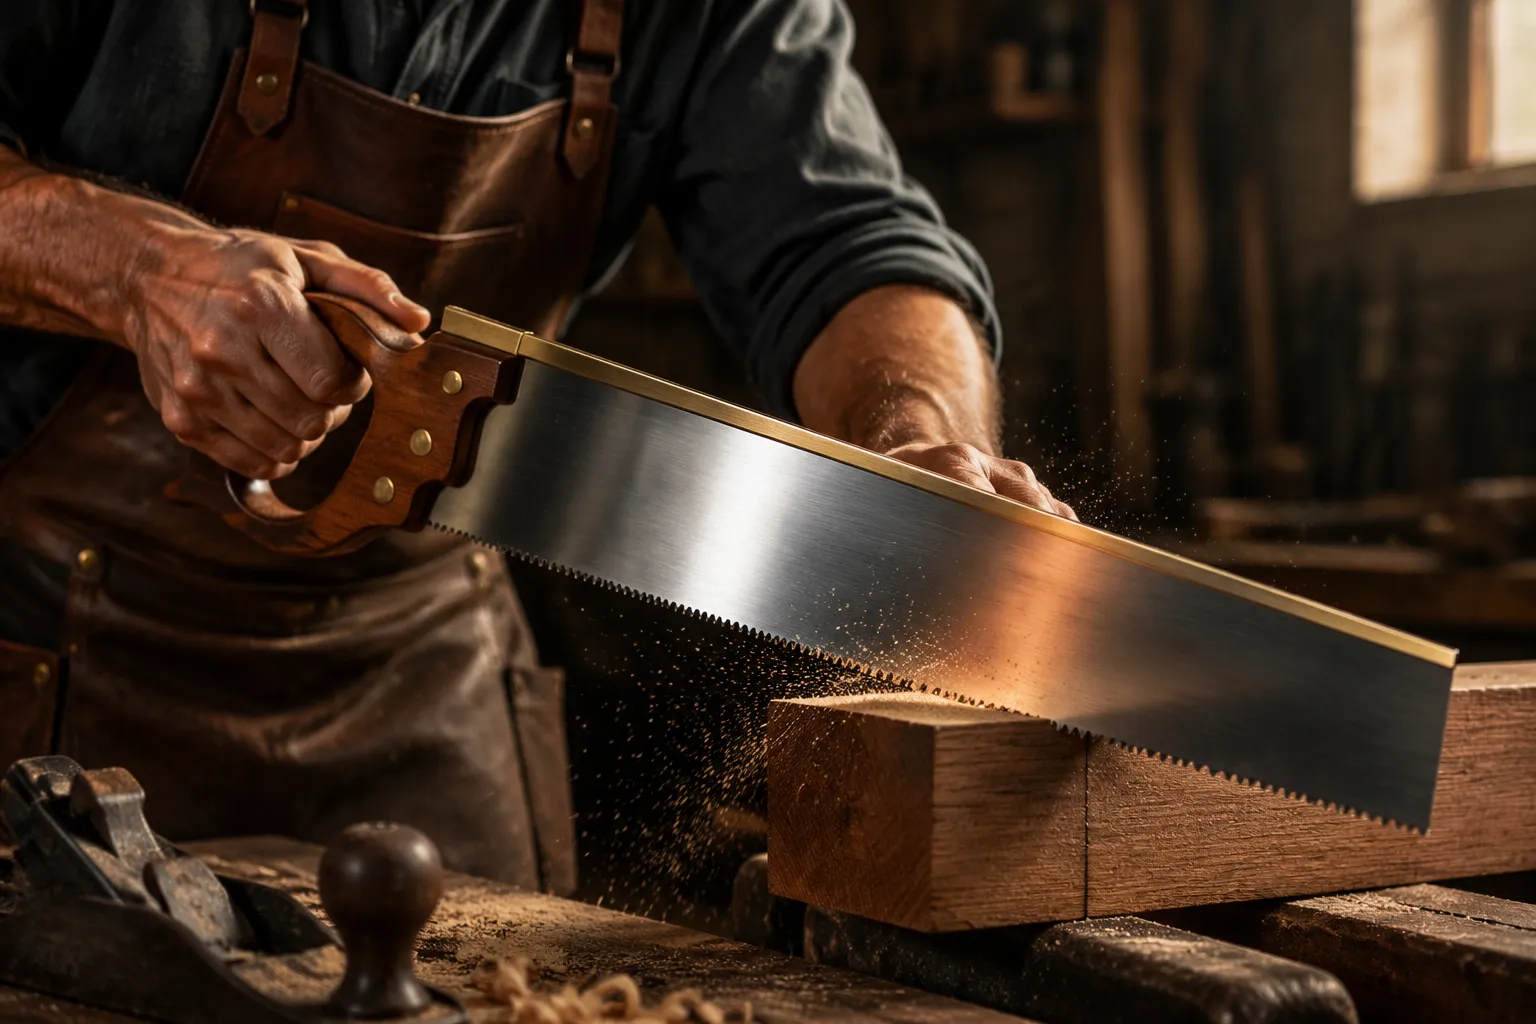
For specific types of joinery that rely on precise saw cuts, such as mortise and tenon joints, a finely sharpened saw is indispensable. Our guide, Beginner’s Guide to Hand Tool Joinery: Mastering Mortise and Tenon, highlights the importance of sharp tools in achieving strong, clean joints.
Saw Maintenance
Beyond sharpening, saws require ongoing care:
- Clean Blades: After use, wipe down the saw blade to remove sap and pitch, which can cause binding and rust. A rag with mineral spirits or a dedicated saw cleaner works well.
- Rust Protection: Apply a thin coat of camellia oil or paste wax to the blade after cleaning to prevent rust.
- Handle Care: Periodically check the saw handle for tightness. If it’s loose, tighten the screws. Consider applying a finish like linseed oil to wooden handles to keep them from drying out and cracking.
A sharp saw not only enhances the joy of woodworking but also leads to more accurate and efficient results, making projects like Crafting Custom Bar and Counter Height Stools: Wood Selection much more achievable with clean, precise cuts.
Conclusion
The journey through The Essential Guide to Hand Tool Sharpening and Maintenance: Keep Your Chisels, Planes, and Saws Razor Sharp reveals that the true potential of hand tools is unlocked not just by owning them, but by mastering their care. In 2026, as precision woodworking continues to be valued, the ability to maintain truly sharp and well-tuned tools remains a cornerstone skill for any craftsperson. By diligently following the sharpening techniques for chisels and plane irons, understanding the nuances of saw geometry, and committing to a routine of cleaning, rust prevention, and proper storage, you will transform your woodworking experience. Your tools will cut cleaner, last longer, and make every project more enjoyable and successful. Make sharpening and maintenance an integral part of your woodworking workflow; your hands and your projects will thank you.
Actionable Next Steps:
- Assess Your Tools: Go through your chisels, planes, and saws. Identify which ones need immediate attention.
- Acquire Essentials: Ensure you have the necessary sharpening stones (coarse to super fine), a honing guide, a saw file, a saw set, and rust preventative.
- Practice Systematically: Start with one tool, perhaps a chisel, and work through the sharpening progression. Develop a consistent routine.
- Implement Maintenance: After each use, take a few minutes to clean and oil your tools before storing them properly.
SEO Meta Title: The Essential Guide to Hand Tool Sharpening & Maintenance SEO Meta Description: Master hand tool sharpening and maintenance for chisels, planes, and saws. Keep your woodworking tools razor sharp for precision and longevity in 2026.