
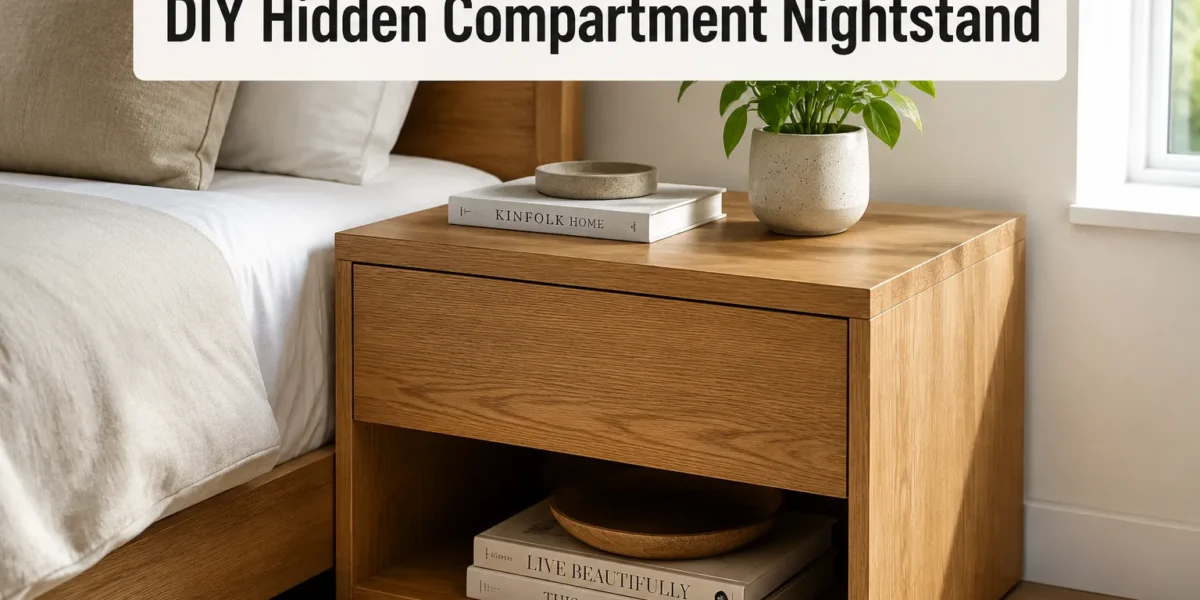
The average person spends approximately one-third of their life in bed, making the bedside table a critical, yet often underutilized, piece of furniture. It typically serves as a catch-all for essentials, leading to clutter that detracts from a serene bedroom environment. This article delves into the innovative solution of a DIY Night Side Table With Hidden Compartment: Designing Storage Without Making the Piece Bulky. We will explore how to craft a nightstand that elegantly incorporates discreet storage, maintaining clean lines and a compact footprint, without compromising on functionality or aesthetic appeal in 2026.
Key Takeaways
- A hidden compartment nightstand offers discreet storage, reducing clutter while preserving minimalist aesthetics.
- Careful design and material selection are crucial to integrate hidden storage without adding bulk or weakening the structure.
- Various hidden compartment mechanisms, from false bottoms to secret drawers, can be implemented with varying complexity.
- Structural integrity and accessibility must be prioritized during the design and build process to ensure longevity and usability.
- Customization allows for tailored storage solutions that perfectly fit personal needs and bedroom decor.
The Appeal of Concealed Storage in Night Side Tables
In an era where minimalist design and efficient use of space are highly valued, the concept of a DIY Night Side Table With Hidden Compartment: Designing Storage Without Making the Piece Bulky perfectly aligns with modern interior trends. Traditional nightstands often come with open shelves or visible drawers, which, while functional, can quickly become repositories for items that disrupt a room’s tranquility. Think of charging cables, remote controls, medications, or personal valuables, items you need close at hand but prefer out of sight.
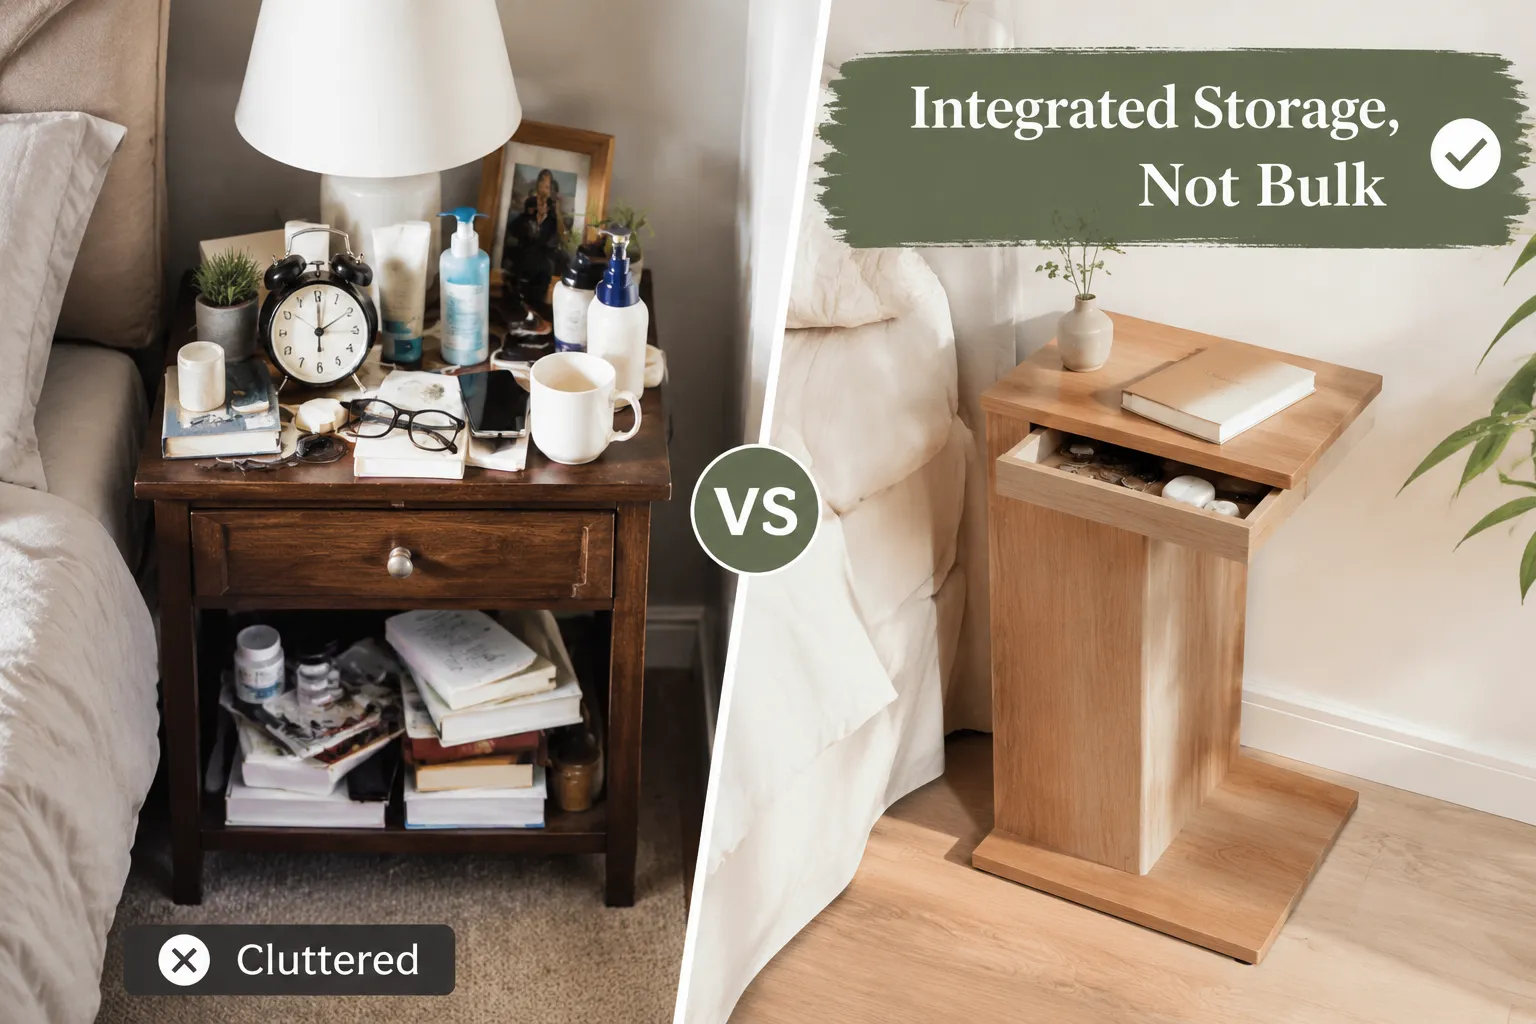
A night side table with a hidden compartment solves this dilemma by offering secure, discreet storage that keeps these items readily accessible yet completely concealed. This approach not only enhances the visual tidiness of a bedroom but also provides a sense of security for personal effects. The key lies in designing these compartments so they seamlessly blend into the table’s structure, giving no hint of their existence from the outside. This means focusing on clever joinery, integrated hardware, and thoughtful material choices that ensure the piece remains visually light and unobtrusive. The challenge is to add storage without adding perceived mass, achieving a streamlined look that complements rather than complicates your bedroom aesthetic. For those looking to maximize space in compact living areas, integrating smart storage solutions like these is paramount. You can find more ideas on crafting space-saving furniture for small living.
Why Opt for a DIY Hidden Compartment Nightstand?
Choosing to build your own DIY night side table with a hidden compartment offers several distinct advantages:
- Customization: Tailor dimensions, wood species, and finish to perfectly match your bedroom decor and specific storage needs.
- Cost-Effectiveness: Often, building a custom piece is more affordable than purchasing a commercially made equivalent with similar features.
- Skill Development: It provides an excellent opportunity to hone woodworking skills, from precise cuts to intricate joinery.
- Personal Satisfaction: The pride of creating a unique, functional piece of furniture that reflects your craftsmanship.
- Security: Design the compartment to be as secure as needed, providing peace of mind for storing sensitive items.
Design Principles for a Non-Bulky Hidden Compartment Nightstand
The primary challenge in creating a DIY Night Side Table With Hidden Compartment: Designing Storage Without Making the Piece Bulky is to integrate the compartment seamlessly. This requires a strong understanding of design principles that emphasize clean lines, functional elegance, and structural integrity. The goal is to make the storage appear as an intrinsic part of the table, not an addition.
Material Selection
Choosing the right materials is foundational. Lightweight yet strong hardwoods like maple, cherry, or walnut are excellent choices, offering durability without excessive mass. Plywood or MDF can be used for internal structures or less visible components to keep costs and weight down, as long as they are properly finished and supported. Consider how the grain patterns and colors will contribute to the overall aesthetic, especially when designing panels that conceal compartments. For insights into selecting the best wood, refer to The Ultimate Guide to Wood Species for Furniture Making.
Form Factor and Dimensions
To avoid bulk, consider:
- Minimalist Profile: Opt for simple geometric shapes, like cubes, cylinders, or rectangular prisms, with clean edges. Avoid excessive ornamentation.
- Leg Design: Tapered legs, thin metal legs, or even a floating design (where the table is mounted to the wall) can create a sense of lightness.
- Proportion: Ensure the table’s dimensions are appropriate for its location. A common mistake is building a table that is too wide or too deep for the space.
- Integrated Functions: Can the hidden compartment also serve another purpose? For instance, a false bottom that doubles as a charging station. For related projects, consider designs for DIY modern nightstands with integrated wireless charging.
Hidden Compartment Mechanisms
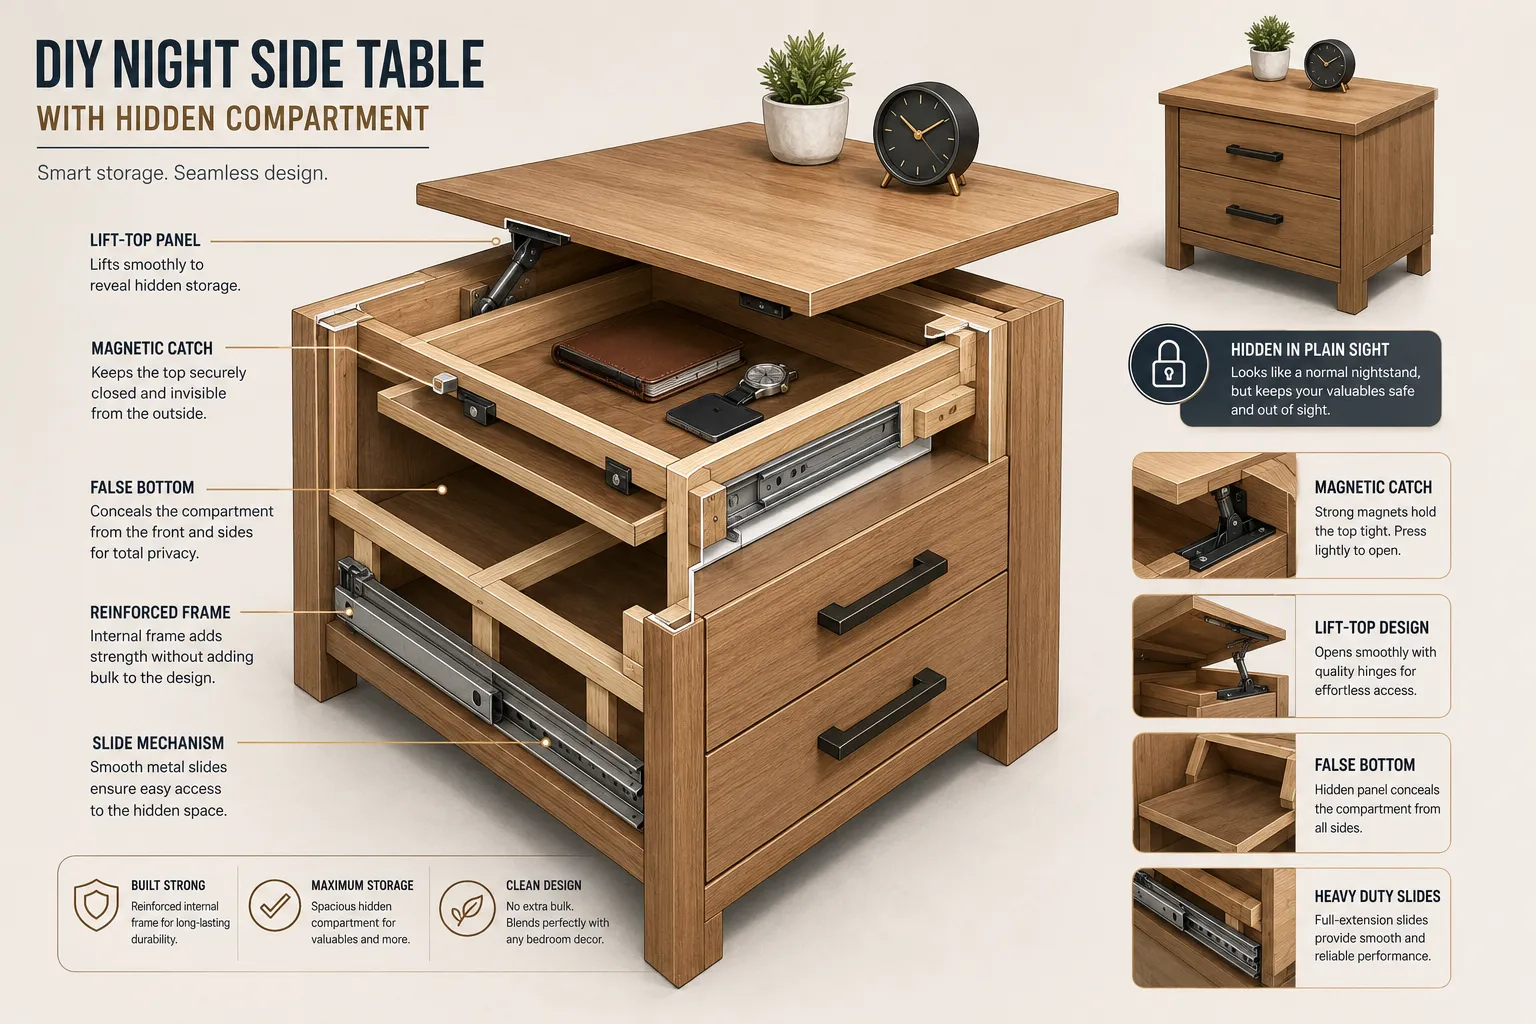
The ingenuity of your hidden compartment lies in its mechanism. Here are a few popular options:
| Mechanism Type | Description | Complexity | Key Feature |
|---|---|---|---|
| False Bottom | A removable or hinged panel at the bottom of a drawer or shelf. | Low | Simple to implement, good for shallow items. |
| Secret Drawer | A drawer that blends seamlessly with the facade, often opened by a hidden latch or magnetic key. | Medium | Appears as part of the frame, versatile. |
| Slide-Out Panel | A side or top panel that slides open to reveal a cavity within the table’s structure. | Medium | Can be designed for larger items. |
| Lift-Top | The entire top surface lifts or pivots to expose a storage area below. | High | Maximize storage volume, requires robust hinges. |
| Pivoting Bookshelf | (More complex for a nightstand) A small section that pivots to reveal a space behind it. | High | Excellent for deeper, more secure storage. |
Structural Integrity and Construction
Regardless of the mechanism, the table’s structural integrity must be maintained.
- Joinery: Use strong joinery methods. Dovetail, mortise and tenon, or even well-executed pocket holes can provide robust connections without adding bulk. For more on joinery, explore Pocket Hole Mastery.
- Reinforcement: Ensure that the frame supporting the hidden compartment is robust. For sliding mechanisms, precise channels and smooth glides are essential.
- Hardware: Opt for high-quality, discreet hardware. Magnetic latches, concealed hinges, or push-to-open mechanisms can keep the exterior clean.
Step-by-Step Approach to Building Your DIY Night Side Table With Hidden Compartment
Building a DIY Night Side Table With Hidden Compartment: Designing Storage Without Making the Piece Bulky requires careful planning and execution. This section outlines a general workflow, adaptable to various designs.
1. Planning and Design
- Sketch It Out: Begin with detailed sketches, considering dimensions, desired storage capacity, and the chosen hidden compartment mechanism.
- Choose Your Wood: Select a wood species based on aesthetics, durability, and workability.
- Gather Tools and Materials: List all necessary lumber, hardware (hinges, slides, latches), and woodworking tools. A good table saw is often invaluable for precise cuts.
- Create a Cut List: Break down your design into individual pieces with precise measurements.
2. Cutting and Preparation
- Measure and Cut: Accurately cut all wood components according to your cut list. Precision is paramount, especially for parts that will form the hidden compartment.
- Edge Treatment: Sand or rout edges as desired (e.g., chamfer or round-over) for a refined look and comfortable feel.
- Test Fits: Dry-fit components to ensure everything aligns correctly before permanent assembly.
3. Constructing the Main Frame
- Assemble the Base/Legs: Build the foundational structure first, ensuring it is square and stable.
- Attach Side Panels: Secure the main side panels.
- Integrate Structural Supports: Install any internal supports required for the hidden compartment, ensuring they don’t add visible bulk.
4. Fabricating the Hidden Compartment
- Build the Compartment Box: Construct the internal box or panel that will form the hidden space. Ensure its dimensions are slightly smaller than the cavity it will occupy to allow for movement.
- Install Mechanism: This is where your chosen mechanism comes into play.
- False Bottom: Secure hinges for a hinged false bottom, or create a precisely fitting, easily removable panel.
- Secret Drawer: Build the drawer box. Create a clever façade that matches the table’s exterior, and integrate your hidden latch or magnetic lock.
- Slide-Out Panel: Create precise dado or rabbet cuts for the sliding track, or install high-quality drawer slides.
- Lift-Top: Attach robust hinges and consider a soft-close mechanism for safety.
- Test Operation: Repeatedly test the hidden compartment’s operation to ensure it opens and closes smoothly and discreetly. Make any necessary adjustments.

5. Finishing Touches
- Sanding: Thoroughly sand all surfaces, progressing through grits from coarse to fine, to achieve a smooth finish.
- Stain or Paint: Apply your chosen stain or paint to match your room’s aesthetic. Allow adequate drying time between coats.
- Protective Finish: Apply a clear protective finish (e.g., polyurethane, lacquer, or natural oil) to enhance durability and protect the wood. Consider options like DIY wood finishing with natural oils and waxes.
- Final Assembly (if parts were finished separately): Carefully assemble any remaining components and install any final hardware.
Pro Tips for a Polished Result
- Precision is Key: Small errors in cutting or assembly can make a hidden compartment obvious or dysfunctional. Use accurate measuring and marking tools.
- Concealment: Pay extra attention to seams, grain matching, and flush surfaces to ensure the hidden compartment truly disappears.
- Accessibility: While hidden, the compartment should still be easy for you to access. Avoid overly complicated mechanisms that could jam.
- Safety: If using magnets or latches, ensure they are strong enough to keep the compartment closed but not so strong that they cause difficulty in opening.
Conclusion
Building a DIY Night Side Table With Hidden Compartment: Designing Storage Without Making the Piece Bulky is a rewarding project that marries form and function. By focusing on smart design principles, choosing appropriate materials, and employing careful construction techniques, you can create a piece that not only enhances your bedroom’s aesthetic but also provides ingenious, discreet storage for your personal items. The satisfaction of crafting a unique, uncluttered space where essentials are within reach yet out of sight is a testament to the power of thoughtful woodworking. In 2026, as homes increasingly prioritize efficiency and elegance, such custom solutions will continue to rise in popularity. Embark on this project, refine your skills, and transform your bedside area into a haven of organized tranquility.
SEO Meta Title: DIY Hidden Compartment Nightstand: Non-Bulky Storage SEO Meta Description: Craft a DIY night side table with hidden compartments for discreet storage. Learn design principles to keep it sleek, non-bulky, and functional in 2026.