
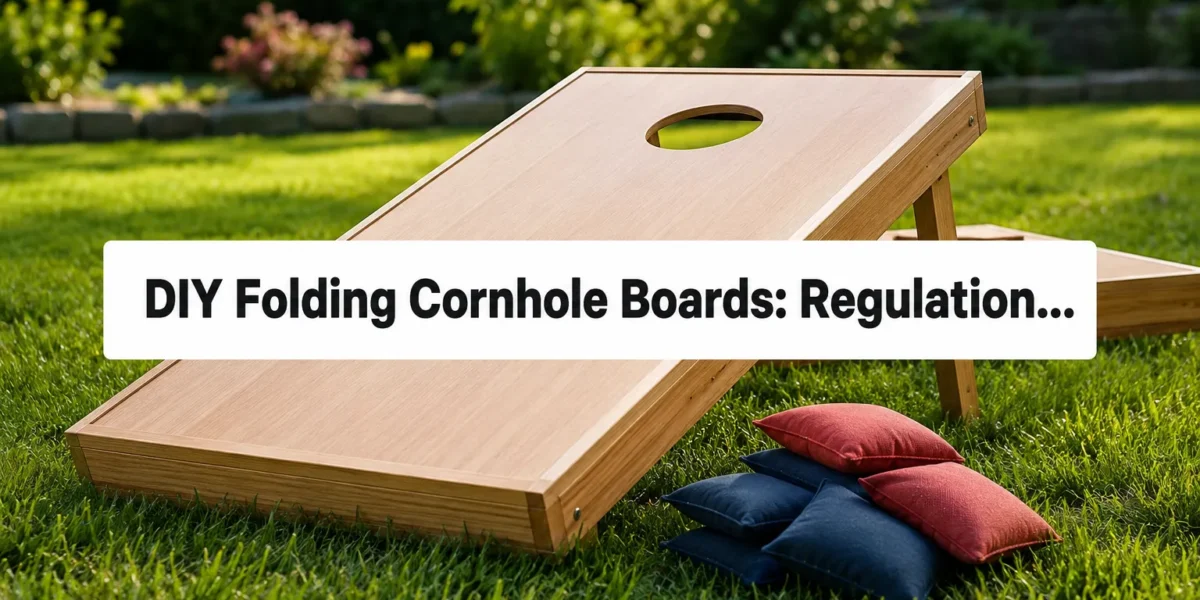
The average cornhole enthusiast typically shells out upwards of $200 for a quality set of regulation boards, often without the ability to fold them for easy transport and storage. For those who enjoy backyard games but also appreciate thoughtful craftsmanship, building your own set of DIY Folding Cornhole Boards with regulation dimensions, robust joinery, and a smooth, durable wood finish offers a satisfying alternative. Not only does it provide a custom set tailored to your preferences, but it also ensures a lasting investment that stands up to the rigors of outdoor play while being conveniently portable. This guide will walk you through the essential steps to construct a professional-grade folding cornhole set that will be the envy of your next gathering in 2026.
Key Takeaways
- Adhere strictly to official American Cornhole Association (ACA) regulation dimensions for authentic gameplay.
- Utilize durable plywood for the board surface and frame, selecting materials that can withstand outdoor conditions.
- Employ strong joinery techniques like pocket holes and carriage bolts to ensure structural integrity and facilitate the folding mechanism.
- Incorporate flush-mounted handles for easy, comfortable carrying when boards are folded.
- Achieve a smooth, dent and moisture-resistant finish through proper sanding, sealing, and multiple coats of a protective topcoat.
Understanding Regulation Dimensions for Your DIY Folding Cornhole Boards
Crafting a set of cornhole boards that truly enhance gameplay begins with precise adherence to regulation dimensions. The American Cornhole Association (ACA) sets forth specific standards that ensure fair and consistent play, making your DIY project truly authentic. Deviating from these measurements can significantly alter the game dynamics, so meticulous attention to detail during the layout and cutting phases is crucial.
Board Surface and Frame Measurements
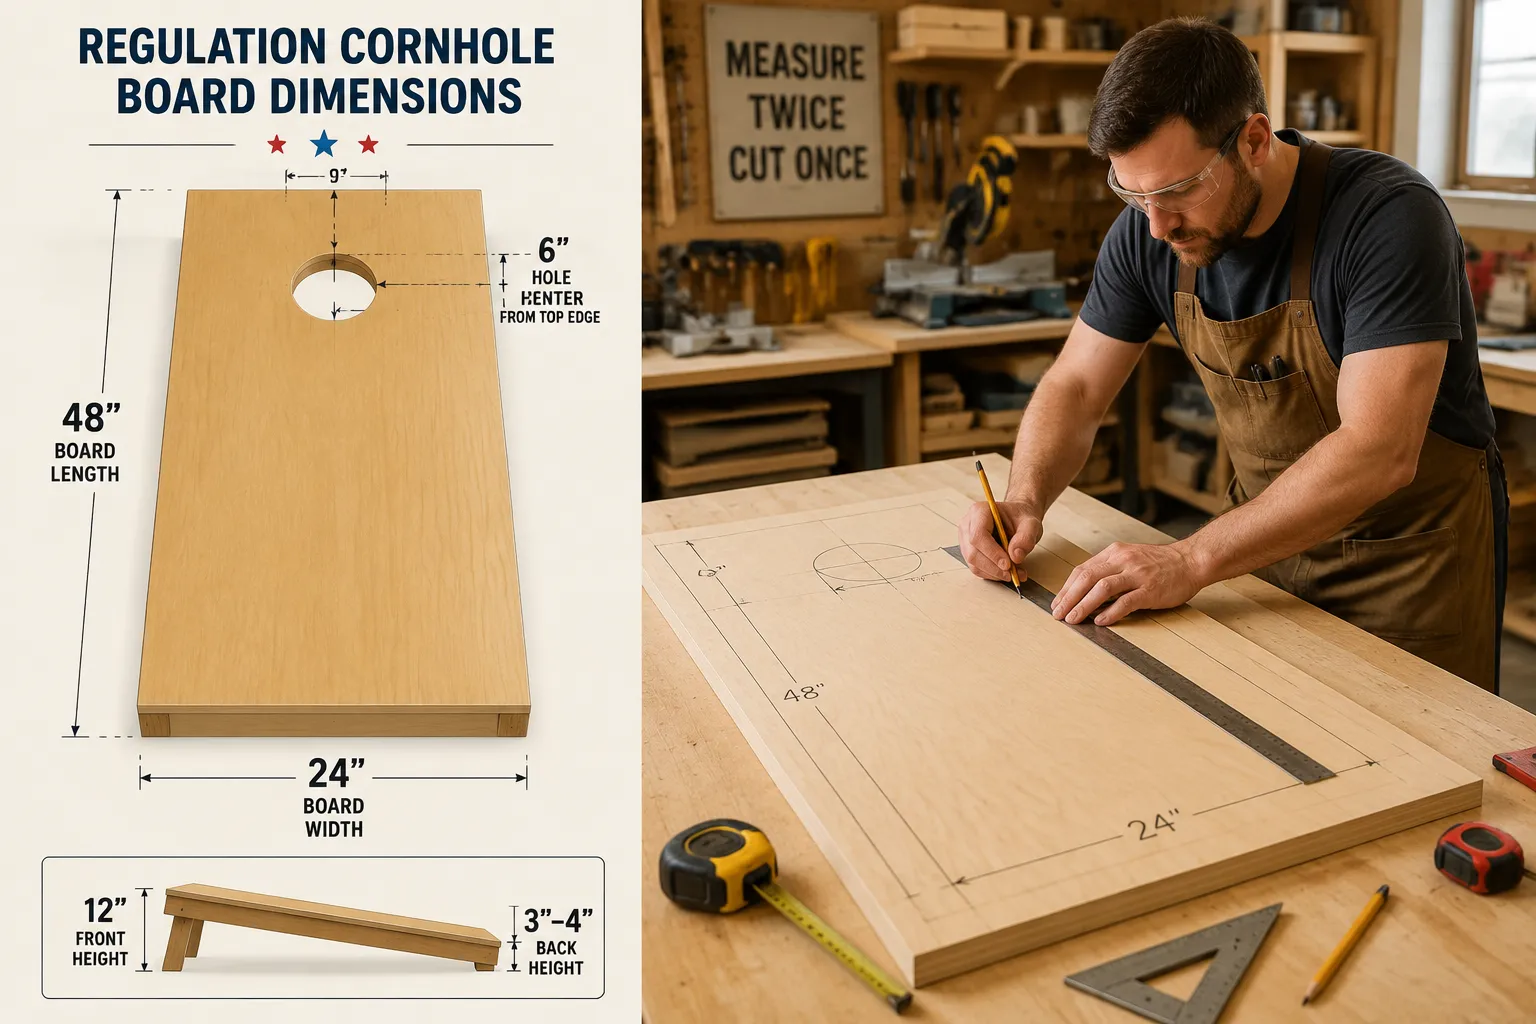
The playing surface of each cornhole board must measure 48 inches in length and 24 inches in width. This provides the standard target area for players. For the material, ½-inch or ¾-inch thick plywood is generally recommended for the top surface, striking a balance between weight, durability, and resistance to warping. The frame, which supports the playing surface, typically uses 1×4 lumber, although some builders opt for 2x4s for increased rigidity.
Regulation Cornhole Board Dimensions at a Glance:
| Component | Measurement | Material Recommendation |
|---|---|---|
| Playing Surface | 48 inches (length) x 24 inches (width) | ½-inch or ¾-inch plywood (e.g., Baltic birch) |
| Playing Surface Hole | 6 inches (diameter) | |
| Hole Center | 9 inches from the top edge, centered width | |
| Front Edge Height | 2.5 to 3.5 inches from the ground | |
| Back Edge Height | 12 inches from the ground | |
| Frame Lumber | 1×4 or 2×4 (for enhanced rigidity) | Pine, fir, or hardwood |
The most critical feature on the playing surface is the hole. It must have a 6-inch diameter, and its center should be positioned exactly 9 inches from the top edge of the board and 12 inches from either side (meaning it’s centered horizontally). Achieving a clean, circular cut for this hole is best done with a jigsaw after drilling a pilot hole, or more precisely with a large hole saw, ensuring smooth edges for bags to slide through effortlessly.
Board Height and Leg Construction
When assembled for play, the front edge of the cornhole board should sit between 2.5 and 3.5 inches off the ground, while the back edge should be precisely 12 inches high. This specific incline is vital for the proper trajectory of the cornhole bags.
The folding legs are integral to achieving these heights and to the portability of your DIY Folding Cornhole Boards. Each leg should be constructed from 1×4 or 2×4 lumber. The length and angle of the legs will determine the board’s elevation. Typically, legs are cut at an angle at the bottom to sit flush with the ground and are pivoted from a point near the top of the frame. When folded, these legs should tuck neatly beneath the board, maintaining a relatively flat profile for storage and transport. Consider adding a brace between the two legs for added stability during play.
To ensure your boards are perfectly matched, it is highly advisable to cut all corresponding pieces for both boards simultaneously. This minimizes discrepancies and ensures a uniform set. Utilizing accurate measuring tools and a reliable saw is paramount for precise cuts. For those looking to maximize efficiency and accuracy in their workshop, exploring a guide on Dewalt Power Tools for Woodworkers: A Comprehensive Guide to Essential Workshop Equipment can provide insights into suitable tools.
Building Robust Joinery and a Practical Folding Mechanism
The structural integrity and portability of your DIY Folding Cornhole Boards depend heavily on the quality of your joinery and the design of the folding mechanism. A robust build ensures durability, while a well-engineered folding system makes transport and storage a breeze.
Frame Construction and Joinery Techniques
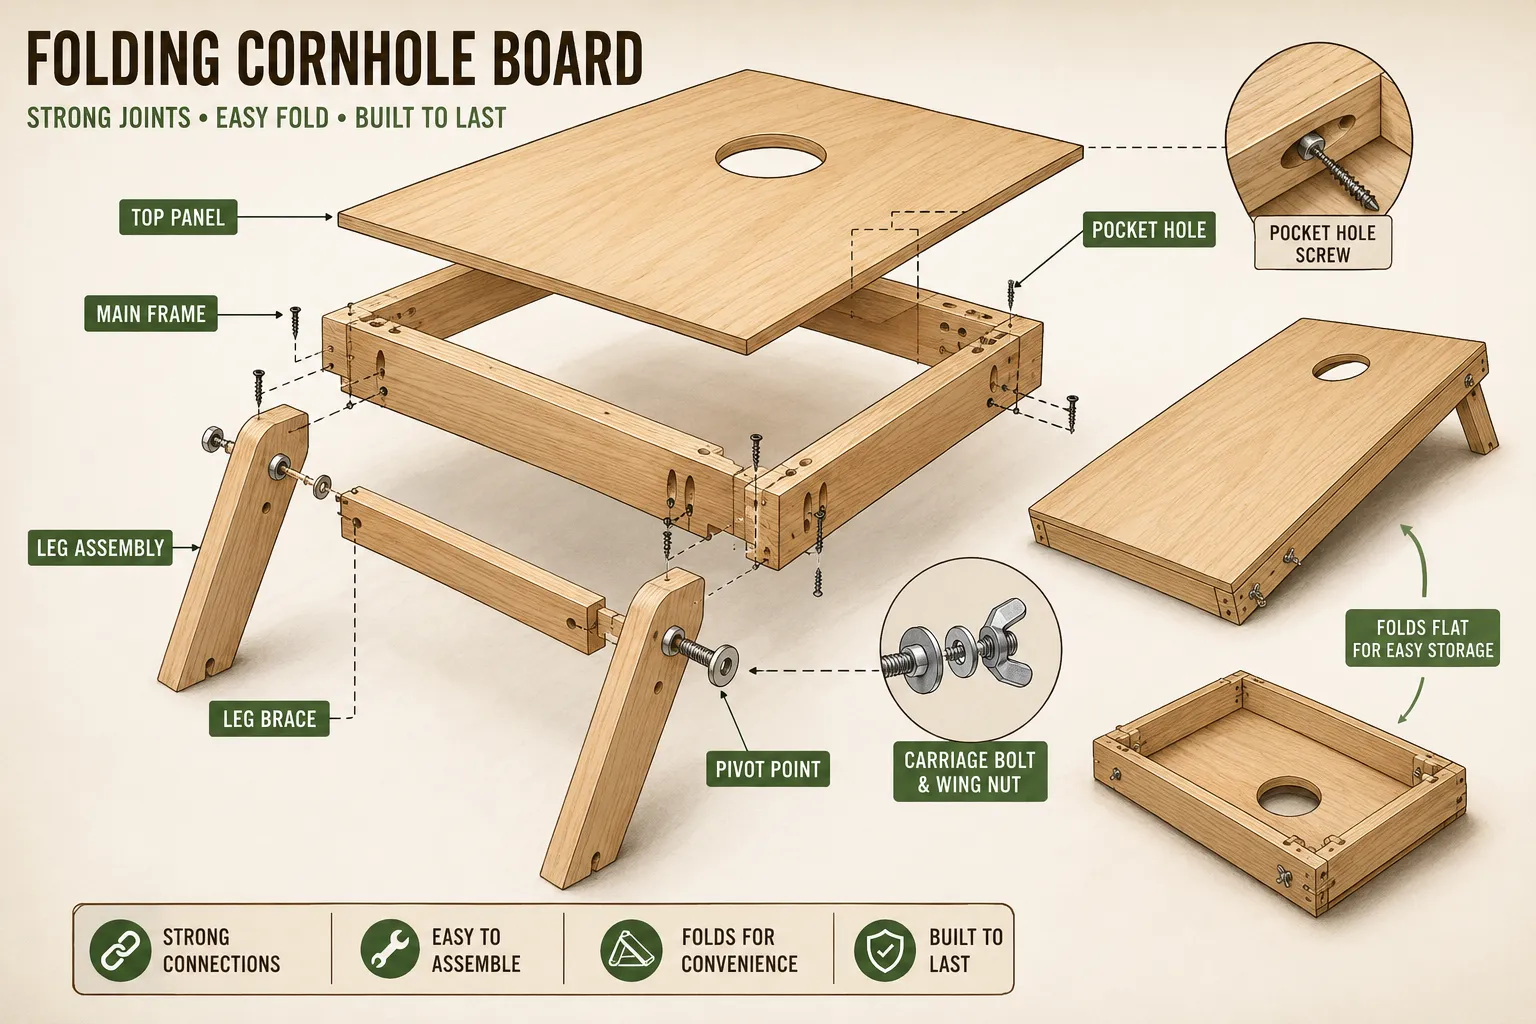
For the main frame, pocket hole joinery is an excellent choice due to its strength and relative ease of execution. Using a pocket hole jig, you can create strong, hidden joints that secure the frame members to each other and to the plywood playing surface. This method minimizes visible fasteners, contributing to a cleaner aesthetic. Alternatively, traditional wood glue and screws, reinforced with dado or rabbet joints where the playing surface meets the frame, can also provide a sturdy connection.
When attaching the plywood playing surface to the frame, ensure it sits flush or slightly recessed to prevent snagging. Wood glue should be used generously along all contact points, along with screws driven from underneath the frame into the plywood. Countersink all screws for a smooth, unblemished surface. For further guidance on precise joinery, you might find techniques discussed in DIY Floating Shelf Installation: Hidden Bracket Joinery and Load-Bearing Techniques helpful in understanding how to create strong, concealed connections.
Designing the Folding Legs and Handle Integration
The folding legs are pivotal for the portability of your DIY Folding Cornhole Boards. Each board will require two legs, connected by a cross brace for stability. These legs typically pivot on a single carriage bolt per leg, passed through the frame and secured with a washer and wing nut. The wing nut allows for easy loosening and tightening by hand, enabling quick setup and breakdown.
The top of each leg should be cut with a rounded or angled profile to allow smooth rotation without binding against the frame. When extended, the legs should lock into place, or at least brace firmly, to prevent wobble during play. A common method is to cut the legs at an angle so they rest against the inside of the frame when fully extended.
For effortless transport, integrate flush-mounted handles into the side frames of the boards. These can be routed recesses or simple cut-outs that allow for a comfortable grip without protruding, ensuring the boards stack neatly when folded. Alternatively, sturdy rope handles can be installed, recessing the knots to maintain a flush profile.
“The thoughtful design of the folding mechanism, coupled with secure joinery, transforms a stationary game into a versatile, portable entertainment solution for any backyard or event.”
When considering the folding mechanism, also think about how the boards will be stored. Some designs allow the legs of one board to nest into the frame of the other, creating a compact unit. Magnetic catches or simple latches can be added to hold the legs securely in their folded position, preventing them from flopping open during transit. An article on DIY Folding Collapsible Dining Tables: Space-Saving Designs for Studio Apartments could offer additional inspiration for compact, folding furniture designs.
Achieving a Smooth, Durable Wood Finish
The final finish of your DIY Folding Cornhole Boards is not just about aesthetics; it’s crucial for their longevity and playability. A smooth, durable finish protects the wood from moisture, prevents dents, and allows the cornhole bags to slide properly, ensuring a consistent game experience.
The Importance of Proper Sanding
Before any finish is applied, meticulous sanding is essential. Start with a coarse grit sandpaper, such as 80-grit, to remove any major imperfections, glue squeeze-out, or mill marks. Progress through finer grits, 120, 180, and finally 220-grit. Each successive grit should remove the scratches left by the previous one. Between each grit, wipe down the surface thoroughly with a tack cloth to remove all dust. Neglecting to remove dust will result in a gritty finish. Pay extra attention to the edges and the inside of the cornhole hole, ensuring they are perfectly smooth to prevent bag wear and tear. For those aiming for professional-grade smoothness, a guide on Beyond Basic Sanding: Achieving a Flawless Finish with Progressive Grits and Finishing Techniques offers advanced insights.
Sealing and Protecting the Wood
Given that cornhole boards are often used outdoors, protecting the wood from the elements is paramount.
- Primer/Sealer: Apply a high-quality wood primer or sanding sealer as the first coat. This helps to seal the wood, prevents the final finish from soaking in unevenly, and prepares the surface for subsequent coats. Allow it to dry completely according to the manufacturer’s instructions, then lightly sand with 220-grit sandpaper and wipe clean.
- Paint/Stain: If you plan to add custom designs or colors, now is the time to apply them. Use exterior-grade paints or stains that can withstand UV exposure and moisture. Ensure your designs are fully dry and cured before proceeding.
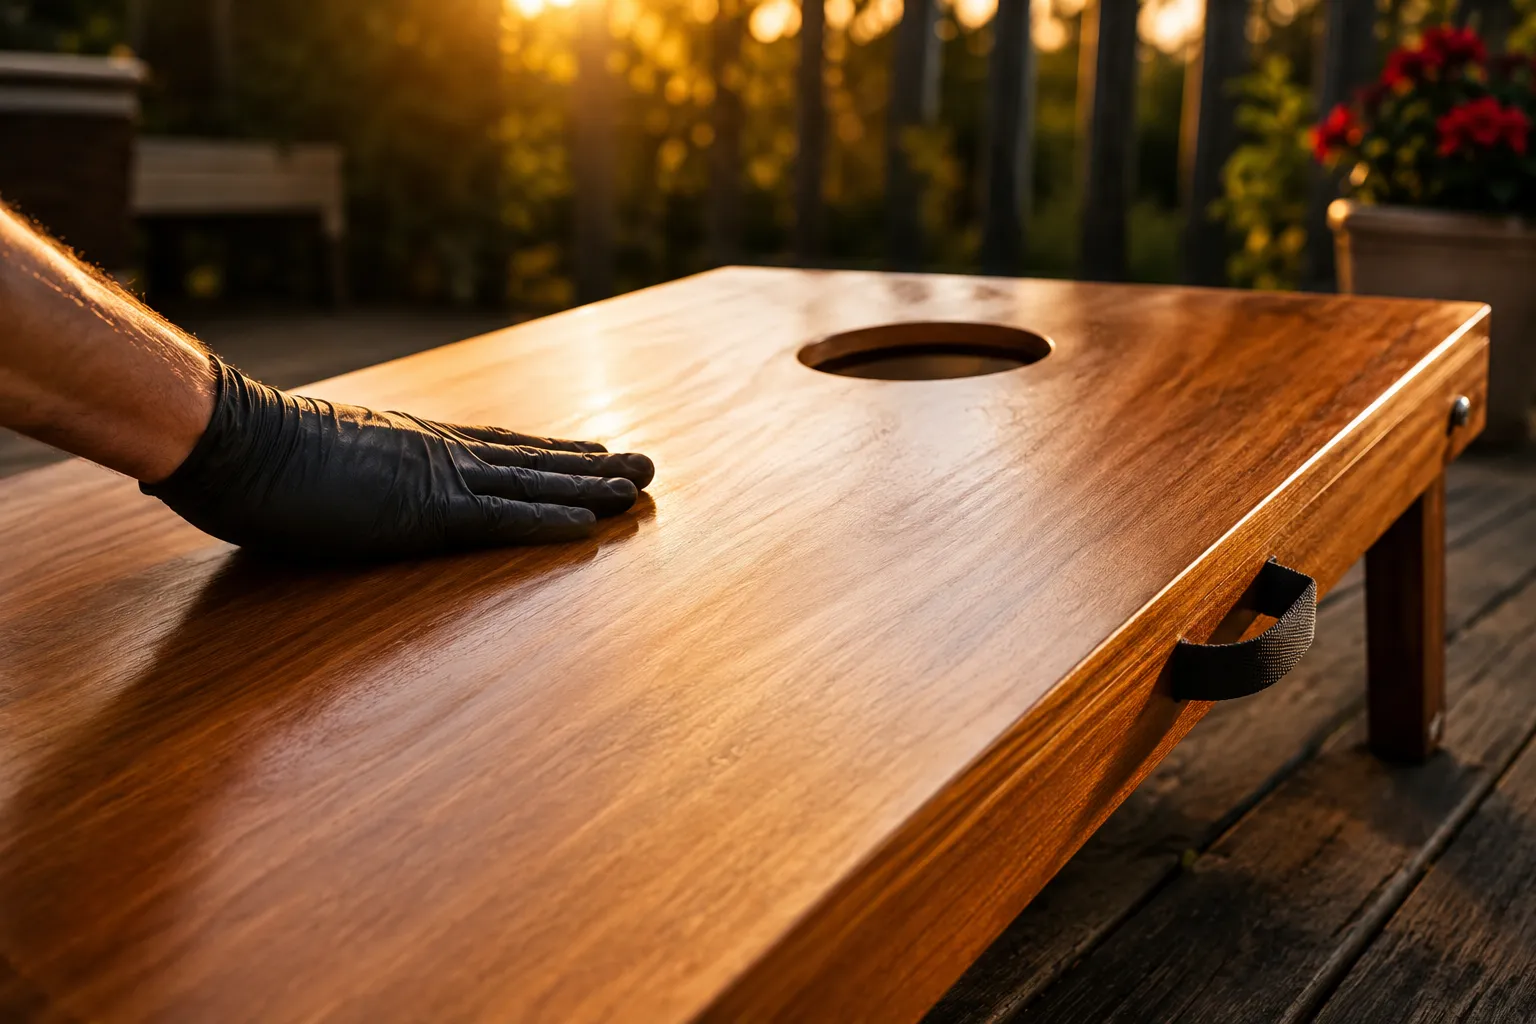
- Clear Topcoat: The most critical layer for durability is the clear topcoat. For cornhole boards, a water-based polyurethane or an outdoor-grade spar varnish is highly recommended. These finishes offer excellent protection against scratches, dents, and moisture. Apply at least 3-4 thin coats, allowing each to dry thoroughly and performing a light scuff-sand with 320-grit or finer sandpaper between coats. This inter-coat sanding provides tooth for the next layer and helps achieve a perfectly smooth, level surface. After the final coat, allow ample time for the finish to fully cure before use, this can take several days to a week, depending on the product and environmental conditions.
For enhanced slip and slide consistency, some players opt to apply a thin layer of paste wax after the final topcoat has fully cured. This can be buffed to a low-friction sheen, ensuring optimal bag performance. When selecting your finish, consider options that highlight the natural beauty of the wood, similar to techniques explored in Warm Matte Wood Finishes for Coffee Tables: How to Achieve Rich Walnut and Oak Tones. The goal is a surface that is not only beautiful but also resilient and contributes to a professional playing experience.
Conclusion
Building your own DIY Folding Cornhole Boards with regulation dimensions, sturdy joinery, and a resilient finish is a rewarding project that combines woodworking skills with the joy of outdoor recreation. By following the detailed guidelines for dimensions, carefully executing strong joints, and applying a meticulous finish, you will create a high-quality, portable set that provides countless hours of entertainment. These boards, crafted in 2026, will not only meet official standards but also withstand the elements and the enthusiastic play of friends and family for years to come.
Take pride in the craftsmanship of your custom cornhole set. The attention to regulation dimensions ensures a fair game, the robust joinery guarantees durability and easy transport, and the smooth wood finish provides both protection and optimal playability. Gather your materials, prepare your tools, and embark on this enjoyable woodworking journey. The satisfaction of playing on boards you built yourself is unmatched, making every toss that much more enjoyable.
SEO Meta Title: Build DIY Folding Cornhole Boards: Regulation Specs, Joinery & Smooth Finish SEO Meta Description: Craft DIY folding cornhole boards in 2026! Learn regulation dimensions, strong joinery, and how to achieve a smooth, durable wood finish for portable backyard fun.