
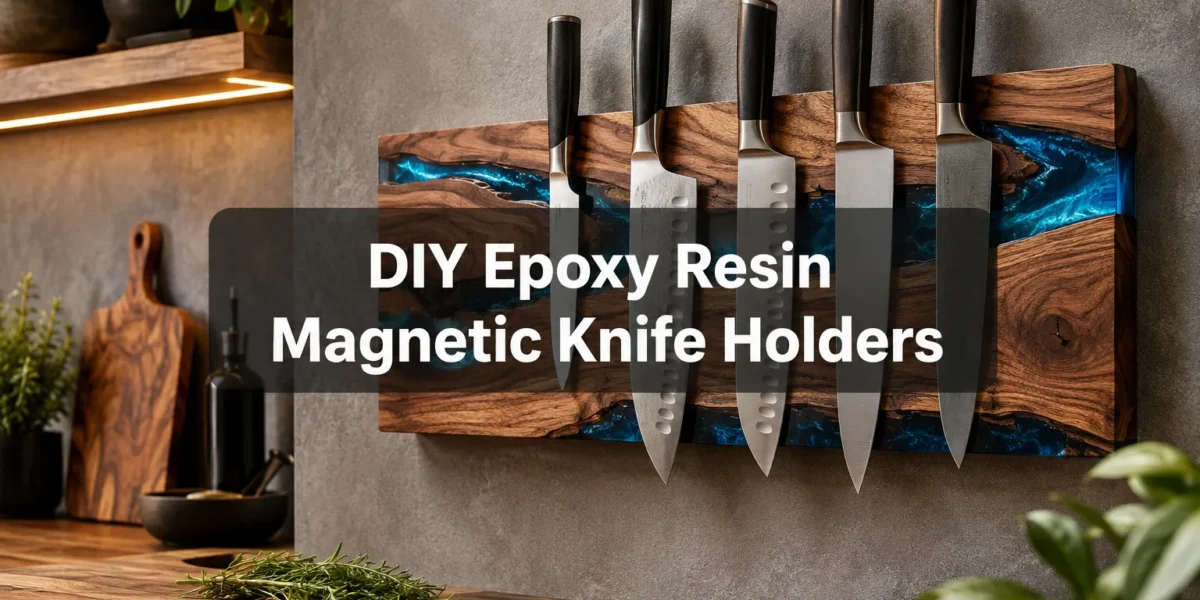
The average household accumulates more than 50 kitchen gadgets, yet effective knife storage often remains an afterthought, leaving sharp blades exposed in drawers or crammed into bulky blocks. A refined solution merging aesthetics with practicality is the custom-built DIY Epoxy Resin Magnetic Knife Holder: Modern Kitchen Woodcraft with Resin Casting and Hidden Magnets. This project transcends simple utility, offering an opportunity to create a stunning, wall-mounted display that protects your knives, enhances kitchen safety, and introduces a touch of bespoke artistry to your culinary space. By combining the natural beauty of hardwood with vibrant epoxy resin and the clever concealment of powerful magnets, woodworkers can craft a truly unique and highly functional kitchen essential.
Key Takeaways
- Premium Material Fusion: Create elegant knife holders by integrating quality hardwoods with colorful, translucent epoxy resin for a modern aesthetic.
- Concealed Magnetic Security: Utilize rare-earth magnets embedded beneath the surface to securely hold knives while maintaining a sleek, uninterrupted visual.
- Customization and Design Freedom: Tailor the size, wood type, resin color, and overall design to perfectly match any kitchen decor, from rustic to contemporary.
- Enhanced Kitchen Safety and Organization: Keep sharp knives safely out of reach and visible, reducing clutter and prolonging blade life.
- Detailed Step-by-Step Process: Follow comprehensive instructions for material selection, precise routing, resin casting, magnet placement, and food-safe finishing.
Planning Your DIY Epoxy Resin Magnetic Knife Holders: Material Selection and Design
Crafting a premium magnetic knife holder begins with meticulous planning and the selection of high-quality materials. The synergy between your chosen hardwood, the epoxy resin, and the rare-earth magnets will define both the functionality and aesthetic appeal of the final product. For 2026, trends lean towards natural, sustainable materials complemented by pops of color and unique textures.
Choosing the Right Hardwood for Your Project
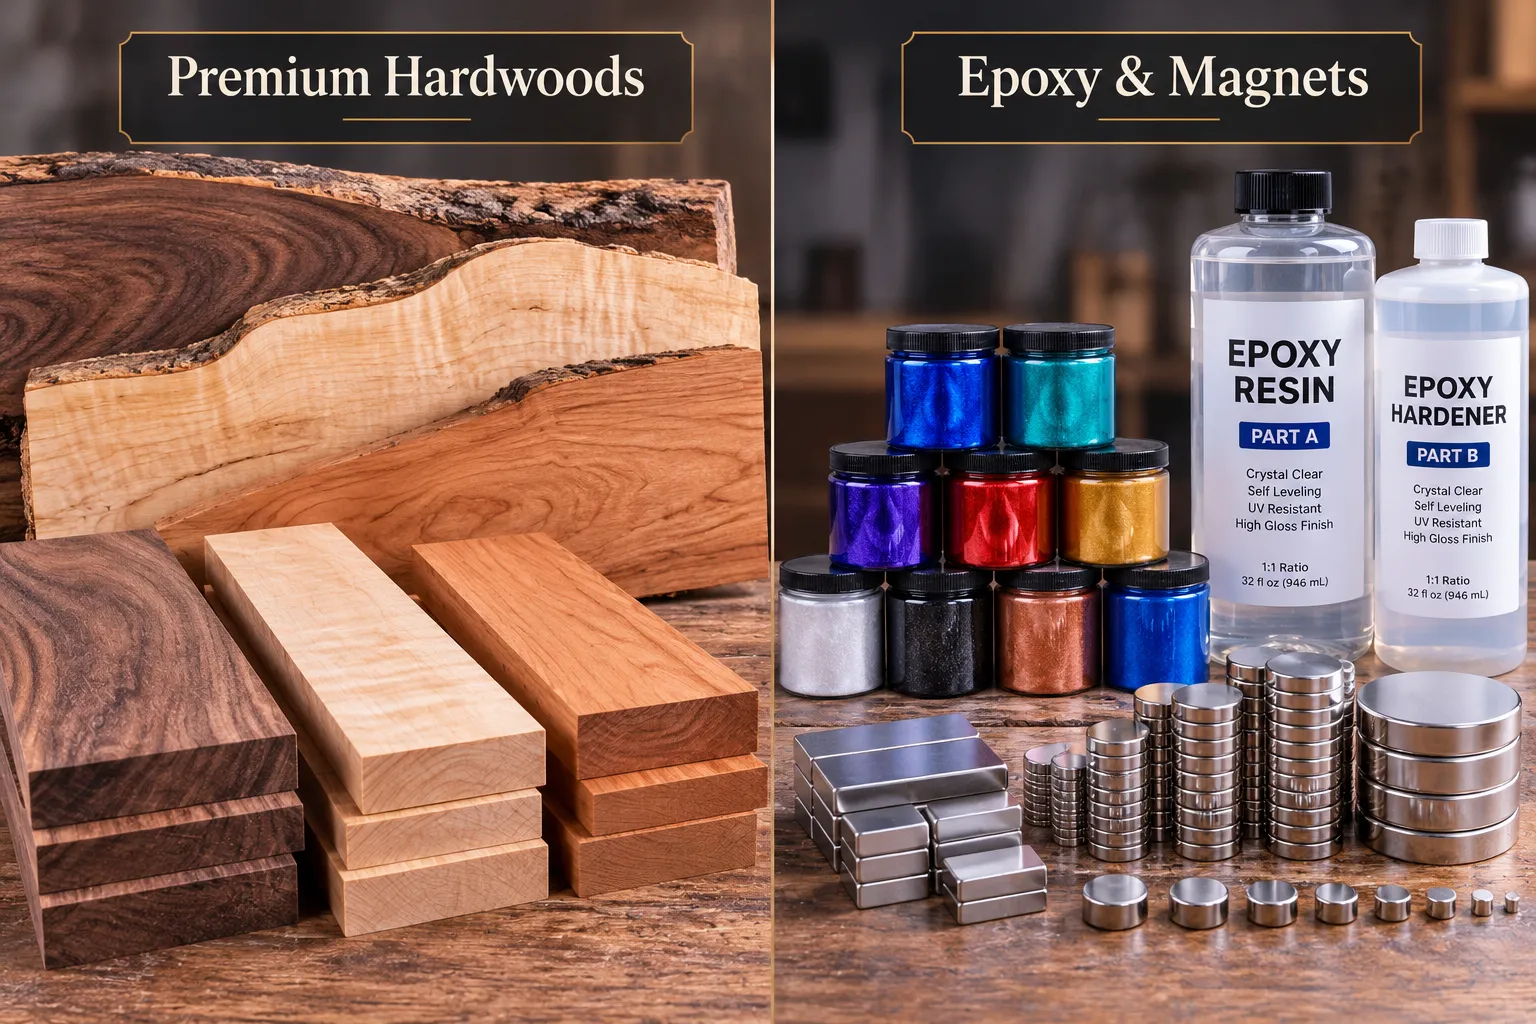
The foundation of any exceptional woodcraft project is the wood itself. For a magnetic knife holder, hardwoods are preferred for their durability, stability, and aesthetic richness. Consider the following:
- Walnut: Known for its rich, dark brown hues and often striking grain patterns. Walnut offers a luxurious and sophisticated look, pairing beautifully with lighter resins.
- Maple: A lighter wood with a fine, even grain. Maple provides an excellent contrast for darker or brightly colored resins and can be stained to achieve various tones.
- Cherry: Features warm, reddish-brown tones that deepen with age. Its smooth texture and subtle grain make it an elegant choice.
- Oak: Offers a prominent, open grain pattern, providing a more rustic or traditional feel. It’s incredibly durable and takes stains well.
When selecting your wood, look for a piece that is flat, straight, and free of significant defects like large knots or cracks. The dimensions will depend on the number and size of knives you intend to hold. A common size for a versatile holder might be 18-24 inches long, 2-3 inches wide, and 0.75-1 inch thick.
Selecting Epoxy Resin and Pigments
Epoxy resin will serve both an aesthetic and structural role in your knife holder. A two-part epoxy system (resin and hardener) designed for casting or deep pours is ideal, as it allows for longer working times and cures to a hard, durable finish.
- Clear Epoxy: For showcasing the natural wood grain beneath or creating a minimalist aesthetic.
- Pigmented Epoxy: Use liquid dyes or mica powders specifically designed for epoxy to achieve vibrant, opaque, or translucent colors. Common techniques include:
- “River” Effect: Routing a channel and filling it with colored epoxy to create a striking central feature.
- Inlays: Routing smaller pockets for specific design elements or accents.
- Translucent Effects: Using minimal pigment or translucent dyes to allow light to pass through the resin, creating depth.
Ensure your chosen epoxy is food-safe once cured, especially if it will be in proximity to food preparation areas. Read product labels carefully.
Sourcing Rare-Earth Magnets
Neodymium magnets, often referred to as rare-earth magnets, are essential for this project due to their exceptional strength in a compact size.
- Size and Strength: Typically, disk magnets with a diameter of 0.5 to 0.75 inches and a thickness of 0.125 to 0.25 inches work well. The strength (N-rating) matters; N42 to N52 are common for good holding power.
- Quantity: The number of magnets needed depends on the length of your holder and the weight of your knives. A good rule of thumb is one magnet every 1.5 to 2 inches, staggered slightly. For heavier knives, increase magnet density or use stronger magnets.
- Placement: Magnets will be embedded beneath the surface of the wood, close enough to the front face to exert sufficient pull but deep enough to be hidden and secure.
Construction and Assembly: Routing, Resin Casting, and Magnet Integration
The construction phase involves precise woodworking and careful resin handling. Accuracy here ensures both the strength and aesthetic quality of your DIY Epoxy Resin Magnetic Knife Holders: Modern Kitchen Woodcraft with Resin Casting and Hidden Magnets.
Preparing the Wood and Routing Channels
Start by milling your chosen hardwood to your desired dimensions. Sand the surfaces smooth, progressing through grits up to at least 180 or 220.
- Routing for Magnets: Using a router, create a series of shallow dados or pockets on the back side of the wood blank where the magnets will reside.
- The depth of these channels is critical. It should be just deep enough to fully embed the magnets, leaving a thin layer of wood (about 1/16 to 1/8 inch) between the magnet and the front surface. This thin layer is crucial for the magnetic force to be effective.
- Measure the thickness of your magnets precisely and set your router bit accordingly.
- Space the dados evenly or strategically based on your intended knife arrangement.
- Routing for Resin (Optional): If you plan to incorporate a resin “river” or inlay, route a channel on the front face of the wood blank. The depth and width will depend on your design. This channel should typically be deeper than the magnet channels to allow for a substantial resin pour.
Embedding Magnets and Sealing for Resin
Once the magnet channels are routed, carefully place the rare-earth magnets into them.
- Orientation: Ensure all magnets are oriented with the same polarity facing outwards (e.g., all north poles facing the back of the holder). This ensures consistent magnetic pull. A simple trick is to stack two magnets and mark one side, then place all magnets with that marked side facing the same direction.
- Securing Magnets: Apply a small amount of strong epoxy adhesive or CA glue into each routed pocket before inserting the magnets. This prevents them from shifting or rattling.
- Sealing: For resin pours, especially those on the front face, you may need to create a temporary dam or mold walls to contain the liquid epoxy until it cures. Use clear packing tape or silicone caulk for this, ensuring no leaks. For a “river” pour, apply clear packing tape to the bottom of the routed channel if it goes all the way through, or to the outside edges if using a jig.
The Resin Casting Process
This is where your project comes to life with color and shine.
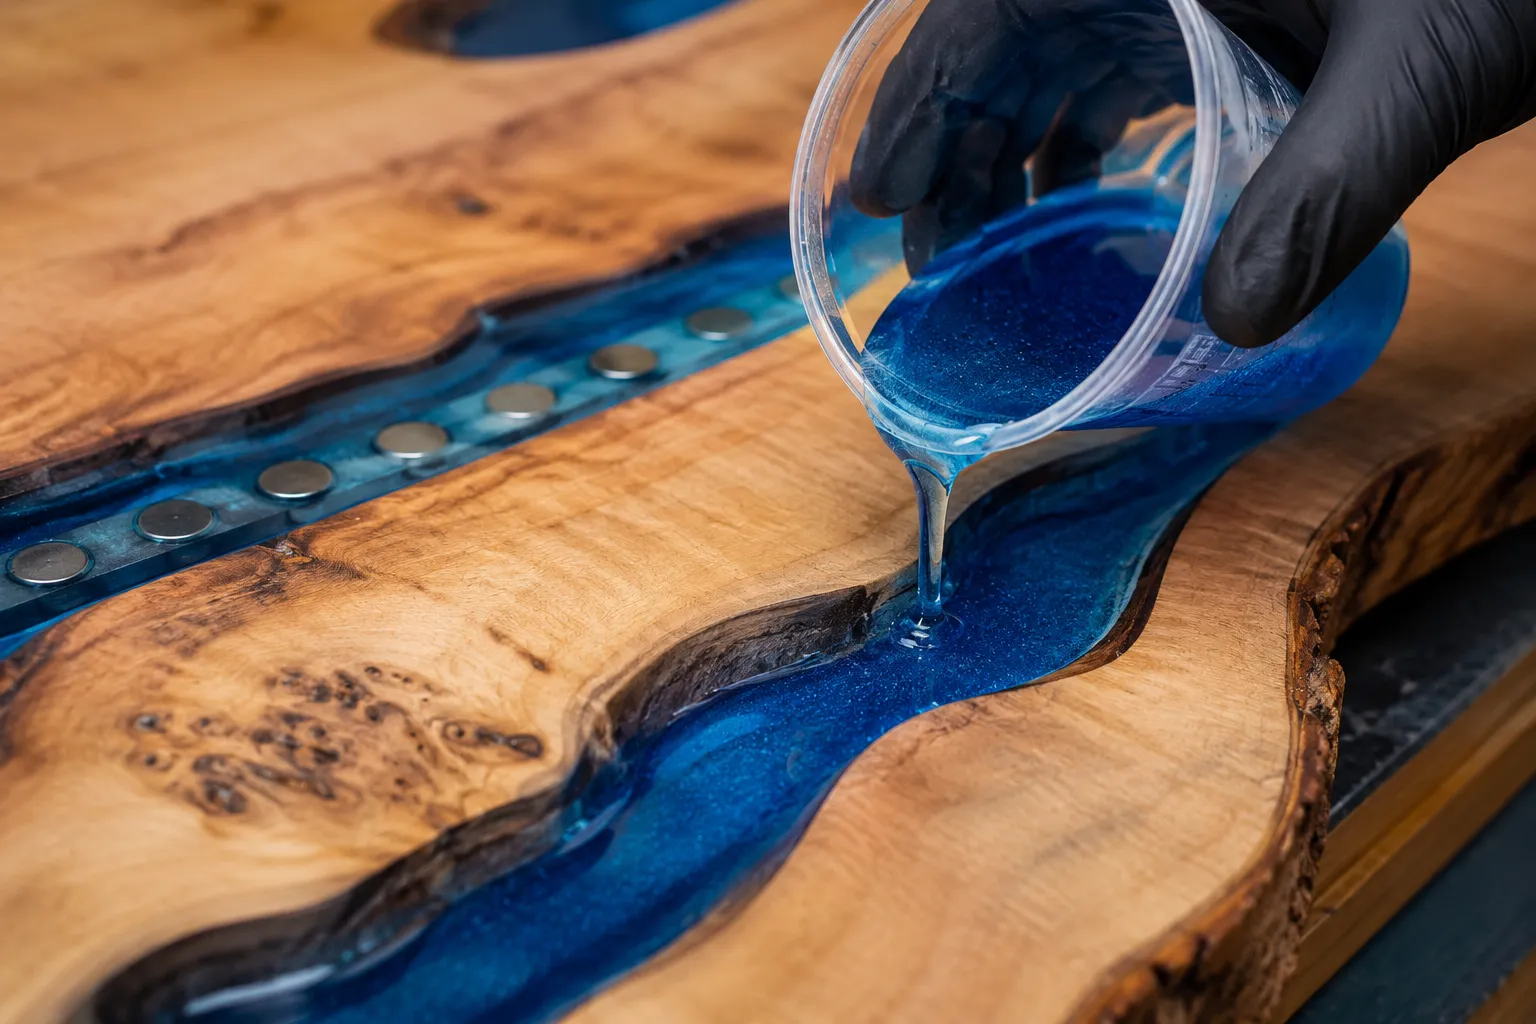
- Mixing Epoxy: Follow the manufacturer’s instructions precisely for mixing your two-part epoxy resin. Accurate ratios are critical for proper curing. Mix slowly and thoroughly to avoid introducing air bubbles.
- Adding Pigment: If desired, add your chosen pigment or dye to the mixed resin. Start with a small amount and gradually add more until you achieve the desired color and opacity.
- Pouring: Slowly pour the mixed epoxy into the routed channels. For deeper pours, it may be necessary to do multiple thinner layers, allowing each to gel or partially cure before adding the next, to prevent excessive heat buildup.
- Bubble Removal: Use a heat gun or a small torch (held at a distance) to gently sweep over the surface of the wet resin. This will bring any trapped air bubbles to the surface, where they will pop. Be careful not to overheat the resin or scorch the wood.
- Curing: Allow the epoxy to cure fully according to the manufacturer’s recommendations. This can take anywhere from 24 to 72 hours, depending on the product and ambient temperature.
For more information on advanced woodworking techniques, consider exploring resources on Mastering Wood Joinery Techniques: Essential Methods for Strong and Beautiful Furniture.
Finishing and Mounting Your Modern Kitchen Woodcraft with Resin Casting and Hidden Magnets
The final stages involve careful sanding, application of a food-safe finish, and secure mounting. These steps will transform your raw creation into a polished, functional work of art.
Sanding and Polishing the Resin
Once the epoxy resin is fully cured, it’s time to refine its surface.
- Initial Sanding: Begin sanding the resin (and any overflow on the wood) with a relatively coarse grit, such as 120 or 180, to level any high spots. Use an orbital sander for flat surfaces.
- Progressive Grits: Gradually move through finer grits (220, 320, 400, 600, 800, 1000, 1500, and even 2000 or 3000) to remove sanding marks and bring out the clarity and shine of the resin. For the finest grits, wet sanding can be particularly effective.
- Polishing (Optional): For a mirror-like finish, use a plastic polishing compound with a buffing pad or soft cloth after reaching the highest grit sandpaper.
Remember to keep the wood surfaces properly sanded as well. For a flawless finish, refer to our guide on Beyond Basic Sanding: Achieving a Flawless Finish with Progressive Grits and Finishing Techniques.
Applying a Food-Safe Finish
Selecting the right finish is crucial, especially for kitchen items. It needs to protect the wood and resin, enhance their beauty, and be safe for incidental food contact.
- Mineral Oil: A simple, non-toxic, and food-safe finish that penetrates the wood, bringing out its natural color. It needs regular reapplication.
- Food-Grade Wax (e.g., Beeswax and Mineral Oil Blend): Provides a bit more protection and a satin sheen. Also requires reapplication.
- Hardwax Oils: Products like Osmo Polyx-Oil or Rubio Monocoat are excellent choices. They penetrate, protect, and create a durable, water-resistant, food-safe surface with a natural look. They are more durable than mineral oil alone and require less frequent maintenance.
- Water-Based Polyurethane: Some brands offer food-safe, water-based polyurethanes that provide a strong, clear, protective layer. Check product specifications carefully.
Apply your chosen finish according to the manufacturer’s instructions. Usually, this involves wiping on thin coats and allowing sufficient drying time between applications.
Mounting Your Magnetic Knife Holder
Secure mounting is essential for safety and stability.
- Wall Anchors: Depending on your wall type (drywall, plaster, tile), choose appropriate wall anchors or locate wall studs for the strongest hold.
- Keyhole Slots or Mounting Holes: On the back of your knife holder, you can either route keyhole slots (for a flush, hidden mounting system) or drill pilot holes for screws.
- Keyhole Slots: Use a keyhole router bit to create slots that allow the holder to slide onto screw heads protruding from the wall. This provides a clean, fastener-free front.
- Mounting Holes: Drill countersunk holes through the holder (from the back) that align with your wall anchors or studs. Use decorative caps to conceal the screw heads if they are visible from the front.
- Level and Secure: Use a level to ensure your holder is perfectly horizontal before marking and drilling mounting points on the wall. Test the security of the mounting thoroughly before placing knives.
For further insights into optimizing your workspace for projects like this, explore topics such as Workshop Organization for High-Volume Small Project Production: Space-Efficient Layouts, Tool Placement, and Jig Systems for Batch Building Coasters, Holders, and Organizers. Another relevant resource is Crafting Custom Magnetic Tool Holders and Organizers: Maximizing Vertical Storage in a Small Workshop.
Conclusion
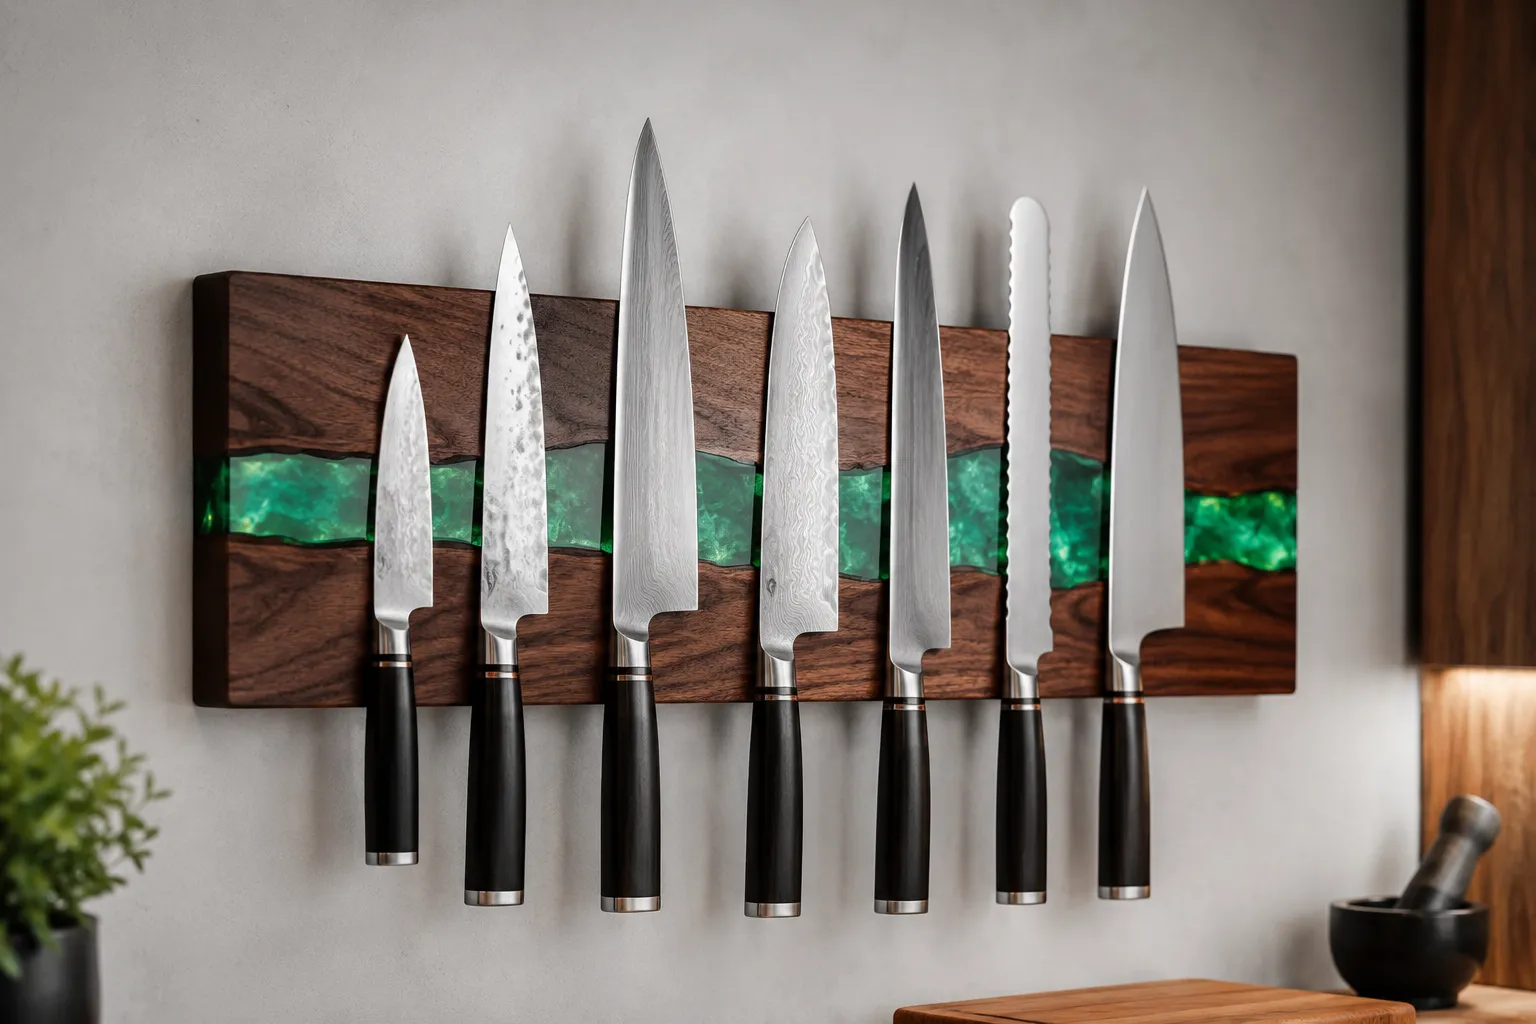
Creating a DIY Epoxy Resin Magnetic Knife Holder: Modern Kitchen Woodcraft with Resin Casting and Hidden Magnets is a rewarding project that combines precision woodworking, artistic resin casting, and practical engineering. This personalized approach not only results in a superior organizational tool for your kitchen but also a unique piece of functional art. By carefully selecting premium hardwoods, integrating vibrant epoxy resin, and strategically concealing powerful rare-earth magnets, you elevate a mundane kitchen item into a conversation starter.
The process, while requiring attention to detail, is accessible to woodworkers of varying skill levels. The satisfaction of crafting something that is both beautiful and highly useful, tailored exactly to your space and style, is immense. This project also serves as an excellent opportunity to refine your routing, finishing, and resin-handling skills, applicable to many other custom woodcraft endeavors.
Actionable Next Steps
- Design Your Layout: Sketch out your desired knife holder, considering dimensions, wood type, resin color, and the number and placement of magnets.
- Gather Materials: Purchase your chosen hardwood, food-safe epoxy resin and pigments, and rare-earth neodymium magnets. Don’t forget mounting hardware and finishing products.
- Practice Routing: If new to routing, practice on scrap wood to ensure precise depth and clean lines for both magnet and resin channels.
- Experiment with Resin: Try small test pours with your epoxy and pigments to get a feel for mixing, pouring, and bubble removal before committing to your main project.
- Prioritize Safety: Always wear appropriate personal protective equipment (PPE), including eye protection, gloves, and a respirator when working with wood dust and epoxy resin.
Embrace the blend of traditional woodcraft and modern materials. The result will be a striking and highly functional addition to your kitchen that you’ll be proud to showcase for years to come.
SEO Meta Title: DIY Epoxy Resin Magnetic Knife Holder: Modern Woodcraft for Kitchens SEO Meta Description: Craft stunning DIY epoxy resin magnetic knife holders for your kitchen. Learn woodcraft, resin casting, hidden magnets, and food-safe finishing in 2026.