
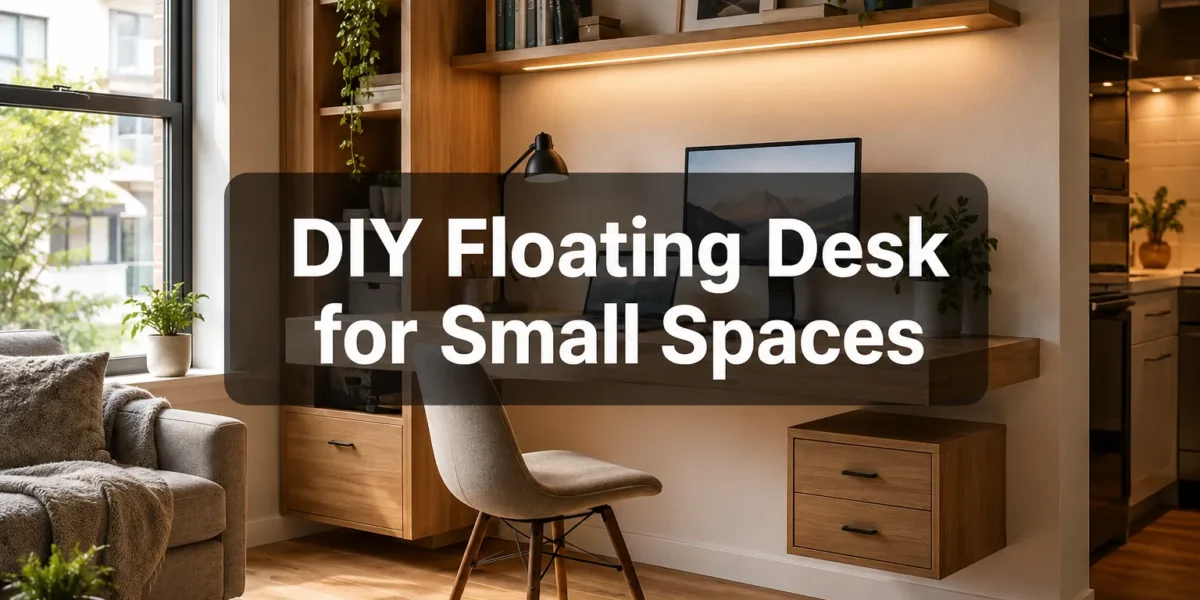
The profound shift towards remote work and the increasing prevalence of compact living spaces in 2026 have amplified the demand for ingenious furniture solutions. Traditional desks often consume valuable floor area, disrupting the open feel of smaller rooms. The quintessential challenge lies in crafting a functional, aesthetically pleasing workspace that supports modern tech essentials while remaining unobtrusive. This article guides you through designing and building a DIY Floating Minimalist Desk with Integrated Storage: Wall‑Mounted Workspace for Small Apartments,a project engineered specifically for stud-wall attachment, capable of supporting a laptop and monitor, discreetly hiding power strips and cables, and incorporating slim, functional drawers.
Key Takeaways
- A DIY floating minimalist desk maximizes floor space, ideal for small apartments.
- Careful planning for stud-wall attachment ensures structural integrity and weight capacity.
- Integrated cable management and hidden power strips maintain a clean, uncluttered aesthetic.
- Slim drawers provide essential storage without adding bulk to the minimalist design.
- Selecting appropriate materials and finishes is crucial for both durability and visual appeal.
Designing Your DIY Floating Minimalist Desk with Integrated Storage: Wall‑Mounted Workspace for Small Apartments
Successful execution of any woodworking project begins with meticulous design. For a DIY Floating Minimalist Desk with Integrated Storage: Wall‑Mounted Workspace for Small Apartments, this means considering not just aesthetics, but also structural integrity, ergonomics, and practical storage needs. The primary goal is to create a desk that feels light and airy, yet is robust enough for daily use and seamlessly integrates into your living space.
The first step is site assessment. Identify the specific wall where the desk will be installed. Crucially, locate the wall studs, as these will be the anchor points for your desk. Most residential walls have studs spaced 16 or 24 inches on center. A stud finder is an indispensable tool for this. Mark the stud locations precisely. The desk’s length should ideally align with at least two, preferably three, wall studs for maximum stability.
Consider the dimensions of your workspace. A comfortable desk depth for a laptop and monitor is typically between 18 to 24 inches. The length will depend on your available wall space and functional requirements, but aim for enough room to comfortably work without feeling cramped. Remember, this is a minimalist design, so avoid excessive dimensions that might negate its space-saving benefit.
Ergonomics play a vital role in productivity and comfort. The standard desk height is around 29-30 inches, but this can be adjusted based on your height and chair. When designing a floating desk, you have the flexibility to set the height precisely to your preference. Ensure there’s ample legroom underneath.
Structural Design and Attachment
The core of a floating desk’s stability lies in its mounting system. For a desk designed to hold a laptop and monitor, a robust cleat system or heavy-duty brackets attached directly into wall studs are essential.
- French Cleat System: This is a popular and highly effective method. It involves two pieces of wood, each cut at a 45-degree angle. One piece is securely attached to the wall studs, with the angled edge facing upwards and outwards. The other piece is attached to the back of the desk, with its angled edge facing downwards and inwards, designed to interlock with the wall cleat. This distributes the desk’s weight evenly across the wall studs and allows for easy installation and removal if needed.
- Heavy-Duty Steel Brackets: For a truly minimalist look where no cleat is visible, concealed steel brackets can be used. These require routing dadoes into the desk’s underside or back to embed the brackets, ensuring they sit flush and are completely hidden once installed. The brackets must be long enough to reach and securely screw into at least two wall studs.
Regardless of the chosen method, use appropriate fasteners. Lag screws or heavy-duty construction screws (e.g., GRK screws) are recommended for securing mounting hardware into wall studs. Pilot holes are crucial to prevent wood splitting.
Integrated Storage and Cable Management
The “integrated storage” component is key to maintaining the minimalist aesthetic and functionality. Slim drawers are an excellent choice for keeping small office supplies, notebooks, and charging cables organized without adding visual bulk.
- Drawer Design: Think shallow and wide drawers. They can be mounted directly underneath the desk surface or built into a recessed section of the desk’s construction. For a truly hidden look, consider push-to-open drawer slides, eliminating the need for handles. The drawer boxes themselves should be constructed from lightweight but sturdy material like 1/2-inch plywood or solid wood.
- Cable Management: This is where the “integrated” aspect truly shines. Design channels or a dedicated compartment on the underside or rear of the desk to house power strips, excess cables, and chargers. A common approach is to create a recessed trough along the back edge of the desk, accessible from the top or front, with cutouts for cables to pass through to your devices. This keeps unsightly wires out of sight. A hinged flap or removable panel can cover this compartment, providing easy access while maintaining a clean appearance.
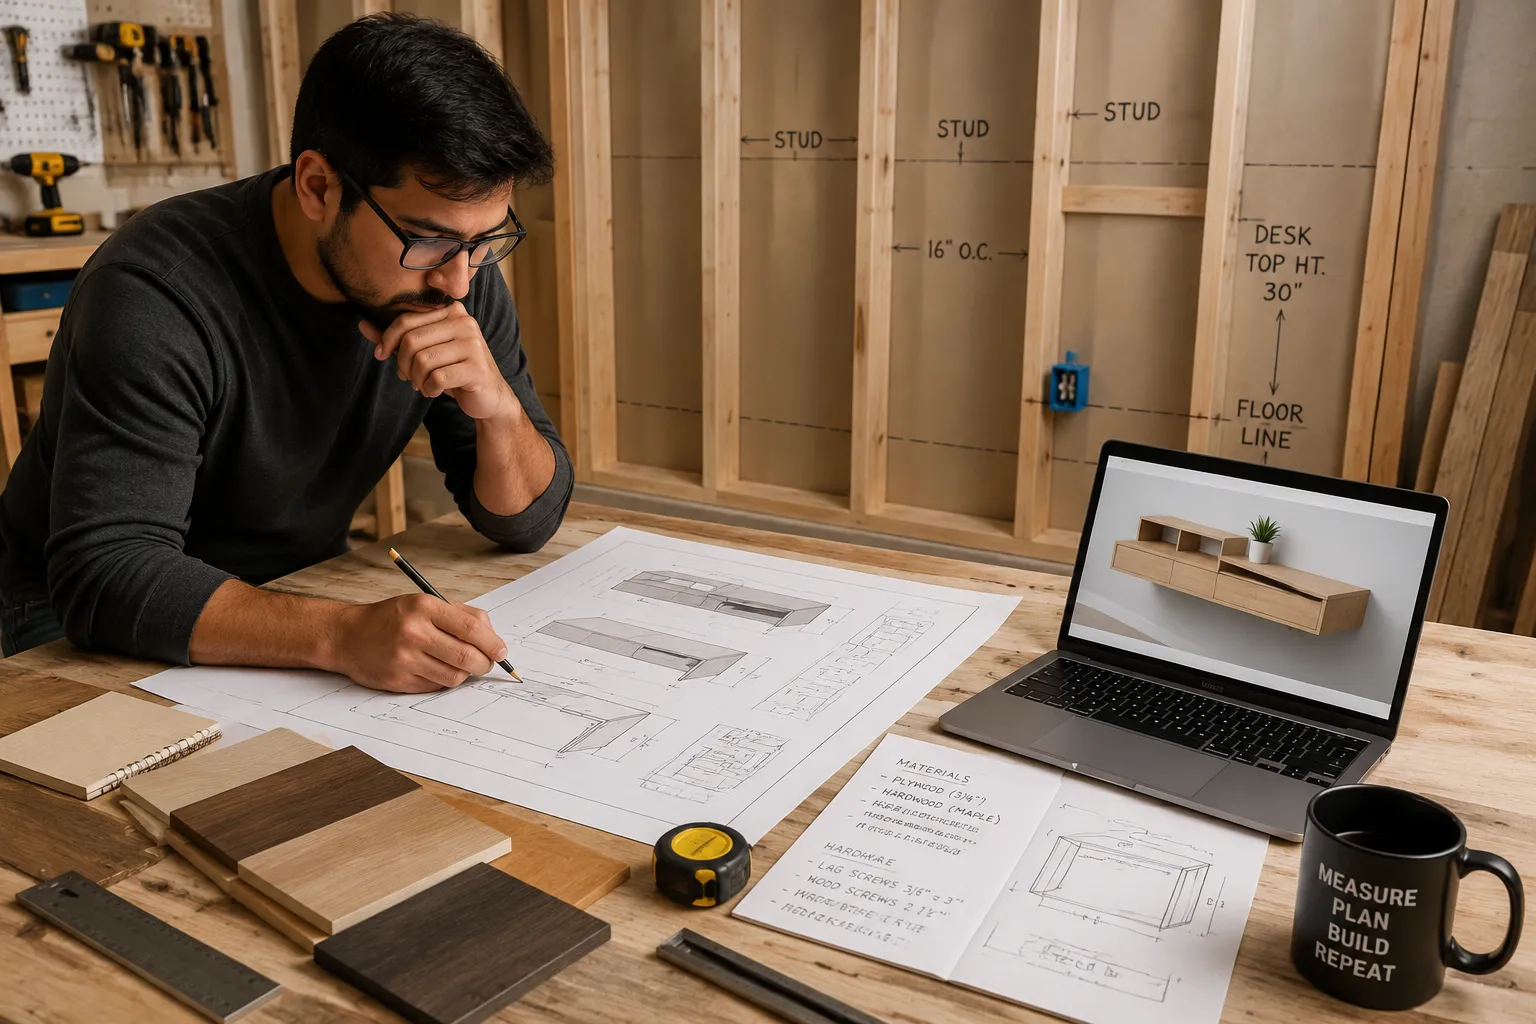
A small opening near the wall can allow cables to pass through to an outlet, further streamlining the look. For more intricate cable routing, consider drilling specific holes for monitor power and data cables, ensuring they emerge precisely where needed.
For those interested in optimizing workspace functionality beyond a desk, exploring options for building a portable miter saw stand with integrated storage or custom floating nightstands can provide additional inspiration for clever storage solutions.
Materials and Construction for Your Wall-Mounted Workspace
Selecting the right materials for your DIY Floating Minimalist Desk with Integrated Storage: Wall‑Mounted Workspace for Small Apartments is paramount for both its aesthetic appeal and structural longevity. The construction process, while requiring precision, is achievable for intermediate DIYers.
Material Selection
Wood Type:
- Plywood (Cabinet Grade): A highly stable and versatile choice. Baltic birch plywood is excellent for its strength, clean edges, and multi-ply construction. It’s ideal for the desk surface, drawer boxes, and any structural elements.
- Solid Wood: Hardwoods like maple, oak, or walnut offer superior durability and a premium finish. They are heavier and can be more challenging to work with, but yield exceptional results, especially for the desktop. Softwoods like pine are more economical but less durable and prone to dents.
- MDF (Medium-Density Fiberboard): Can be used for painted finishes, but it lacks structural strength for a floating desk’s main components and is susceptible to moisture damage. Best avoided for primary structural elements.
Hardware:
- Drawer Slides: Full-extension ball-bearing slides are recommended for smooth operation and full access to drawer contents. Choose slim-profile slides if space is extremely limited. Push-to-open slides can enhance the minimalist aesthetic.
- Fasteners: High-quality wood glue, appropriate screws (e.g., pocket hole screws, construction screws), and strong adhesive for edge banding.
- Mounting Hardware: As discussed, choose between heavy-duty French cleat hardware (if not self-fabricated) or concealed steel floating shelf brackets designed for significant weight.
Finishes:
- Stain and Polyurethane: For highlighting natural wood grain and providing a durable protective layer.
- Paint: Offers a clean, modern look. Use a high-quality primer and a durable topcoat (e.g., cabinet enamel) for longevity.
- Oil Finish: Penetrates the wood, enhancing its natural beauty and offering a more tactile feel. Requires periodic reapplication.
Construction Steps
- Cut Plywood Panels: Based on your design, cut the plywood for the desktop, side panels, bottom panel, and drawer components. A circular saw with a guide or a table saw will ensure straight, accurate cuts.
- Edge Banding: For plywood edges, apply iron-on edge banding or solid wood strips for a cleaner, finished look. This step is critical for a professional appearance.
- Assemble Desk Frame (if applicable): If your design includes a U-shaped or box-like structure for the desk, assemble these components using pocket hole joinery or dado joints for strength. Wood glue should be used on all joints.
- Construct Drawer Boxes: Assemble the drawer box components using dado joints, rabbet joints, or simple butt joints reinforced with screws and glue. Ensure they are perfectly square for smooth operation with the drawer slides.
- Install Drawer Slides: Attach the drawer slides to the desk frame and the drawer boxes, carefully aligning them for smooth movement.
- Create Cable Management Channels: Router out channels on the underside or back of the desk for power strips and cables. If you’re building a dedicated compartment, assemble its walls and lid.
- Fabricate Mounting Hardware: If using a French cleat, cut the 45-degree bevels on your mounting strips. For concealed brackets, rout out the recesses in the desk’s underside.
- Sanding: Thoroughly sand all surfaces, starting with a coarser grit (e.g., 120-grit) and progressing to finer grits (e.g., 220-grit) for a smooth finish. Ensure all edges are softened to prevent sharp corners. Beyond basic sanding is essential for a professional look.
- Apply Finish: Apply your chosen stain, paint, or oil finish according to the product instructions. Allow adequate drying time between coats and for complete curing.
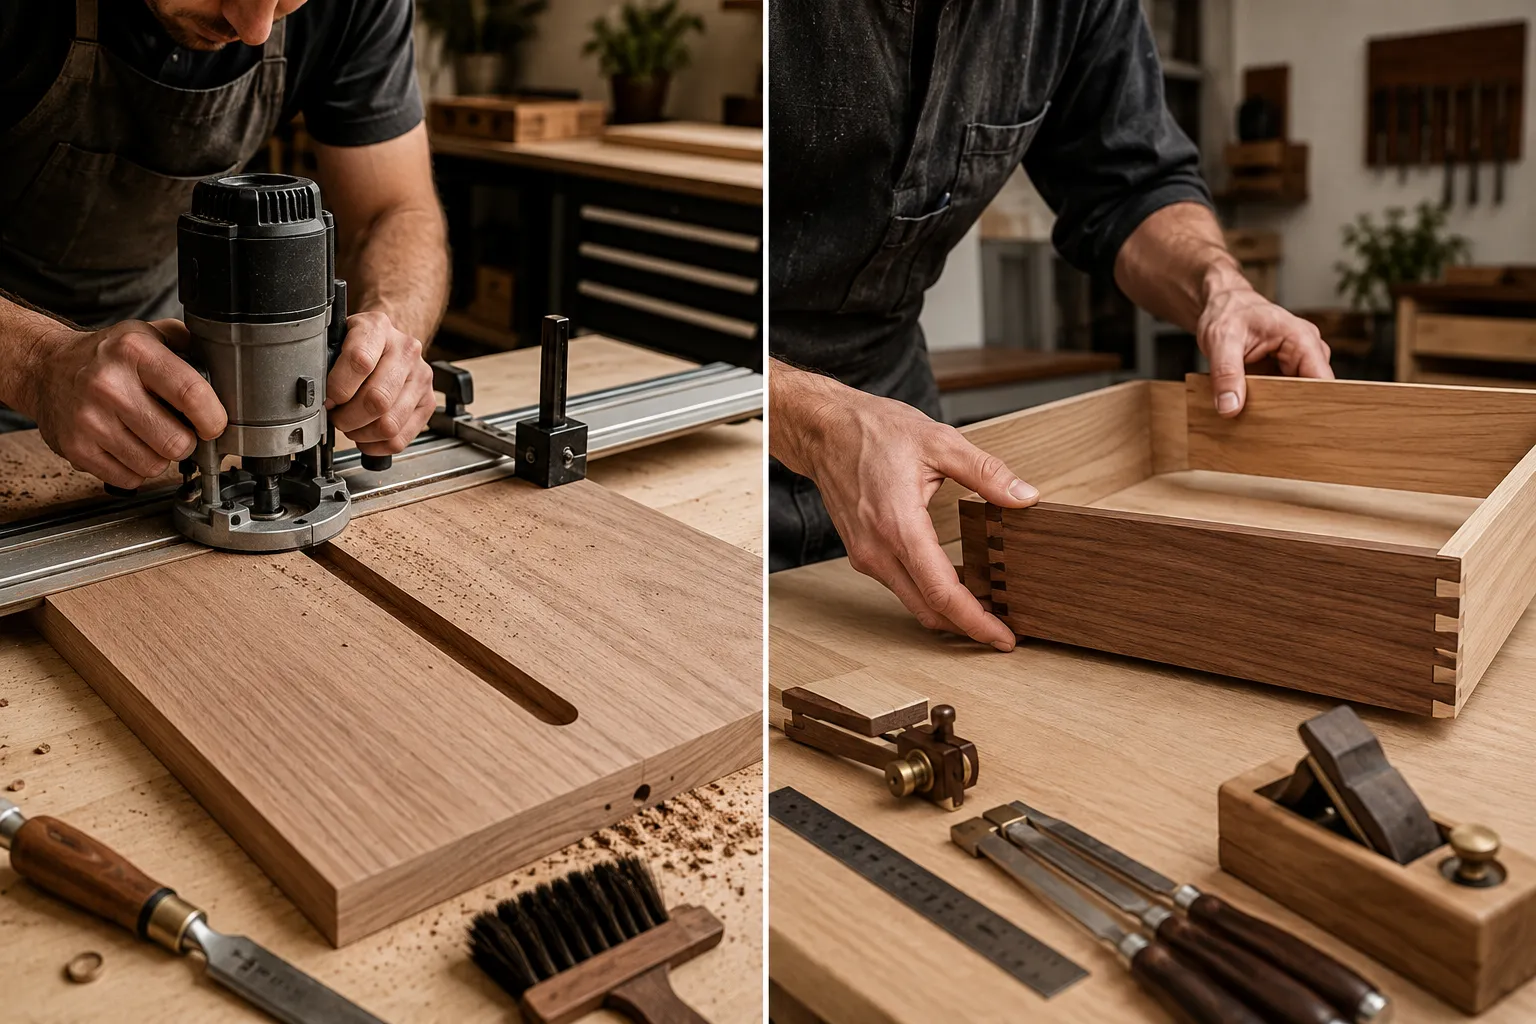
When it comes to tools, a reliable table saw or circular saw, a router for edge profiling and cable channels, a drill, and a stud finder are essential. For those looking to expand their workshop capabilities, considering selecting the best Ryobi power tools for a small workshop setup or even Milwaukee power tools for woodworking can be beneficial.
Installation and Final Touches for Your Minimalist Wall Desk
With the construction complete and the finish cured, the final step is the installation of your DIY Floating Minimalist Desk with Integrated Storage: Wall‑Mounted Workspace for Small Apartments. This stage requires precision and attention to detail to ensure a secure, level, and aesthetically pleasing outcome.
Installation Process
- Mark Wall Studs: Reconfirm the locations of your wall studs using a stud finder and mark them clearly with a pencil. Use a level to draw a straight horizontal line at your desired desk height, intersecting these stud marks.
- Attach Wall Cleat/Brackets:
- French Cleat: Position the wall cleat precisely along your marked horizontal line, ensuring it is perfectly level. Use a minimum of two, preferably three, lag screws or heavy-duty construction screws to firmly attach the cleat into each wall stud. Ensure the angled edge faces upwards and outwards.
- Concealed Brackets: If using concealed brackets, mark the screw holes on the wall through the bracket mounting plates. Drill pilot holes. Then, align the brackets and securely fasten them into the wall studs using appropriate screws.
- Mount the Desk:
- French Cleat: Carefully lift the finished desk and engage the desk’s cleat with the wall cleat. The desk should slide down and lock into place, creating a strong, stable connection. Check for levelness.
- Concealed Brackets: Slide the desk onto the protruding bracket arms. Secure the desk to the brackets from underneath or through pre-drilled holes, if the bracket design requires it.
- Final Fastening (if necessary): Depending on your mounting system, additional screws may be needed through the top surface of the desk into the mounting hardware, or through the back of the desk into the wall studs for added security. Always countersink screws and use wood putty or caps to hide them.
Integrating Technology and Storage
Once the desk is securely mounted, it’s time to bring in your tech and organize your workspace.
- Power Strip and Cables: Route your power strip into the designated cable management channel or compartment. Plug in your laptop, monitor, and any other peripherals. Thread all necessary cables through the designed openings, keeping them tidy and out of sight. Use cable ties or wraps within the hidden compartment to manage excess length.
- Drawer Organization: Stock your slim drawers with your essentials. Consider using small drawer organizers or dividers to keep items from shifting and to maximize the utility of the shallow space.
- Aesthetic Enhancement: Add personal touches that align with the minimalist aesthetic. A small desk plant, a sleek lamp, or a minimalist pen holder can enhance the workspace without creating clutter. The goal is functionality and calm.
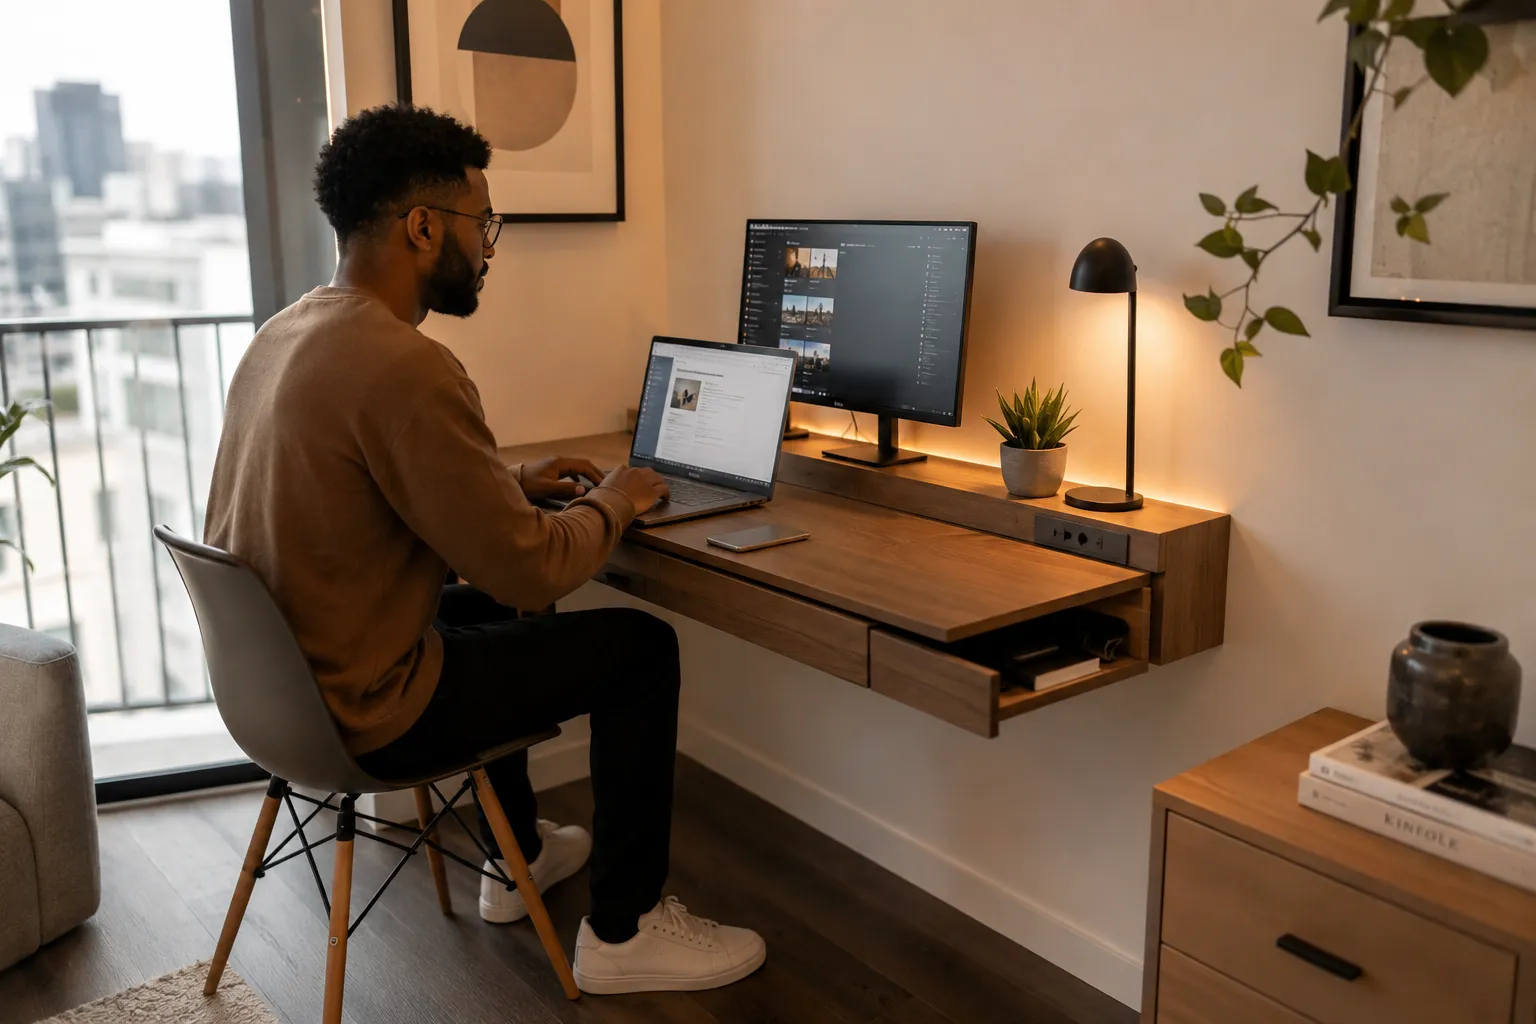
Maintaining a well-organized workspace is critical for small apartments. For further inspiration, consider custom wood charging stations and desk organizers to manage devices, or explore ideas for crafting multi-functional entryway organizers to address storage needs in other compact areas of your home. These complementary projects can contribute to a cohesive and efficient living environment in 2026.
Conclusion
Creating a DIY Floating Minimalist Desk with Integrated Storage: Wall‑Mounted Workspace for Small Apartments is a rewarding project that addresses the specific challenges of compact living in 2026. By meticulously planning for stud-wall attachment, designing clever cable management solutions, and incorporating discreet storage, you can transform an underutilized wall into a highly functional and aesthetically pleasing workspace. This project not only saves precious floor space but also contributes to a cleaner, more organized, and focused environment, enhancing both productivity and the overall sense of calm in your home.
The process, from initial design and material selection to precise construction and secure installation, offers a valuable opportunity to refine your woodworking skills. The result is a bespoke piece of furniture that is perfectly tailored to your needs and seamlessly integrated into your modern living space.
Actionable Next Steps:
- Measure and Plan: Accurately measure your intended wall space and locate wall studs. Sketch out your design, considering desk dimensions, drawer placement, and cable routing.
- Gather Materials: Compile a list of all necessary wood, hardware, and finishing supplies based on your chosen design and aesthetic.
- Build with Precision: Follow woodworking best practices for accurate cuts, strong joinery, and thorough sanding. Pay extra attention to the details of integrated storage and cable management.
- Install Securely: Prioritize safety and stability during installation. Ensure the desk is firmly anchored to wall studs and perfectly level.
- Organize and Enjoy: Set up your workstation, taking advantage of the integrated storage and cable management to keep your space tidy and functional. Enjoy your new, efficient, and beautiful workspace.
Remember that a well-designed and executed DIY project can significantly enhance the functionality and beauty of your home.
References
- Peters, S. (2020). The Complete Guide to Building Smart Furniture. Taunton Press.
- Schuttner, S. (2018). Build Your Own Small Woodshop. Fine Woodworking.
- Vandervort, D. (2019). Woodworking for Dummies. For Dummies.
SEO Meta Title: DIY Floating Minimalist Desk with Integrated Storage for Small Apartments SEO Meta Description: Build a DIY floating minimalist desk with integrated storage and cable management for your small apartment. Maximize space and productivity in 2026.