
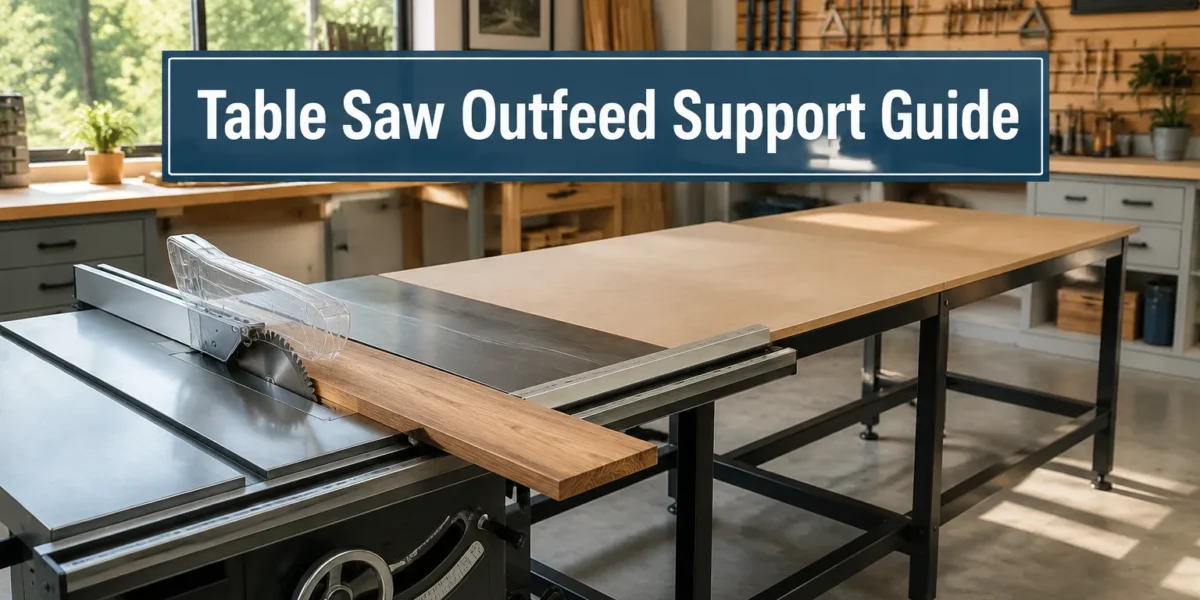
The loud thud of a workpiece hitting the floor or the splintering sound of tear-out at the end of a cut are more than just frustrating; they are clear indicators of a fundamental safety and accuracy oversight in woodworking. Optimizing your table saw setup with essential outfeed support solutions is crucial for ensuring safe, accurate cuts and preventing tear-out for all your woodworking projects. Without proper support, long or wide workpieces can tip, bind, or drop, leading to dangerous kickback, imprecise cuts, and damaged material. This comprehensive guide, “Understanding Table Saw Outfeed Support: Essential Setups for Safe and Accurate Cuts,” will delve into the critical role of outfeed support, explore various setup options, and provide practical advice for achieving optimal safety and precision in your workshop in 2026.
Key Takeaways
- Prioritize Safety and Accuracy: Proper outfeed support is non-negotiable for safe table saw operation, preventing kickback and ensuring consistent cut quality.
- Match Support to Needs: Different woodworking tasks and workshop sizes require various outfeed solutions, from simple roller stands to elaborate custom tables.
- Ensure Level and Stable Setup: Regardless of the chosen method, the outfeed support must be perfectly level with the table saw and stable to prevent workpiece movement.
- Consider Long-Term Investment: A well-designed outfeed system, whether DIY or purchased, enhances efficiency and the quality of your work significantly.
- Beyond Basic Support: Advanced setups can integrate storage, additional workspace, and mobility, transforming your workshop’s capabilities.
The Indispensable Role of Outfeed Support in Table Saw Operations
The table saw is arguably the heart of many woodworking shops, capable of precise rip cuts, crosscuts, and dados. However, its effectiveness and safety are severely compromised without adequate outfeed support. As a workpiece passes through the blade, the portion that has already been cut needs to be continuously supported. Failure to do so creates several hazards and compromises cut quality.
Without proper outfeed support, a long or wide board can:
- Tip or Drop: If the leading edge clears the saw table before the trailing edge has finished the cut, the workpiece can tip downwards. This puts immense pressure on the blade, potentially causing it to bind, leading to dangerous kickback where the wood is violently thrown back towards the operator.
- Bind Against the Fence: A dropping workpiece can pivot, pressing against the rip fence and binding the blade, another common cause of kickback.
- Cause Tear-Out: Without support, the weight of the exiting board can cause the wood fibers at the end of the cut to splinter and tear, ruining the edge and requiring additional sanding or recutting.
- Lead to Inaccurate Cuts: Any movement or instability of the workpiece during the final stages of a cut will result in an inconsistent cut line, compromising the accuracy essential for mastering wood joinery techniques.
Proper outfeed support mitigates these risks by maintaining the workpiece’s level plane as it exits the blade. This continuous, stable support allows the operator to focus on guiding the material through the cut safely and accurately, resulting in cleaner edges and reduced waste. When you’re building a nightstand side table or any other furniture, the quality of your initial cuts directly impacts the final product’s integrity and aesthetics.
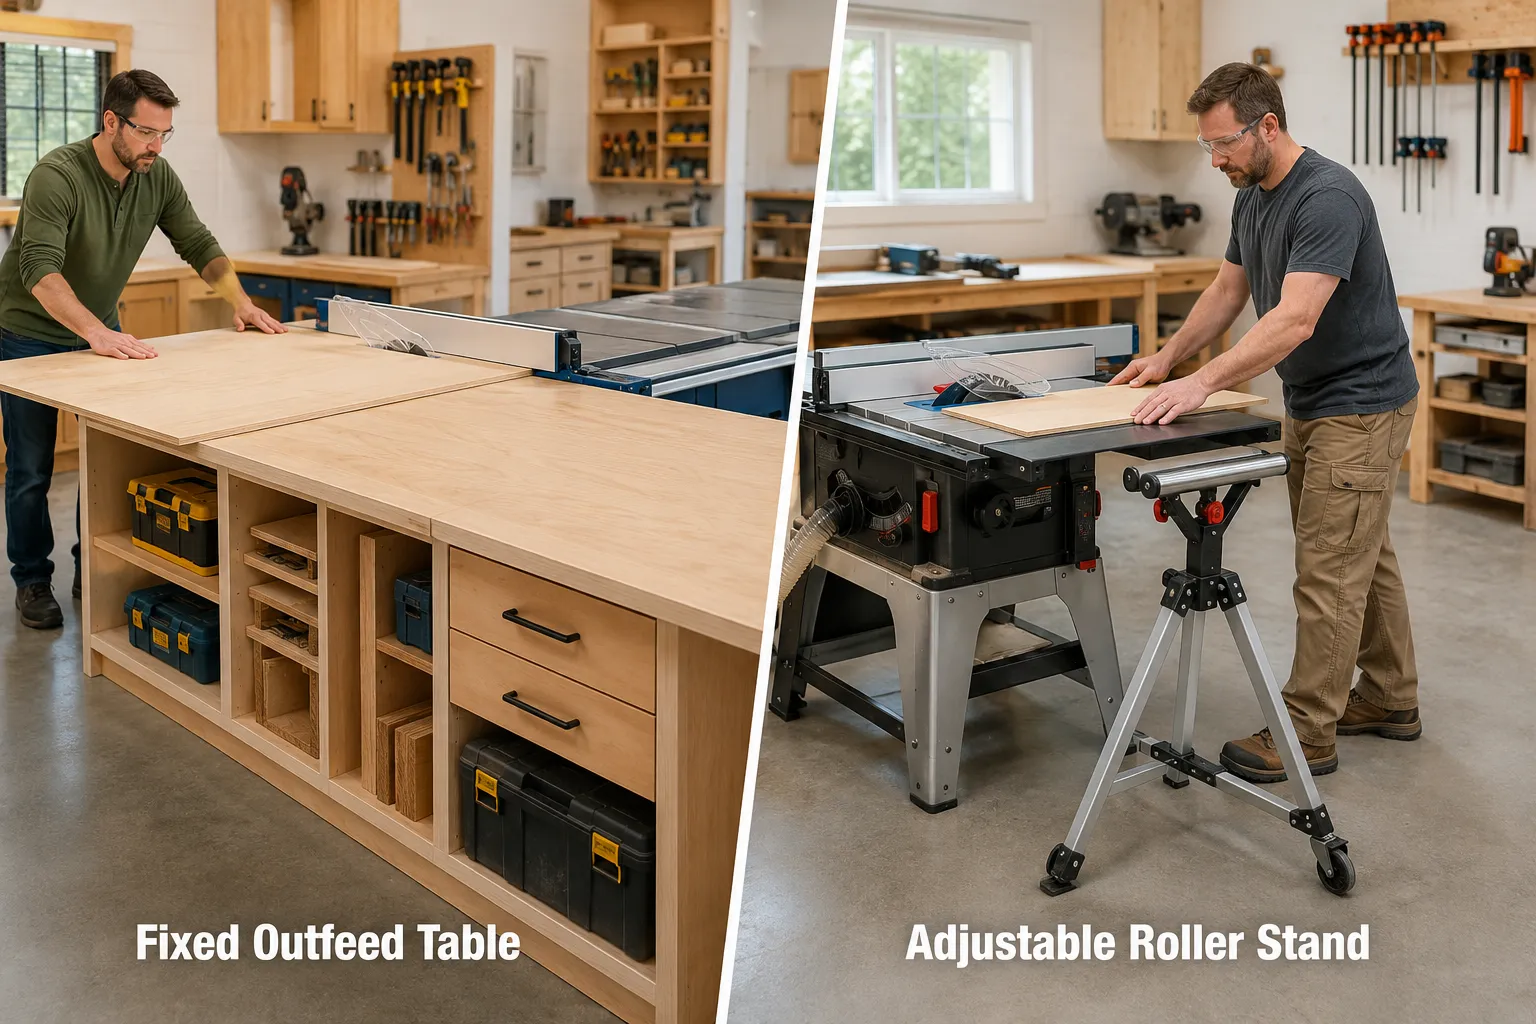
Types of Outfeed Support Systems
The variety of outfeed solutions available means there’s an option for every workshop size, budget, and project type. Here’s a breakdown of common setups:
Roller Stands: These are among the simplest and most portable outfeed solutions. A roller stand features one or more rollers on an adjustable height stand.
- Pros: Highly portable, easy to set up and adjust, takes up minimal space when stored, affordable.
- Cons: Can allow the workpiece to shift sideways if not carefully managed, multiple stands might be needed for very wide material, limited stability compared to fixed options.
- Best For: Small workshops, occasional use, supporting moderately sized workpieces, supporting material during crosscutting operations with a sled.
Sawhorses with Sacrificial Top: A couple of sturdy sawhorses topped with a flat piece of plywood or MDF can create a temporary outfeed table.
- Pros: Cost-effective, adaptable to various widths, can be disassembled for storage.
- Cons: Less stable than dedicated tables, requires careful leveling each time, consumes floor space when set up.
- Best For: Budget-conscious woodworkers, situations needing a wider but temporary support surface.
Folding Outfeed Tables: Some manufacturers offer table saws with integrated or accessory folding outfeed tables. Alternatively, freestanding folding tables designed for general workshop use can serve this purpose.
- Pros: Space-saving, often designed to match the saw’s height, more stable than roller stands.
- Cons: May have weight limitations, can be less rigid than permanent solutions.
- Best For: Workshops with limited space where a permanent fixture isn’t feasible. Consider options from our guide on best folding tables for woodworking for versatile solutions.
Shop-Built Outfeed Tables: A custom-built outfeed table is often the preferred choice for serious woodworkers. These can range from simple plywood constructions to elaborate systems with integrated storage and mobility.
- Pros: Maximum stability and support, customized to your saw and workspace, can include storage, drawers, or even a router table extension.
- Cons: Requires significant space, can be time-consuming to build, less portable.
- Best For: Dedicated workshops, frequent table saw use, processing large sheets or long lumber.
Mobile Workbench/Outfeed Hybrids: For smaller shops, a heavy-duty mobile workbench can be designed to double as an outfeed table, often on locking casters.
- Pros: Versatile, maximizes limited space, offers both outfeed support and additional workspace, easily moved.
- Cons: May require precise design to ensure perfect height alignment with the table saw.
- Best For: Multi-purpose workshops, combining different workstations.
Designing and Building Your Custom Outfeed Support
For many woodworkers, a custom-built outfeed table offers the ultimate solution for “Understanding Table Saw Outfeed Support: Essential Setups for Safe and Accurate Cuts.” It allows you to tailor the support to your specific saw, common projects, and available workshop space.
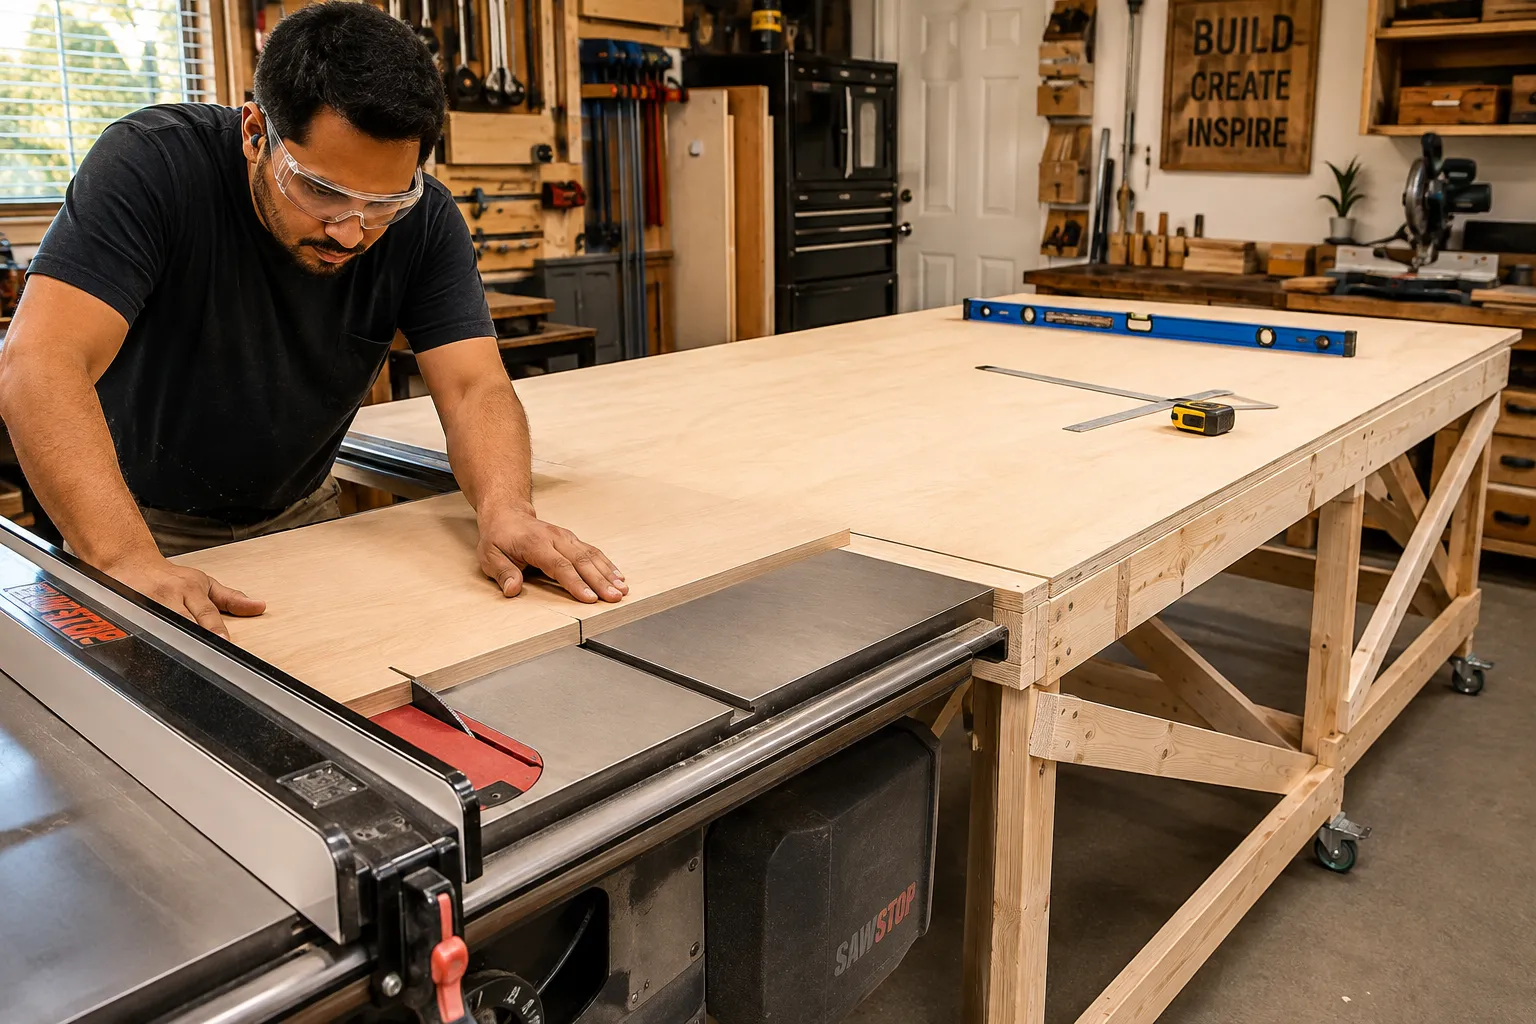
Key Design Considerations
When planning a shop-built outfeed table, several factors need careful thought:
- Height Match: This is the most critical aspect. The top surface of your outfeed table must be perfectly level with, or fractionally lower than (by 1/64″ or less), your table saw top. If it’s too high, it will lift the workpiece and cause binding; if too low, the workpiece will drop and potentially cause tear-out or kickback. Use an accurate straightedge and feeler gauges to achieve precision.
- Surface Material: A smooth, durable, and flat surface is essential. Laminated particle board, MDF, or plywood with a laminate top are excellent choices. Ensure the surface is resistant to scratches and easy to clean.
- Size and Reach: The length and width of your outfeed table should accommodate the largest pieces you typically cut. A good rule of thumb is to make it at least as wide as your table saw’s rip capacity and long enough to support a full sheet of plywood (4×8 feet).
- Stability: The table must be rock-solid and not wobble. A robust frame and sturdy legs are vital. Adjustable feet can help compensate for uneven workshop floors.
- Storage and Features: This is where customization shines. Consider adding:
- Drawers or Shelves: For storing accessories, push sticks, and other tools.
- Dog Holes: For clamping workpieces or using hold-downs.
- Integrated Router Table: If space is at a premium, you can build a router table into one end of your outfeed table.
- Dust Collection: Incorporate ports for shop vacuums or a central dust collection system, especially if you’re using it as a general workbench. If you’re looking for solutions, our guide on building a portable dust collection system for small workshops can provide inspiration.
- Mobility (Optional): If you need to move your saw or table, consider heavy-duty locking casters. Ensure the casters are robust enough for the combined weight of the table and any stored items.
Step-by-Step Construction Outline (Conceptual)
While detailed plans vary, a general approach for building a shop-built outfeed table involves:
- Measure and Design: Accurately measure your table saw’s height and dimensions. Sketch out your design, considering all the features you want.
- Cut Frame Components: Use sturdy dimensional lumber (e.g., 2x4s or 4x4s) or plywood for the frame and legs. Precision in cuts here ensures a square and level assembly.
- Assemble the Frame: Use strong joinery methods such as screws, bolts, or mastering dovetail joinery for maximum rigidity. Ensure the frame is square and plumb.
- Attach Leveling Feet or Casters: Install adjustable feet for fine-tuning the height and stability, or robust locking casters for mobility.
- Install the Top Surface: Secure your chosen top material to the frame, ensuring it is perfectly flat and level. Use plenty of fasteners to prevent warping.
- Add Features: Build and integrate any drawers, shelves, or specialized features according to your design.
Advanced Strategies and Maintenance for Optimal Outfeed Performance
Beyond the basic setup, several advanced strategies and regular maintenance practices can further enhance the safety and accuracy provided by your outfeed support, truly mastering “Understanding Table Saw Outfeed Support: Essential Setups for Safe and Accurate Cuts.”
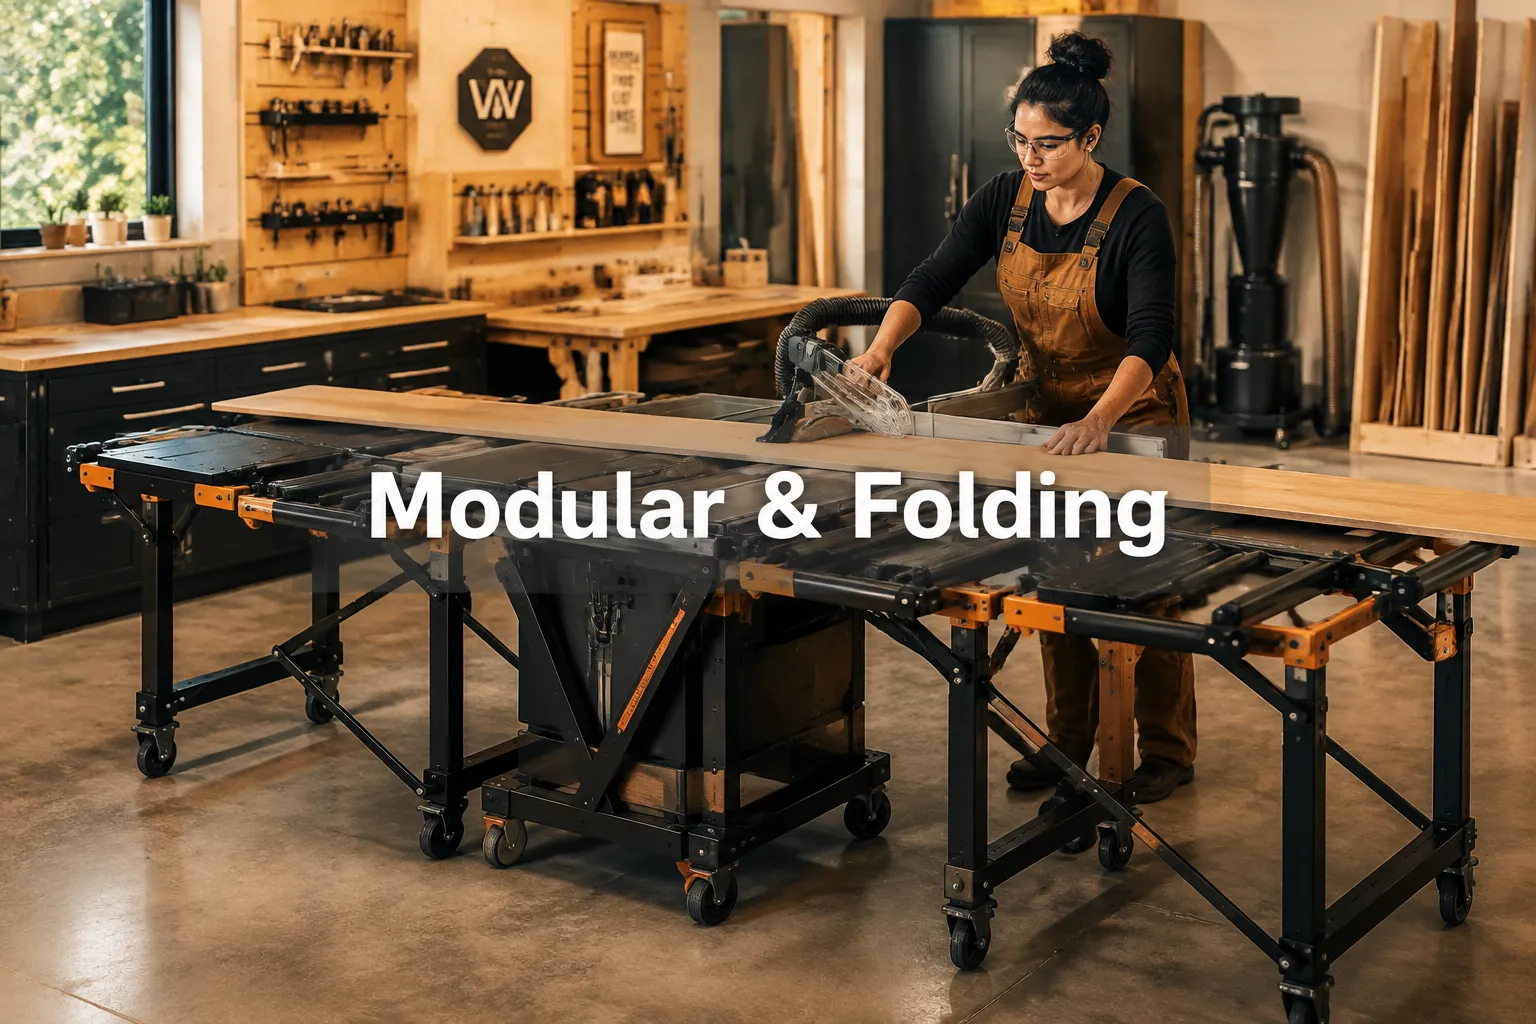
Enhancing Outfeed Support with Specialized Tools and Techniques
- Featherboards and Push Blocks/Sticks: While not strictly outfeed support, these accessories work in tandem to improve safety and cut quality. Featherboards hold the workpiece against the fence and table, reducing wobble, while push blocks and sticks ensure your hands are safely away from the blade as the material exits onto the outfeed.
- Zero-Clearance Inserts: A zero-clearance insert plate for your table saw significantly reduces tear-out, especially on the underside of the workpiece, by providing continuous support right up to the blade. This complements effective outfeed support by managing the cut quality at the point of action.
- Roller Conveyors: For very long or heavy workpieces, a roller conveyor system can be integrated with your outfeed table, offering continuous, low-friction support. These are particularly useful in commercial settings or for cutting many identical long pieces.
- Integrated Measuring Systems: Some advanced outfeed tables incorporate stop blocks or measuring systems, allowing for repeatable cuts without constant re-measuring. This drastically increases efficiency and accuracy, especially for batch work.
Maintaining Your Outfeed System
Just like your table saw, your outfeed support system requires occasional maintenance to perform at its best:
- Keep it Clean: Dust and debris can build up on the outfeed surface, potentially scratching workpieces or creating uneven support. Regularly wipe down the surface. If you have a custom dust collection system, ensure it’s functioning optimally to keep your whole workshop setup clean.
- Check for Levelness: Over time, foundations can settle, or components can shift. Periodically re-check that your outfeed table is perfectly level with your table saw. Adjust leveling feet or shims as needed.
- Inspect Rollers: If using roller stands, ensure the rollers spin freely and aren’t seized or damaged. Replace them if necessary.
- Tighten Fasteners: Vibrations from the table saw can loosen screws or bolts on a shop-built table. Periodically check and tighten all fasteners to maintain rigidity.
- Protect the Surface: If your outfeed table doubles as a general workbench, protect its surface when performing tasks that might damage it (e.g., hammering, gluing, finishing). A sacrificial layer of hardboard can be useful.
By implementing these advanced strategies and adhering to regular maintenance, your outfeed support system will remain a reliable partner in achieving safe, accurate, and high-quality results in all your woodworking endeavors.
Conclusion
Understanding Table Saw Outfeed Support: Essential Setups for Safe and Accurate Cuts is not merely about adding a piece of furniture behind your saw; it’s about fundamentally enhancing the safety, precision, and efficiency of your entire woodworking process. From preventing dangerous kickback to ensuring flawless, tear-out-free cuts, proper outfeed support is an indispensable component of a well-equipped workshop.
Whether you opt for the portability of roller stands, the versatility of a folding table, or the robust integration of a custom-built solution, the key lies in ensuring stability, perfect height alignment, and continuous support for your workpieces. Investing time and resources into a quality outfeed system will undoubtedly pay dividends in the form of safer operation, higher quality projects, and greater confidence at the table saw. As you plan your next woodworking project, remember that the success of your cuts often begins not just at the blade, but with the reliable support extending behind it.
SEO Meta Title: Essential Table Saw Outfeed Support for Safe, Accurate Cuts SEO Meta Description: Master safe and accurate table saw cuts with essential outfeed support setups. Explore roller stands, custom tables, and advanced techniques for your workshop in 2026.