


More often than not, the hum of a tablesaw or the whine of a router dominates the contemporary woodworking landscape. Yet, beneath the clamor of modern machinery, a quieter, equally powerful truth persists: some of the most exquisite joinery, the finest finishes, and the most precise details in woodworking are still achieved with nothing more than a sharp edge, a steady hand, and patience. In 2026, embracing essential woodworking hand tools isn’t just a nod to tradition; it’s a strategic move for any beginner seeking unparalleled precision and craftsmanship. This Beginner’s Guide to Essential Woodworking Hand Tools: Beyond the Power Tools for Precision and Craftsmanship will delve into the core implements that every aspiring woodworker should master, revealing how they not only complement power tools but often surpass them for intricate tasks.
Key Takeaways
- Precision and Control: Hand tools offer unparalleled control, allowing for subtle adjustments and fine-tuning impossible with most power tools.
- Fundamental Skill Development: Learning hand tool techniques builds foundational woodworking skills, enhancing understanding of wood grain and joinery.
- Quiet and Clean Work: Hand tools are generally quieter and produce less airborne dust, making them suitable for smaller workshops or noise-sensitive environments.
- Cost-Effective Entry: A basic set of quality hand tools can be a more affordable initial investment than comparable power tools.
- Enhanced Craftsmanship: Mastering hand tools leads to a deeper connection with the material and a higher level of finish and detail in projects.
The Foundation: Essential Marking, Measuring, and Layout Tools
Before a single cut is made or a joint is formed, accurate marking, measuring, and layout are paramount. These tools are the unsung heroes of precision woodworking, ensuring that your project starts right and stays right. Investing in quality here saves endless frustration down the line.


Measuring and Marking Essentials
Accurate layout forms the bedrock of fine woodworking. Without precise lines and measurements, even the sharpest tools are rendered useless.
- Rule/Tape Measure: While seemingly basic, a good quality steel rule or tape measure is indispensable. Look for clear, legible markings and a durable construction.
- Pencils & Marking Knives: A sharp mechanical pencil is great for rough layout, but for ultimate precision, a marking knife is superior. It scores a fine line, creating a small kerf for your saw or chisel to register against, minimizing tear-out and ensuring accuracy.
- Squares:
- Combination Square: This versatile tool features a ruler with adjustable heads (square, miter, and center finder). It’s perfect for checking squareness, marking lines perpendicular to an edge, and setting depths.
- Try Square: A fixed 90-degree square, often smaller, ideal for checking the squareness of smaller components and marking across narrow boards.
- Framing Square: A large, fixed square, typically used for larger layouts and checking the squareness of wider assemblies.
- Marking Gauge: Essential for marking lines parallel to an edge or end grain. A wheel-style marking gauge is often preferred over a pin-style for its clean cuts and reduced tear-out.
| Tool Type | Primary Use | Key Benefit |
|---|---|---|
| Marking Knife | Precise layout lines, especially for joinery | Scores a clean, accurate line for tools |
| Combination Square | Checking square, marking angles, depth setting | Highly versatile, multi-purpose |
| Marking Gauge | Marking parallel lines from an edge | Ensures consistent width/depth measurements |
| Bevel Gauge | Transferring angles | Captures and duplicates specific angles |
Mastering the Art of Accurate Layout
Learning to use these tools effectively is a skill in itself. Practice marking straight lines, checking squareness, and transferring measurements consistently. Remember, “measure twice, cut once” is not just a saying; it’s a fundamental principle. For intricate joinery, a keen eye and a sharp marking knife become your best allies. For example, when mastering dovetail joints with hand tools, the precision of your marking knife dictates the fit of the joint.
Cutting, Shaping, and Jointing: The Heart of Hand Tool Woodworking
Once your layout is perfect, it’s time to transform raw lumber into crafted components. This section focuses on the hand tools that allow you to cut, shape, and join wood with remarkable control and finesse. This is where the true craftsmanship of hand woodworking shines, emphasizing precision and the tactile experience.
Saws for Precision Cuts
While power saws rip through boards, hand saws offer unparalleled control for delicate work and fine joinery.
- Dovetail Saw/Backsaw: Characterized by a stiffening rib along the top (the ‘back’), these saws have fine teeth and thin plates, designed for precise joinery like dovetails, tenons, and dados. The back ensures the blade remains straight for accurate cuts.
- Coping Saw: This saw features a very thin, interchangeable blade, perfect for cutting intricate curves, scrollwork, and cleaning out waste from dovetail joints.
- Japanese Pull Saws: These saws cut on the pull stroke, which allows for a thinner blade and a cleaner, more efficient cut with less effort. They come in various configurations, including Ryoba (double-edged for rip and crosscut) and Dozuki (fine-toothed for joinery).
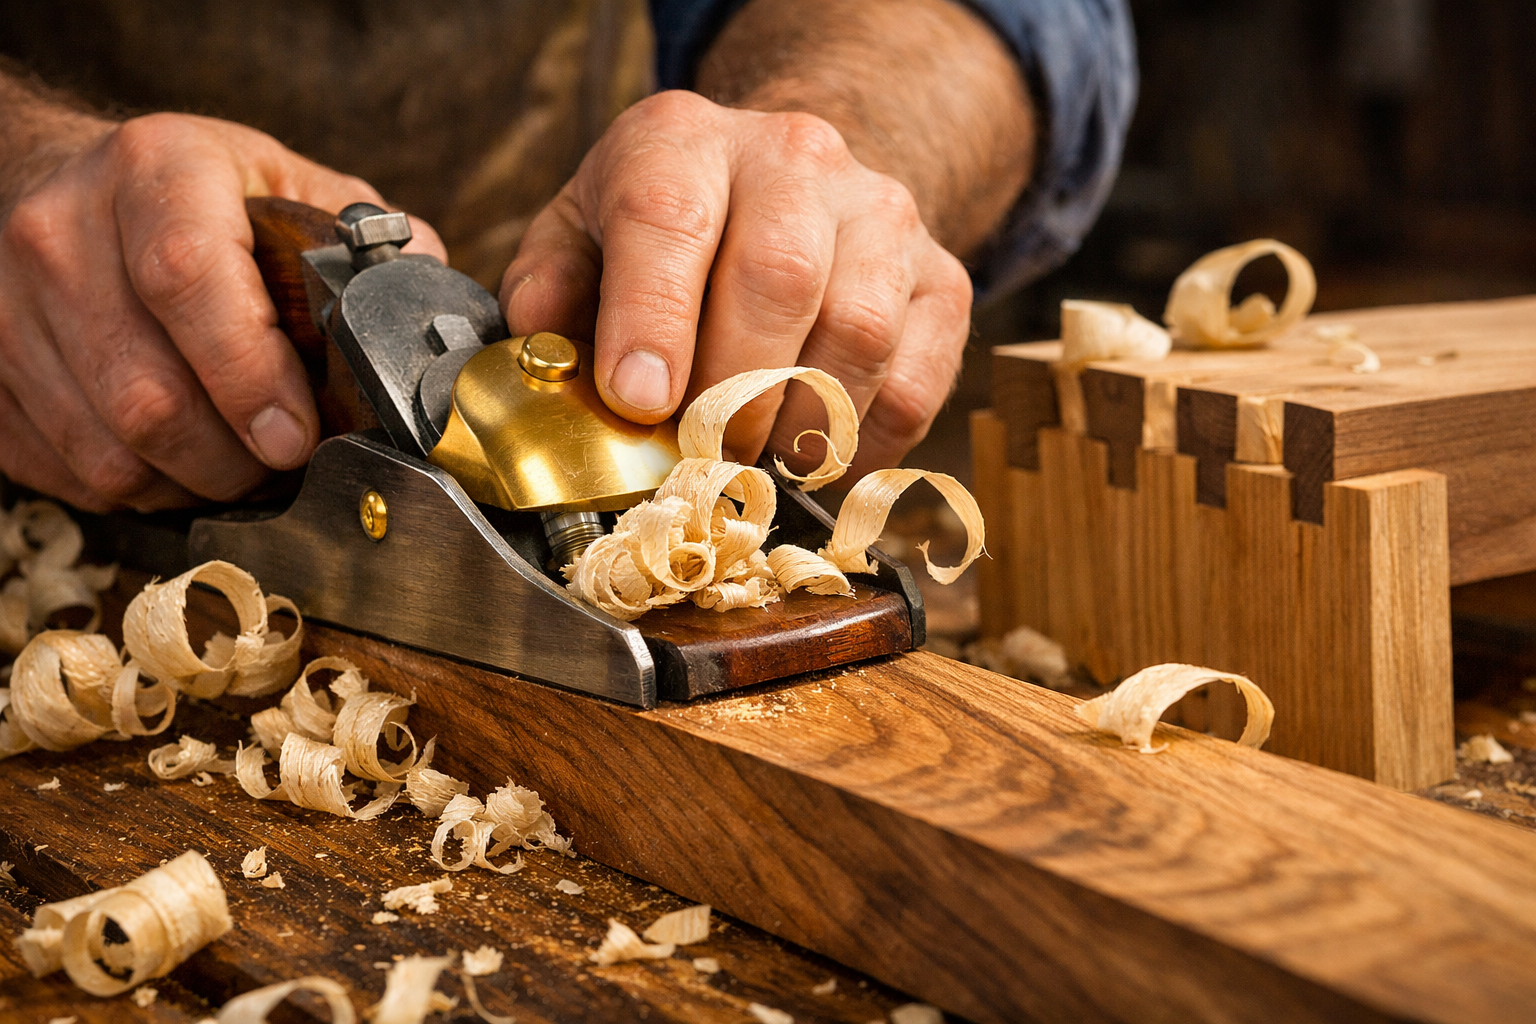
Planes for Smoothing and Shaping
Hand planes are essential for bringing wood surfaces to a silky smooth finish, squaring edges, and reducing thickness with incredible control.
- Block Plane: A small, one-handed plane, primarily used for chamfering edges, trimming end grain, and small clean-up tasks. Its low angle blade is ideal for cutting across the grain.
- Bench Planes (No. 4 or No. 5 Jack Plane): These are the workhorses of the hand plane family.
- No. 4 Smoothing Plane: Used for final smoothing of surfaces after initial stock removal, leaving a glass-like finish.
- No. 5 Jack Plane: A general-purpose plane for dimensioning rough lumber, taking heavier shavings, and truing up edges and faces.
- Chisels: A set of sharp chisels is non-negotiable for hand tool woodworking.
- Bench Chisels: Versatile, good for general chopping, paring, and cleaning out joints. A basic set usually includes 1/4″, 1/2″, 3/4″, and 1″ sizes.
- Mortise Chisels: Heavier-bodied, designed for chopping out mortises.
- Paring Chisels: Longer, thinner blades for delicate paring cuts and fine-tuning joints.
- Mallet: Used in conjunction with chisels for chopping operations. A wooden or rawhide mallet is preferred over a metal hammer to prevent damage to chisel handles.
💡 “The satisfaction of seeing a perfectly matched joint or a surface brought to a mirror-like sheen with a hand plane is a reward that no power tool can truly replicate.”
When it comes to mastering dovetail joinery for drawers, a sharp dovetail saw and a set of precise chisels are far more effective than trying to replicate the intricate angles with a router. Similarly, achieving that perfect, ready-for-finish surface often requires a smoothing plane after a power sander.
Sharpening and Maintenance: Ensuring Longevity and Performance
Having the right tools is only half the battle; keeping them sharp and well-maintained is the other, equally critical half. A dull tool is a dangerous tool and will yield frustratingly poor results. For any essential hand tools for every woodworker, proper sharpening and maintenance are paramount.
The Art of Sharpening
Sharpening isn’t a chore; it’s a fundamental skill that transforms woodworking from a struggle into a joy.
- Sharpening Stones/System: There are many approaches to sharpening, but a good system is essential. Options include:
- Waterstones: Fast cutting and provide an excellent edge. Typically used in a progression from coarse to fine grits (e.g., 1000, 4000, 8000 grit).
- Oilstones: Traditional, slower cutting but durable.
- Diamond Plates: Extremely durable and never lose flatness, excellent for flattening other stones or for very coarse sharpening.
- Sandpaper on a Flat Surface: An inexpensive entry point, using various grits of wet/dry sandpaper adhered to a flat surface like glass or granite.
- Honing Guide: While freehand sharpening is possible, a honing guide is highly recommended for beginners. It ensures a consistent, repeatable bevel angle on plane irons and chisels, which is crucial for sharp edges.
- Leather Strop with Honing Compound: After sharpening, a strop polishes the edge, removing any burr and resulting in a razor-sharp, mirror-finish edge that lasts longer.
Tool Care and Storage
Proper storage and regular maintenance extend the life of your tools and keep them ready for use.
- Rust Prevention: Woodworking tools, especially those made of high-carbon steel, are susceptible to rust. After each use, wipe down tools with a light coat of camellia oil or a rust-preventative wax.
- Cleanliness: Always clean tools of sawdust and residue. A clean tool is easier to maintain and performs better.
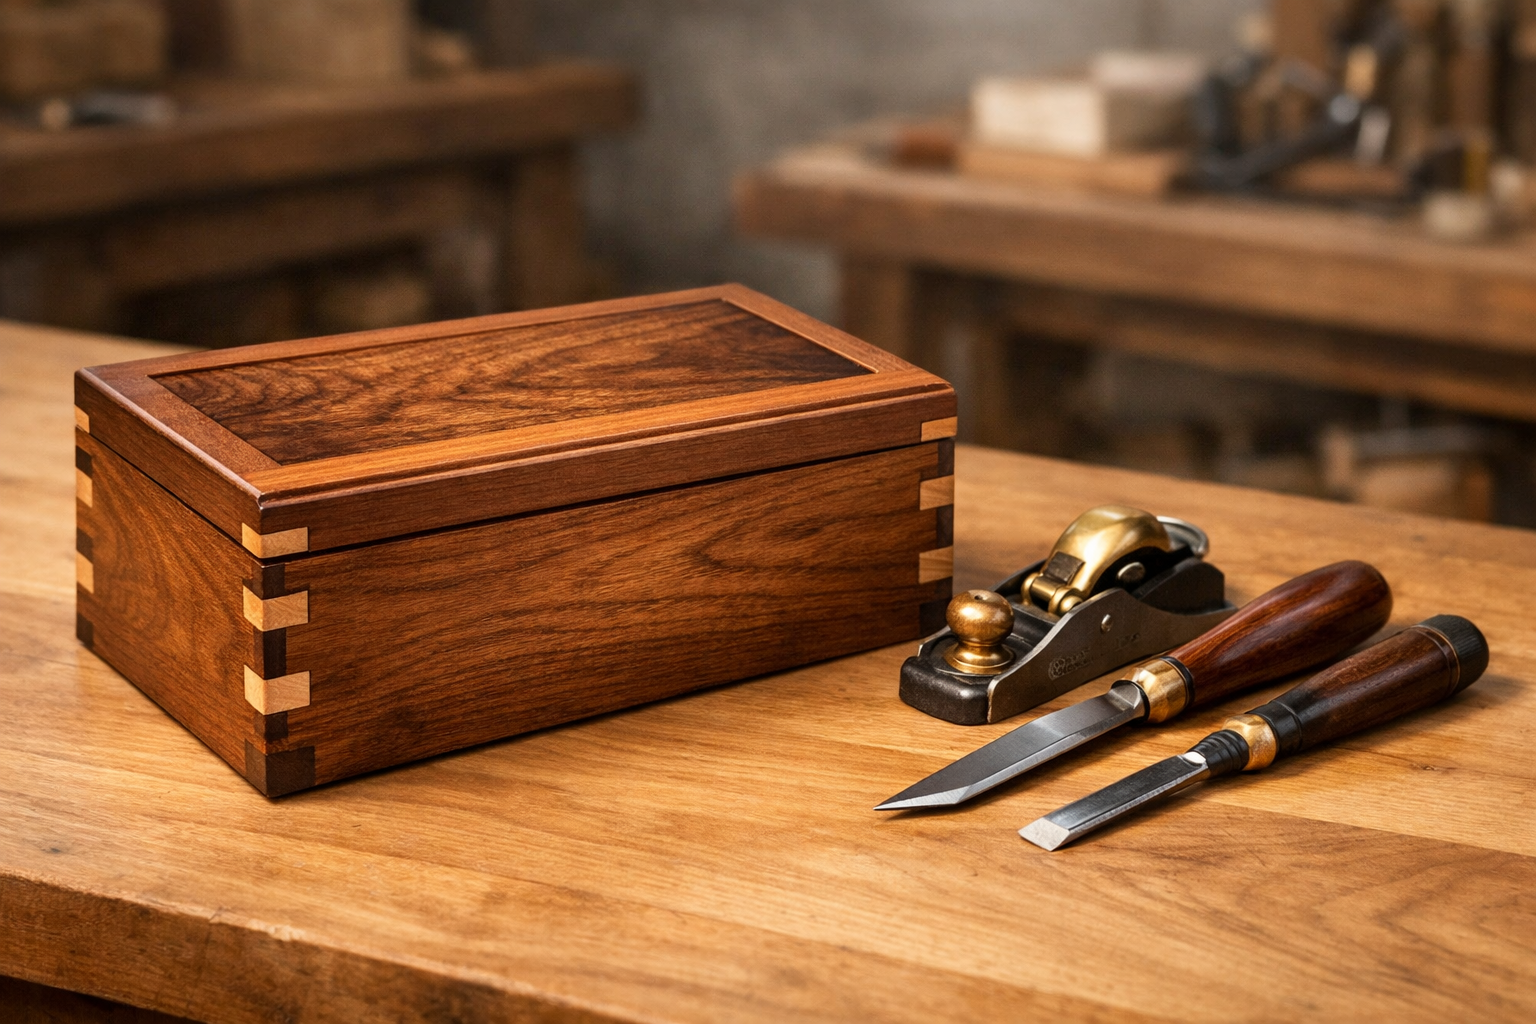
- Proper Storage: Store tools in a way that protects their edges. Tool rolls, magnetic strips, or custom-fitted drawers are excellent options. Avoid tossing them into a cluttered toolbox where edges can get dinged. Building a custom wood workbench with dedicated storage can significantly improve tool longevity.
Conclusion
Embarking on the journey of woodworking with hand tools is a deeply rewarding experience. This Beginner’s Guide to Essential Woodworking Hand Tools: Beyond the Power Tools for Precision and Craftsmanship provides a solid foundation for understanding the core implements needed to achieve exceptional results in 2026 and beyond. By focusing on accurate layout, mastering precision cutting and shaping, and committing to meticulous sharpening and maintenance, you unlock a level of control and finesse that power tools simply cannot provide.
The synergy between hand tools and power tools is truly where modern woodworking excels. Power tools can efficiently prepare rough stock, while hand tools then step in for the intricate joinery, delicate shaping, and final finishing touches. This approach allows you to work faster and smarter, without sacrificing the quality and personal touch of traditional craftsmanship.
Actionable Next Steps:
- Invest in Quality (Not Quantity): Start with a few good quality hand tools rather than many cheap ones. A sharp block plane, a versatile combination square, and a set of bench chisels are excellent starting points.
- Learn to Sharpen: Prioritize learning proper sharpening techniques. A sharp tool makes all the difference. Look for workshops or online tutorials specific to waterstones or diamond plates.
- Practice Fundamental Skills: Before tackling complex projects, practice basic cuts, planing techniques, and layout methods on scrap wood.
- Explore Joinery: Once comfortable, delve into traditional joinery like dovetails. Our guide on mastering dovetail joints with hand tools is an excellent resource.
- Build Your Tool Collection Gradually: As your skills grow and your projects demand it, expand your collection, always prioritizing quality and maintaining your existing tools.
Embrace the quiet rhythm of hand tool woodworking. The precision, the control, and the deep satisfaction of working wood with your own hands are unparalleled.

