
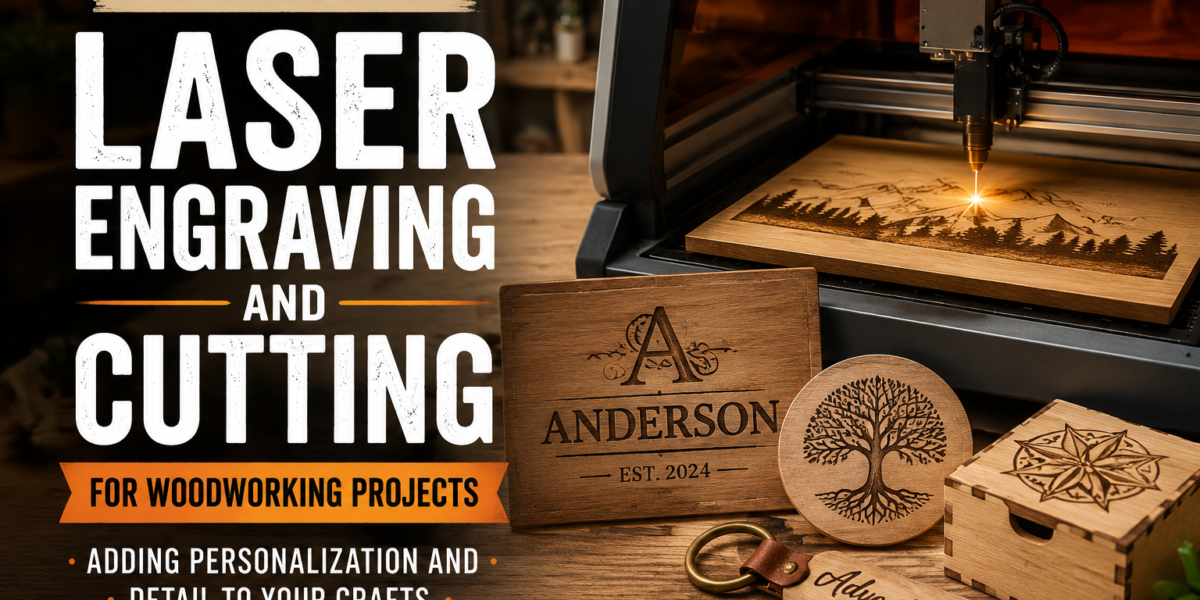

The woodworking landscape of 2026 is undergoing a quiet revolution, and at its heart lies the accessible power of laser technology. Once the exclusive domain of industrial manufacturing, laser engraving and cutting machines are now within reach of hobbyists and small-scale craftspeople, transforming how we approach personalization and intricate detail in wood projects. This guide will explore the exciting world of laser technology for woodworkers, from choosing your first machine to designing intricate patterns and personalizing your DIY projects with precision and ease, focusing on accessible entry-level machines and software. Embracing a Beginner’s Guide to Laser Engraving and Cutting for Woodworking Projects: Adding Personalization and Detail to Your Crafts empowers you to elevate your creations from functional to truly unique, carving out new possibilities in your workshop.
Key Takeaways
- Laser engraving and cutting machines are becoming increasingly affordable and user-friendly for woodworkers.
- Understanding the differences between diode and CO2 lasers is crucial for selecting the right machine for your needs.
- Basic graphic design software (like Inkscape or LightBurn) is essential for creating your designs.
- Safety protocols, including ventilation and eye protection, are paramount when operating laser equipment.
- Laser technology allows for unparalleled detail and personalization, opening up new creative avenues in woodworking.
Understanding Laser Engraving and Cutting Technology
Laser technology for woodworking leverages focused light beams to either engrave (burn a shallow mark) or cut (burn entirely through) materials. This precision opens up a vast realm of possibilities for adding intricate designs, personal messages, and fine details that would be exceptionally difficult or impossible with traditional hand tools. For a woodworker, this means the ability to create anything from custom signage and personalized gifts to finely detailed inlays and precise joinery components.

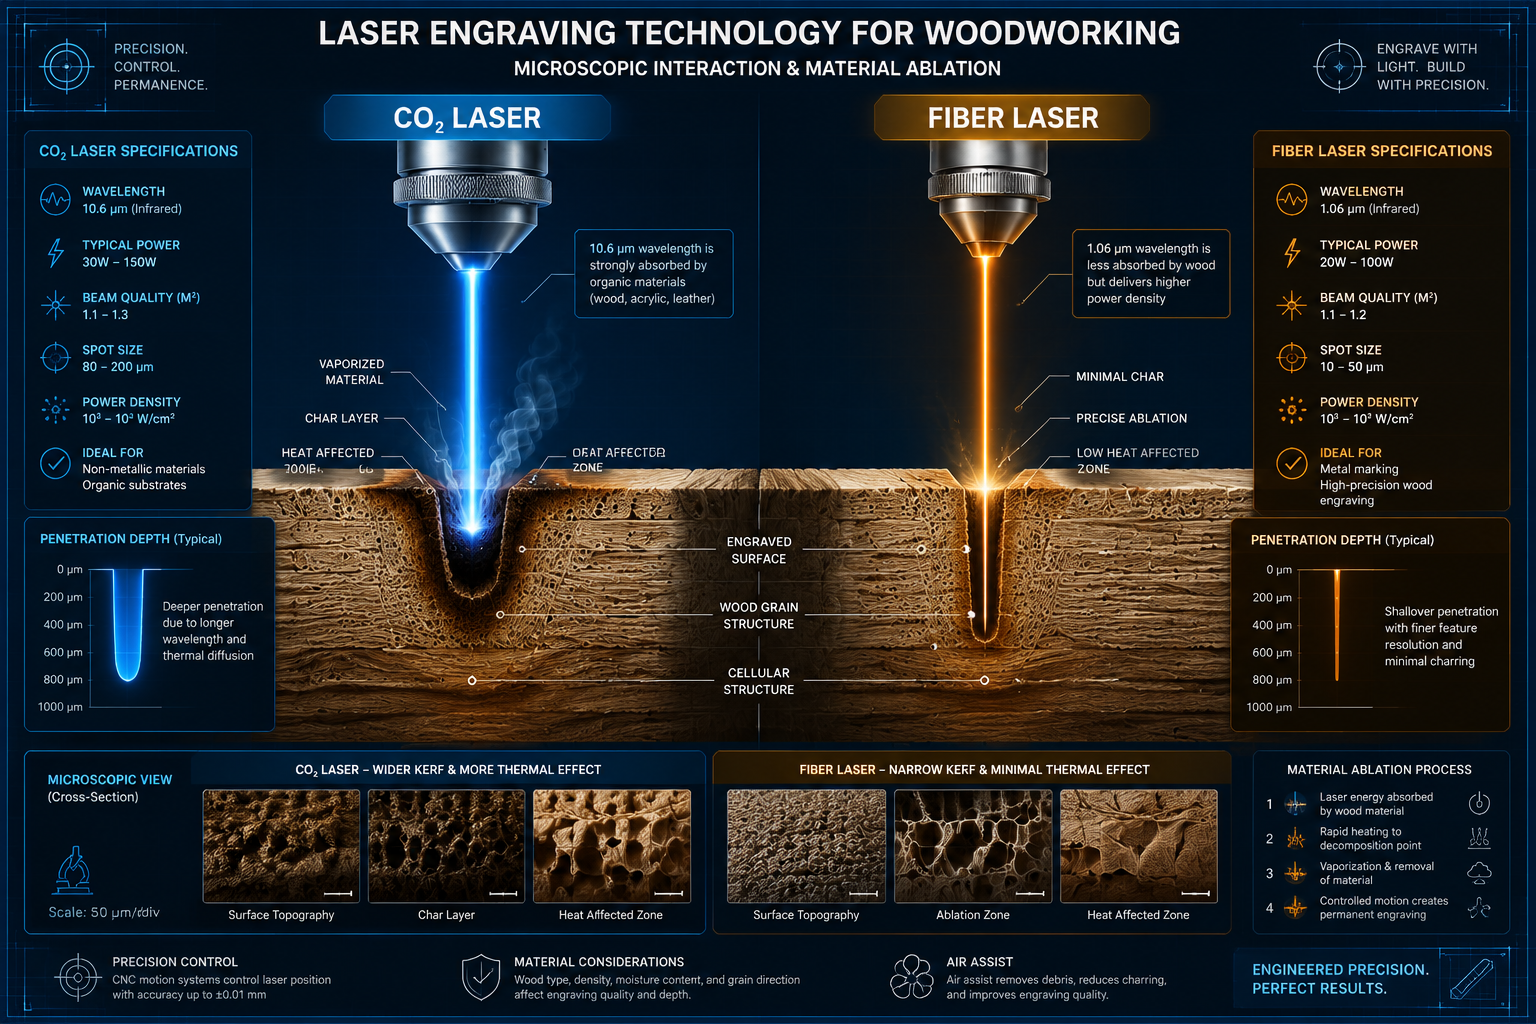
Diode Lasers vs. CO2 Lasers: Choosing Your First Machine
When delving into the Beginner’s Guide to Laser Engraving and Cutting for Woodworking Projects: Adding Personalization and Detail to Your Crafts, one of the first critical decisions involves selecting the right type of laser. The two primary options for hobbyists are diode lasers and CO2 lasers, each with distinct advantages and limitations.
Diode Lasers: Diode lasers are generally the most accessible and affordable entry point into laser engraving and cutting.
- Pros:
- Cost-Effective: Significantly cheaper than CO2 lasers, making them ideal for beginners.
- Compact Size: Often smaller and lighter, requiring less dedicated workshop space.
- User-Friendly: Easier to set up and operate, with less maintenance.
- Good for Engraving: Excellent for detailed engraving on wood, leather, and some plastics.
- Cons:
- Lower Power: Typically less powerful than CO2 lasers, limiting their cutting capabilities, especially on thicker woods.
- Slower Cutting Speed: Cutting through materials takes longer.
- Limited Material Compatibility: Cannot cut clear acrylic or engrave on glass effectively.
- Shorter Lifespan: Diodes can degrade over time, though replacements are available.
CO2 Lasers: CO2 lasers offer greater power and versatility but come with a higher price tag and larger footprint.
- Pros:
- Higher Power: Much more powerful, allowing for faster cutting and thicker material processing.
- Wider Material Compatibility: Can engrave and cut a broader range of materials, including wood, acrylic, leather, and even some glass (engraving only).
- Faster Speeds: Significantly quicker for both engraving and cutting.
- Longer Lifespan: Laser tubes generally last longer than diodes, though they are more expensive to replace.
- Cons:
- Higher Cost: A substantial investment compared to diode lasers.
- Larger Footprint: Requires more space and often specialized ventilation.
- More Complex Setup and Maintenance: Can be more intimidating for a novice.
- Water Cooling Required: Most CO2 lasers require a chiller or water pump system to cool the laser tube.
Recommendation for Beginners: For most woodworking hobbyists looking to add personalization and detail without a massive initial investment, a high-quality diode laser (10W-20W optical power) is an excellent starting point. It offers enough power for most engraving tasks and light cutting on thin woods and plywood. If your budget allows, a small desktop CO2 laser (30W-40W) provides more flexibility for cutting thicker materials and faster processing. For insights into other high-demand woodworking projects, explore our guide on High-Demand Woodworking Projects for 2026.
Setting Up Your Laser Workshop and Software Essentials
Once you’ve chosen your laser machine, establishing a safe and functional workspace and mastering the necessary software are the next crucial steps in this Beginner’s Guide to Laser Engraving and Cutting for Woodworking Projects: Adding Personalization and Detail to Your Crafts.
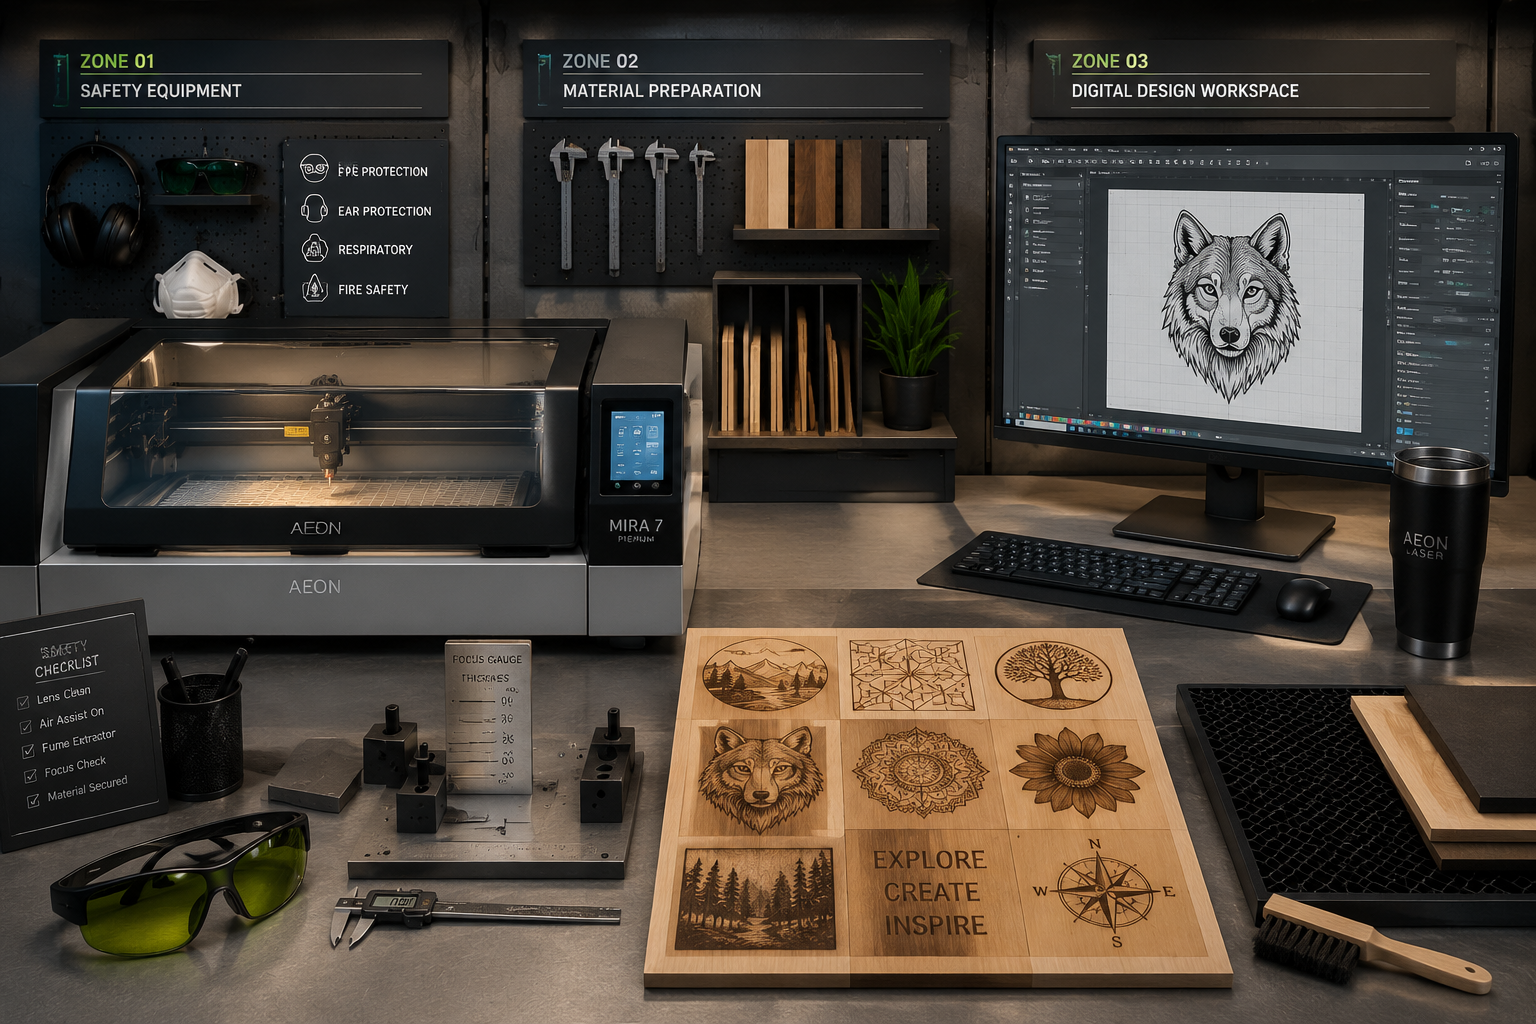
Workspace Considerations and Safety Protocols
Safety must always be the top priority when working with lasers.
- Ventilation is paramount: Laser engraving and cutting wood produces smoke, fumes, and volatile organic compounds (VOCs). A robust exhaust system that vents outdoors is non-negotiable. Dedicated fume extractors with multi-stage filters are ideal.
- Eye Protection: Always wear laser-specific safety goggles that match the wavelength of your laser. The small viewing windows on some machines are not always sufficient protection for direct viewing during operation.
- Fire Safety: Keep a fire extinguisher (ABC type) or a fire blanket readily accessible. Never leave your laser machine unattended while operating, as wood can ignite. Ensure a clear area around the machine.
- Stable Surface: Place your laser on a sturdy, level surface that can withstand vibrations.
- Clearance: Ensure adequate space around the machine for airflow and safe operation.
Essential Software for Design and Control
The magic of laser personalization truly begins with your design software.
- Vector Graphics Software: Laser machines work primarily with vector files for cutting and outline engraving, and raster files (like JPEGs) for photo engraving.
- Inkscape (Free): A powerful, open-source vector graphics editor. It’s an excellent choice for beginners to create logos, text, shapes, and intricate designs. It has a learning curve but offers professional-level capabilities.
- Affinity Designer (Paid, One-Time): A popular alternative to Adobe Illustrator, offering a user-friendly interface and robust vector and raster editing features at an affordable price.
- Adobe Illustrator (Paid, Subscription): The industry standard for vector graphics. While powerful, its subscription model might be prohibitive for some beginners.
- Laser Control Software: This software translates your designs into commands the laser machine understands, controlling power, speed, and movement.
- LightBurn (Paid, One-Time): Widely regarded as the best laser control software for hobbyist machines. It’s compatible with most diode and CO2 lasers, offers powerful design tools, excellent control over laser parameters, and a highly intuitive interface. It’s a worthwhile investment.
- Manufacturer-Specific Software: Many entry-level lasers come with their own proprietary software. While functional, they often lack the advanced features and user experience of LightBurn.
Tips for Design: Start with simple designs. Experiment with different fonts, geometric shapes, and basic logos. As you gain confidence, you can move on to more complex patterns and images. Remember to consider the wood grain and its effect on the engraving outcome. For specific woodworking projects, you might want to consider Crafting Custom Wooden Gifts for the Holiday Season which can benefit greatly from laser detailing.
Mastering Laser Engraving and Cutting for Woodworking Projects: Adding Personalization and Detail to Your Crafts
With your machine set up and software ready, it’s time to dive into the practical aspects of laser engraving and cutting. This section provides a practical guide to optimizing your results and unleashing your creativity.
Material Selection and Parameter Optimization
The type of wood you use significantly impacts engraving and cutting quality.
- Best Woods for Laser Engraving:
- Maple, Cherry, Birch: These hardwoods produce excellent contrast with fine detail.
- Basswood, Poplar: Softer woods that engrave well, though sometimes with less contrast.
- Plywood (Baltic Birch): Ideal for cutting due to its consistent layers and minimal voids. Engraves well but may show internal glue lines.
- Woods to Avoid (or Use with Caution):
- Resinous Woods (Pine, Cedar): High resin content can cause flare-ups and uneven burning, leaving a sticky residue.
- MDF (Medium-Density Fiberboard): Can produce toxic fumes when cut/engraved; requires excellent ventilation.
- Treated Lumber: Contains chemicals that release hazardous fumes when lasered.
Parameter Optimization: This is the process of finding the right power and speed settings for your specific laser and material.
- Engraving:
- Power: Controls the depth and darkness of the engraving. Higher power means darker/deeper.
- Speed: Controls how long the laser dwells on a spot. Slower speed means darker/deeper.
- Resolution (DPI): Higher DPI (dots per inch) results in finer detail but takes longer.
- Cutting:
- Power: Needs to be high enough to cut through the material in one or multiple passes.
- Speed: Slower speed allows the laser more time to cut through. Multiple passes at lower power are often better than one pass at very high power to reduce charring.
- Focus: Crucial for precise cuts. The laser beam needs to be perfectly focused on the material surface.
Test Grids: Create small test grids with varying power and speed settings on scrap pieces of your chosen wood. This helps you dial in the perfect parameters for different effects before committing to your main project.
Creative Project Ideas and Finishing Touches
The potential for creative expression with a laser in woodworking is immense. This Beginner’s Guide to Laser Engraving and Cutting for Woodworking Projects: Adding Personalization and Detail to Your Crafts encourages you to think beyond basic etching.

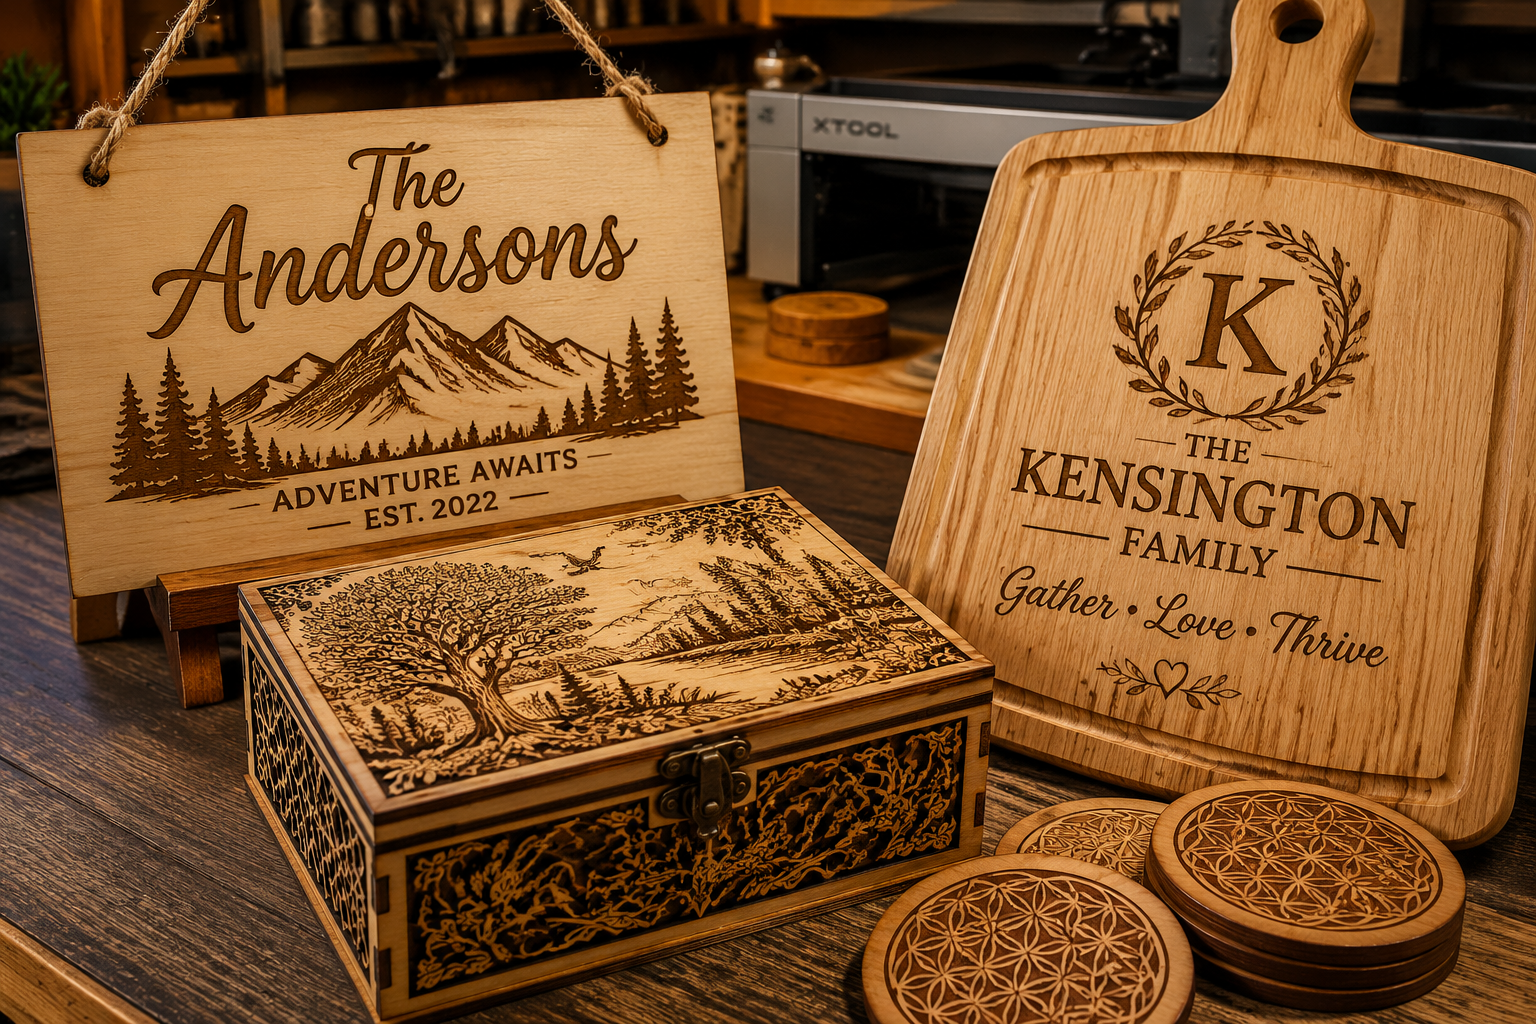
- Personalized Gifts: Custom cutting boards, coasters (see Engraved Wooden Coasters with Custom Designs), picture frames, wooden signs, or even intricate jewelry boxes make unforgettable gifts.
- Inlays and Marquetry: Cut precise veneer pieces to create stunning inlaid designs, adding a layer of sophistication to furniture or decorative panels.
- Custom Joinery: Laser-cut precise finger joints, dovetails, or decorative mortise and tenon patterns for unique and strong assemblies.
- Architectural Models: Create highly detailed scale models for hobby or professional use.
- Layered Wood Art: Cut multiple layers of thin wood, each with a different design, and stack them to create stunning 3D relief art.
- Stencils: Laser-cut stencils for painting or pyrography on larger woodworking pieces.
Finishing Touches: After laser processing, a good finish is essential to protect your work and enhance the engraved details.
- Sanding: Lightly sand the engraved areas with fine-grit sandpaper (220-400 grit) to remove any smoke residue or charring. Be gentle to avoid sanding away the detail.
- Cleaning: Use a damp cloth or denatured alcohol to clean the surface.
- Protective Finishes:
- Clear Lacquer/Polyurethane: Provides excellent protection and highlights the contrast of the engraving. (See Wood Finishing Techniques).
- Oils (Tung Oil, Linseed Oil): Penetrate the wood, offering a natural look and enhancing the grain. They can darken the engraved areas, increasing contrast.
- Wax Finishes: Provide a subtle sheen and protection.
Experiment with different finishes on scrap pieces to see how they interact with your laser engravings. The possibilities are truly endless for adding personalization and detail to your woodworking projects.
Advanced Considerations and Future Trends
As you grow more comfortable with the basics, you’ll naturally look to push the boundaries of your laser woodworking. This journey of continuous learning is a core part of mastering your craft.
Advanced Techniques and Materials
- Rotary Attachments: These accessories allow you to engrave cylindrical objects like tumblers, pens, and rolling pins, expanding your project scope.
- Multi-Pass Engraving/Cutting: For deeper engravings or thicker cuts, performing multiple passes at lower power often yields cleaner results with less charring.
- Material Engraving: Beyond wood, consider experimenting with leather, anodized aluminum, slate, and even some fabrics. Always check material compatibility with your specific laser.
- Camera Integration: Some advanced laser systems integrate cameras for precise alignment of designs with existing physical objects, streamlining workflows for custom fitting.
Integrating Laser Work with Traditional Woodworking
The true power of laser technology lies not in replacing traditional woodworking, but in enhancing it. Imagine creating perfectly symmetrical inlays for a custom cabinet door, or engraving complex patterns onto turned bowls from your wood lathe (explore Ultimate Guide to Wood Lathe Turning). Laser cutting can also assist in creating templates for hand carving, or precisely cutting parts for complex joinery that would be tedious by hand.
The year 2026 sees continued advancements in diode laser power and software intelligence, making these machines even more capable and user-friendly. Expect to see more integrated safety features, faster processing speeds, and more intuitive design software. This ongoing evolution ensures that Beginner’s Guide to Laser Engraving and Cutting for Woodworking Projects: Adding Personalization and Detail to Your Crafts will only become more comprehensive and exciting over time.
Conclusion
The integration of laser engraving and cutting into woodworking is a game-changer for hobbyists and professionals alike. This Beginner’s Guide to Laser Engraving and Cutting for Woodworking Projects: Adding Personalization and Detail to Your Crafts has laid the groundwork, from understanding the core technologies and setting up a safe workspace to mastering design software and optimizing your results. The ability to add intricate personalization and precise detail with ease transforms ordinary pieces into extraordinary creations, injecting new life and narrative into your craft.
As you embark on this exciting journey, remember that patience and experimentation are your greatest allies. Start simple, prioritize safety, and don’t be afraid to try new techniques and materials. The world of laser woodworking is waiting for your unique touch, offering endless opportunities to explore your creativity and elevate your craftsmanship. Take the first step today and watch your woodworking projects transform with unparalleled precision and personal flair.
References
- Axe, J. (2023). Laser Engraving & Cutting for Beginners: A Comprehensive Guide. Maker Press.
- Hobbs, R. (2022). The Woodworker’s Guide to Digital Fabrication. Craft Publishing.
- LightBurn Software. (n.d.). User Manual and Documentation. Retrieved from https://lightburnsoftware.com/
