
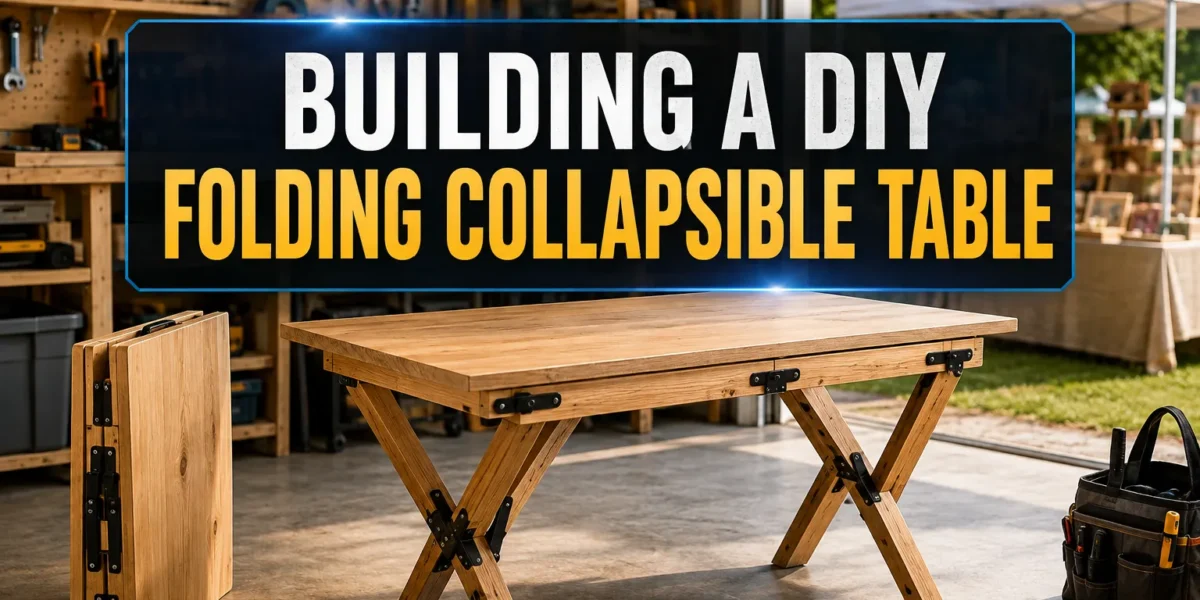
} The average craft fair vendor spends 20-30 minutes setting up their display, with table assembly often being the most time-consuming component (Craft Fair Vendor Survey, 2024). For artisans, small business owners, and hobbyists alike, efficiency and portability are paramount. The ability to quickly deploy a sturdy, reliable surface at a busy market or transform a corner of your home into a productive workspace can dramatically improve your experience and output. This article delves into the practicalities of Building a DIY Folding Collapsible Table: Space-Saving Designs for Craft Fairs and Portable Workstations, offering insights into designs that blend easy transport with robust functionality.
Key Takeaways
- DIY folding tables offer significant advantages in portability, setup speed, and cost-effectiveness for craft fairs and workshops.
- Selecting the right materials and folding mechanism is crucial for durability, weight, and ease of use.
- Consider dimensions, stability, and aesthetic integration to create a table that meets specific functional and visual needs.
- Proper tools, safety practices, and finishing techniques are essential for a successful and long-lasting build.
- Customization options allow you to tailor your table for specific crafts, tools, or display requirements.
Why Build a DIY Folding Collapsible Table for Craft Fairs and Portable Workstations?
In 2026, the demand for adaptable furniture solutions continues to grow, driven by smaller living spaces, a thriving gig economy, and the resurgence of local craft markets. Building a DIY folding collapsible table addresses several critical needs for creators and entrepreneurs. Unlike fixed furniture, a custom-built collapsible table offers unmatched flexibility. It allows you to transform any space into a functional selling platform or a dedicated workstation, then pack it away neatly when not in use.

Advantages of a DIY Approach
- Cost-Effectiveness: Purchasing a high-quality, professional-grade folding table can be expensive. Building your own often uses readily available, more affordable materials, allowing you to allocate budget to other aspects of your business or craft.
- Customization: Off-the-shelf tables rarely meet every specific need. With a DIY project, you control the dimensions, height, weight, material choice, and even integrate specific features like shelves, tool holders, or display hooks. This is especially beneficial for unique craft items or specialized tools.
- Durability and Repairability: By choosing sturdy materials and solid construction techniques, your DIY table can often surpass the lifespan of mass-produced alternatives. Should a component wear out, you’ll know how to repair or replace it.
- Skill Development: Undertaking a woodworking project enhances your practical skills, offering satisfaction and a deeper understanding of craftsmanship. It’s a tangible outcome of your efforts, much like the items you might display on it.
- Portability and Storage: The core benefit is the ability to fold the table into a compact form for easy transport in a car or storage in a small apartment or workshop. This is indispensable for mobile vendors or those with limited permanent workspace.
Essential Designs and Folding Mechanisms for Your Portable Table
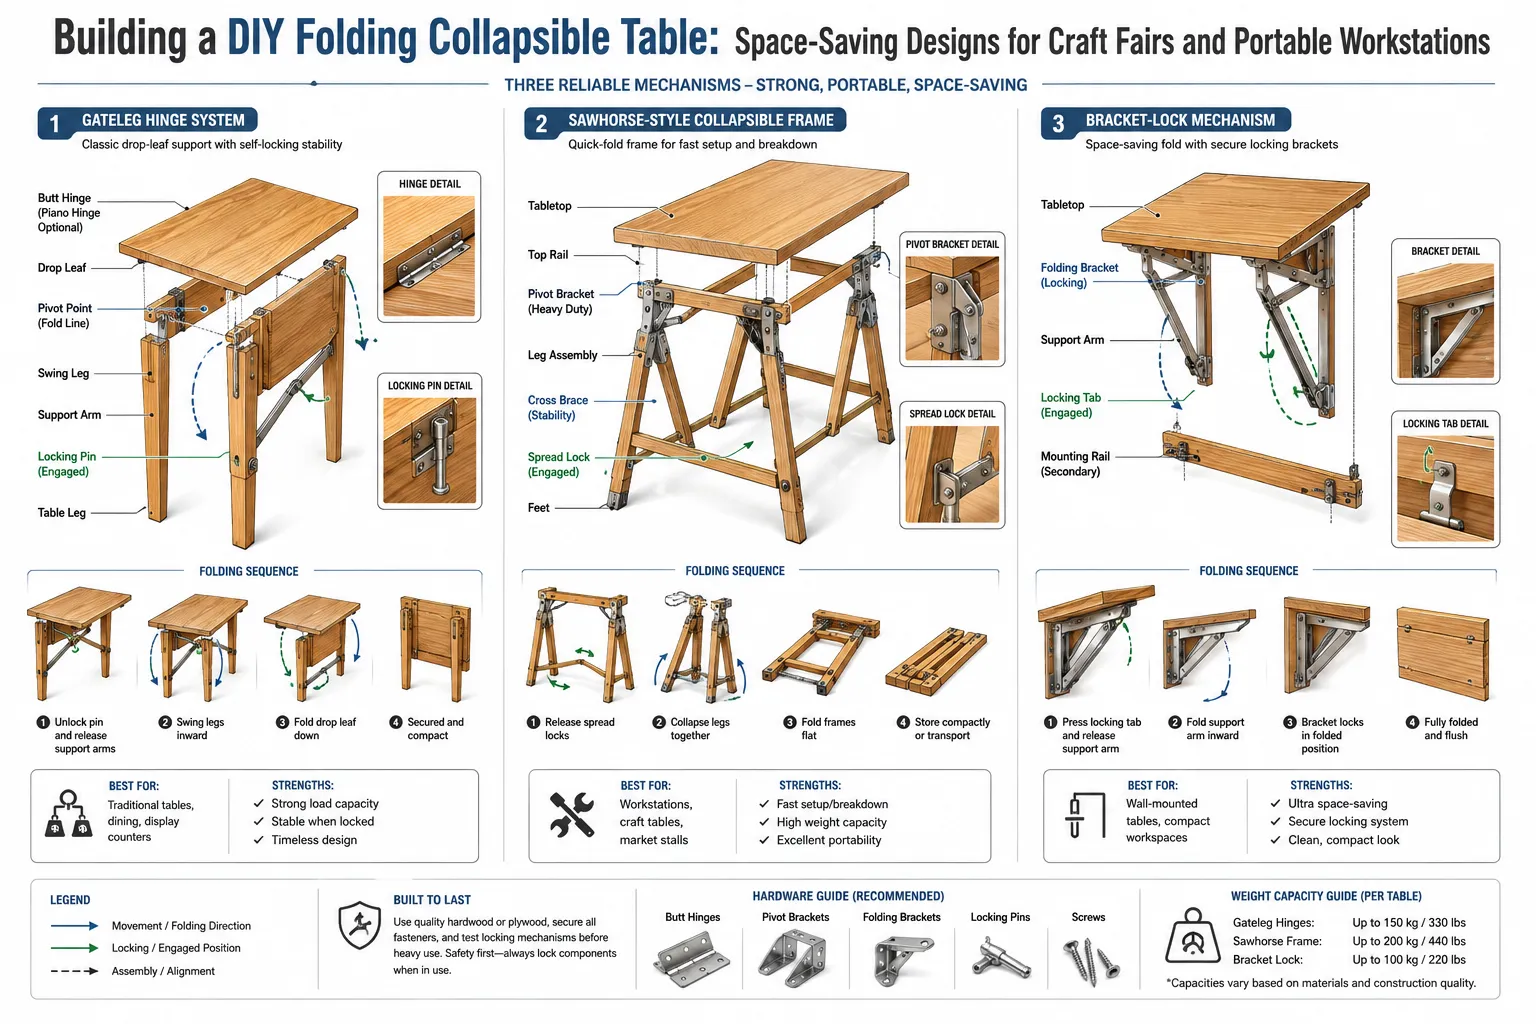
The heart of any successful folding table lies in its mechanism and structural design. For a table meant for repeated transport and setup, simplicity, strength, and reliability are paramount. Several popular designs lend themselves well to DIY construction.
Common Folding Table Designs
Gate-Leg Table:
- Description: This classic design features legs that swing out from under the tabletop on hinges, often supported by a hinged rail or “gate” that braces the leg in its open position. The tabletop itself can sometimes have hinged leaves that fold down.
- Pros: Very stable when open, good weight-bearing capacity, can be very compact when folded, especially if the top also folds.
- Cons: Requires careful hinge placement and sturdy leg construction.
- Best for: Craft fair display tables where a solid, reliable surface is needed, or as a temporary dining or workspace.
Sawhorse-Style Table:
- Description: This design involves two separate sawhorse-like leg structures that fold flat. A tabletop then rests on these supports, often secured with pins, cleats, or clamps.
- Pros: Extremely sturdy, excellent weight capacity, legs fold completely flat for storage. The top can be a separate piece, making it easy to carry.
- Cons: Requires two separate leg units, and the top needs to be stored/transported separately. Can be slightly more involved to set up than integrated designs.
- Best for: Portable woodworking workstations, heavy-duty craft projects, or situations where maximum stability and weight capacity are critical. Consider building creating ergonomic workshop furniture to complement this design.
Hinged-Leg Folding Table (Card Table Style):
- Description: Legs are directly hinged to the underside of the tabletop frame and fold inward, often held in place by a simple locking mechanism when open.
- Pros: Very simple to build, quick to set up and take down, lightweight.
- Cons: Can be less stable than other designs, especially if not braced properly. Limited weight capacity.
- Best for: Lightweight display tables, temporary writing desks, or light craft work.
Trestle Table with Detachable Top:
- Description: Similar to a sawhorse design, but the trestle supports might have a more refined, architectural look. The top is always separate.
- Pros: Aesthetically pleasing, very strong, easy to transport in pieces.
- Cons: Not a true “collapsible” single unit; requires multiple components to carry.
- Best for: Premium craft fair displays where aesthetics are as important as function, or a versatile home workstation.
Materials and Hardware
The choice of materials directly impacts the table’s weight, durability, and cost.
- Wood: Plywood (especially Baltic birch for strength and smooth edges), pine, poplar, or even lightweight hardwoods like basswood can be excellent choices. Plywood offers good stability and less warping than solid wood for tabletops.
- Metal: Aluminum can be used for legs or bracing to reduce weight, though it adds complexity to the build for DIYers. Steel provides maximum strength but is heavy.
- Hardware:
- Hinges: Heavy-duty barrel hinges, piano hinges, or butt hinges are crucial for the folding mechanisms. Ensure they are rated for the table’s intended load.
- Locking Mechanisms: Barrel bolts, folding leg brackets, or simple latches can secure legs in the open position. Gravity locks or spring-loaded pins offer quick and secure deployment.
- Fasteners: Screws (wood screws, machine screws with nuts), bolts, and wood glue are essential. Use appropriate lengths and types for the materials.
“A well-designed folding table isn’t just about saving space; it’s about empowering mobility and versatility, allowing your craft to thrive wherever you go.”
Building Your Portable Workspace: Step-by-Step Considerations
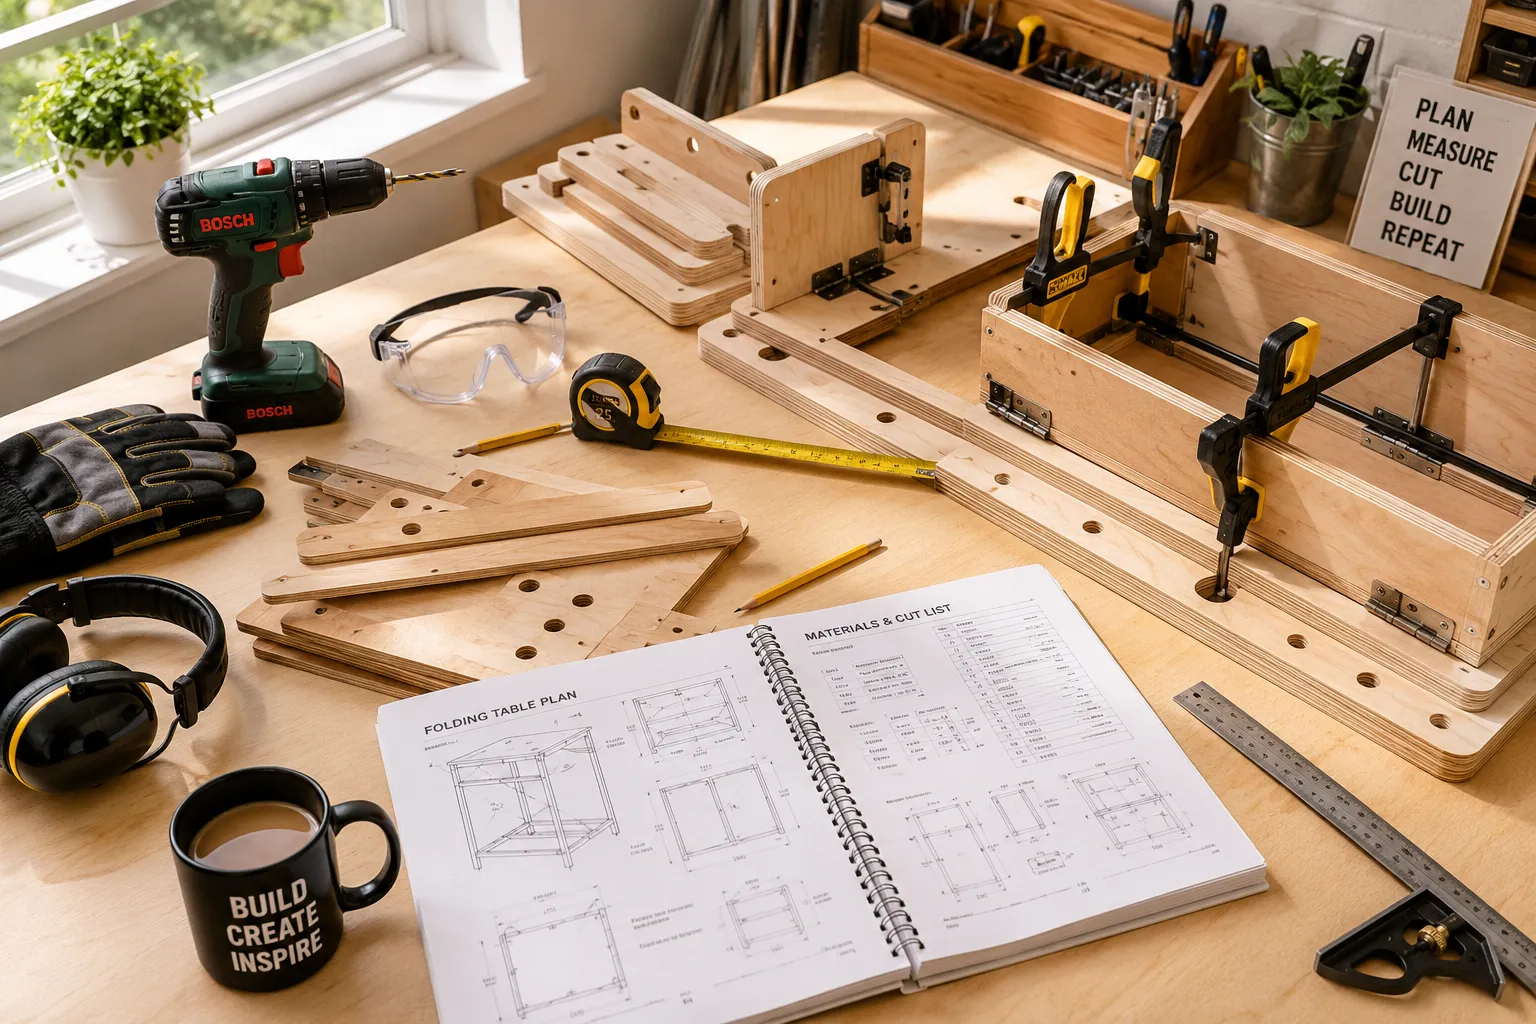
Regardless of the specific design chosen, the construction process involves careful planning, precise cuts, and secure assembly. Prioritize safety throughout your build, especially when using power tools. Consider creating a portable dust collection system for small workshops to maintain a clean and safe environment.
Planning and Design
- Determine Dimensions: Consider what you’ll be displaying or working on. Standard craft fair tables are often 6-8 feet long and 2-3 feet deep. For a workstation, consider your height and ergonomic needs. If you’re building benches for indoor and outdoor use, the table height should complement their seating.
- Sketch and Blueprint: Draw your design, including measurements, joint types, and folding mechanisms. This helps visualize the final product and identify potential issues.
- Material Selection: Choose wood types based on weight requirements, durability, and aesthetic preference. For a lightweight craft fair table, 1/2-inch or 3/4-inch plywood for the top and 1×2 or 1×3 lumber for the frame and legs might suffice. For a robust workstation, thicker plywood or solid wood is advisable.
- Hardware Sourcing: List all hinges, bolts, and locking mechanisms needed. Research options for strength and ease of use.
Cutting and Assembly
- Prepare Materials: Cut all wood pieces to your specified dimensions. Ensure all cuts are square and edges are smooth. A good Delta table saw 36-600 or similar quality saw can make this process accurate and efficient.
- Assemble the Tabletop Frame: For added strength and to conceal the folding leg hardware, it’s often beneficial to build a frame around the underside of the tabletop, especially if using plywood. This creates a sturdy apron.
- Construct the Legs: Depending on the design (gate-leg, sawhorse, hinged-leg), assemble the individual leg units. Pay close attention to joinery. Mortise and tenon or lap joints offer superior strength for leg structures.
- Attach Folding Hardware: Carefully position and attach hinges and locking mechanisms. Test the folding action frequently during this step to ensure smooth operation and proper alignment. Precision is key for longevity.
- Test Stability: Before finishing, fully assemble and load the table. Test its stability, ensuring there’s no wobble and that all locking mechanisms engage securely.
Finishing and Customization
- Sanding: Thoroughly sand all surfaces, starting with a coarser grit and moving to finer grits, to achieve a smooth finish.
- Finishing: Apply a protective finish. For craft fair tables, a clear lacquer or polyurethane offers durability and easy cleaning. For a portable workstation, an oil-based finish might be more robust against tool marks, or even a tough epoxy coating.
- Custom Features:
- Storage: Add hooks for bags, an undershelf for extra stock, or integrated bins for tools and supplies.
- Mobility: Consider adding small, sturdy casters to one end of the folded table for easier transport, or even a handle.
- Leveling Feet: Adjustable leveling feet are invaluable for uneven ground at outdoor markets or in older buildings.
- Branding: Incorporate your logo or a distinct color scheme to make your table an extension of your brand at craft fairs.
By following these steps, you can create a highly functional, durable, and space-saving DIY folding collapsible table that serves your needs for years to come, whether for bustling craft fairs or a focused home workshop.
Conclusion
Building a DIY folding collapsible table is a rewarding project that offers significant practical advantages for craft fair vendors, mobile artisans, and anyone needing a flexible workspace. From the robust stability of a sawhorse-style table for heavy-duty woodworking to the compact convenience of a gate-leg design for a bustling market booth, the customization possibilities are vast. By carefully selecting materials, employing sound woodworking techniques, and integrating smart folding mechanisms, you can create a durable, space-saving solution perfectly tailored to your needs. This project not only equips you with a highly functional piece of furniture but also enhances your woodworking skills, empowering you to tackle future custom builds and truly make your workspace your own. Embrace the satisfaction of crafting a table that works as hard as you do, wherever your endeavors take you in 2026.
SEO Meta Title: DIY Folding Collapsible Table: Space-Saving Designs for Craft Fairs SEO Meta Description: Build a DIY folding collapsible table for craft fairs or a portable workstation. Explore space-saving designs, materials, and steps for your 2026 projects.