
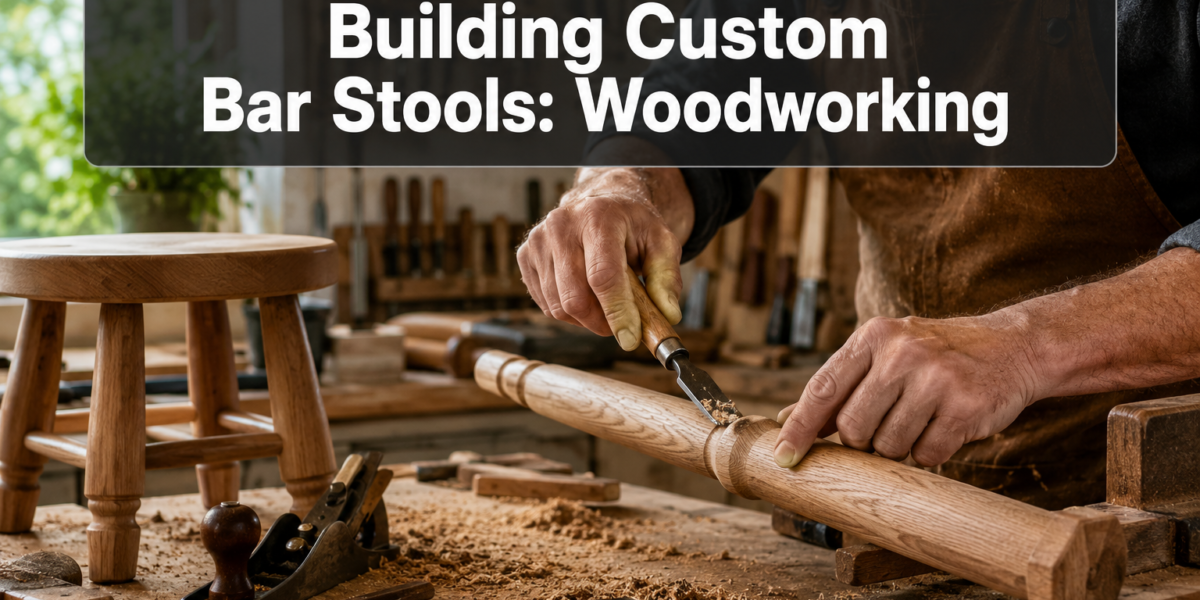
The average person spends over 1,800 hours seated annually at various tables and counters, yet few consider the profound impact of their seating on comfort and well-being. Custom bar stools, precisely tailored to individual needs and aesthetic preferences, transcend mere functionality, becoming integral elements of a home’s design narrative. This article delves into the art and science of Building Custom Bar Stools: Woodworking Techniques for Seating Comfort and Style, providing a comprehensive guide for woodworkers looking to create pieces that are both structurally sound and visually striking.
Key Takeaways
- Custom bar stools offer unparalleled ergonomic benefits and aesthetic integration compared to off-the-shelf options.
- Careful planning, including proper height, depth, and footrest placement, is crucial for seating comfort.
- Selecting the right wood and mastering joinery techniques are fundamental for durability and structural integrity.
- Finishing techniques not only enhance the stool’s appearance but also protect the wood, ensuring longevity.
- Safety in the workshop is paramount, requiring diligent use of personal protective equipment and adherence to tool safety guidelines.
Designing for Ergonomics and Aesthetics in Building Custom Bar Stools: Woodworking Techniques for Seating Comfort and Style
Before any wood is cut, a thorough design phase is essential for Building Custom Bar Stools: Woodworking Techniques for Seating Comfort and Style. This stage focuses on merging ergonomic principles with your desired aesthetic. The goal is to create stools that are comfortable for extended periods and complement your existing decor.
Understanding Ergonomic Principles for Seating
Ergonomics in bar stool design revolves around supporting the user’s body in a natural, comfortable posture. Key considerations include:
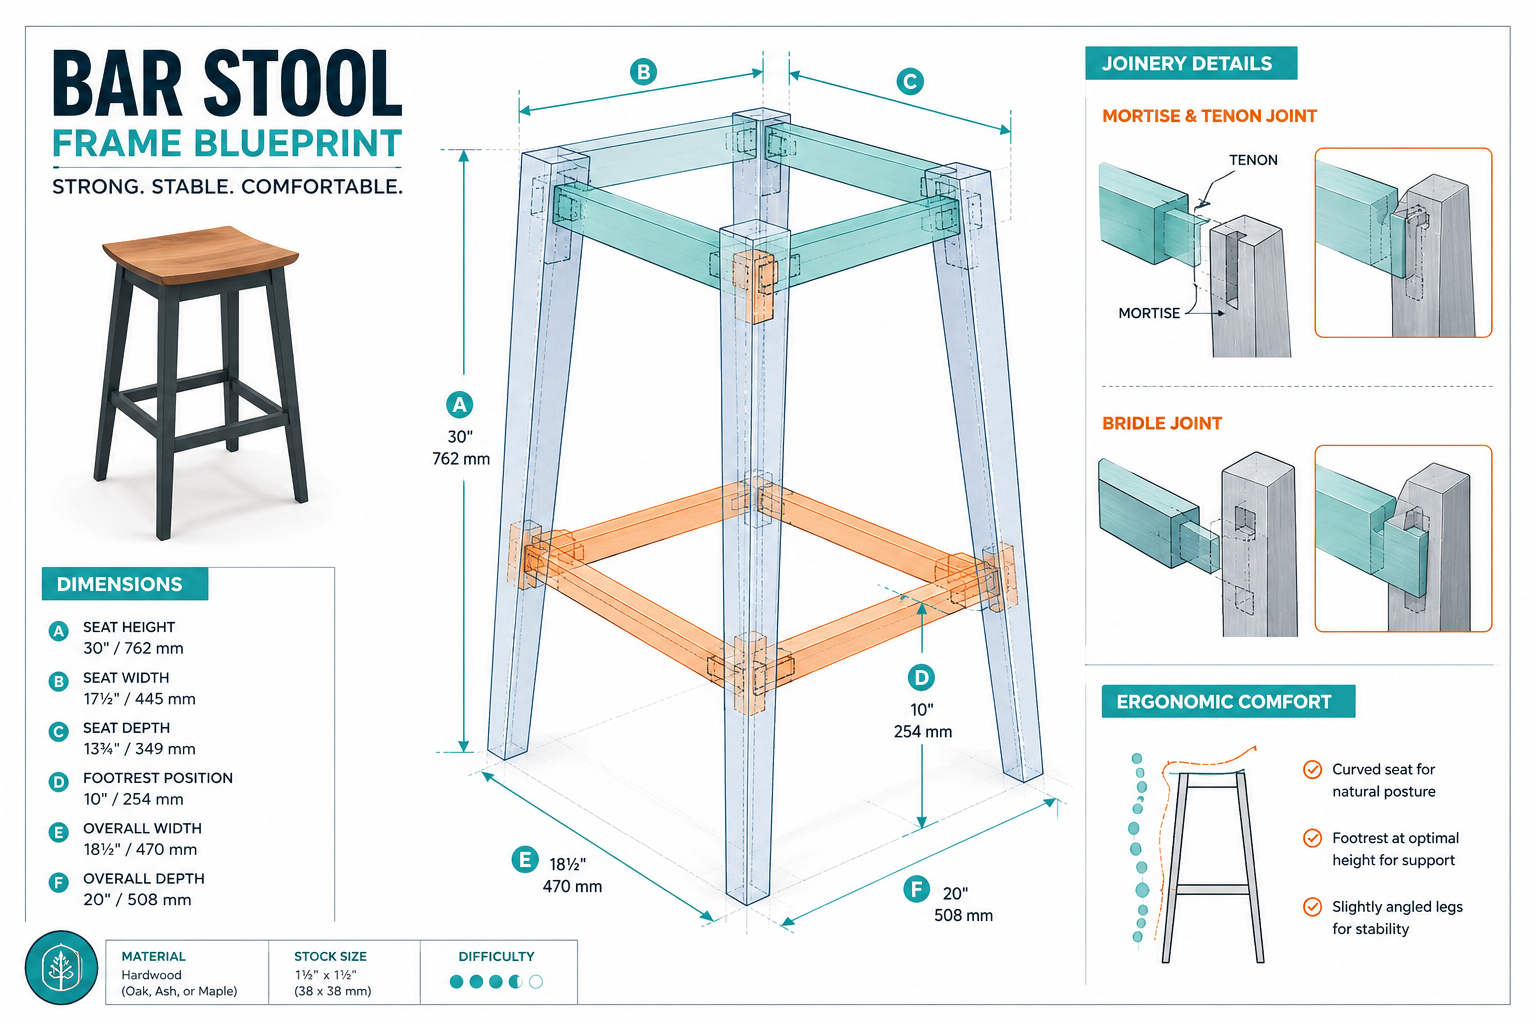
- Seat Height: The most critical dimension. A good rule of thumb is to allow 10-12 inches between the top of the seat and the underside of your counter or bar. For a standard 36-inch kitchen counter, a 24-26 inch stool is often ideal. For a 42-inch bar, a 30-inch stool is typically appropriate. This allows enough legroom without the user feeling cramped or stretched.
- Seat Depth and Width: A seat depth of 15-17 inches is generally comfortable, allowing sufficient thigh support without cutting into the back of the knees. Width can vary, but 16-18 inches provides ample space for most users.
- Footrest Placement: A footrest is vital for comfort, especially on taller stools. It should be positioned so that the user’s knees are at roughly a 90-degree angle, or slightly less, with their feet flat on the rest. This typically means the footrest is about 8-10 inches below the seat.
- Backrest (Optional): If including a backrest, ensure it provides lumbar support. The angle and height should allow the user to lean back comfortably without feeling pushed forward or awkwardly upright.
- Stability: A wide stance and robust joinery contribute significantly to stability, preventing wobbling and ensuring safety.
Sketching and Prototyping Your Vision
Start by sketching various designs, exploring different leg styles (straight, tapered, splayed), seat shapes (round, square, saddle), and backrest options. Consider the overall style of your home, do you lean towards rustic, modern, industrial, or classic?
Once you have a few concepts, consider creating a simple mock-up or prototype. This could be a full-scale drawing on plywood or even a rough assembly of scrap wood to test dimensions and seating comfort. This step is invaluable for identifying potential issues before committing to your final materials. For deeper insights into designing functional workshop furniture, consider exploring “Creating Ergonomic Workshop Furniture: Building Custom Workbenches” at https://woodcraftwiz.com/creating-ergonomic-workshop-furniture-building-custom-workbenches-stools-and-storage-to-prevent-strain-and-increase-productivity/.
Selecting Materials and Mastering Joinery for Durable Bar Stools
The choice of wood and the strength of your joinery are paramount for the longevity and structural integrity of your custom bar stools. High-quality materials and precise execution will ensure your stools stand the test of time.
Wood Selection: Strength, Grain, and Aesthetics
The ideal wood for bar stools offers a balance of strength, workability, and visual appeal.
| Wood Type | Characteristics | Best For | Considerations |
|---|---|---|---|
| Oak | Strong, durable, prominent grain | Traditional, rustic | Can be heavy, takes stain well |
| Maple | Hard, dense, fine grain, light color | Modern, clean | Resists dents, can be harder to stain evenly |
| Walnut | Rich dark color, strong, beautiful grain | High-end, classic | More expensive, elegant finish |
| Cherry | Moderate hardness, warm reddish-brown color | Fine furniture, elegant | Darkens over time, easy to work |
| Ash | Strong, flexible, similar to oak | Contemporary, light | Good for bentwood components, strong |
When selecting wood, inspect for straight grain, minimal knots, and defects. Straight-grained wood is generally stronger and less prone to warping. Remember that wood moves with changes in humidity, so consider “Understanding Wood Movement: How to Design and Build Furniture That” at https://woodcraftwiz.com/understanding-wood-movement-how-to-design-and-build-furniture-that-lasts-through-seasonal-changes/ to design for durability.
Essential Joinery Techniques for Bar Stools
Strong joints are the backbone of a sturdy bar stool. Here are some techniques to consider:
- Mortise and Tenon Joints: This is a classic and incredibly strong joint, ideal for connecting legs to rails and stretchers. It involves cutting a slot (mortise) into one piece and a projecting tab (tenon) on another, which fits snugly into the mortise.
- Bridle Joints: Similar to a mortise and tenon but with open-sided mortises, offering good strength and a distinct aesthetic. Useful for connecting rails, especially if they are flush with the leg.
- Dowel Joints: A simpler alternative to mortise and tenon for less stressed joints. Dowels are wooden pins inserted into corresponding holes in two pieces of wood. While quicker, they generally offer less strength than a well-executed mortise and tenon.
- Pocket Hole Joinery: A fast and effective method, especially for hidden joints or where traditional joinery is impractical. Special screws drive through angled holes into the adjoining piece, pulling the joint tight. While convenient, it’s often best used in conjunction with glue for maximum strength in high-stress applications like bar stools.
- Leg-to-Apron Construction: The top section of the stool, where the legs meet the seat, often involves aprons (rails) that connect the legs and provide support for the seat. These can be joined using mortise and tenon, bridle, or pocket hole joints.
- Stretcher Placement: Horizontal stretchers (or rungs) between the legs are crucial for stability and serve as footrests. These also benefit from robust joinery like mortise and tenon to prevent racking.
Precision in cutting these joints is critical. Investing in proper measuring and marking tools, and practicing on scrap wood, will yield superior results. For strong, lasting connections, always use a high-quality wood glue. Learn more about choosing the right adhesive in “The Ultimate Guide to Wood Glue: Choosing the Right Adhesive for” at https://woodcraftwiz.com/the-ultimate-guide-to-wood-glue-choosing-the-right-adhesion-for-every-project-joint-and-environmental-condition/.
Assembly, Sanding, and Finishing for Lasting Beauty and Comfort
With your components cut and joints prepared, the next phase focuses on careful assembly, meticulous sanding, and applying a durable, beautiful finish. These steps are crucial for the overall appeal, comfort, and longevity of your custom bar stools.
Step-by-Step Assembly
Assemble your bar stool in a logical sequence, typically working from the inside out or bottom up.
- Dry Fit Everything: Before applying any glue, assemble the entire stool without glue. This allows you to check for fit, alignment, and squareness. Make any necessary adjustments now.
- Glue-Up Strategy: Plan your glue-up in stages if necessary. For complex assemblies, it’s often easier to glue sections (e.g., two leg assemblies with their stretchers) and then join these sections together.
- Apply Glue Evenly: Apply a thin, even coat of wood glue to all mating surfaces of your joints. Avoid excessive squeeze-out, as it can make finishing difficult.
- Clamp and Check for Squareness: Apply appropriate clamping pressure. For mortise and tenon joints, clamps across the joint help pull it tight. For overall frame assembly, band clamps or large pipe clamps can be used. Crucially, use a reliable square to check and adjust the frame for squareness as you clamp. Any out-of-square assembly will be evident in the finished stool.
- Remove Squeeze-Out: Promptly wipe away any glue squeeze-out with a damp cloth or a chisel before it dries. Dried glue can prevent stain from penetrating evenly.
- Allow Ample Drying Time: Follow the glue manufacturer’s recommendations for drying and curing times before removing clamps or proceeding to the next step.
Meticulous Sanding Techniques
Sanding is perhaps the most tedious but also one of the most critical steps in achieving a professional finish.
- Start Coarse, Finish Fine: Begin with a coarser grit sandpaper (e.g., 80 or 100 grit) to remove machining marks and significant imperfections. Gradually work your way up through finer grits (e.g., 120, 150, 180, 220). For very fine furniture, you might go up to 320 or even 400 grit.
- Sand with the Grain: Always sand in the direction of the wood grain. Sanding across the grain can leave scratches that become very apparent once a finish is applied.
- Remove All Scratches: Before moving to a finer grit, ensure all scratches from the previous grit have been removed. Use good lighting to inspect the surface.
- Ease Edges: Lightly sand all sharp edges to make them comfortable to the touch and less prone to chipping.
- Dust Removal: Thoroughly remove all sanding dust between grits and before applying finish. A shop vacuum, compressed air, and a tack cloth are essential.
Applying the Perfect Finish
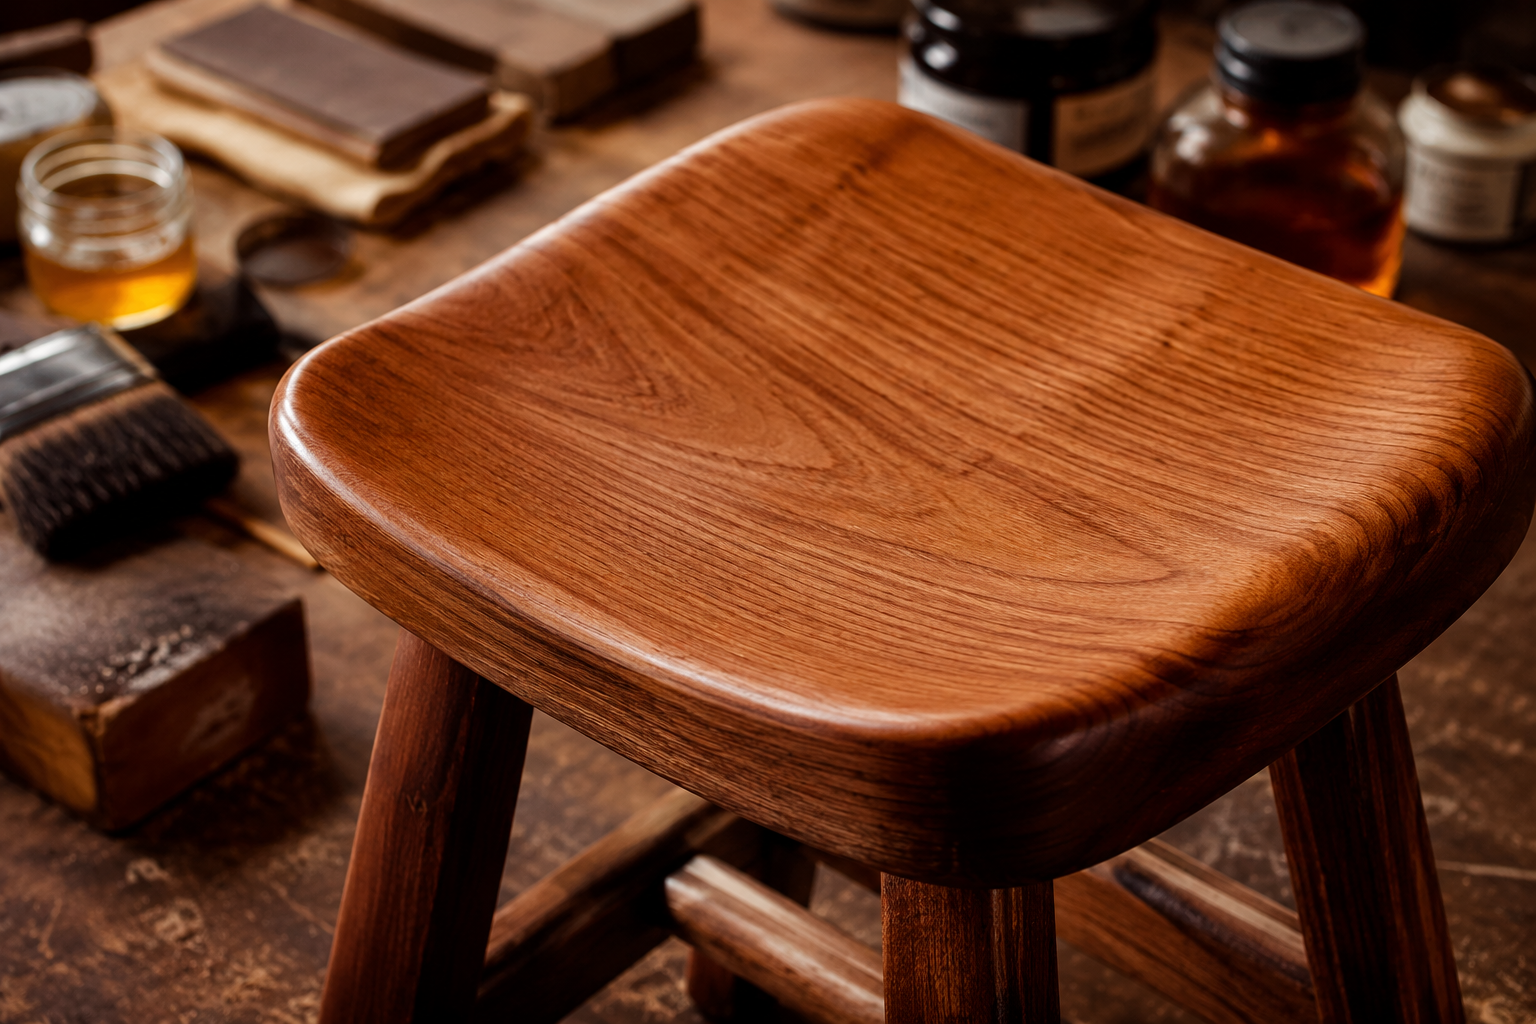
The finish protects the wood, enhances its natural beauty, and makes the stool easier to clean.
- Choose Your Finish:
- Oil Finishes (e.g., Danish Oil, Tung Oil): Penetrate the wood, providing a natural, matte look and feel. Easy to repair but offer less protection against moisture than film finishes.
- Varnish/Polyurethane: Form a durable film on the surface, offering excellent protection against spills and wear. Available in various sheens (matte to gloss).
- Stain: Changes the color of the wood. Always apply before a clear topcoat. Test stains on scrap wood first.
- Paint: Offers opaque color and a different aesthetic. Requires primer for best adhesion and durability.
- Application:
- Prepare the Surface: Ensure the stool is meticulously clean and dust-free.
- Apply Evenly: Follow the manufacturer’s instructions for your chosen finish. Apply thin, even coats, avoiding drips and runs. Many finishes require multiple coats with light sanding (e.g., 220-320 grit) between coats to ensure good adhesion and a smooth final surface.
- Allow Proper Curing: Allow each coat to dry completely according to manufacturer guidelines. The final coat typically requires a longer curing period before the stool is ready for use.
By following these woodworking techniques and paying close attention to detail, you will craft custom bar stools that offer exceptional comfort, embody your personal style, and become cherished pieces in your home for years to come.
Conclusion
Building custom bar stools is a rewarding woodworking endeavor that combines practical utility with artistic expression. From the initial design sketches that prioritize ergonomic comfort to the meticulous execution of strong joinery and the final, protective finish, each step contributes to creating a unique piece that enhances your living space. The journey of crafting these functional art pieces teaches invaluable lessons in precision, patience, and the profound satisfaction of handmade quality.
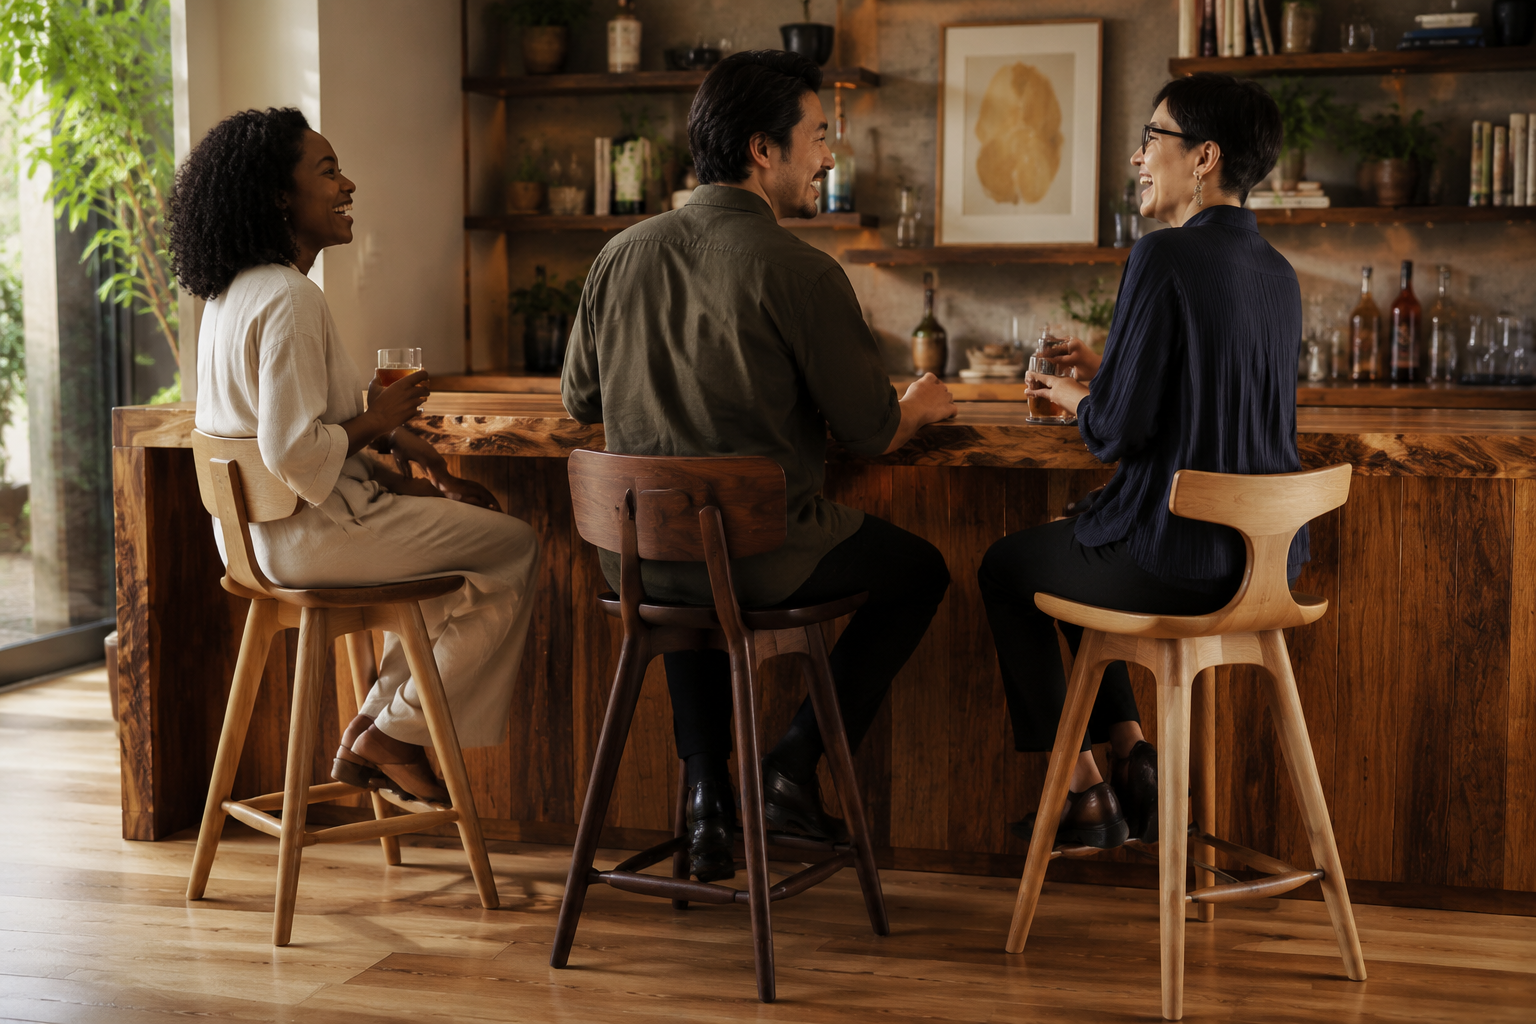
By carefully considering proportions, selecting durable and beautiful wood, and mastering time-tested woodworking techniques, you are not just building a seat; you are crafting an experience. These stools will not only serve their purpose but will also tell a story of craftsmanship and personal touch, becoming a focal point in your home bar or kitchen island. Start your project today, and transform your vision into tangible, comfortable, and stylish reality.
SEO Meta Title: Build Custom Bar Stools: Woodworking for Comfort & Style 2026 SEO Meta Description: Learn essential woodworking techniques for building custom bar stools in 2026. Design for seating comfort, choose durable wood, and master joinery for stylish, lasting pieces.