
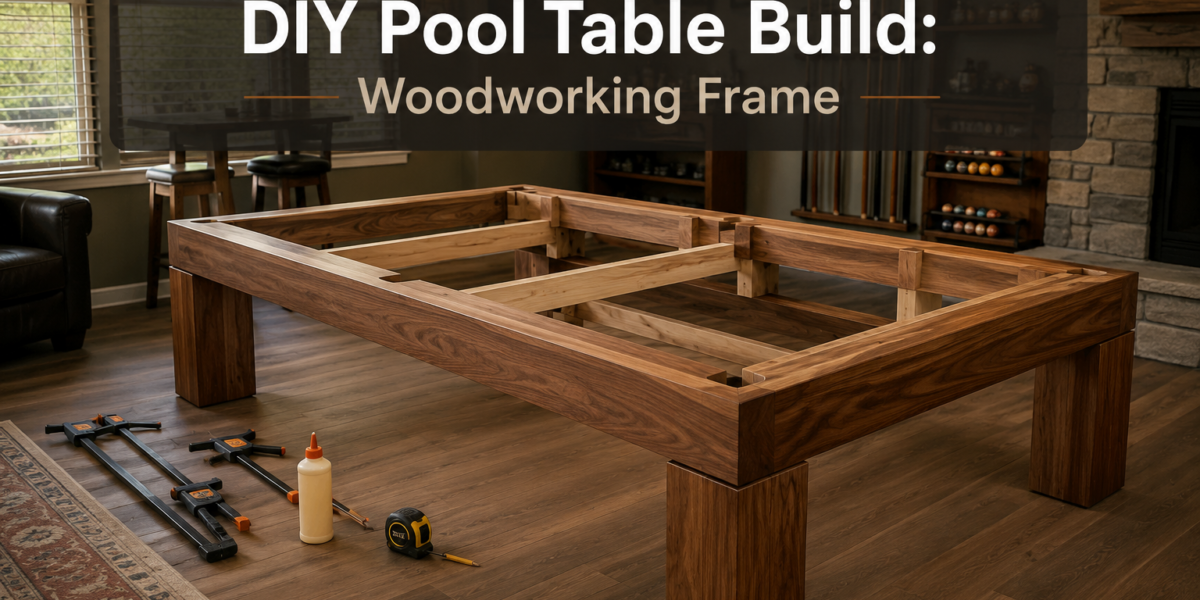
The average cost of a new, mid-range pool table can easily exceed $3,000, with high-end models fetching upwards of $10,000. For woodworking enthusiasts and savvy homeowners, a custom DIY Pool Table Build: Woodworking Frame, Slate, and Finishing for a Home Game Room presents a significantly more affordable and profoundly rewarding alternative. This ambitious project not only saves a substantial amount of money but also allows for unparalleled customization, ensuring the final piece perfectly complements your home’s aesthetic and meets your exact playing preferences. Transforming raw materials into a centerpiece for entertainment requires precision, patience, and a solid understanding of woodworking principles.
Key Takeaways
- Building a pool table requires advanced woodworking skills and precise measurements for a true playing surface.
- Selecting high-quality hardwoods for the frame ensures durability and a professional finish.
- Proper slate installation and leveling are critical for game play, demanding meticulous attention.
- The finishing process, from sanding to felt application, defines the table’s aesthetic and longevity.
- This project offers significant cost savings and customization opportunities compared to purchasing a new table.
The Woodworking Frame: Foundation of Your DIY Pool Table Build
The heart of any durable and true-playing pool table lies in its robust woodworking frame. This foundational structure must withstand immense weight from the slate and player interaction, requiring careful material selection and joinery techniques. For a successful DIY Pool Table Build: Woodworking Frame, Slate, and Finishing for a Home Game Room, choosing the right wood is paramount. Hardwoods like oak, maple, ash, or even robust plywood for certain components offer the necessary strength and stability.
Designing the Frame and Selecting Materials
Before cutting any wood, a detailed plan or set of blueprints is essential. Consider the desired table size (e.g., 7-foot, 8-foot, or 9-foot regulation) as this will dictate the dimensions of every component. The main frame typically consists of robust side rails and end rails, supported by sturdy legs and cross beams.
Table: Common Hardwoods for Pool Table Frames
| Wood Type | Characteristics | Advantages | Considerations |
|---|---|---|---|
| Oak | Strong, durable, distinctive grain | Excellent stability, classic look | Can be heavy, requires careful finishing |
| Maple | Very hard, fine grain, light color | Extremely durable, resistant to dents | Can be challenging to work with due to hardness |
| Ash | Strong, elastic, similar to oak | Good shock resistance, lighter than oak | Grain can be less pronounced than oak |
| Poplar | Relatively soft, straight grain | Easy to work with, good for painting | Less durable than other hardwoods, susceptible to dents |
For the main frame structure, solid hardwood lumber in dimensions like 2×6 or 2×8 is often used, providing substantial support. The legs, which bear the majority of the weight, should be exceptionally strong, often built from laminated sections of hardwood or large posts (e.g., 4×4 or 6×6). When selecting your lumber, pay close attention to grain direction and look for pieces that are straight and free from significant knots or warps. This attention to detail will prevent issues like twisting or bowing later on.
Joinery and Assembly Techniques
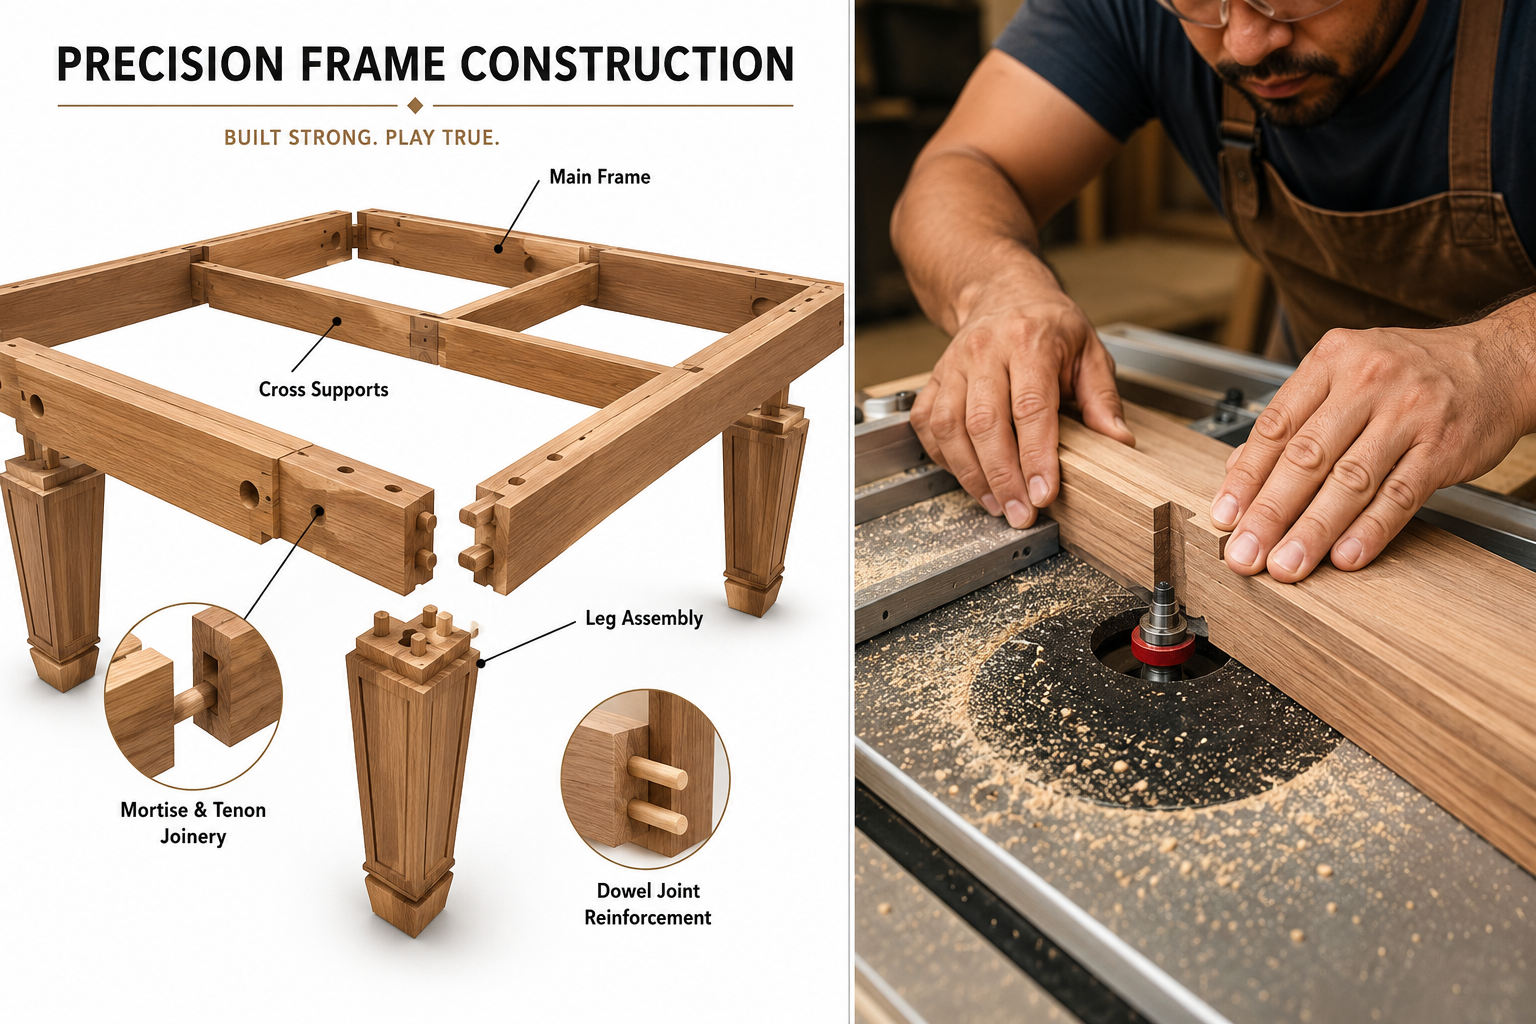
The integrity of your pool table frame hinges on strong, precise joinery. Traditional woodworking joints offer superior strength compared to simple screws or nails alone.
- Mortise and Tenon Joints: Ideal for attaching legs to the main frame and connecting major structural components. These interlocking joints provide excellent resistance to racking and twisting.
- Dovetail Joints: While more complex, dovetails can be used for corner connections on the frame, offering exceptional strength and an aesthetically pleasing look.
- Dadoes and Rabbets: Useful for securing cross members and internal supports that will hold the slate. These cuts provide a strong, stable shelf for the heavy slate.
- Reinforcement: In addition to joinery, use high-quality wood glue (e.g., Titebond III for maximum strength) at every joint. Corner braces and steel angle brackets can further reinforce critical connections, especially where the legs meet the main box frame.
When assembling, use clamps to hold pieces firmly while glue dries. Ensure all corners are perfectly square before moving on, as any deviation will affect the flatness of the playing surface. For those interested in improving their workshop setup for such precision projects, consider building a portable workbench or even modular wood storage systems to keep tools and materials organized. Understanding wood movement is also crucial to anticipate how the frame will react to environmental changes over time.
Installing the Slate: Precision and Leveling for Optimal Play
The playing surface of a pool table is defined by its slate, a heavy, precisely ground stone that provides an incredibly flat and stable foundation. Proper slate installation and meticulous leveling are perhaps the most critical steps in a DIY Pool Table Build: Woodworking Frame, Slate, and Finishing for a Home Game Room. Errors here will directly impact gameplay, leading to an unfair and frustrating experience.
Sourcing and Preparing the Slate
Pool table slate is typically composed of three pieces, though some smaller tables may use a single slab. This multi-piece design makes transportation and installation more manageable, as each piece can weigh hundreds of pounds. When sourcing slate, aim for “diamond honed” or “precision ground” varieties, ensuring the flatness required for a professional playing surface. The slate typically comes with pre-drilled holes for attaching to the frame and for pocket openings.
Before installation, inspect each slate piece for any chips, cracks, or imperfections. Clean the slate thoroughly to remove any dust or debris. It’s also wise to pre-test fitting the slate pieces onto your assembled wooden frame to ensure they align correctly and that the frame itself is reasonably level.
The Leveling Process: A Step-by-Step Guide
Leveling the slate is a multi-stage process that demands patience and precision.
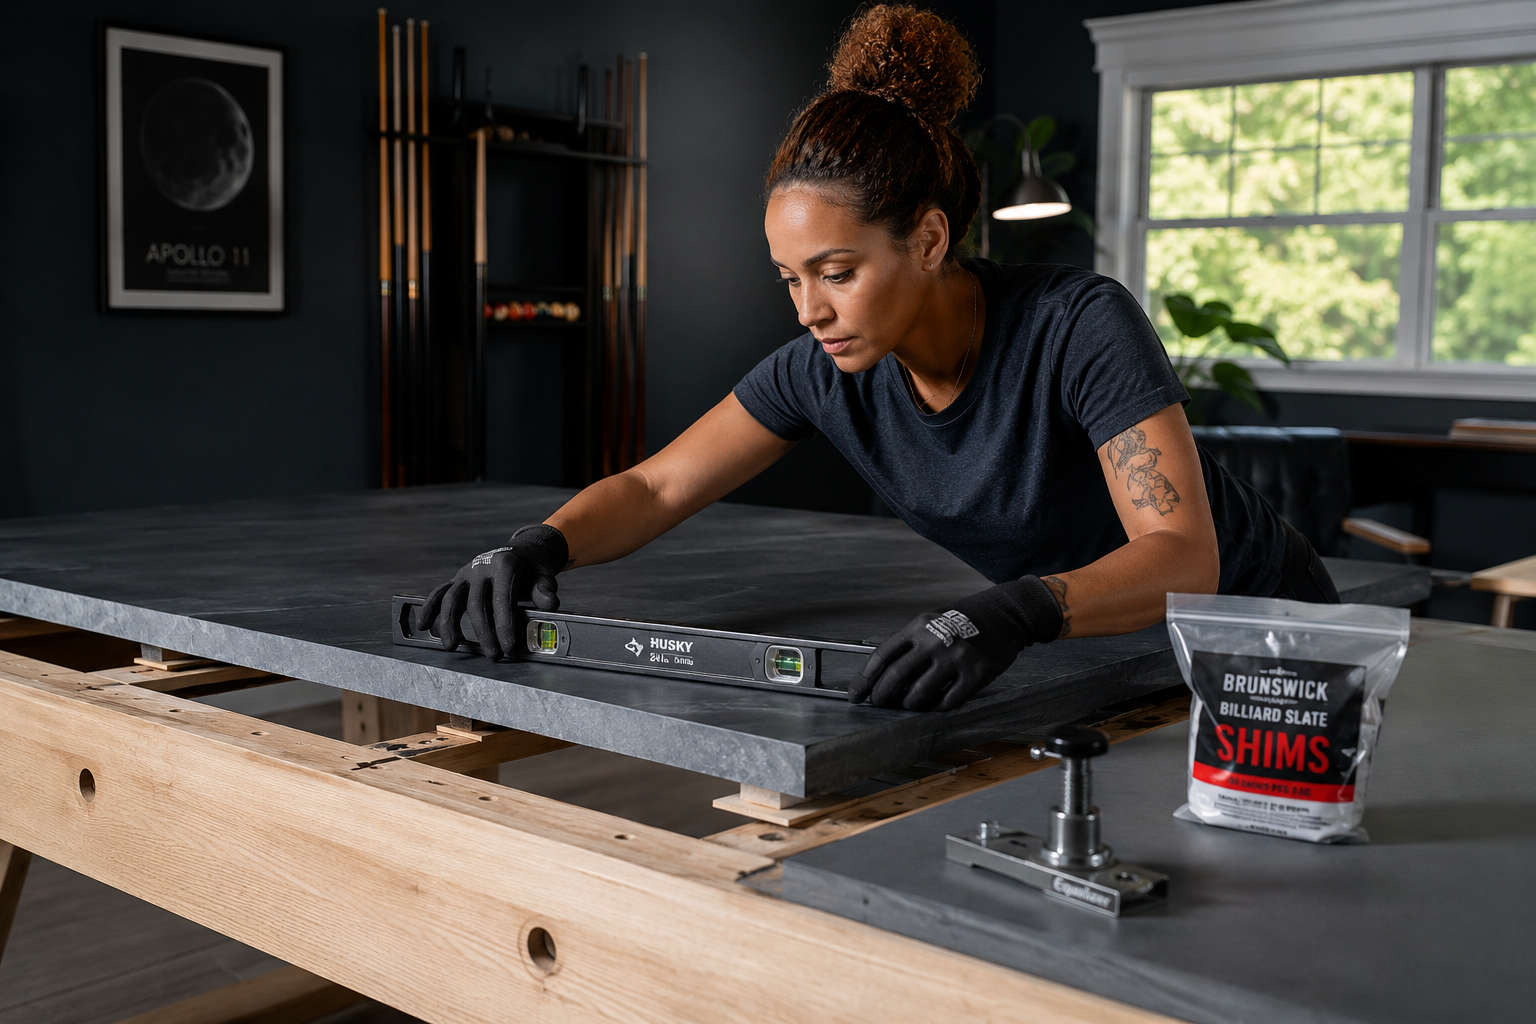
- Initial Frame Leveling: Before placing any slate, ensure your wooden frame is as level as possible. Use a long, accurate spirit level (at least 4-foot, ideally 6-foot or longer) across the length, width, and diagonals of the frame. Adjust the table’s feet or shims under the legs until the frame itself is roughly level.
- Placing the Slate: Carefully place the center slate piece first, aligning its pre-drilled holes with the frame. Then, place the two end pieces, ensuring minimal gaps between them. The heavy nature of slate requires extreme caution; it is a two-person job at minimum.
- Coarse Leveling: Once all three pieces are on the frame, use your long level across each slate piece individually, then across the seams where they meet. Use specialized slate shims (thin, tapered plastic or wood wedges) inserted between the slate and the frame to raise or lower specific areas. Tap the shims gently into place.
- Fine Leveling and Seam Filling: This is where true precision comes in. Use your level extensively, checking every few inches across the entire surface. Focus on eliminating any “hills” or “valleys” and ensuring the seams are perfectly flush.
- Once satisfied with the overall level, use a specialized billiard wax or plastic resin filler to fill the seams between the slate pieces. This creates a monolithic, smooth playing surface. Apply the filler, allow it to dry, and then carefully scrape off any excess with a sharp, flat blade, ensuring not to scratch the slate. Sand lightly with very fine sandpaper if needed, then wipe clean.
- Final Checks: After filling the seams, re-check the entire surface with your level. Any slight adjustments needed can be made with minimal shimming. The goal is a playing surface where a ball, if placed anywhere, does not visibly roll on its own.
This process can take several hours, but the effort is crucial for a professional-grade pool table. For accurate cuts and working with robust materials, ensuring you have a dedicated workspace is important. Consider a detailed guide on choosing and using router tables for precision work on your frame rails.
Finishing Touches: Felt, Rails, and Aesthetic for Your Home Game Room
With the robust frame assembled and the slate meticulously leveled, the focus shifts to the finishing touches that transform your project into a playable and visually stunning centerpiece for your home game room. The felt, rails, and overall aesthetic contribute significantly to both the playing experience and the table’s integration into your decor, completing the DIY Pool Table Build: Woodworking Frame, Slate, and Finishing for a Home Game Room.
Covering the Slate with Billiard Cloth
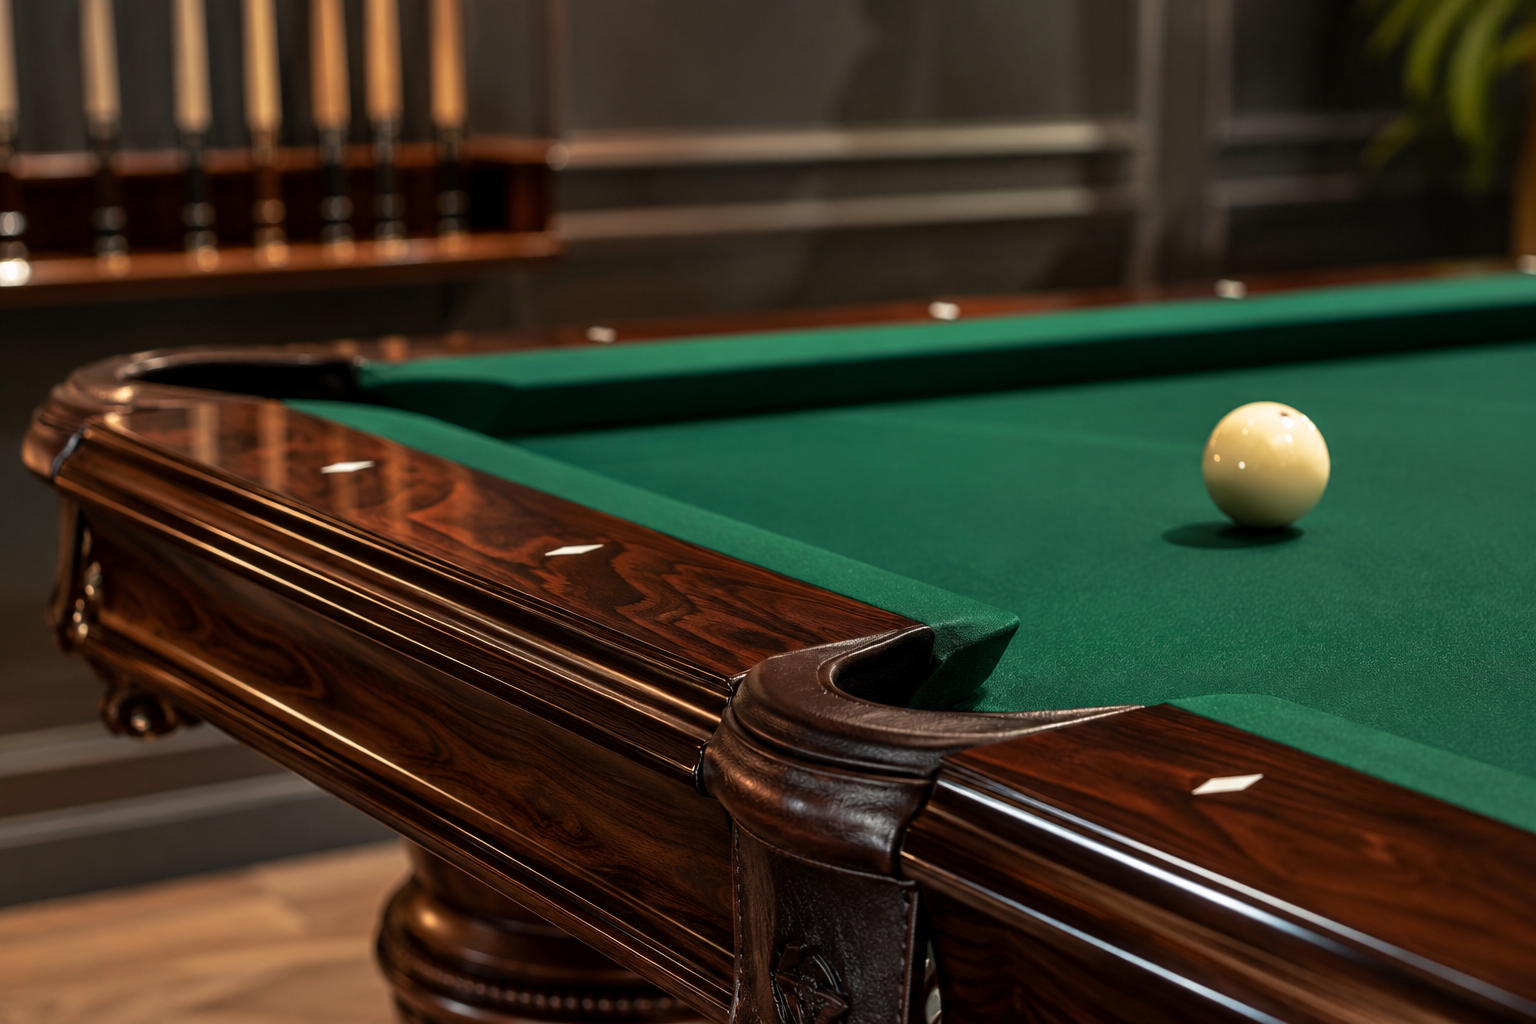
The billiard cloth, commonly known as felt, is critical for consistent ball roll. High-quality woolen or worsted cloths are recommended for their durability and speed.
- Preparation: Ensure the slate is perfectly clean and free of dust or debris. Any particles under the felt will create bumps.
- Cutting the Cloth: Carefully unroll the billiard cloth. It’s usually supplied slightly oversized. Follow the manufacturer’s instructions for cutting, ensuring you leave ample material for stretching and attachment.
- Applying the Cloth to the Slate: This is a tension-critical step.
- Position the cloth centrally over the slate, ensuring the weave is perfectly straight.
- Start by stapling one long side to the underside of the slate bed (or to the frame beneath the slate), pulling the cloth just enough to be taut but not overly stretched.
- Move to the opposite long side. Apply tension across the width of the table, pulling firmly but evenly, and staple. Work from the center outwards to the corners.
- Repeat the process for the short ends, pulling tension along the length.
- The goal is a surface that is drum-tight and completely wrinkle-free. Pockets require careful cutting and folding of the felt to ensure a smooth opening.
- Trim excess felt once all sides are securely stapled.
Building and Attaching the Rails and Pockets
The rails provide the bounce for the balls and house the cushions. They typically consist of a wooden rail sub-assembly, a rubber cushion, and the felt covering.
- Rubber Cushions: Select high-quality K-66 profile rubber cushions for standard play. Adhere these to the wooden rail sub-assemblies using strong contact cement, ensuring a perfect, continuous bond.
- Felt Application on Rails: Covering the rails with felt is a delicate process that requires patience.
- Cut felt strips for each rail, leaving enough overhang for wrapping.
- Stretch the felt over the rubber cushion and wooden rail, stapling it securely to the underside. The felt must be tight and smooth, with no wrinkles along the cushion edge.
- Carefully trim and fold the felt around the pocket openings, ensuring a neat and durable finish.
- Attaching Rails and Pockets: The finished rails attach to the main frame of the table, often with bolts that run through the frame and into T-nuts embedded in the rails. Ensure these are tightened evenly to maintain rail alignment and cushion performance. The pockets themselves, whether leather, plastic, or a combination, are then securely fastened.
The Final Aesthetic: Staining, Painting, and Accents
The visible wooden components of your pool table, the frame, legs, and exposed parts of the rails, are where your custom aesthetic truly shines.
- Sanding: Thorough sanding is non-negotiable. Start with coarser grits (e.g., 80 or 100) and progressively move to finer grits (e.g., 180, 220, or even 320) for a silky smooth finish. This preparation is key for any high-quality finish.
- Staining or Painting: Choose a stain color or paint that complements your home game room decor. Apply evenly, following the wood grain. For a professional look, consider using a pre-stain conditioner to prevent blotching, especially on softer woods. Several wood finishing techniques can be explored, including specific guides for oak wood finishing techniques or maple wood finishing techniques.
- Protective Topcoat: Apply multiple coats of a durable topcoat, such as polyurethane, lacquer, or spar urethane for maximum protection. Sand lightly between coats with a very fine grit sandpaper (e.g., 320-400) for a smooth, deep finish. This protects the wood from spills, scratches, and wear. For instance, understanding can you put spar urethane over polyurethane can be beneficial.
- Accents: Add decorative accents like inlaid sights (diamonds or circles), custom leg levelers, or unique hardware to personalize your table further. This attention to detail elevates a DIY project to a heirloom piece.
Building a pool table is a testament to woodworking skill and dedication. The result is a custom-made centerpiece that promises countless hours of enjoyment and a unique addition to your home.
Conclusion
Embarking on a DIY Pool Table Build: Woodworking Frame, Slate, and Finishing for a Home Game Room is an undertaking of considerable scope, but one that offers immense satisfaction and a truly custom product. From the careful selection of hardwood for the sturdy frame to the meticulous leveling and sealing of the slate, each stage demands precision and patience. The final touches of felt application, rail construction, and aesthetic finishing transform raw materials into a functional and beautiful piece of furniture that stands as a testament to your woodworking prowess.
This project goes beyond mere cost savings; it provides the unique opportunity to craft a pool table perfectly tailored to your space and style, a feature few off-the-shelf models can match. The skills honed and knowledge gained throughout this intricate build, from advanced joinery to critical leveling techniques, are invaluable. As you gather your tools and materials in 2026, remember that the most rewarding projects are often those that challenge you to create something enduring and extraordinary.
Actionable Next Steps:
- Plan Thoroughly: Before purchasing materials, finalize your table size and create detailed blueprints for the frame and components.
- Source Quality Materials: Invest in high-grade hardwoods for the frame and precision-ground slate for the playing surface.
- Practice Joinery: If new to complex joints, practice on scrap wood to ensure accuracy before working on your primary lumber.
- Prioritize Leveling: Dedicate ample time to the slate leveling process; it’s the most critical step for playable quality.
- Focus on Finish: Don’t rush the sanding and finishing stages; a well-prepared surface and durable topcoat protect your investment.
SEO Meta Title: DIY Pool Table Build: Frame, Slate & Finish for Your Home SEO Meta Description: Build your own custom pool table in 2026! Master woodworking for the frame, precisely install slate, and apply professional finishes for your ultimate home game room.