
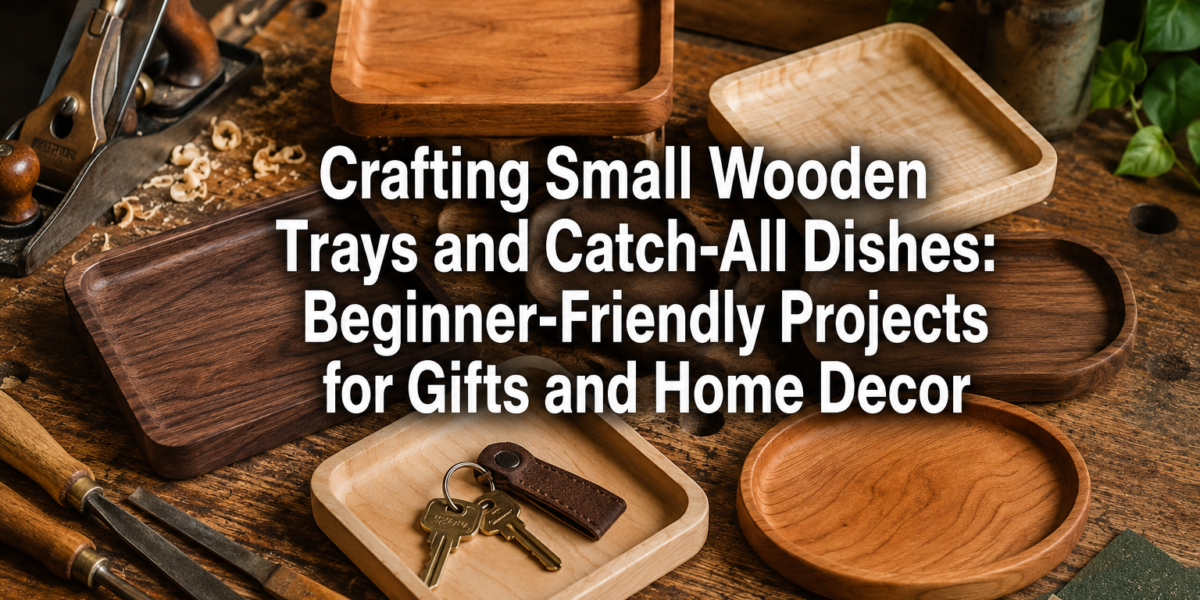
The quiet satisfaction of turning a raw piece of lumber into a functional work of art is a deeply rewarding experience, especially when the finished piece is both beautiful and practical. This sentiment perfectly encapsulates the appeal of crafting small wooden trays and catch-all dishes, beginner-friendly projects that serve as excellent gifts and elegant home decor. In 2026, as interest in handmade goods and personalized items continues to grow, these projects offer an accessible entry point into woodworking, requiring minimal tools and foundational skills. Whether you aim to organize your entryway, adorn a bedside table, or create thoughtful presents, mastering these simple techniques will unlock a world of creative possibilities.
Key Takeaways
- Accessibility for Beginners: Crafting small wooden trays and catch-all dishes requires only basic hand tools and fundamental woodworking skills, making it ideal for newcomers.
- Versatile Applications: These projects are perfect for organizing small items, serving as decorative accents, or creating personalized, heartfelt gifts.
- Essential Techniques: Key skills include precise measuring, cutting, shaping, sanding, and applying appropriate finishes to enhance durability and aesthetics.
- Wood Selection Matters: Choosing the right type of wood, like maple, walnut, or cherry, significantly impacts the project’s appearance and workability.
- Design Simplicity: Even simple designs can yield elegant and functional pieces, encouraging creativity without overwhelming complex joinery.
Starting Your Journey: Tools and Materials for Crafting Small Wooden Trays and Catch-All Dishes
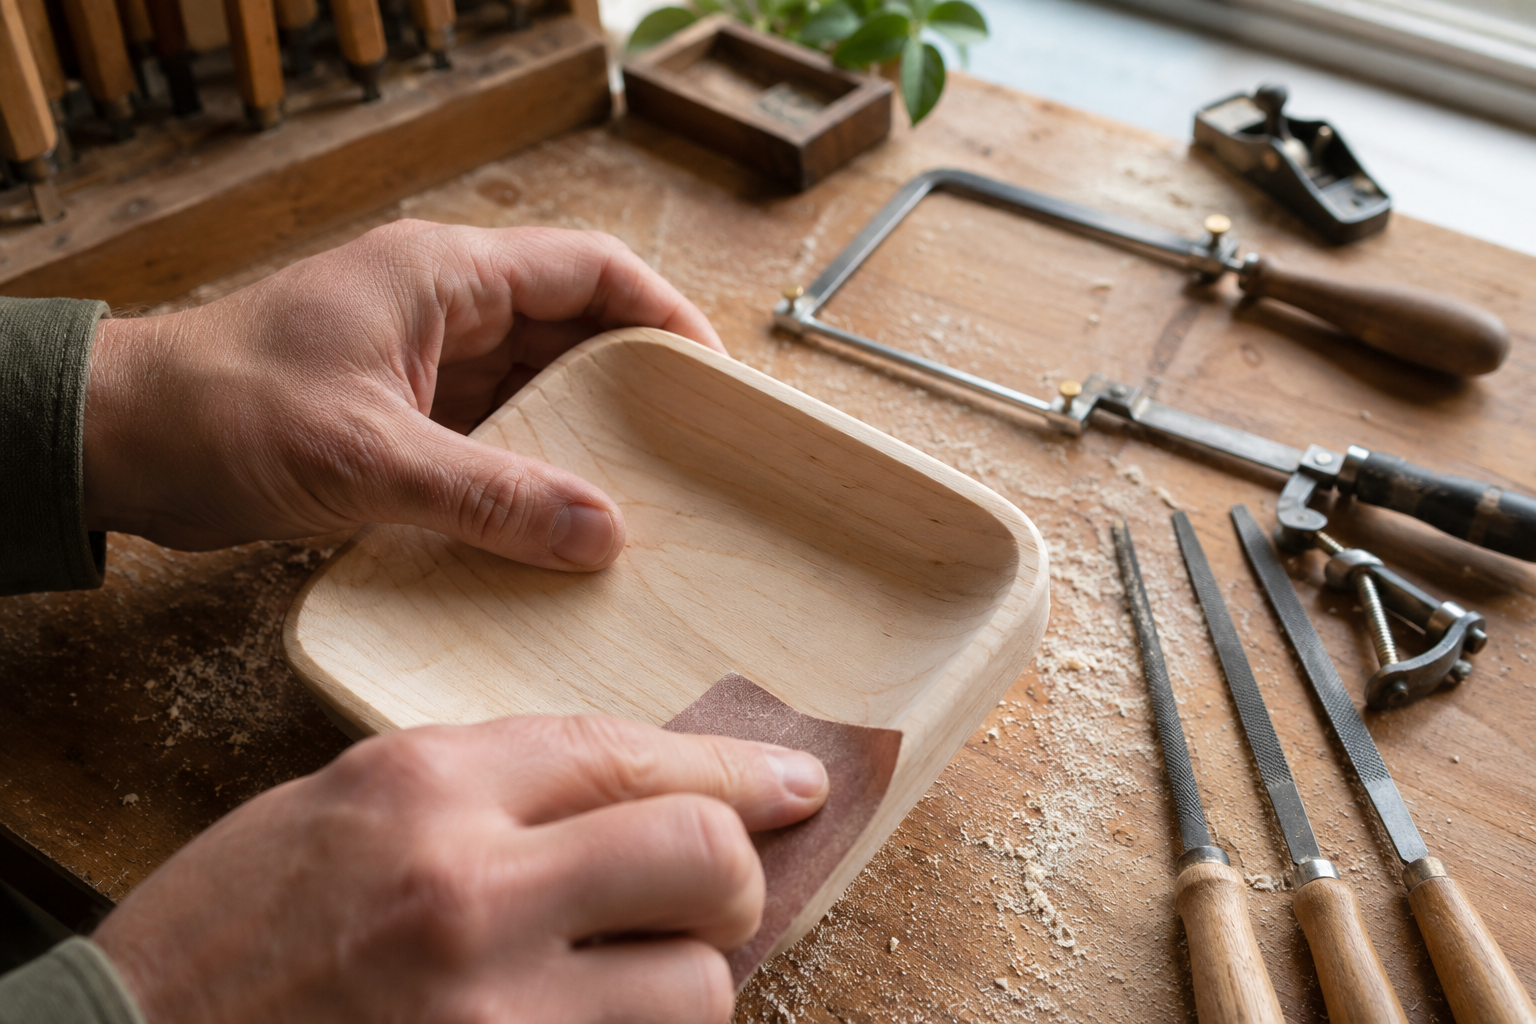
Embarking on the creation of small wooden trays and catch-all dishes begins with understanding the necessary tools and selecting appropriate materials. Unlike larger furniture projects, these smaller items are forgiving, allowing beginners to develop skills without significant investment. The beauty of these projects lies in their simplicity, often relying on hand tools and straightforward techniques.
Essential Hand Tools
For most beginner-friendly tray and dish projects, a comprehensive power tool setup is not essential. Many beautiful pieces can be crafted with a modest collection of hand tools.
Here’s a breakdown of recommended hand tools:
- Measuring and Marking Tools:
- Tape Measure or Ruler: For accurate dimensions.
- Pencil: For marking cuts and layout lines.
- Try Square: To ensure square edges and precise angles.
- Cutting Tools:
- Backsaw or Japanese Pull Saw: For clean, straight cuts.
- Coping Saw: Excellent for cutting curves and intricate shapes.
- Chisels: A set of sharp chisels (1/4″, 1/2″, 1″) is invaluable for shaping and removing waste wood.
- Shaping and Smoothing Tools:
- Block Plane or Smoothing Plane: For leveling surfaces and chamfering edges.
- Files and Rasps: For coarser shaping and refining curves.
- Sandpaper: A variety of grits (80, 120, 180, 220, 320, 400) is crucial for achieving a smooth finish.
- Sanding Block: To ensure even pressure during sanding.
- Clamping and Holding:
- F-clamps or Bar Clamps: To secure wood during cutting, gluing, and shaping.
- Workbench Vise (optional): Highly beneficial for holding pieces firmly.
For those interested in exploring power tools later, consider how power tool mastery for decorative wood projects can enhance efficiency and precision.
Wood Selection: Choosing the Right Stock
The type of wood you select significantly impacts the aesthetic and workability of your trays and dishes. For beginners, choosing woods that are stable, relatively easy to work with, and readily available is advisable.
Recommended Wood Species for Beginner Projects:
| Wood Type | Characteristics | Ideal Uses |
|---|---|---|
| Maple | Hard, dense, fine grain, light color. Sands beautifully. | Sleek, modern trays; catch-alls. |
| Cherry | Medium density, fine grain, reddish-brown that darkens with age. Easy to carve. | Elegant, classic trays; jewelry dishes. |
| Walnut | Medium-hard, open grain, rich dark brown. Excellent contrast. | Sophisticated trays; display pieces. |
| Poplar | Softer hardwood, easy to cut and shape, often has green/purple streaks. | Practice pieces; painted trays. |
| Pine | Softwood, inexpensive, easy to work but prone to denting. | Rustic trays; learning basic cuts. |
When sourcing wood, look for pieces that are free from significant knots, cracks, or warps. Small offcuts from larger projects or even turning shop scraps into design features can be perfect for these smaller items. Consider dimensions that are slightly larger than your intended final piece to allow for trimming and squaring.
Step-by-Step Guide to Crafting Small Wooden Trays and Catch-All Dishes
The process of crafting small wooden trays and catch-all dishes involves a series of logical steps, each contributing to the final quality of the piece. By following these stages carefully, even beginners can achieve professional-looking results.
Design and Planning
Before making any cuts, good planning is crucial.
- Sketch Your Design: Draw your tray or dish from multiple angles. Consider dimensions, depth, edge profiles, and any carved elements. Simple rectangles, squares, or circles are great starting points.
- Create a Template: For non-rectangular shapes or if you plan to make multiple identical items, create a paper or thin MDF template. This ensures consistency.
- Choose Your Wood: Refer to the wood selection guidelines. For a catch-all dish, a single solid piece of wood is often best. For trays with raised sides, you might use a flat base and attach separate side pieces.
- Consider Joinery (for multi-piece trays): For trays assembled from multiple pieces, simple butt joints reinforced with glue and small fasteners are adequate. For more advanced techniques, explore hand tool joinery for visible wood joints.
Cutting and Shaping the Wood
Precision in cutting and shaping lays the foundation for a well-made item.
- Rough Cut: Cut your chosen wood slightly larger than the final dimensions using a handsaw.
- Square and Flatten: Use a block plane to square up the edges and flatten the surfaces. For a flat tray base, ensure it is perfectly level.
- Define the Form:
- For a flat tray: Cut the base to its exact dimensions. If adding sides, cut those pieces to size.
- For a carved catch-all dish: Transfer your template to the wood. Use a coping saw for curves or a straight saw for geometric shapes.
- Create the Recess (for dishes):
- Chisel Method: Mark the desired depth. Carefully use chisels to remove material from the center, working from the edges inwards. Take shallow passes to maintain control.
- Router (optional, with jigs): If you have access to a router and the necessary jigs, this can make creating uniform recesses much faster.
- Shape Edges: Use files, rasps, or a block plane to create chamfers, roundovers, or other desired edge profiles. This step significantly influences the feel and aesthetics of the finished piece.
Assembly and Initial Sanding
For multi-piece trays, assembly is the next critical step.
- Dry Fit: Always dry fit all pieces to ensure they align perfectly before applying glue.
- Glue Up: Apply a good quality wood glue (such as those discussed in the ultimate guide to wood glue) to all mating surfaces. Clamp firmly, ensuring the joints are square. Remove any excess glue squeeze-out with a damp cloth before it dries.
- Initial Sanding (80-120 grit): Once the glue is dry, begin sanding. Start with coarser grits (80 or 120) to remove tool marks, refine shapes, and level any minor imperfections. Work systematically across all surfaces, ensuring no deep scratches remain.
Finishing and Personalization: Elevating Your Wooden Trays and Catch-All Dishes
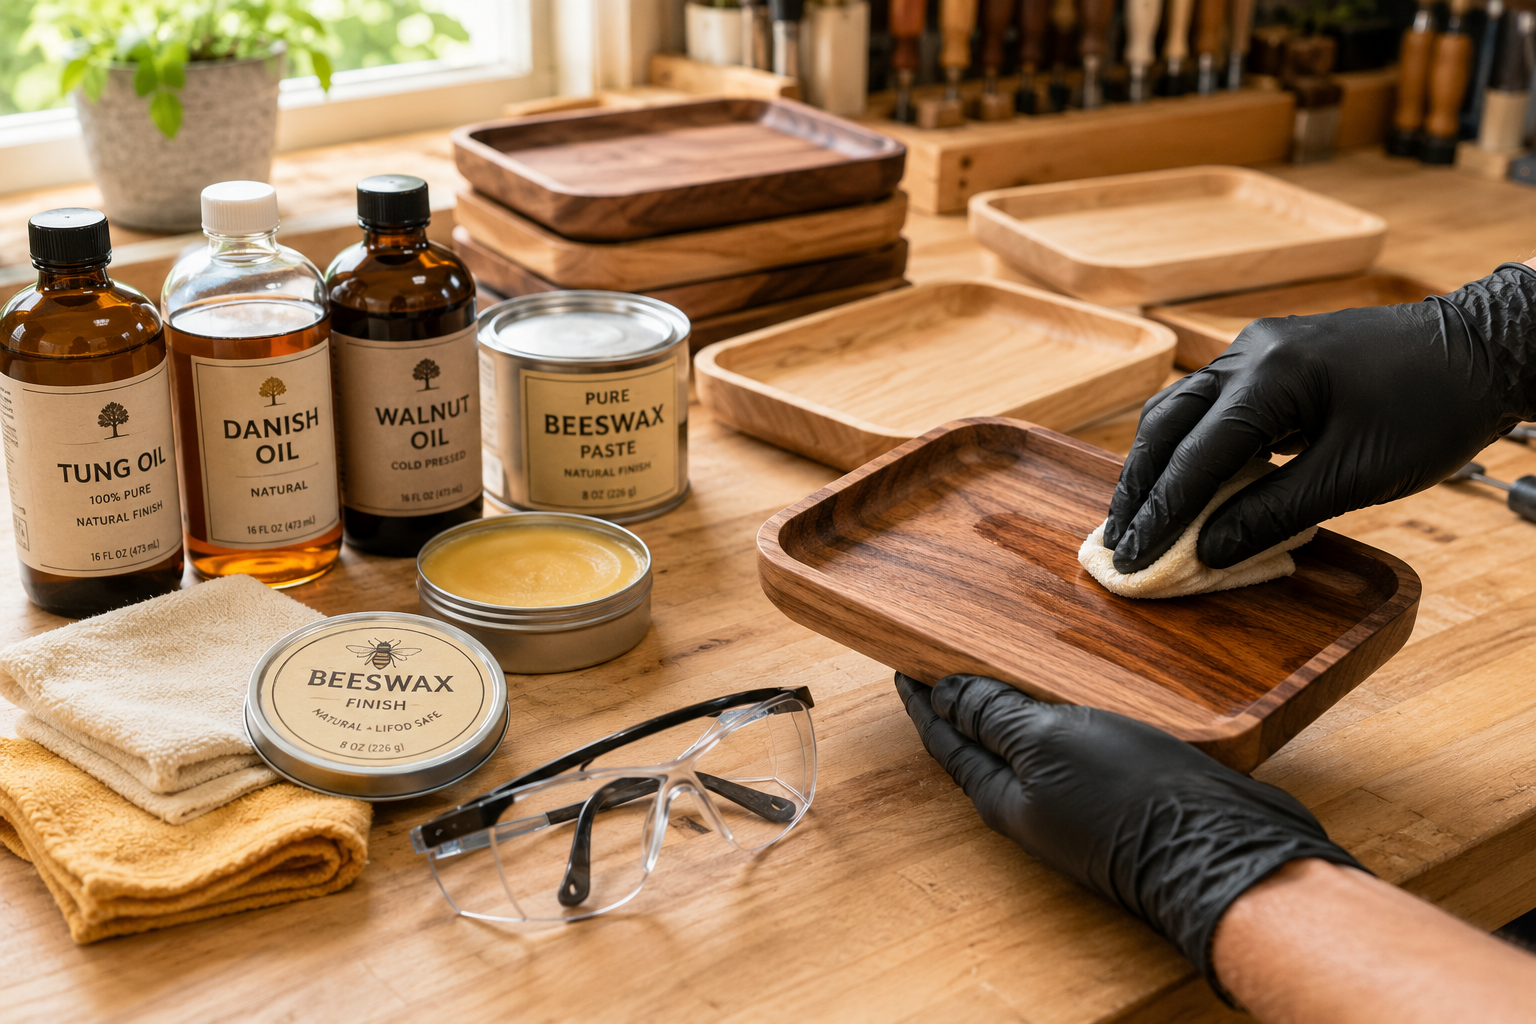
The finishing stage is where your project truly comes to life, enhancing the wood’s natural beauty and protecting it for years to come. Personalization adds a unique touch, making your creations even more special.
Achieving a Smooth Finish
Sanding is paramount to a professional-looking finish.
- Progressive Sanding (180-400 grit): Gradually move through finer grits of sandpaper (180, 220, 320, 400). After each grit, wipe down the piece to remove dust and inspect for scratches from the previous grit. Sand until all surfaces are silky smooth to the touch.
- Tip: After sanding with 220 grit, wipe the wood with a damp cloth to raise the grain. Once dry, lightly sand again with 220 or 320 grit. This helps prevent a rough feel after the finish is applied.
- Edge Refinement: Pay extra attention to edges and corners, ensuring they are smooth and comfortable to handle.
Applying a Protective Finish
The right finish protects the wood and brings out its grain and color. For items like trays and catch-all dishes, food-safe finishes are often preferred, especially if they might hold edibles.
Popular Finish Options:
- Mineral Oil: Simple, non-toxic, and food-safe. It penetrates the wood, enhancing its color. Requires reapplication periodically.
- Beeswax/Wood Butter: Often combined with mineral oil, this provides a soft sheen and a slight protective layer. Also food-safe.
- Tung Oil or Linseed Oil: These natural oils penetrate deeply, harden within the wood, and offer good water resistance. They provide a beautiful, natural-looking matte or satin finish. Multiple coats are often required.
- Polyurethane or Lacquer: Provides a durable, hard-wearing surface. Available in various sheens (matte, satin, gloss). While highly protective, these are not typically considered food-safe for direct contact, though they are fine for decorative items or for holding wrapped food.
- Shellac: A natural, non-toxic finish that dries quickly and provides a beautiful, clear coat. Can be vulnerable to alcohol and heat.
Application Steps:
- Clean: Ensure the wood is completely free of dust and debris.
- Apply: Follow the manufacturer’s instructions for your chosen finish. For oils, apply generously, let it soak in, then wipe off excess. For varnishes, apply thin, even coats, allowing sufficient drying time between coats.
- Cure: Allow the finish to cure fully. This can take days or even weeks for some oil finishes.
- Buff: For oil and wax finishes, a final buffing with a soft cloth will bring out a beautiful luster.
Personalization and Embellishment
Making your tray or dish truly unique is simple.
- Engraving/Carving: Use small carving tools or a wood-burning tool to add initials, dates, or simple designs. For precision, consider the techniques used in crafting engraved wooden coasters.
- Contrast Wood Inlays: For a more advanced touch, inlay small pieces of contrasting wood for decorative patterns.
- Handles: For larger trays, adding small metal or wooden handles can enhance functionality and aesthetics.
- Felt Pads: Attach small felt pads to the bottom to protect surfaces.
These finishing touches transform a simple wooden item into a cherished gift or a prized piece of home decor. This year, 2026, celebrate the joy of handmade craftsmanship by creating pieces that truly resonate. Consider how these skills translate to other projects like wooden candle holders for ambient decor or DIY modular desk organizers.
Conclusion
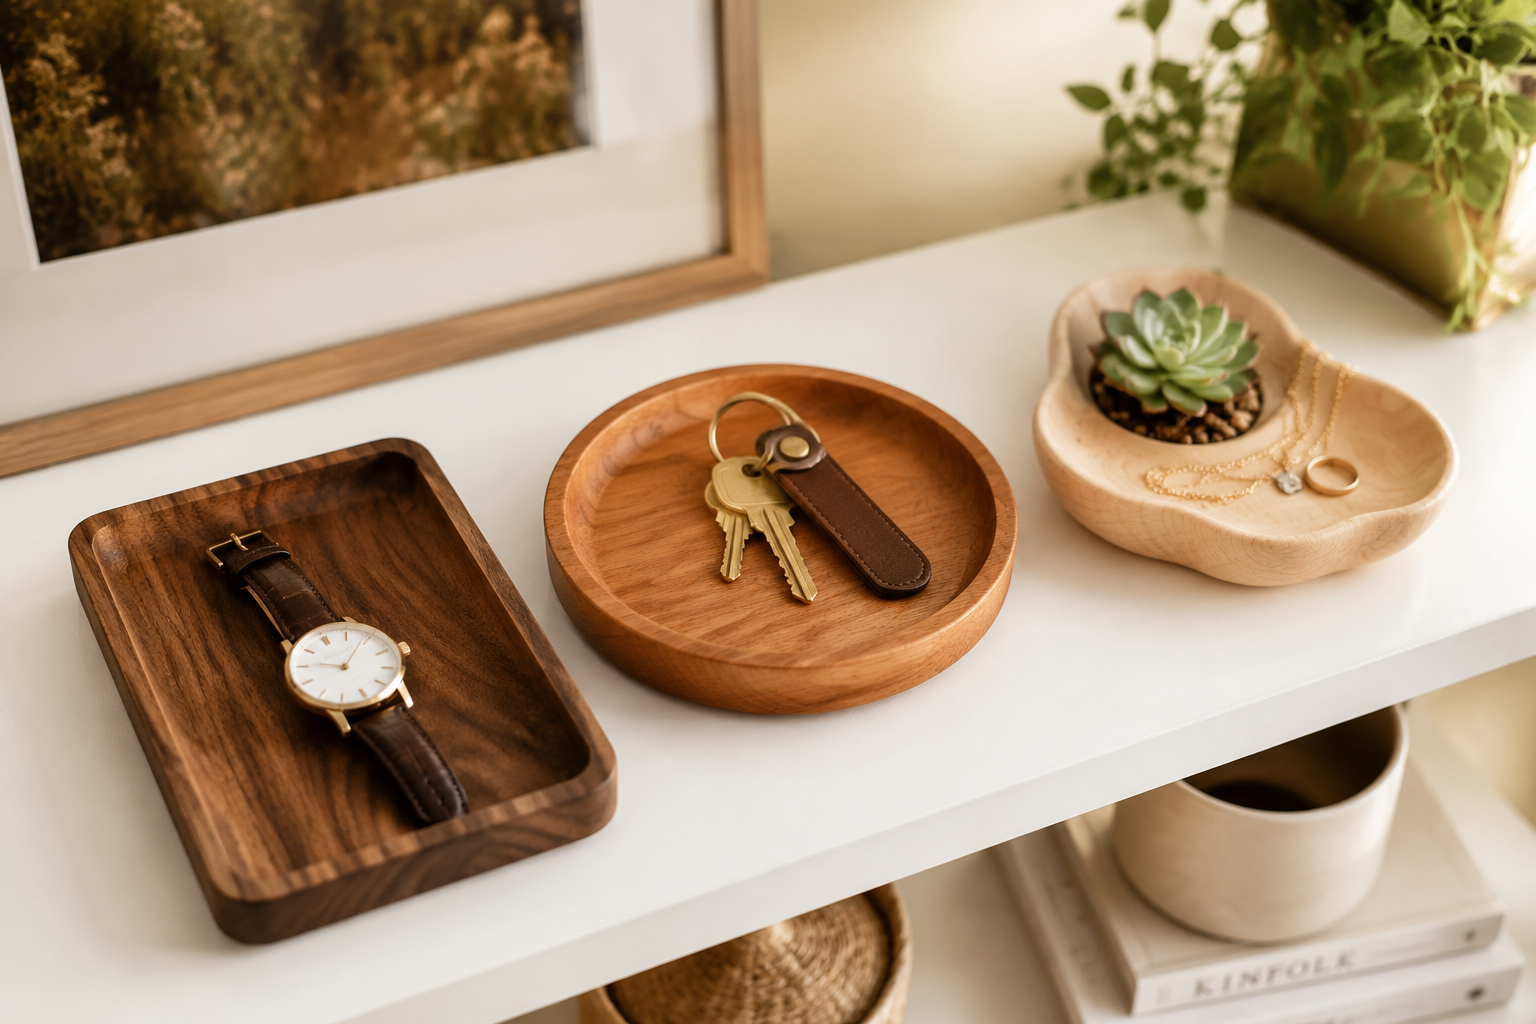
Crafting small wooden trays and catch-all dishes is an incredibly rewarding woodworking endeavor, perfectly suited for beginners and experienced crafters alike. These projects offer a practical way to develop fundamental skills in measuring, cutting, shaping, and finishing, all while producing beautiful and functional items. From organizing everyday essentials to serving as thoughtful, personalized gifts, the versatility of these pieces makes them a valuable addition to any home.
By starting with basic hand tools and readily available wood, anyone can experience the satisfaction of transforming raw material into elegant home decor. As you gain confidence, you can explore more complex designs, different wood types, and advanced finishing techniques, continually expanding your woodworking repertoire. The year 2026 presents an ideal time to embrace the handmade movement and create items that reflect personal style and meticulous craftsmanship.
Start your journey today. Pick up a piece of wood, sketch a simple design, and begin the enjoyable process of bringing your vision to life. The functional beauty of a handcrafted wooden tray or catch-all dish is a testament to the skill and care you put into its creation, a small object with significant impact.
SEO Meta Title: Craft Wooden Trays & Catch-Alls: Beginner-Friendly Projects SEO Meta Description: Learn to craft beautiful small wooden trays and catch-all dishes. Perfect beginner projects for unique gifts & elegant home decor in 2026.