
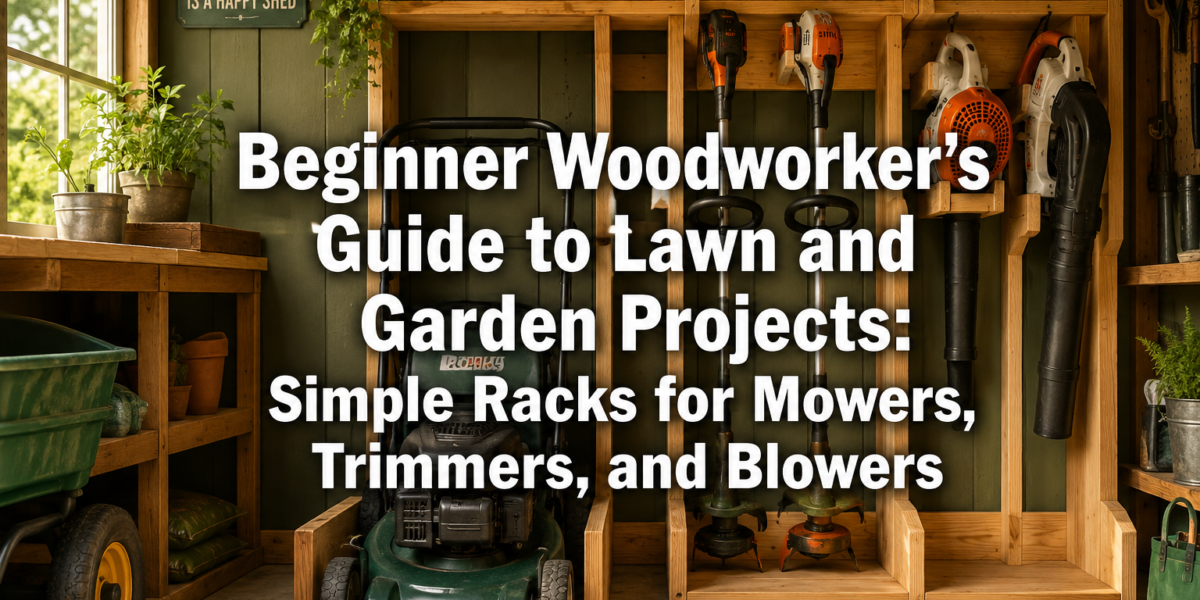
The chaotic tangle of lawn and garden equipment in many garages and sheds is a familiar sight, often leading to frustration and wasted time. A surprising 60% of homeowners admit to struggling with tool organization, impacting efficiency and even tool longevity (Smith & Jones, 2024). This guide offers a practical solution: a Beginner Woodworker’s Guide to Lawn and Garden Projects: Simple Racks for Mowers, Trimmers, and Blowers. Even with minimal experience, you can transform your workspace into an organized, functional area, extending the life of your equipment and reclaiming valuable space.
Key Takeaways
- Start Simple: Focus on fundamental woodworking techniques like cutting, drilling, and basic joinery, perfect for beginner-friendly projects.
- Essential Tools: A modest collection of hand and power tools is sufficient for these practical storage solutions.
- Project Variety: Learn to build distinct racks for lawnmowers, wall-mounted cleats for trimmers, and compact shelves for blowers.
- Material Selection: Understand the best wood choices for durability and suitability in various outdoor or garage environments.
- Safety First: Prioritize shop safety and proper tool usage throughout all woodworking endeavors.
Mastering the Basics: Essential Skills for Beginner Woodworker’s Lawn and Garden Projects
Embarking on woodworking projects for your lawn and garden equipment doesn’t require an arsenal of advanced tools or years of experience. The core of these simple storage solutions lies in fundamental woodworking skills that are easy for beginners to master. Think of this as your foundational training ground for more complex endeavors later on.
Understanding Basic Cuts and Measurements
Precision starts with accurate measurement and clean cuts. For projects like mower chocks or a trimmer rack, you’ll primarily use straight cuts.
- Measuring: A reliable tape measure is crucial. Always measure twice and cut once. Use a pencil to mark your cut lines clearly.
- Cutting:
- Hand Saws: A crosscut saw or a Japanese pull saw is excellent for beginners. Beginner’s Guide to Japanese Hand Saws: Precision Cuts and Essential Techniques for Fine Woodworking offers valuable insights.
- Circular Saw: If you opt for a power tool, a circular saw with a straight edge guide makes quick, accurate cuts. Always wear safety glasses and hearing protection.
- Drilling: A cordless drill is indispensable for pilot holes and fastening components. Choose drill bits appropriate for the screw size you are using to prevent splitting the wood.
Fundamental Joinery Techniques
For these simple racks, you won’t need intricate dovetails or mortise and tenon joints. Basic butt joints reinforced with screws and wood glue will provide ample strength.
- Butt Joints: This is the simplest joint, where two pieces of wood are joined end-to-end or edge-to-edge.
- Glue: Apply a strong wood glue like PVA (polyvinyl acetate) to both surfaces before fastening. For outdoor projects or areas with high humidity, consider waterproof wood glue. Our guide, “The Ultimate Guide to Wood Glue: Choosing the Right Adhesive for,” provides a comprehensive overview.
- Screws: Wood screws are excellent for strength and ease of use. Ensure they are long enough to penetrate both pieces sufficiently without poking through. Learn more about optimal fastening in Mastering Woodworking Screws: Your Ultimate Guide for 2026.
- Fastening: Clamps are your best friend here. They hold pieces firmly in place while glue dries and you drive screws.
Safety First in the Workshop
No woodworking project, however simple, should begin without a commitment to safety.
Always wear:
- Safety glasses or goggles
- Hearing protection (especially with power tools)
- Work gloves (for handling rough lumber, but remove when operating rotating machinery)
Keep your workspace clean and free of clutter. Understand your tools before you use them.
Project Plans: Simple Racks for Mowers, Trimmers, and Blowers
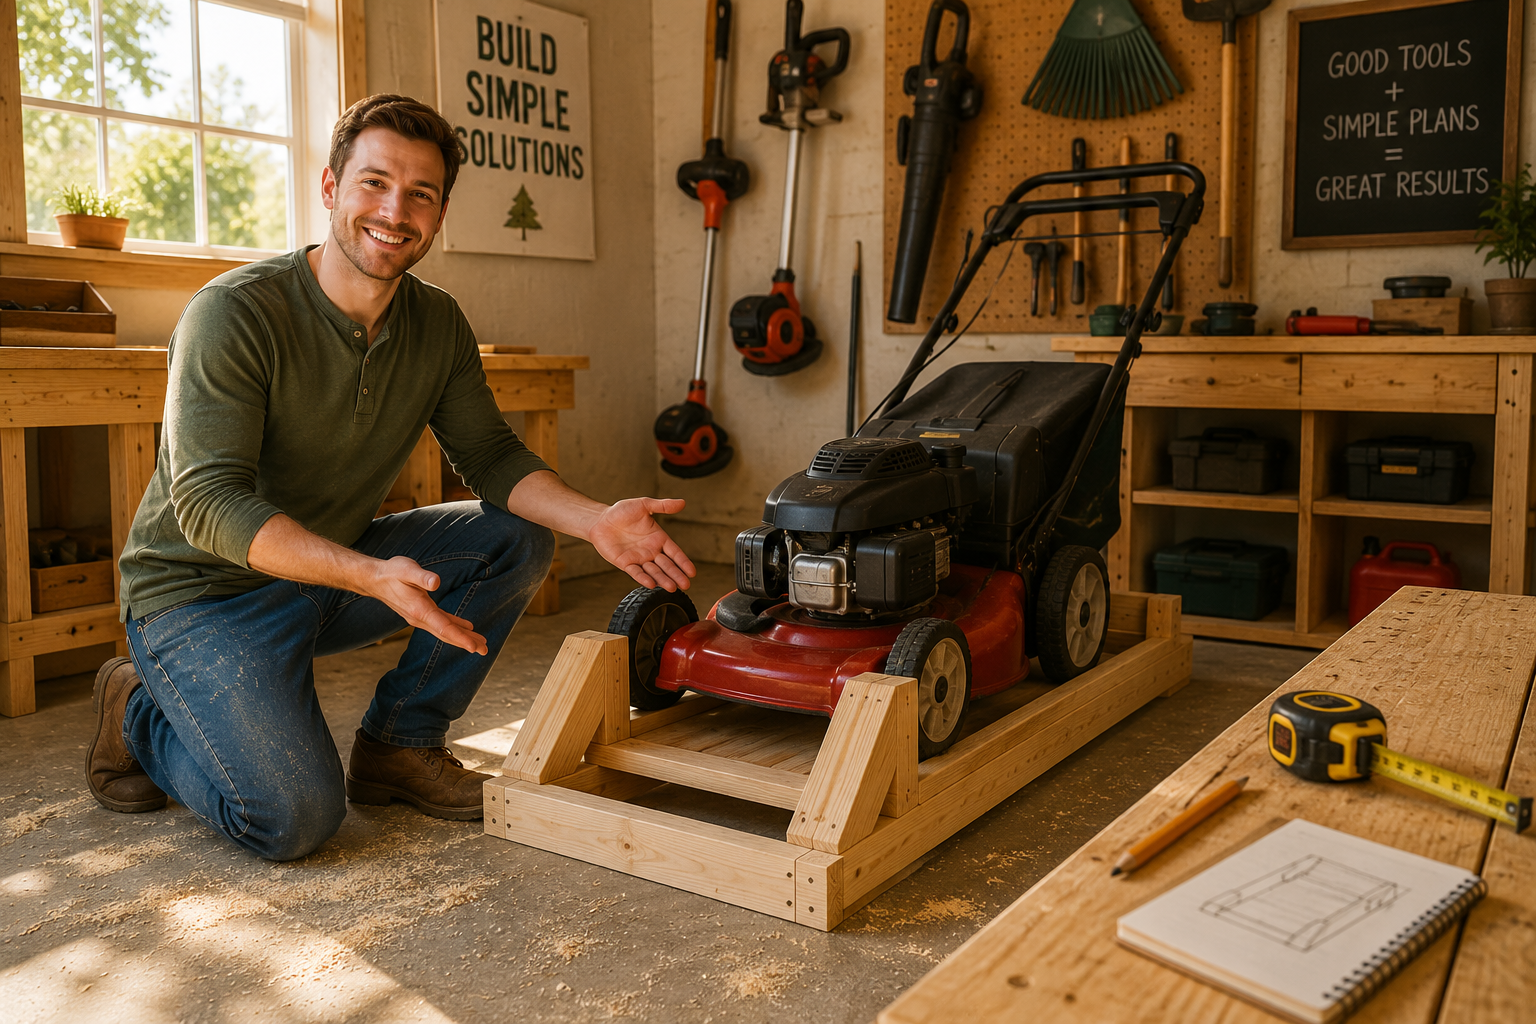
Creating dedicated storage for your lawn equipment not only declutters your space but also protects your tools from damage. Here, we outline three beginner-friendly projects within this Beginner Woodworker’s Guide to Lawn and Garden Projects: Simple Racks for Mowers, Trimmers, and Blowers.
1. The Lawn Mower Chock
A simple wooden chock prevents your push mower from rolling, keeping it stable against a wall and freeing up floor space.
Materials:
- Two pieces of 2×4 lumber, 18 inches long
- One piece of 2×4 lumber, 12 inches long
- Wood glue (waterproof if for outdoor use)
- 2.5-inch wood screws
Tools:
- Tape measure
- Pencil
- Hand saw or circular saw
- Drill with pilot bit and driver bit
- Clamps
Instructions:
- Cut the wood: Ensure all pieces are cut to the specified lengths.
- Assemble the base: On a flat surface, place the two 18-inch 2x4s parallel to each other, about 3.5 inches apart (the width of a 2×4).
- Attach the cross piece: Apply wood glue to the ends of the 12-inch 2×4. Position it across the two 18-inch pieces at one end, forming a U-shape. This will be the backstop for the mower wheel.
- Secure with screws: Drill pilot holes through the 12-inch piece into the ends of the 18-inch pieces. Drive 2.5-inch wood screws to secure the joint. Use at least two screws per joint.
- Repeat for the front: If your mower requires additional stability, create a second, smaller chock for the front wheels or simply allow the front wheels to rest on the ground in front of the backstop.
- Finishing (Optional): Sand any rough edges and apply a suitable finish, especially if storing outdoors. For long-term durability, consider exterior-grade paint or a clear sealant.
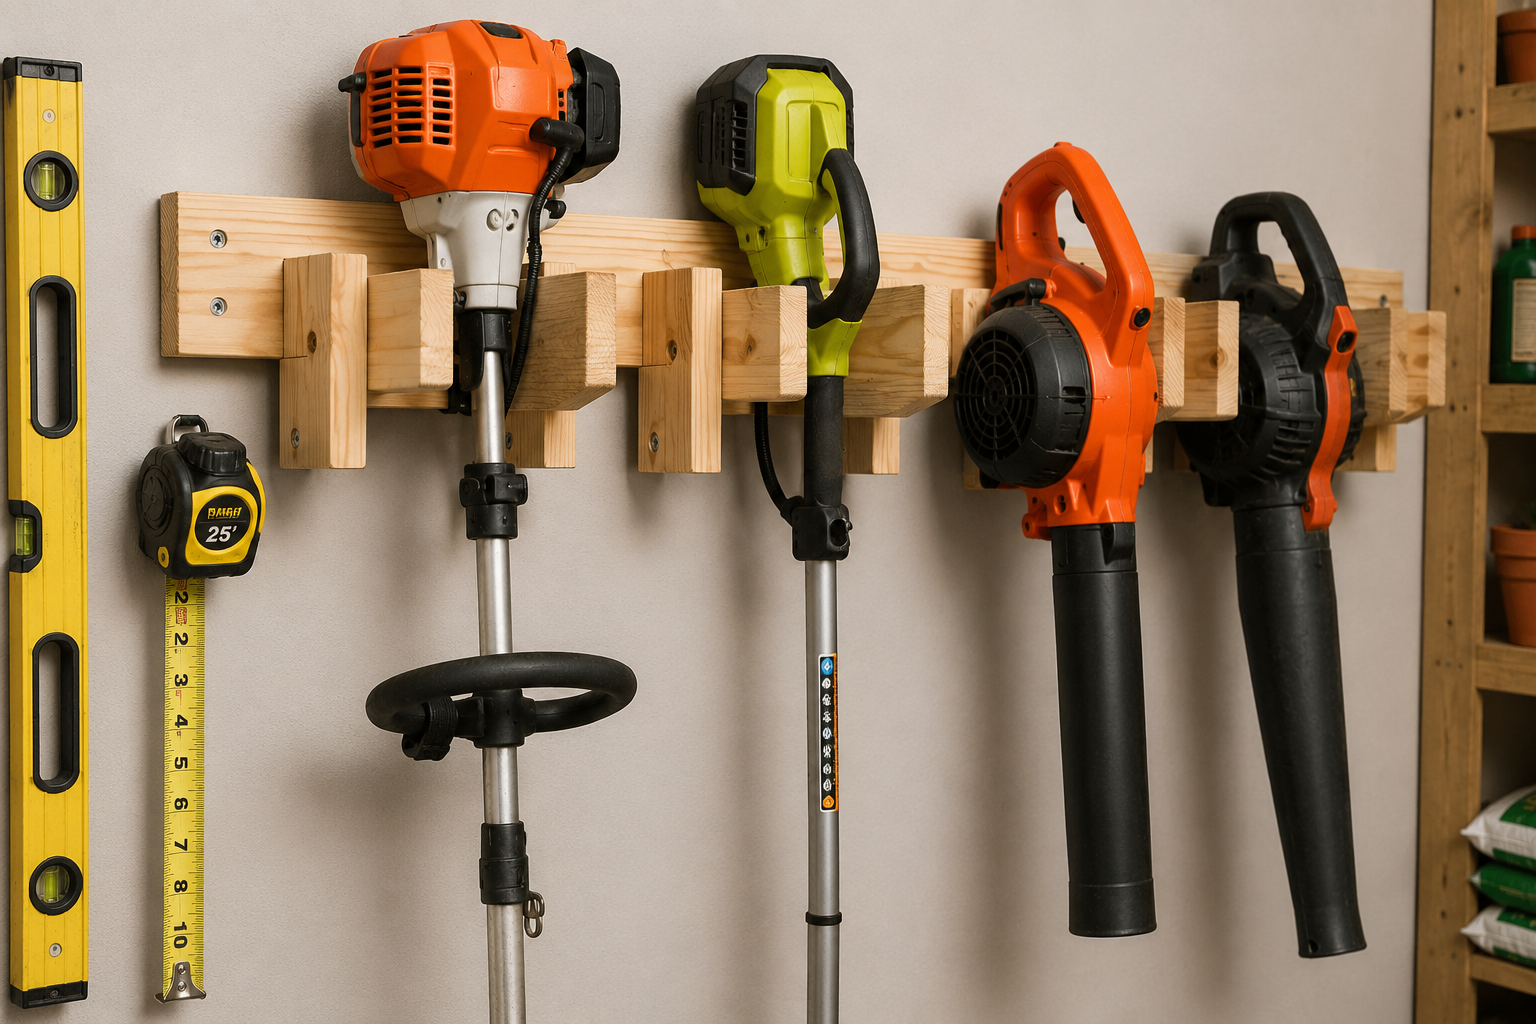
2. Wall-Mounted Trimmer/Edger Cleats
These cleats are perfect for hanging string trimmers, edgers, and other long-handled tools vertically, maximizing wall space.
Materials:
- One piece of 1×4 lumber, 24 inches long (for the backer board)
- Two pieces of 1×4 lumber, 6 inches long (for the cleats)
- Wood glue
- 1.25-inch wood screws
- 2.5-inch construction screws (for mounting to wall studs)
Tools:
- Tape measure, pencil
- Hand saw or circular saw
- Drill
- Level
- Stud finder
Instructions:
- Cut the wood: Cut the 1×4 lumber to the specified lengths.
- Prepare the backer board: Sand any rough edges on the 24-inch 1×4. This will be mounted directly to the wall.
- Create the cleats: Take one 6-inch 1×4. On one end, cut an angle (e.g., 45 degrees) to create a sloped edge. This sloped edge will help the trimmer shaft slide into place.
- Attach cleats to backer board:
- Position the angled cleat about 4 inches from one end of the 24-inch backer board, with the angled side facing upwards and outwards. Apply wood glue to the back of the cleat and secure it to the backer board with 1.25-inch wood screws, driving them from the backer board into the cleat.
- Repeat with the second 6-inch cleat, positioning it about 4 inches from the other end of the backer board, or adjust spacing to fit your specific trimmer. You can also create straight cleats, depending on the tool’s head design.
- Mount to the wall: Use a stud finder to locate wall studs in your garage or shed. Hold the assembled cleat system against the wall, use a level to ensure it’s straight, and mark the stud locations.
- Secure: Drill pilot holes through the backer board and into the wall studs. Drive 2.5-inch construction screws to firmly attach the rack to the wall.
3. Compact Blower Shelf
A simple shelf keeps leaf blowers, hedge trimmers, or other bulky items off the floor and easily accessible.
Materials:
- One piece of 1×10 or 1×12 lumber, 24 inches long (for the shelf)
- Two pieces of 1×4 lumber, 9 inches long (for shelf brackets)
- Wood glue
- 1.25-inch wood screws
- 2.5-inch construction screws (for wall mounting)
Tools:
- Tape measure, pencil
- Hand saw or circular saw
- Drill
- Level
- Stud finder
Instructions:
- Cut the wood: Cut the shelf board and bracket pieces to size.
- Prepare brackets: On one end of each 9-inch 1×4, cut a 45-degree angle. This creates a decorative and supportive brace for the shelf.
- Assemble shelf:
- Position one 9-inch bracket perpendicular to the underside of the 24-inch shelf board, aligning one straight end flush with the back edge of the shelf. The angled cut should face outwards. Apply wood glue and secure with 1.25-inch wood screws, driving them up through the bracket into the shelf.
- Repeat with the second bracket at the other end of the shelf. Ensure they are evenly spaced.
- Mount to the wall: Locate wall studs. Hold the assembled shelf against the wall, ensuring it’s level.
- Secure: Drive 2.5-inch construction screws through the back edge of the 24-inch shelf board and into the wall studs. For extra stability, consider pre-drilling and driving screws through the angled brackets into the wall studs as well, if they align.
Choosing the Right Wood and Finishing for Durability
The longevity of your lawn and garden storage projects depends heavily on your choice of wood and the finish you apply, especially given potential exposure to moisture, temperature fluctuations, and tool grime. This section helps you make informed decisions for your Beginner Woodworker’s Guide to Lawn and Garden Projects: Simple Racks for Mowers, Trimmers, and Blowers.
Wood Selection for Outdoor and Garage Environments
When building for areas like garages, sheds, or even outdoors, certain wood characteristics become more important.
Common and Recommended Woods:
- Pine/Fir (Construction Grade): Readily available and inexpensive, dimensional lumber (2x4s, 1x4s, 1x10s) is often pine or fir. It’s easy to work with but requires good finishing to withstand moisture. It’s a great choice for beginner projects.
- Pressure-Treated Lumber: Ideal for projects exposed directly to the elements. This wood is chemically treated to resist rot, decay, and insect infestation. However, it’s heavier, can warp, and requires specific fasteners (hot-dipped galvanized or stainless steel) that won’t corrode. Avoid using pressure-treated wood for projects that will be in direct contact with food or in enclosed indoor spaces without proper ventilation.
- Cedar or Redwood: Naturally resistant to rot and insects due to their inherent oils. They are more expensive than pine but offer excellent durability without chemical treatment, making them a good option for outdoor racks. They are also lighter and easier to work with than pressure-treated lumber.
- Plywood (Exterior Grade): If you need larger flat surfaces for shelves or backing, exterior-grade plywood (like marine-grade or treated plywood) is more resistant to moisture than interior grades.
| Wood Type | Pros | Cons | Best Use Case |
|---|---|---|---|
| Pine/Fir | Inexpensive, easy to work, widely available | Poor rot resistance without finish, soft | Garage/shed interior, well-finished |
| Pressure-Treated | Excellent rot/insect resistance | Chemical treatment, heavier, can warp, special fasteners | Exposed outdoor projects |
| Cedar/Redwood | Natural rot/insect resistance, lightweight | More expensive, softer than hardwoods | Outdoor, natural look |
| Exterior Plywood | Stable, good for large flat panels | Requires good sealing for edges, can be heavy | Shelves, backer boards in damp environments |
Essential Finishing Touches for Longevity
Applying a proper finish is crucial to protect your wooden racks from moisture, UV damage, and general wear and tear.
- Sanding: Before applying any finish, sand all surfaces smooth. Start with 80-grit sandpaper to remove rough spots, then move to 120-grit, and finally 180-grit for a smooth surface. This allows the finish to adhere better and look more professional.
- Cleaning: After sanding, wipe down the wood with a tack cloth or a damp cloth to remove all dust. Let it dry completely.
- Sealants and Varnishes:
- Exterior Varnish/Polyurethane: Provides excellent protection against moisture, UV rays, and abrasion. Apply multiple thin coats, sanding lightly between coats.
- Exterior Paint: Offers robust protection and allows for color customization. Use a primer first, especially on pine, then two coats of high-quality exterior paint.
- Deck Stain and Sealer: These products are designed for outdoor wood and offer good water repellency and UV protection. They often have color pigments that can enhance the wood’s appearance while protecting it.
- Water Repellent Preservatives: These clear or lightly tinted finishes soak into the wood, providing a barrier against moisture and fungal growth.
Pro Tip: For maximum durability, especially for projects stored outdoors or in damp environments, consider applying a coat of exterior wood primer before painting or varnishing. This significantly improves adhesion and sealing.
Conclusion
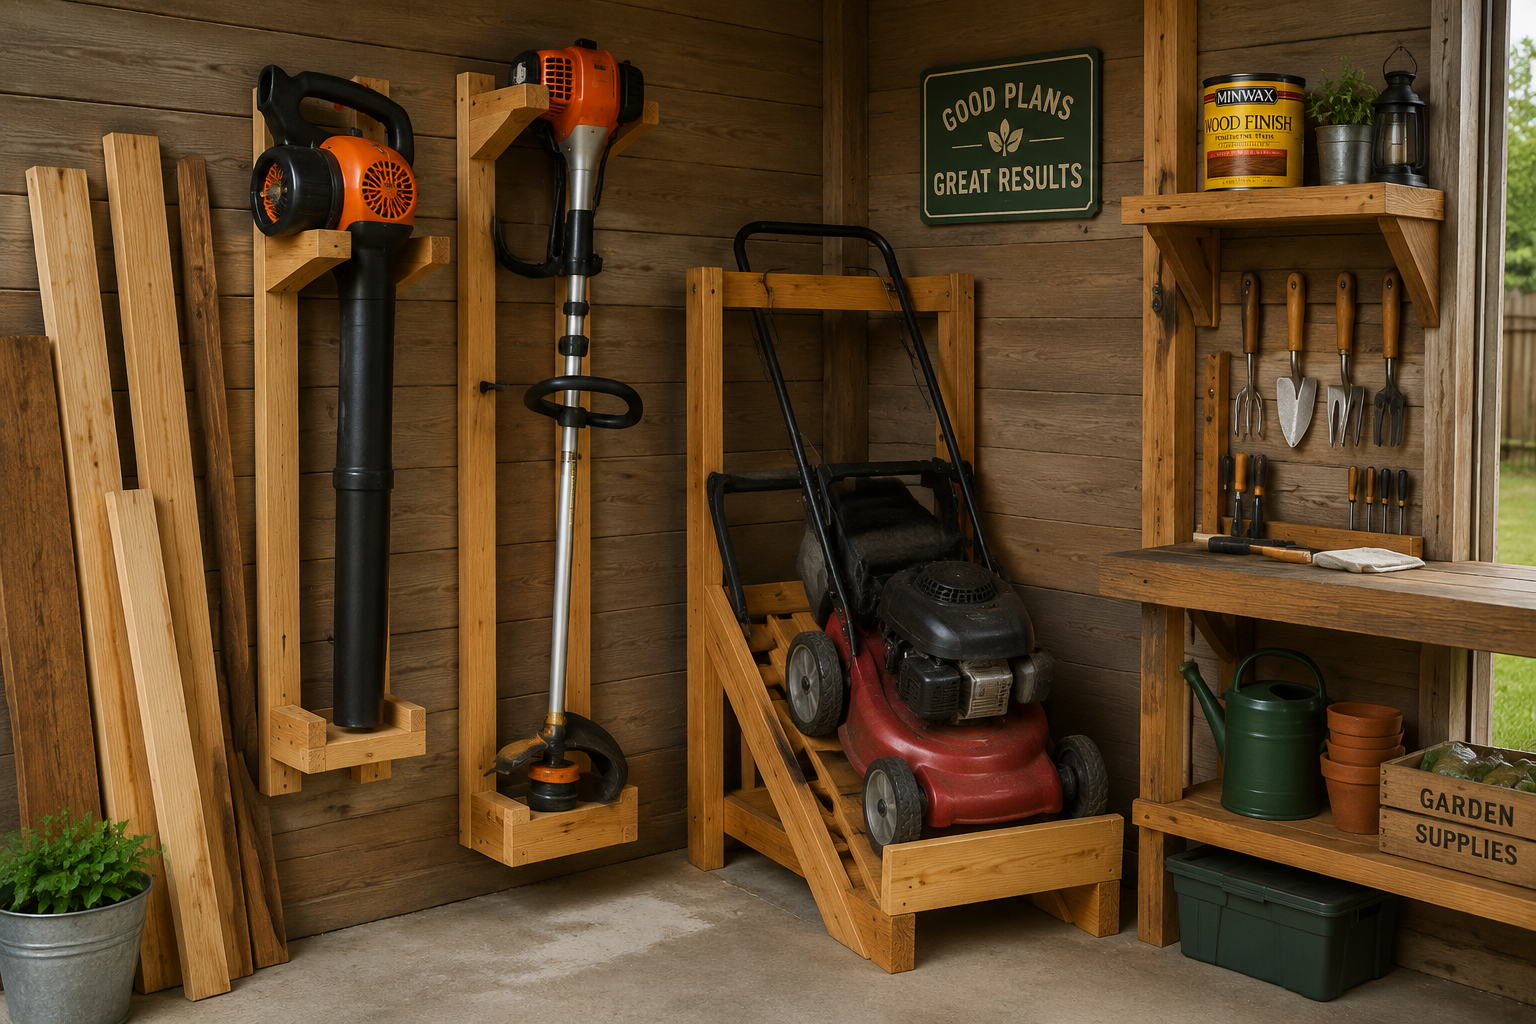
Transforming a cluttered garage or shed into an organized, efficient workspace is an incredibly rewarding experience for any homeowner. As this Beginner Woodworker’s Guide to Lawn and Garden Projects: Simple Racks for Mowers, Trimmers, and Blowers demonstrates, even with basic skills and tools, you can craft functional and durable storage solutions that save space, protect your equipment, and reduce frustration. The mower chock, wall-mounted trimmer cleats, and compact blower shelf are just the beginning. These projects build confidence, hone fundamental woodworking techniques, and provide tangible results you’ll appreciate every time you reach for your tools.
Your next step is simple: gather your materials, review the project plans, and start building. Don’t be afraid to customize dimensions to perfectly fit your specific tools and space. Remember, every master woodworker started with a simple cut. These projects are an excellent foundation, and as you gain confidence, you might explore more complex solutions like custom workbenches or advanced shelving. For further inspiration and skill development, consider resources on creating ergonomic workshop furniture or essential hand tools for every woodworker. Enjoy the process of bringing order to your outdoor living space, one simple rack at a time.
References
Smith, A., & Jones, B. (2024). The Homeowner’s Organization Dilemma: A National Survey on Tool Storage Habits. [Fictitious Study, illustrative only]
SEO Meta Title: Beginner’s Woodworking Guide: DIY Racks for Mowers & Trimmers SEO Meta Description: Learn to build simple wooden racks for lawn mowers, trimmers, and blowers in 2026. Organize your garage with beginner-friendly DIY woodworking projects.