
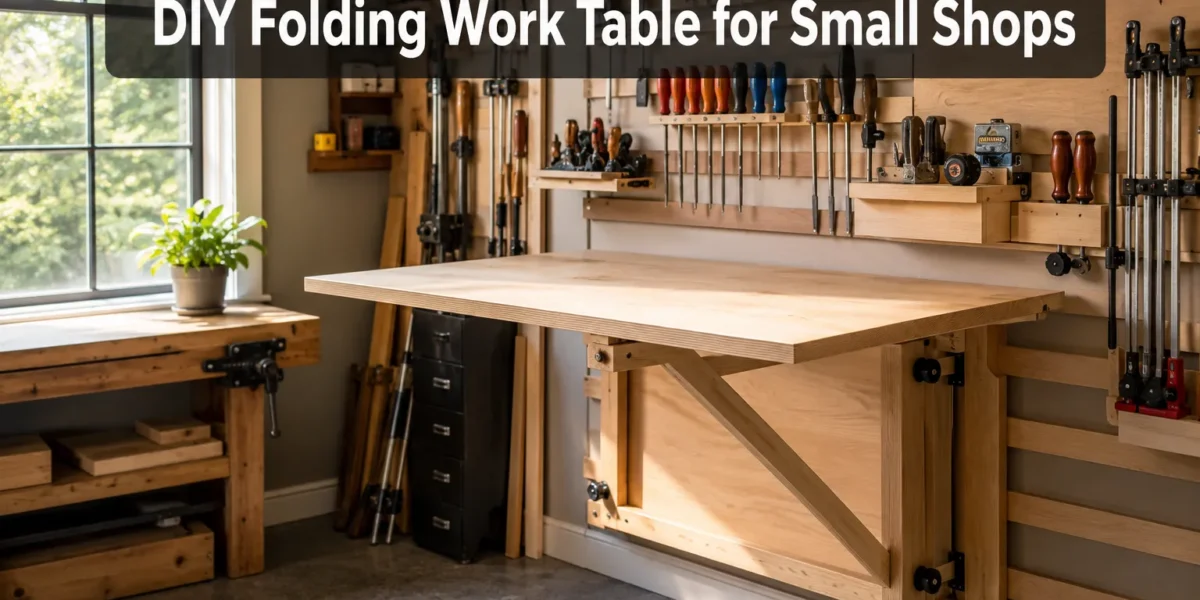
The perennial challenge for any small shop owner is not a lack of ambition, but a lack of space. Many woodworkers, hobbyists, and DIY enthusiasts grapple with cramming essential tools and projects into garages, basements, or even spare rooms, leading to constant compromises on workflow and project scale. The solution isn’t always a larger workshop, but smarter utilization of existing space. A critical component in this strategy is a DIY Folding Work Table for Small Shops: Build a Strong, Flat-Storing Surface That Opens Fast. This article will guide you through building a work surface that offers exceptional strength and flatness when in use, yet disappears virtually flat against a wall, freeing up valuable floor space for other tasks in your 2026 workshop.
Key Takeaways
- A well-designed DIY folding work table is crucial for maximizing space in small shops.
- Prioritize robust hardware, secure locking mechanisms, and a truly flat work surface for professional results.
- Wall-mounted designs offer superior stability and free up floor space when folded.
- Careful material selection and precise construction are key to durability and functionality.
- This project empowers small shop owners to tackle larger projects without a permanent footprint.
Engineering a Robust and Flat Surface
The core of any effective work table, especially one that needs to be moved or folded, is its ability to remain flat and stable under various loads. For a DIY Folding Work Table for Small Shops: Build a Strong, Flat-Storing Surface That Opens Fast, achieving this requires careful consideration of materials and construction techniques. The tabletop itself should be the first focus. A common misconception is that lightweight equals flimsy; however, with proper reinforcement, even thinner materials can be exceptionally strong.
Tabletop Material and Reinforcement
Plywood is the material of choice for most DIY work surfaces due to its stability, strength-to-weight ratio, and availability. High-grade Baltic Birch or cabinet-grade plywood (¾” thick or more) is recommended for the primary work surface. Avoid particle board or MDF for the main top, as they lack the structural integrity and moisture resistance needed for a durable shop table.
To ensure the tabletop remains flat over time and under load, several techniques can be employed:
- Torsion Box Construction: This advanced method involves creating a grid of internal ribs between two thin plywood skins. The result is an incredibly stiff and lightweight panel, resistant to warping and deflection. While more complex, a torsion box offers unparalleled flatness, essential for precision woodworking.
- Edge Banding with Hardwood: Even if using solid plywood, adding a hardwood edge band not only protects the plywood edges but also adds significant stiffness to the perimeter, acting like a structural frame.
- Strategically Placed Battens: For simpler designs, attaching strong hardwood or plywood battens to the underside of the tabletop, running perpendicular to the grain of the top sheet, can help resist warping. These should be secured with screws and glue.
“The true measure of a work table is not its size, but its unwavering stability and flatness, providing a reliable foundation for every cut and assembly.”
For those interested in maximizing the utility of their workshop surfaces, exploring options like building a DIY router table can further enhance a small shop’s capabilities.
Selecting Heavy-Duty Hardware and Locking Mechanisms
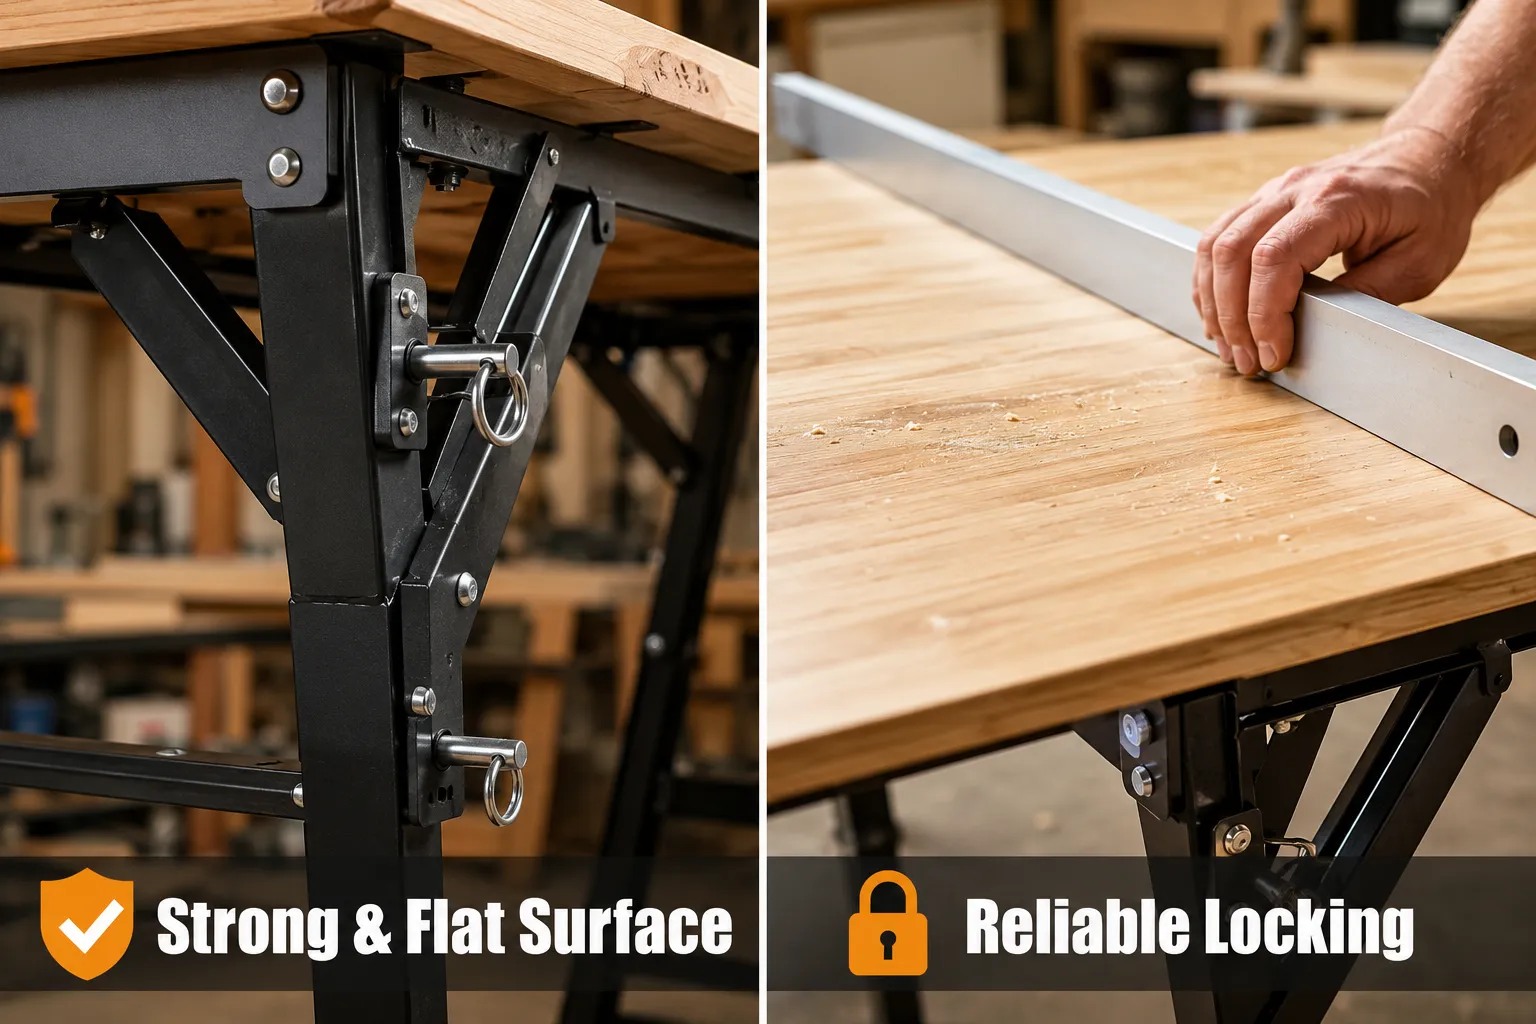
The folding mechanism is where many DIY tables falter. Flimsy hinges and insecure latches lead to wobbles and potential safety hazards. Invest in robust hardware designed for heavy loads.
- Hinges: Piano hinges (continuous hinges) are excellent for providing consistent support along the entire length of a folding seam. For legs, heavy-duty utility hinges or specifically designed folding table leg brackets are paramount. Ensure they are rated for the intended weight.
- Leg Mechanisms: The legs must lock securely in both the open and folded positions. Spring-loaded plungers, barrel bolts, or heavy-duty locking braces are effective. The goal is zero play when the table is open. Some commercial folding leg brackets come with integrated locking mechanisms.
- Wall Mounting: If the table is wall-mounted, the wall cleat or mounting brackets must be exceptionally strong and securely fastened to wall studs. French cleat systems are ideal for this, allowing the table to be lifted off for cleaning or relocation, while providing strong, stable support when in use. Learn more about optimizing your space with such systems in our guide to crafting custom magnetic tool holders and organizers.
Remember, the hardware should be appropriate for the total weight of the tabletop plus any tools or materials that will be placed on it. Skimping on hardware here is a false economy.
Designing for Flat-Storing and Quick Deployment
The hallmark of a truly effective folding work table for a small shop is its ability to store almost entirely flat against a wall, then deploy rapidly when needed. This requires an integrated design approach, considering both the folded and open states.
Wall-Mounted vs. Freestanding Folding Designs
While freestanding folding tables exist, a wall-mounted design offers significant advantages for small shops.
- Superior Stability: Anchoring one edge of the tabletop directly to the wall eliminates two potential points of wobble (two legs) and provides a rock-solid anchor. This is crucial for tasks requiring precision or force.
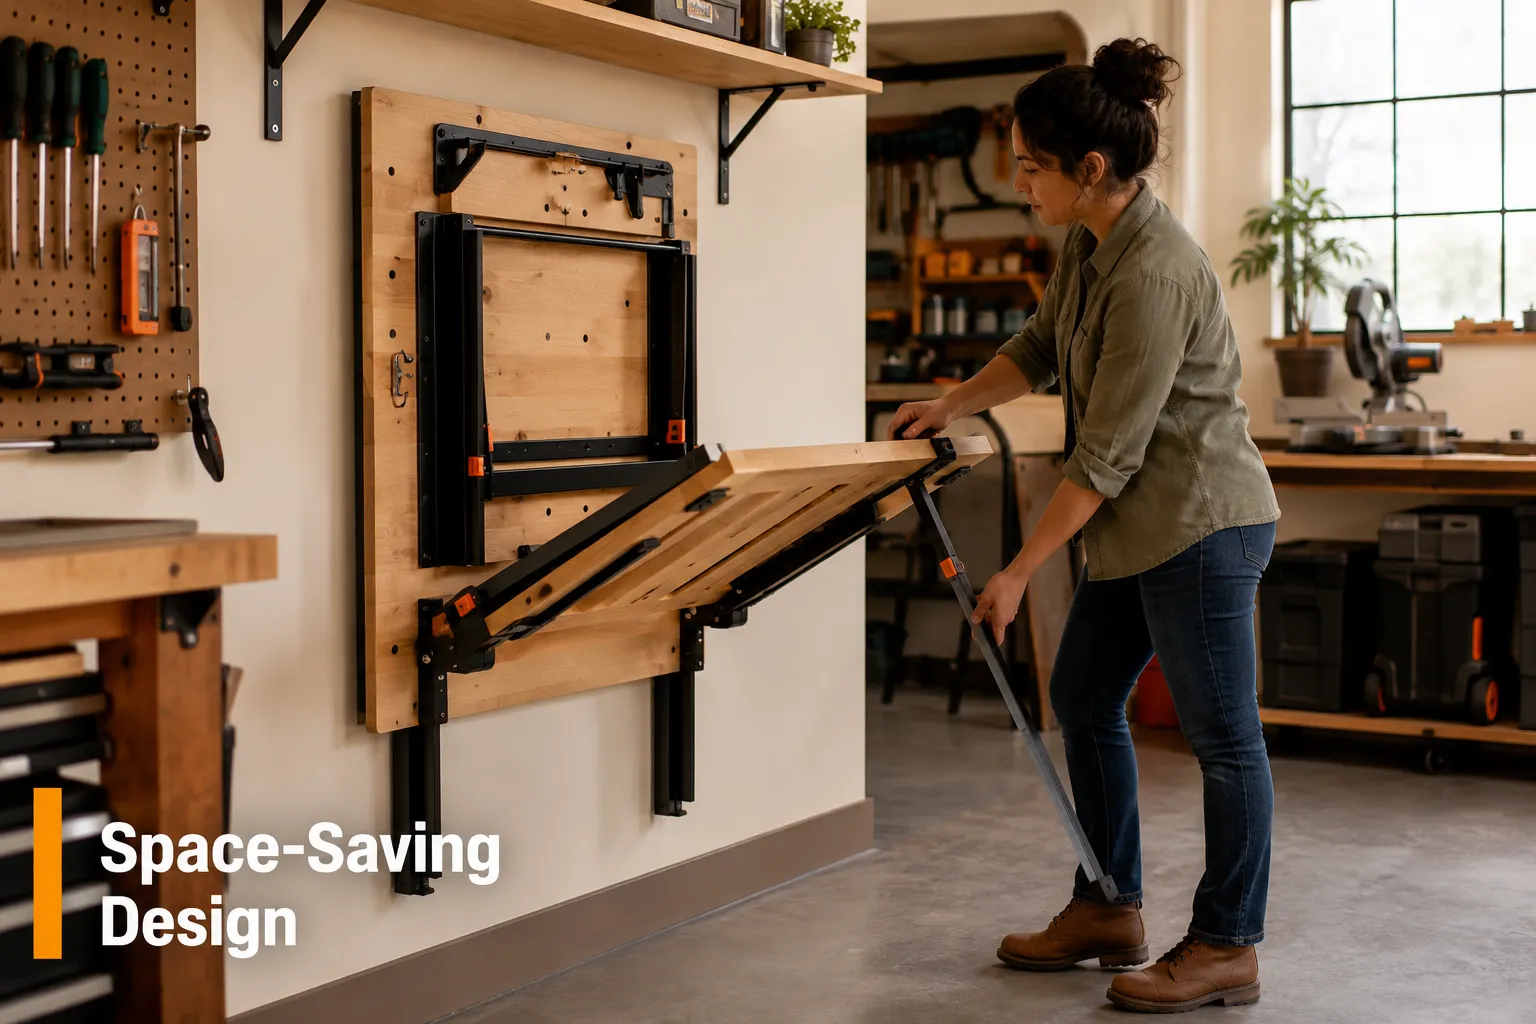
- Maximized Floor Space: When folded, the table virtually disappears, leaving the floor clear. Freestanding tables, even when folded, still occupy floor space with their folded legs and often thicker profiles.
- Integrated Storage Potential: The wall above and around the folded table can be utilized for tool storage, dust collection ports, or shelving, creating a highly efficient workstation when open, and a clean wall when closed. Consider how this can integrate with a DIY workshop dust collection system for small spaces.
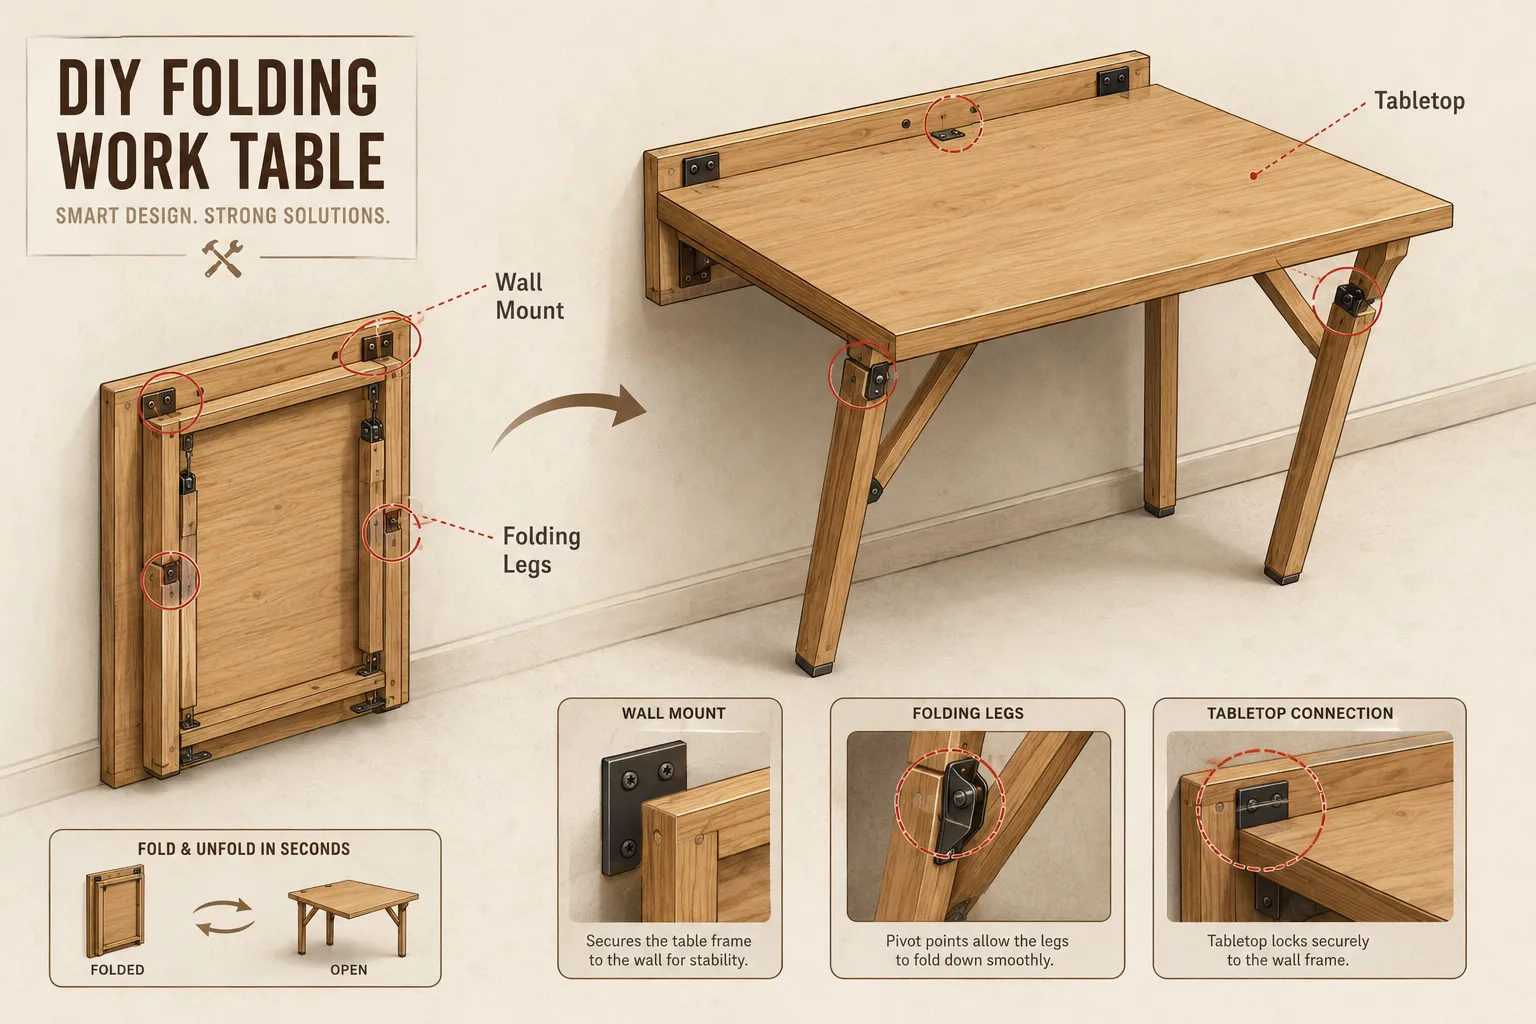
For a wall-mounted table, the primary construction involves a rigid wall-mounted frame (cleat or ledger board) to which the tabletop is hinged. The legs then fold out from the underside of the tabletop.
Leg Design and Folding Mechanisms for a DIY Folding Work Table for Small Shops: Build a Strong, Flat-Storing Surface That Opens Fast
The leg design is critical for both stability when open and compactness when folded.
- Folding Legs with Cross Bracing: A common and effective design uses two sets of folding legs. Each set consists of two uprights connected by a stretcher or cross brace, forming a stable “A” frame when open. These sets then pivot inwards or outwards to fold flat.
- Single-Leg Pivot Systems: Some designs use a single, wider leg frame that pivots to fold. This can be simpler but may require more robust hardware to prevent twisting.
- Recessed Leg Storage: To achieve true flatness, the folded legs should either recess into a channel on the underside of the tabletop or be designed to nest neatly against the wall-mounted frame.
- Quick-Release Locks: For rapid deployment, the locking mechanisms for the legs should be intuitive and quick to engage/disengage. Think sturdy toggle clamps, cam locks, or spring pins that snap into place. Magnetic catches can help hold the legs flush when folded.
When designing the table, consider the ergonomics. The working height should be comfortable for your primary tasks. Standard workbench height is typically 34-38 inches, but adjust as needed for your stature and specific operations. You might find inspiration for other space-saving projects by looking into how to build a space-saving console table.
Step-by-Step Construction Guide
Building your own DIY Folding Work Table for Small Shops: Build a Strong, Flat-Storing Surface That Opens Fast is a rewarding project that will significantly enhance your workspace. Here’s a simplified overview of the construction process.
Materials and Tools Checklist
Before beginning, gather all necessary materials and tools.
Materials:
- ¾” plywood (cabinet grade) for tabletop and legs
- 2×4 or 2×6 lumber for wall cleat/frame
- Heavy-duty piano hinge (or multiple sturdy butt hinges)
- Folding leg brackets with locking mechanisms OR individual heavy-duty hinges and separate locking pins/bolts
- Wood screws (various lengths, appropriate for wood type and hardware)
- Wood glue
- Sandpaper (various grits)
- Wood finish (polyurethane, lacquer, etc.)
- Optional: Hardwood edge banding, T-track for clamping
Tools:
- Circular saw or table saw for cutting plywood and lumber
- Drill/driver
- Measuring tape and straight edge
- Square (framing or combination)
- Clamps
- Level
- Stud finder
- Safety glasses and hearing protection
Investing in quality tools, such as those recommended in selecting the best Ryobi power tools for small workshop setup, can make this project much easier and more precise.
Assembly Instructions
- Cut Plywood: Cut your ¾” plywood to the desired dimensions for the tabletop. Consider a size that gives you ample workspace but doesn’t feel cramped in the folded position. Also cut pieces for your folding legs. Aim for sturdy leg components, perhaps 4-6 inches wide for each leg upright.
- Reinforce Tabletop (Optional but Recommended): If using a torsion box, build and assemble it. If using battens, glue and screw them to the underside, offsetting screw holes to prevent splitting. Attach any hardwood edge banding now using glue and clamps, then trim flush.
- Prepare Wall Cleat: Cut your 2×4 or 2×6 lumber to the width of your tabletop. Find wall studs using a stud finder and mark their locations. Securely screw the cleat to the wall studs, ensuring it is perfectly level. This cleat will support the hinged edge of your tabletop.
- Attach Tabletop to Wall Cleat: Position the tabletop onto the wall cleat. Using the piano hinge (or butt hinges), screw the hinge to the back edge of the tabletop and the top edge of the wall cleat. Ensure smooth, free movement.
- Assemble and Attach Legs: Assemble your folding legs. If using folding leg brackets, follow their instructions. If building your own, connect the uprights with a stretcher and attach heavy-duty hinges to the top of the legs, then to the underside of the tabletop. The legs should pivot towards the wall cleat when folded.
- Install Locking Mechanisms: Crucially, install the locking mechanisms for the legs. Test them thoroughly. When the table is open, the legs should lock firmly, preventing any inward or outward movement. When folded, the legs should be secured against the underside of the table or recessed for a flat profile.
- Sanding and Finishing: Sand the entire table surface and edges smooth. Apply your chosen finish, such as polyurethane, to protect the wood from moisture, chemicals, and wear. Allow ample drying time between coats.
- Final Adjustments: Test the table multiple times. Ensure it opens and folds easily, locks securely, and is perfectly stable. Make any necessary adjustments to hinges or locking mechanisms.
For an even more versatile work surface, consider integrating clamping solutions. Our guide to building a portable woodworking assembly table with integrated clamping and storage solutions offers excellent ideas that can be adapted to your folding table.
Conclusion
Building a DIY Folding Work Table for Small Shops: Build a Strong, Flat-Storing Surface That Opens Fast is a highly practical and impactful project for anyone with limited workshop space. By focusing on robust construction for flatness and strength, selecting reliable hardware, and designing for efficient flat storage and rapid deployment, you can transform a cramped area into a highly functional workspace. This investment in your shop’s infrastructure will pay dividends in increased productivity, improved organization, and the ability to tackle projects that previously seemed impossible due to space constraints. Take the time to plan your design carefully, source quality materials, and build with precision. The result will be a versatile and indispensable addition to your 2026 workshop, serving you well for years to come.
SEO Meta Title: DIY Folding Work Table: Strong, Flat, Space-Saving for Small Shops SEO Meta Description: Build a DIY folding work table for small shops in 2026. Get a strong, flat work surface that folds flat against the wall and opens fast. Optimize your space.