
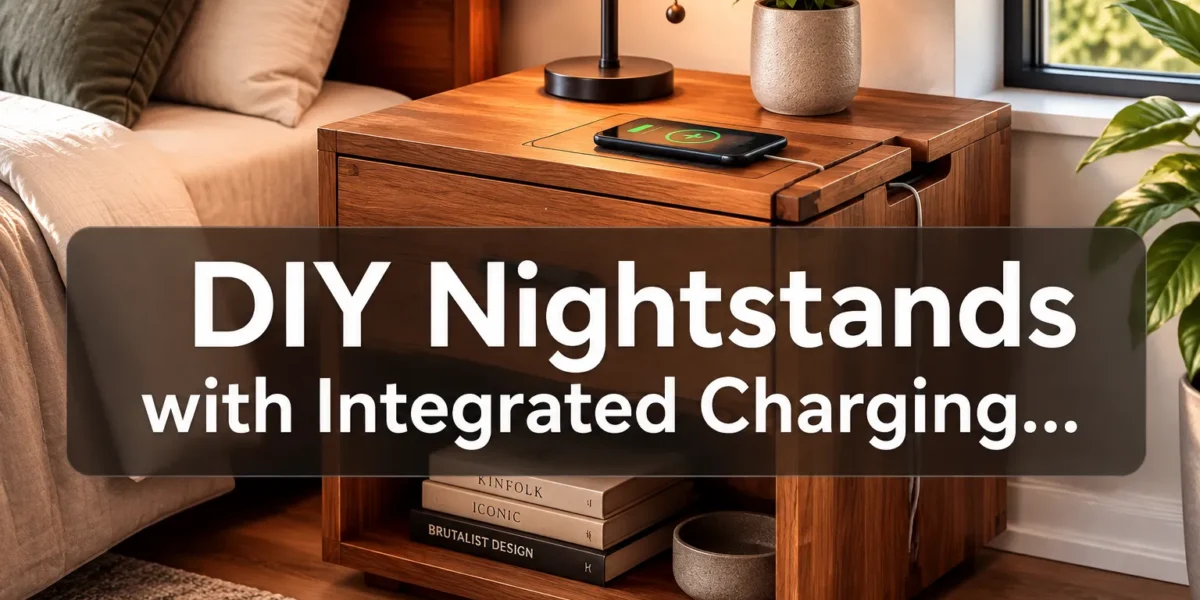
Over 80% of adults keep their smartphone within arm’s reach while sleeping, often alongside a tablet, smartwatch, and other chargeable devices (Statista, 2023). This reliance on technology often leads to a chaotic tangle of cables and chargers cluttering the bedside table. However, crafting DIY Nightstands with Integrated Charging Docks and Cable Management: Modern Bedside Table Designs for Tech-Enabled Homes offers a sophisticated solution, blending functionality with aesthetic appeal. These bespoke pieces transform a common source of bedside clutter into a streamlined, elegant feature that enhances both the utility and tranquility of a personal space.
Key Takeaways
- Integrated charging docks and effective cable management are essential for modern tech-enabled bedrooms.
- DIY nightstands offer complete customization in design, materials, and technological integration.
- Careful planning of power, charging solutions (wireless, USB, outlets), and cable routing is crucial.
- Safety considerations, including electrical wiring and ventilation, must be prioritized during construction.
- Choosing the right materials and finishes ensures durability and aesthetic harmony with existing decor.
The Need for Modern Bedside Table Designs in Tech-Enabled Homes
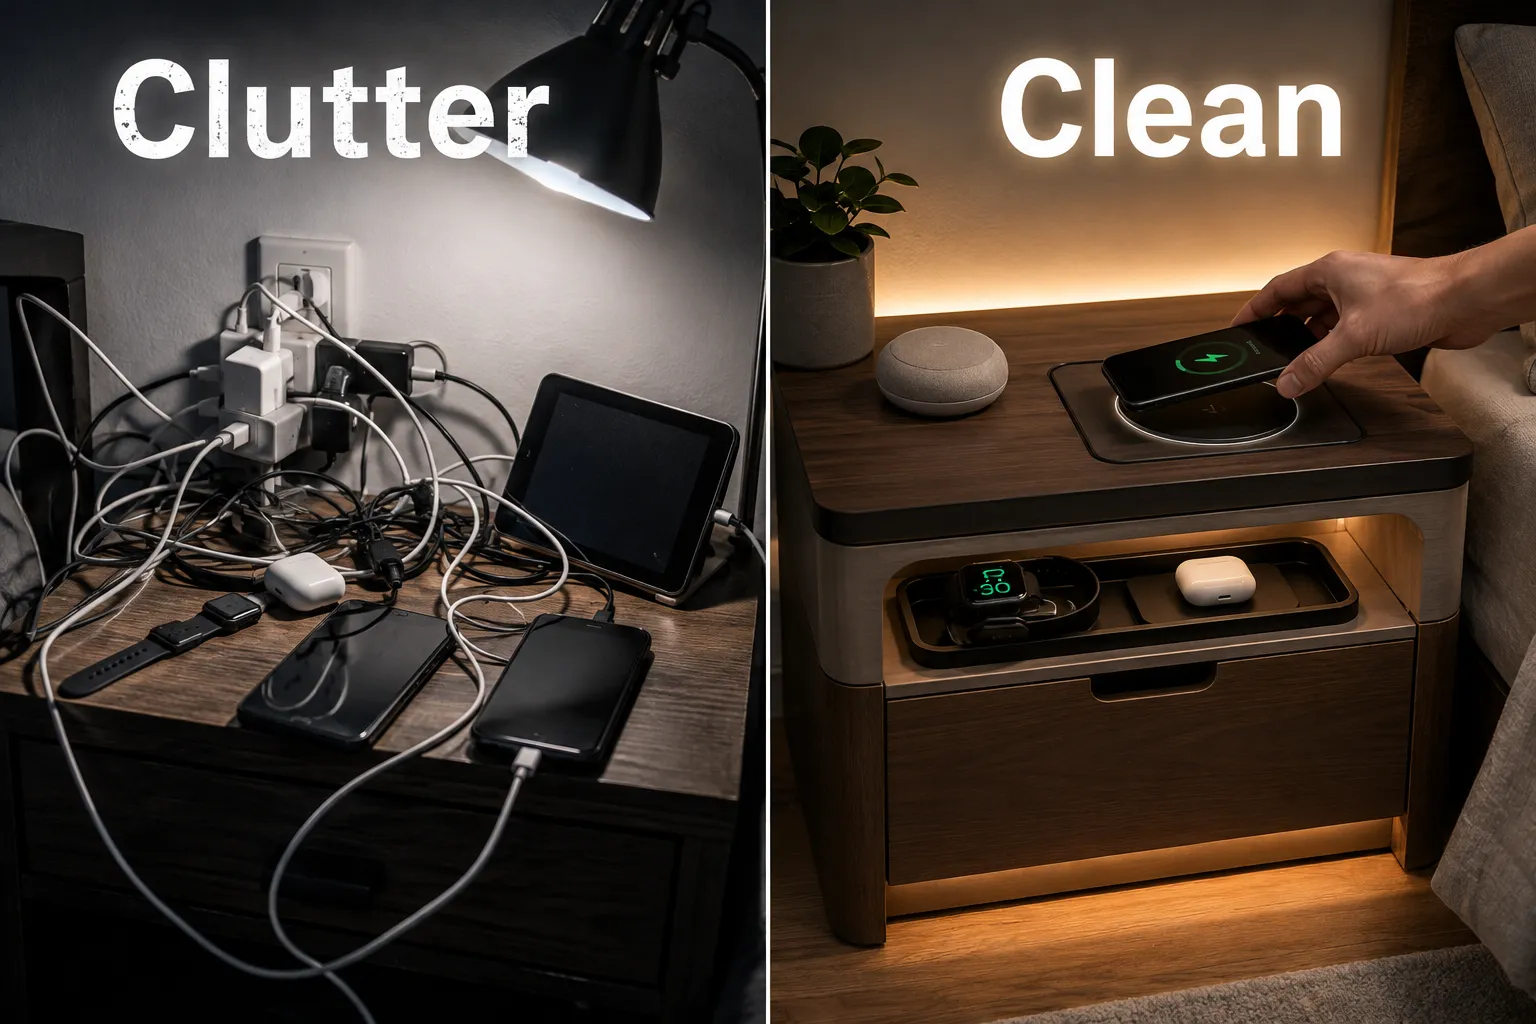
The modern bedroom is no longer just a place to sleep; it’s a personal hub for digital devices. From smartphones and e-readers to smartwatches and wireless earbuds, our nightly routine often involves charging multiple gadgets. This proliferation of devices, however, often results in an unsightly mess of wires, power bricks, and extension cords sprawled across or behind traditional nightstands. This clutter not only detracts from the room’s aesthetic but can also pose minor safety hazards and make daily device management cumbersome.
Traditional nightstands, designed before the ubiquity of personal electronics, simply weren’t built to accommodate this tech-heavy lifestyle. They lack the dedicated space, power access, and organizational features necessary to maintain a tidy and functional bedside area. This is where the concept of DIY Nightstands with Integrated Charging Docks and Cable Management: Modern Bedside Table Designs for Tech-Enabled Homes becomes indispensable.
Investing time in building a custom nightstand with these features offers several compelling advantages:
- Aesthetic Enhancement: A clean, uncluttered bedside instantly elevates the room’s appearance, promoting a sense of calm and order. Cables disappear, and devices rest in designated spots.
- Improved Functionality: Devices are always charged and ready, with power outlets and charging pads precisely where needed. No more fumbling for chargers in the dark.
- Customization: DIY allows for perfect integration with your existing bedroom decor and specific tech requirements. You can choose the wood, finish, size, and charging components that best suit your needs.
- Space Optimization: Clever designs can hide bulky adapters and excess cable length, freeing up surface space on the nightstand for essentials like a lamp, book, or glass of water.
The shift towards smart homes and integrated living spaces further amplifies this need. As more devices connect and interact, having a central, organized charging point at the bedside becomes paramount. Creating custom wood charging stations and desk organizers can significantly improve the functionality and appearance of your living spaces. Crafting these specialized pieces yourself ensures that every aspect, from the type of charging dock to the specific routing of cables, is tailored to your lifestyle.
Planning Your DIY Nightstand: Integrating Charging Solutions
The foundation of a successful DIY project, especially one involving electronics, lies in meticulous planning. Before cutting any wood, consider the core functionalities and aesthetics you wish to achieve for your DIY Nightstands with Integrated Charging Docks and Cable Management: Modern Bedside Table Designs for Tech-Enabled Homes.
Design Considerations
Style and Form:
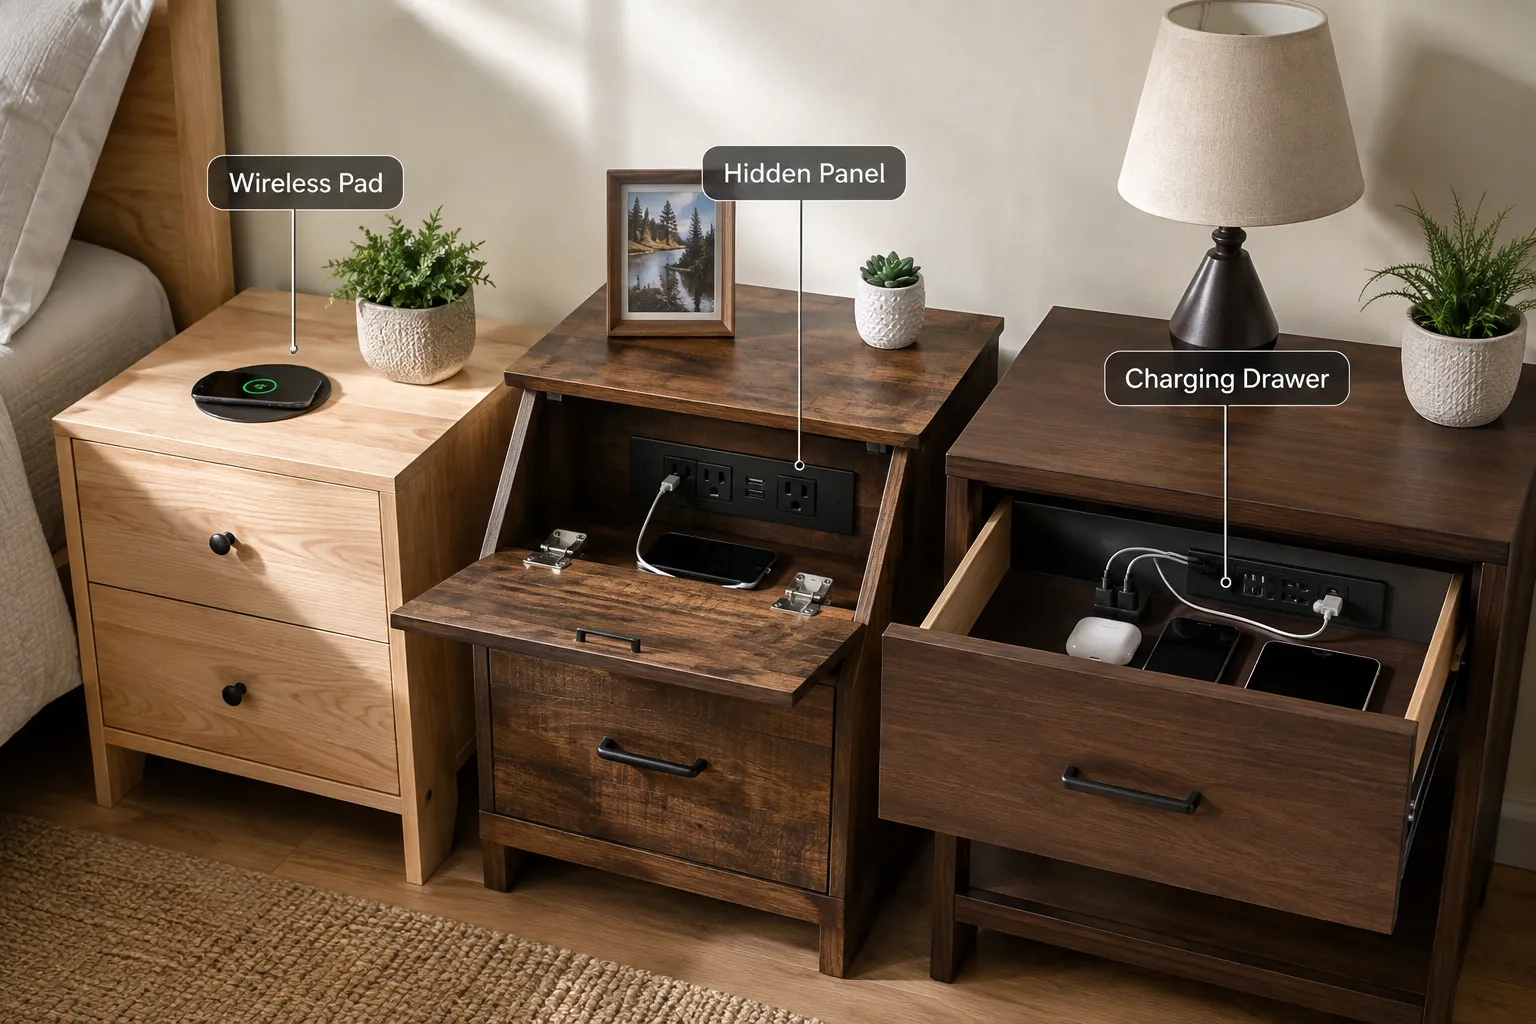
- Minimalist Floating Shelf: Ideal for small spaces, these can feature a hidden compartment beneath for chargers or a flush-mounted wireless charging pad on top. See our article on DIY nightstands and side tables: 3 space-saving designs for bedrooms and living rooms for more inspiration.
- Drawer-Equipped Nightstand: Offers ample storage. A dedicated drawer can be lined with felt and equipped with an internal power strip for charging multiple devices out of sight.
- Open-Shelf Design: Provides easy access to devices, but requires more rigorous cable management to maintain a tidy look.
- Pedestal or Column Design: A sleeker profile that can incorporate a hidden vertical channel for cables.
- Material Selection: Hardwoods like oak, walnut, or maple offer durability and a premium feel. Plywood with veneer can be a cost-effective alternative for contemporary designs. For a rustic modern look, consider integrating elements like barnwood accent walls.
Size and Placement:
- Measure your bedside area carefully. Consider the height relative to your mattress and the width necessary to hold your essentials without overcrowding.
- Ensure enough clearance for opening drawers or accessing hidden compartments.
Integrated Charging Dock Options
The heart of your tech-enabled nightstand is its charging capability. Here are popular options to consider:
- Wireless Charging Pads (Qi-compatible):
- Surface-mounted: Easy to install, sits on the nightstand’s top surface.
- Flush-mounted: Requires routing a recess into the wood for a seamless look. These typically sit just below the surface, charging through thin wood.
- Hidden beneath surface: For a truly invisible solution, some pads can charge through thicker wood, making the nightstand surface completely clear.
- USB Charging Ports:
- Standard USB-A and USB-C ports: Essential for fast-charging modern devices. Can be integrated directly into the side, back, or inside a drawer.
- Multi-port USB hubs: If you have many devices, a small hub can be concealed within the nightstand.
- Standard AC Power Outlets:
- Recessed outlets: Flush-mounted power outlets for lamps, laptops, or other AC-powered devices.
- Integrated power strips: A compact power strip can be hidden within a compartment, providing multiple AC and USB options. Ensure it has surge protection.
Cable Management Strategies
Effective cable management is what transforms a “charging station” into a truly “integrated” design.
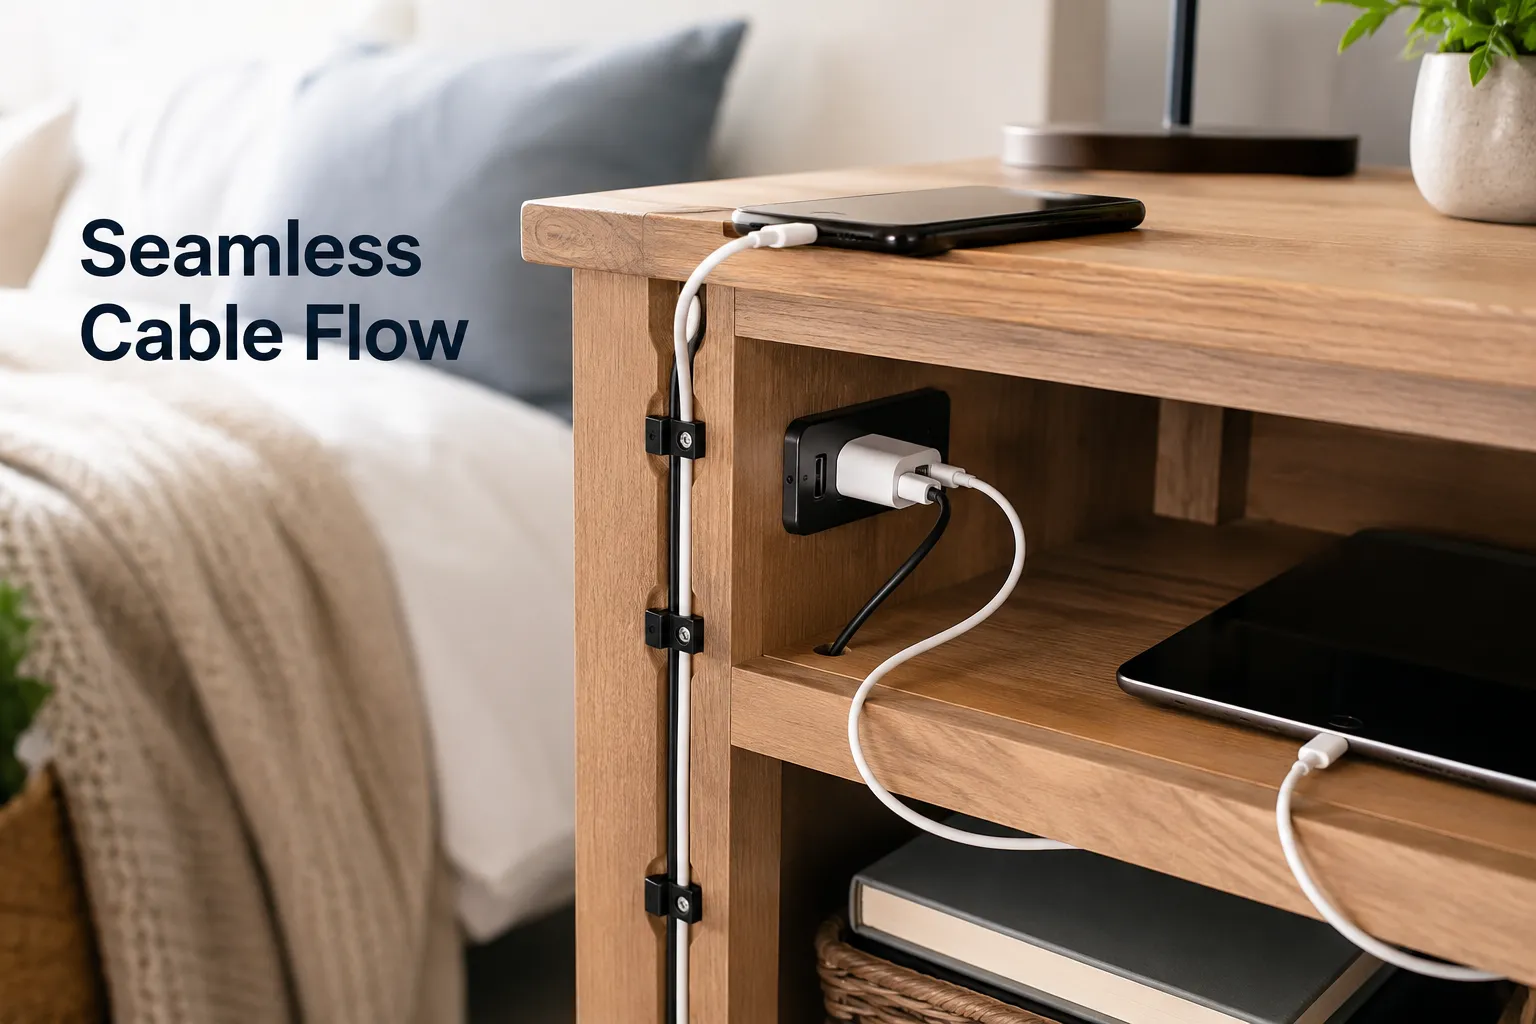
- Cable Channels/Grooves: Route channels directly into the wood (e.g., along the back edge or inside legs) to guide cables neatly from the charging points to the wall outlet.
- Hidden Compartments: Create small, discrete areas or false backs where excess cable length and power bricks can be stored.
- Cable Clips and Ties: Use adhesive cable clips or reusable cable ties within hidden areas to secure wires and prevent tangling.
- Grommets: Install rubber or plastic grommets in drilled holes where cables pass through surfaces, providing a finished look and protecting the wires.
- Drawer-Based Management: Designate a shallow drawer for charging, with a power strip installed inside and a small notch or hole at the back for the main power cord to exit. This keeps all charging components completely out of sight. For ideas on hidden storage, check out our guide on building custom entryway tables with hidden storage.
Construction and Safety: Bringing Your Design to Life
Once your design is finalized, the construction phase begins. This involves woodworking skills and careful consideration of electrical safety, making it a rewarding project for those comfortable with DIY. For those needing to upgrade their workshop, consider reviewing options like Best Table Saws with Integrated Stands for Small Woodshops to ensure precision cuts.
Essential Tools and Materials
- Wood: Choose lumber or plywood based on your design and budget.
- Cutting Tools: Table saw, miter saw, jigsaw (for curves or intricate cuts).
- Drilling Tools: Drill, various drill bits (including Forstner bits for flush-mounted components).
- Routing Tools: Router with appropriate bits for creating cable channels and recesses.
- Fasteners/Adhesives: Wood glue, screws, dowels, clamps.
- Sanding Supplies: Sandpaper (various grits), orbital sander.
- Finishing Supplies: Stain, paint, polyurethane, or oil finish.
- Electrical Components: Chosen charging docks, power strips, extension cords, wire connectors, cable clips, grommets.
- Safety Gear: Safety glasses, hearing protection, dust mask.
Step-by-Step Construction Overview
- Cut Components: Accurately cut all wood pieces according to your design plans. This is where precise measurements are critical.
- Route Channels and Recesses:
- Before assembly, use a router to create any necessary cable channels along edges, inside legs, or on the underside of shelves.
- Route recesses for flush-mounted wireless chargers, power strips, or USB ports. Test fit all electrical components to ensure they sit snugly.
- Assemble the Structure:
- Join the cut pieces using your chosen joinery methods (e.g., pocket screws, dowel joints, mortise and tenon). Glue and clamp thoroughly.
- If building drawers, assemble them at this stage.
- Integrate Electrical Components:
- Once the basic structure is solid, install the charging docks, power strips, and USB ports. Secure them firmly.
- Run the main power cords through the designed cable channels.
- For wireless charging pads, ensure they are correctly positioned and secured underneath or within their recess.
- Manage Internal Cables:
- Route all internal device cables (e.g., from a power strip to individual USB ports or charging pads) neatly within the designated channels or hidden compartments.
- Use cable clips, ties, or small staples to secure the cables, preventing them from shifting or getting pinched.
- Ensure sufficient slack to allow for easy connection and disconnection of devices.
- Finishing Touches:
- Sand all surfaces thoroughly, progressing through grits for a smooth finish.
- Apply your chosen stain, paint, or protective finish. Allow adequate drying time between coats.
- Install drawer slides, hardware, and any decorative elements.
Safety Considerations
Working with both woodworking tools and electrical components requires a strong emphasis on safety.
- Electrical Safety:
- Always use UL-listed or equivalent certified electrical components.
- Ensure all wiring is properly insulated and connections are secure. If you are uncertain about electrical work, consult a qualified electrician or opt for plug-and-play charging solutions that require minimal wiring.
- Provide adequate ventilation for any enclosed compartments holding power bricks or charging hubs, as these can generate heat. Small ventilation holes or a mesh back panel can prevent overheating.
- Never overload circuits. Use power strips with surge protection.
- Woodworking Safety:
- Always wear appropriate personal protective equipment (PPE), including safety glasses, hearing protection, and a dust mask.
- Understand and safely operate all power tools. Keep blades sharp and guards in place.
- Work in a well-ventilated area, especially when applying finishes.
- Stability: Ensure the nightstand is stable and won’t tip over, especially if it will hold heavy items or is tall. Consider anchoring it to the wall if necessary.
Conclusion
Crafting DIY Nightstands with Integrated Charging Docks and Cable Management: Modern Bedside Table Designs for Tech-Enabled Homes is a project that marries practical necessity with personal style. By taking the time to design and build a custom bedside table, you can eliminate unsightly cable clutter, enhance the functionality of your sleeping space, and add a bespoke piece of furniture that perfectly complements your home’s aesthetic. The process, while requiring careful planning and execution, offers immense satisfaction in creating something truly tailored to your modern, tech-enabled lifestyle.
The advantages extend beyond mere aesthetics; a well-designed nightstand improves daily convenience, ensures your devices are always charged, and contributes to a more serene and organized bedroom environment. This approach is not just about building furniture; it’s about optimizing your living space for the demands of the digital age, proving that form and function can beautifully coexist.
Actionable Next Steps:
- Assess Your Needs: Catalog all the devices you typically charge at your bedside and identify the types of charging ports and power outlets you require.
- Sketch Your Design: Begin drawing out ideas, considering the style, size, and specific locations for integrated charging and cable management.
- Source Components: Research and purchase your desired electrical components (wireless chargers, USB ports, power strips) and high-quality wood.
- Prioritize Safety: Plan your electrical integration carefully, ensuring all components are certified and that ventilation is considered for enclosed spaces.
- Start Building: Take your time with cuts, joinery, and routing, focusing on precision for a professional finish.
Meta Title: DIY Tech Nightstands: Integrated Charging & Cable Management Meta Description: Build modern DIY nightstands with integrated charging docks and seamless cable management. Create a clutter-free bedside in your tech-enabled home.