
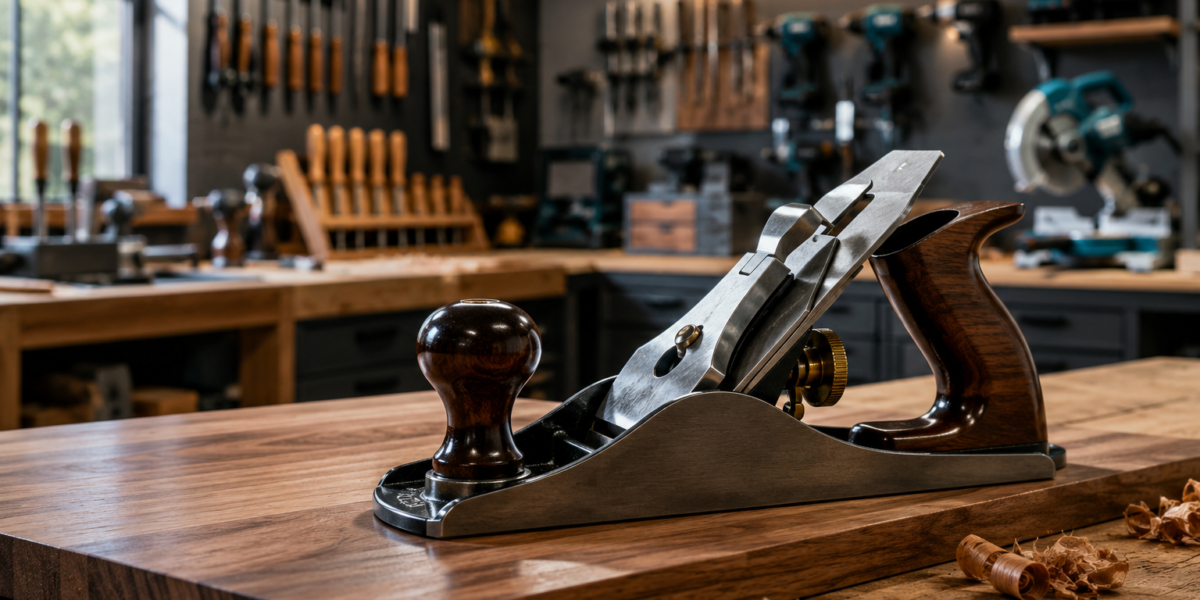

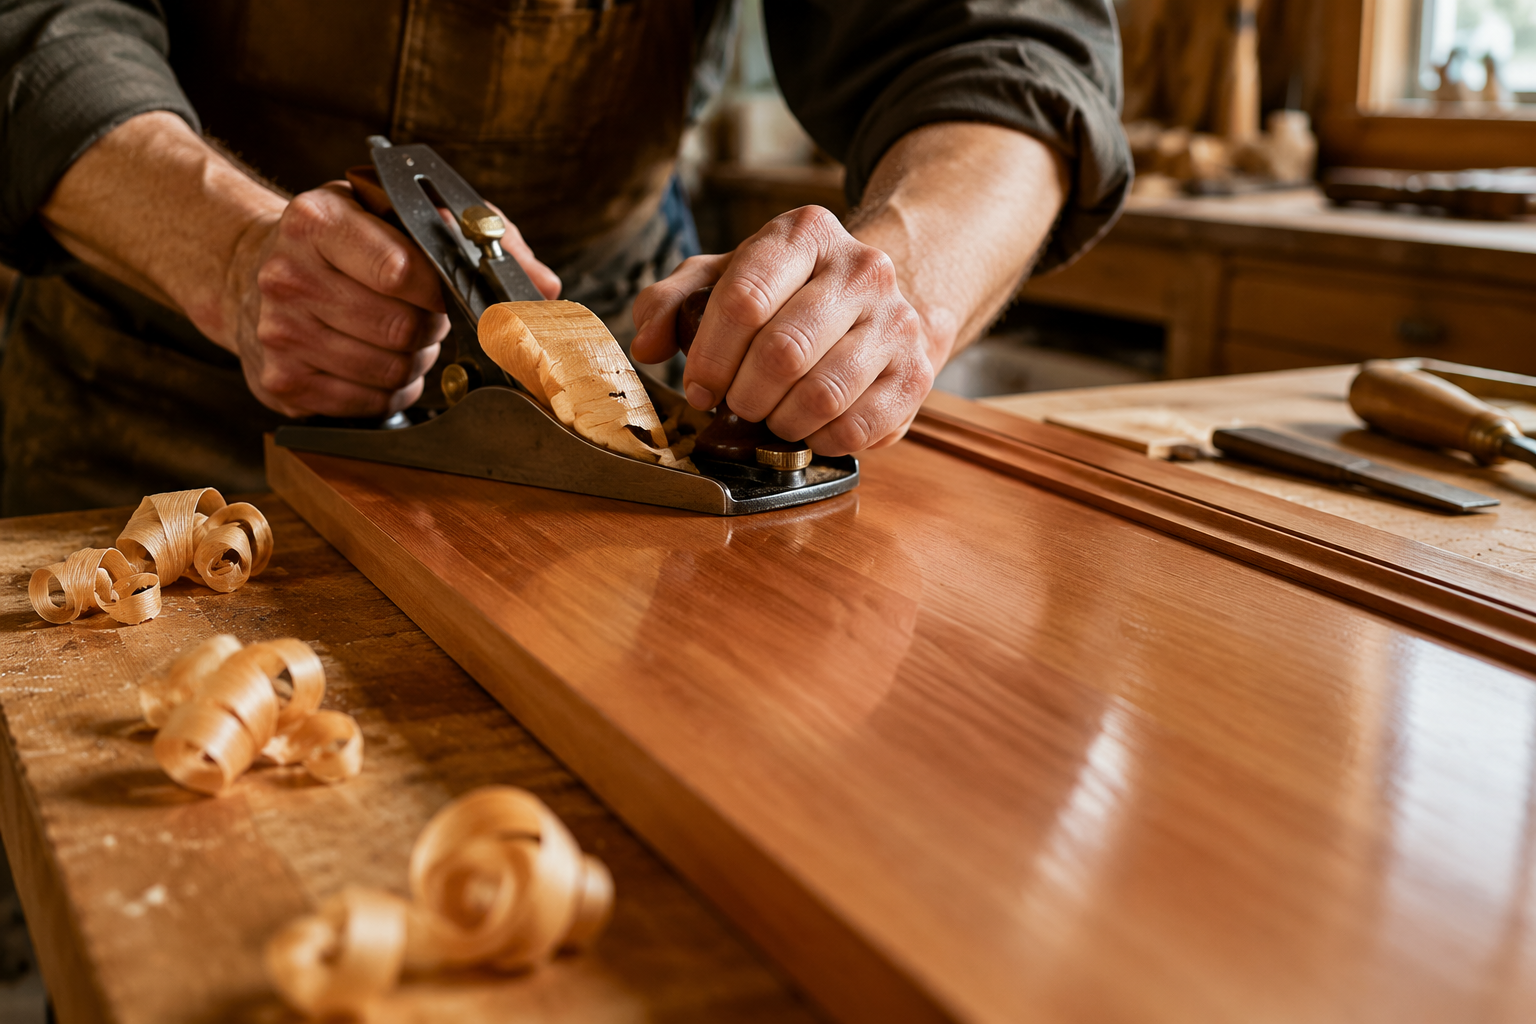
For many woodworkers, the gleam of a beautifully restored vintage handplane, producing whisper-thin shavings from a raw board, represents the ultimate pursuit of woodworking excellence. In an era where power tools dominate, the resurgence of handplane usage isn’t a nostalgic retreat but a strategic embrace of precision, surface quality, and a deeply satisfying connection to the craft. This article delves into the “Handplane Fundamentals: Tuning, Sharpening, and Smoothing Techniques for Modern Workshops,” offering a comprehensive guide to mastering these essential tools, particularly through the lens of restoring vintage planes for flawless surfaces on cabinets and tables, and seamlessly integrating them into hybrid workflows within compact spaces, aligning perfectly with 2026 authenticity trends.
Key Takeaways
- Restoration is Key: Even vintage planes can outperform new ones after proper restoration and tuning, providing superior control and finish.
- Sharpening is Non-Negotiable: A truly sharp blade is the single most important factor for effective handplane use, making the sharpening process central to success.
- Tuning for Performance: Correct blade projection, frog adjustment, and chip breaker placement are crucial for preventing tear-out and achieving smooth cuts.
- Hybrid Workflows: Handplanes complement power tools, excelling at final dimensioning, surfacing, and decorative details where machine precision falls short.
- Surface Perfection: Mastered handplane techniques deliver an unmatched surface quality, superior to sanding, especially for fine furniture and visible joinery.
Handplane Fundamentals: Restoration and Initial Tuning for Flawless Surfaces
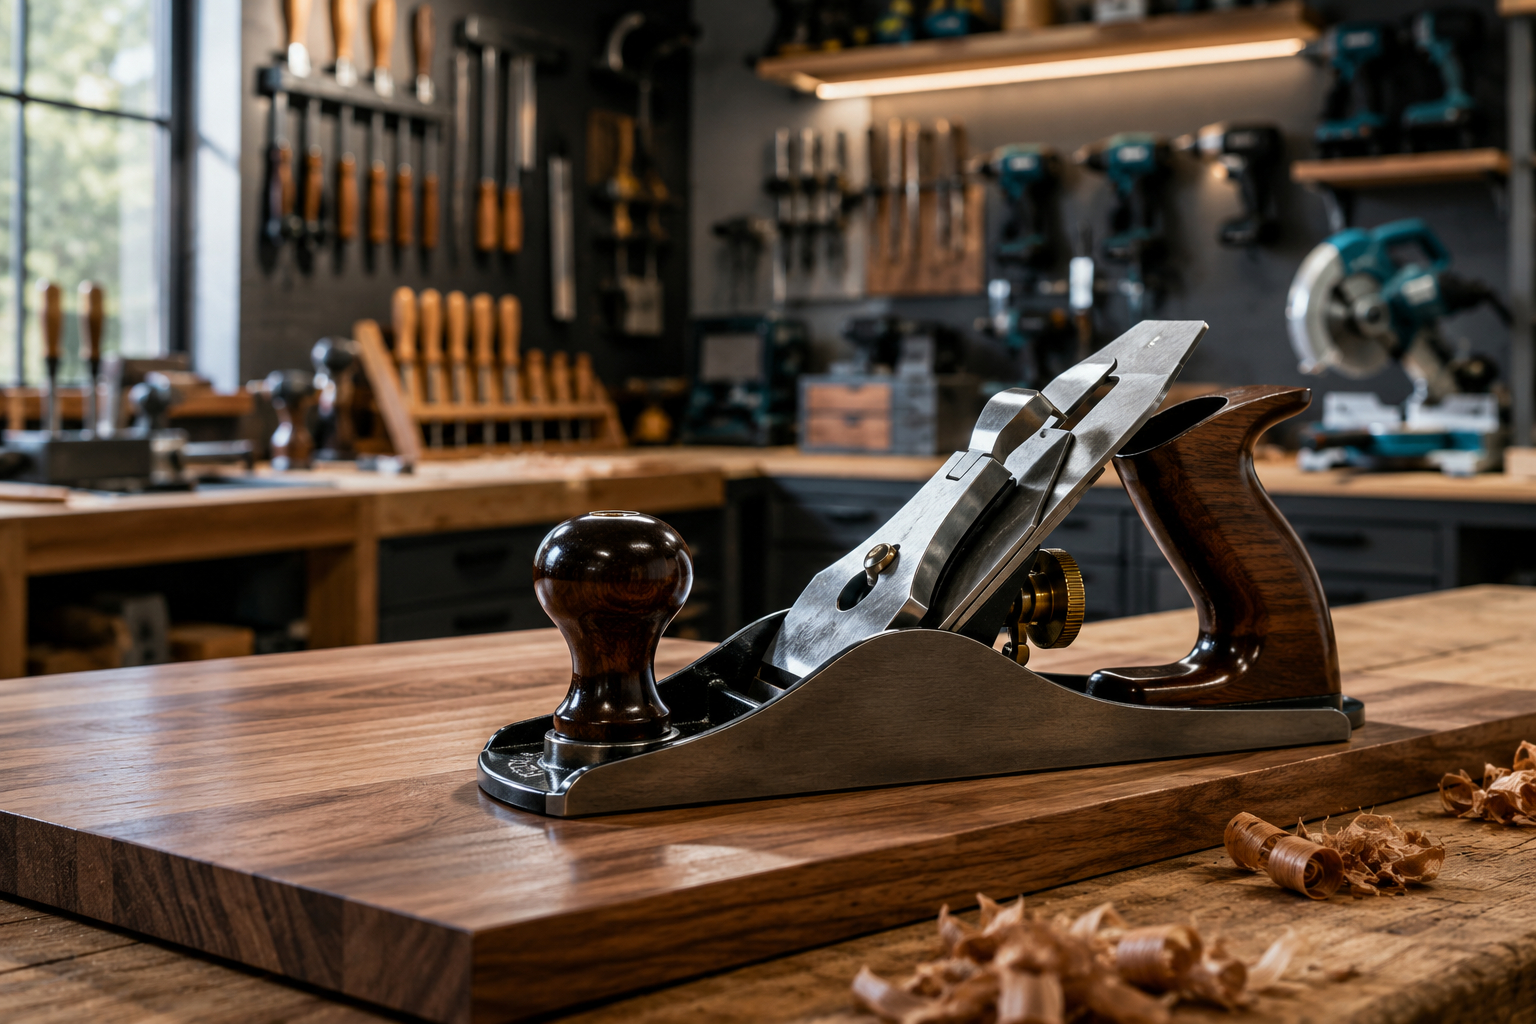
The journey to mastering handplanes often begins not with a new purchase, but with the restoration of a classic. Vintage planes, often found at antique markets or online, were built with superior materials and engineering compared to many modern counterparts. Their heavy cast iron bodies and robust designs make them ideal candidates for bringing back to peak performance.

Sourcing and Initial Assessment
When acquiring a vintage plane, look for a solid body free of major cracks or repairs. Rust is usually cosmetic and easily removed, but pitting on the sole (the bottom of the plane) or blade can be problematic. Ensure all major components are present: body, frog, lever cap, and blade assembly (blade and chip breaker). Common types include:
- Bench Planes: (e.g., #4 smoother, #5 jack, #7 jointer) for general surfacing, dimensioning, and flattening.
- Block Planes: For end grain, chamfers, and small tasks.
- Specialty Planes: Rabbet planes, shoulder planes, etc., for specific joinery tasks.
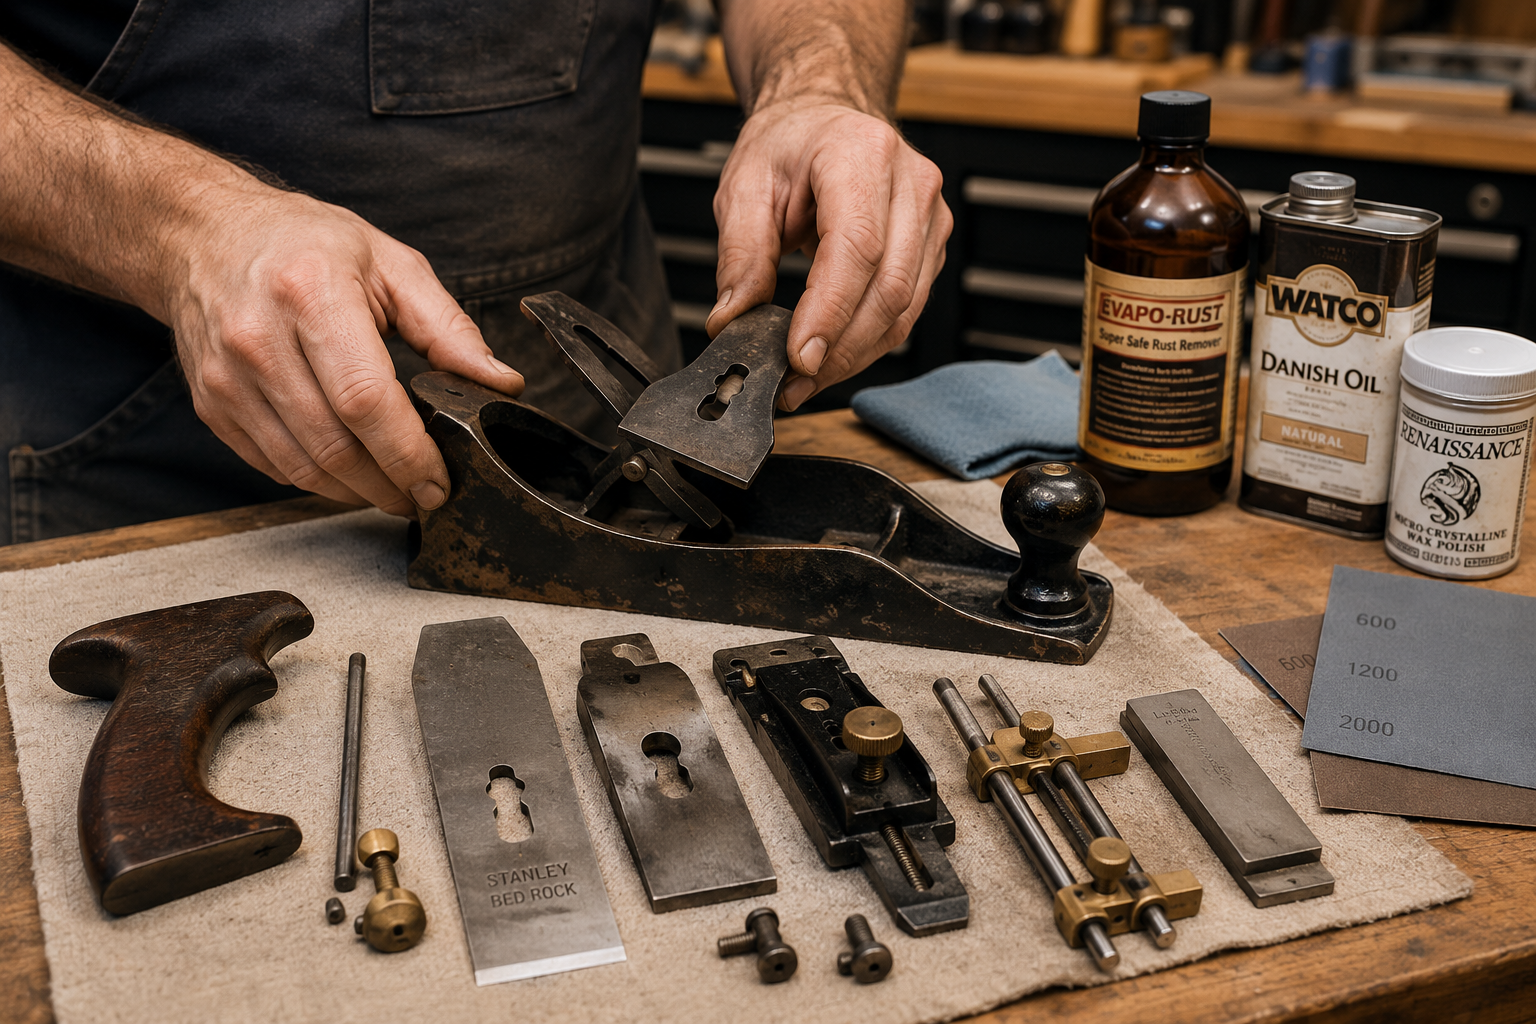
Disassembly and Cleaning
Once acquired, the plane needs a thorough cleaning. Disassemble all parts:
- Remove the lever cap and blade assembly.
- Unscrew the frog from the plane body.
- Remove the lateral adjustment lever and depth adjustment knob if possible.
Clean all metal parts using rust remover, wire brushes, and fine steel wool. For heavily rusted parts, an electrolysis bath can work wonders. Ensure all surfaces, especially the sole and the frog seating area, are clean and free of debris. Use a solvent to remove old grease and grime from adjustment mechanisms.
Flattening the Sole and Sides
A flat sole is paramount for consistent cuts. Many vintage planes, despite their quality, can have slight dips or twists. This process involves abrasives on a truly flat surface.
Materials:
- A known flat surface (granite slab, thick glass, or a jointer bed).
- Adhesive-backed sandpaper or spray adhesive for regular sandpaper.
- Grits from 80 or 100 up to 400 or 600.
- WD-40 or mineral spirits as a lubricant/coolant.
Process:
- Start with coarse grit (e.g., 80 or 100) on your flat surface.
- Lubricate the sandpaper lightly.
- Rub the plane’s sole over the sandpaper in a figure-eight pattern, applying even pressure.
- Periodically check the sole for shiny spots, which indicate high points. Continue until the entire sole is evenly scratched.
- Move to progressively finer grits (150, 220, 320, 400/600), cleaning the plane and surface between grits. This removes the scratches from the previous grit.
- The goal is not a mirror polish, but a consistent, uniformly flat surface.
- Repeat the process for the sides of the plane if perfect 90-degree angles are required for shooting boards or specific joinery tasks. This is particularly useful for achieving tight, precise joints, as explored in articles on Hand Tool Joinery for Visible Wood Joints.
Frog Adjustment and Mouth Opening
The frog supports the blade and chip breaker, and its position affects the plane’s performance.
- Frog Seating: Ensure the frog sits perfectly flat on the plane body. Lightly clean and polish the contact points.
- Mouth Opening: The mouth is the slot where the blade protrudes. For fine work and preventing tear-out, a tighter mouth is better. Adjust the frog forward for a tighter mouth, or backward for a wider mouth (useful for rougher work or thicker shavings). Aim for a tight mouth that still allows shavings to pass easily. This adjustment works in conjunction with Mastering Dovetail Joinery for Drawers where precision is paramount.
Sharpening: The Core of Handplane Fundamentals
A sharp blade isn’t just important; it’s everything. A dull plane will tear, chatter, and leave a poor surface. A truly sharp blade, honed to a razor edge, will glide through wood, producing continuous, translucent shavings. This is a critical skill for any woodworker looking to master “Handplane Fundamentals: Tuning, Sharpening, and Smoothing Techniques for Modern Workshops.”
Understanding Blade Anatomy and Bevels
A handplane blade (or “iron”) has two main angles:
- Primary Bevel: The main grind, typically 25 degrees.
- Micro Bevel/Secondary Bevel: A slightly steeper angle (2-5 degrees more than the primary) applied at the very edge, making sharpening quicker and the edge stronger.
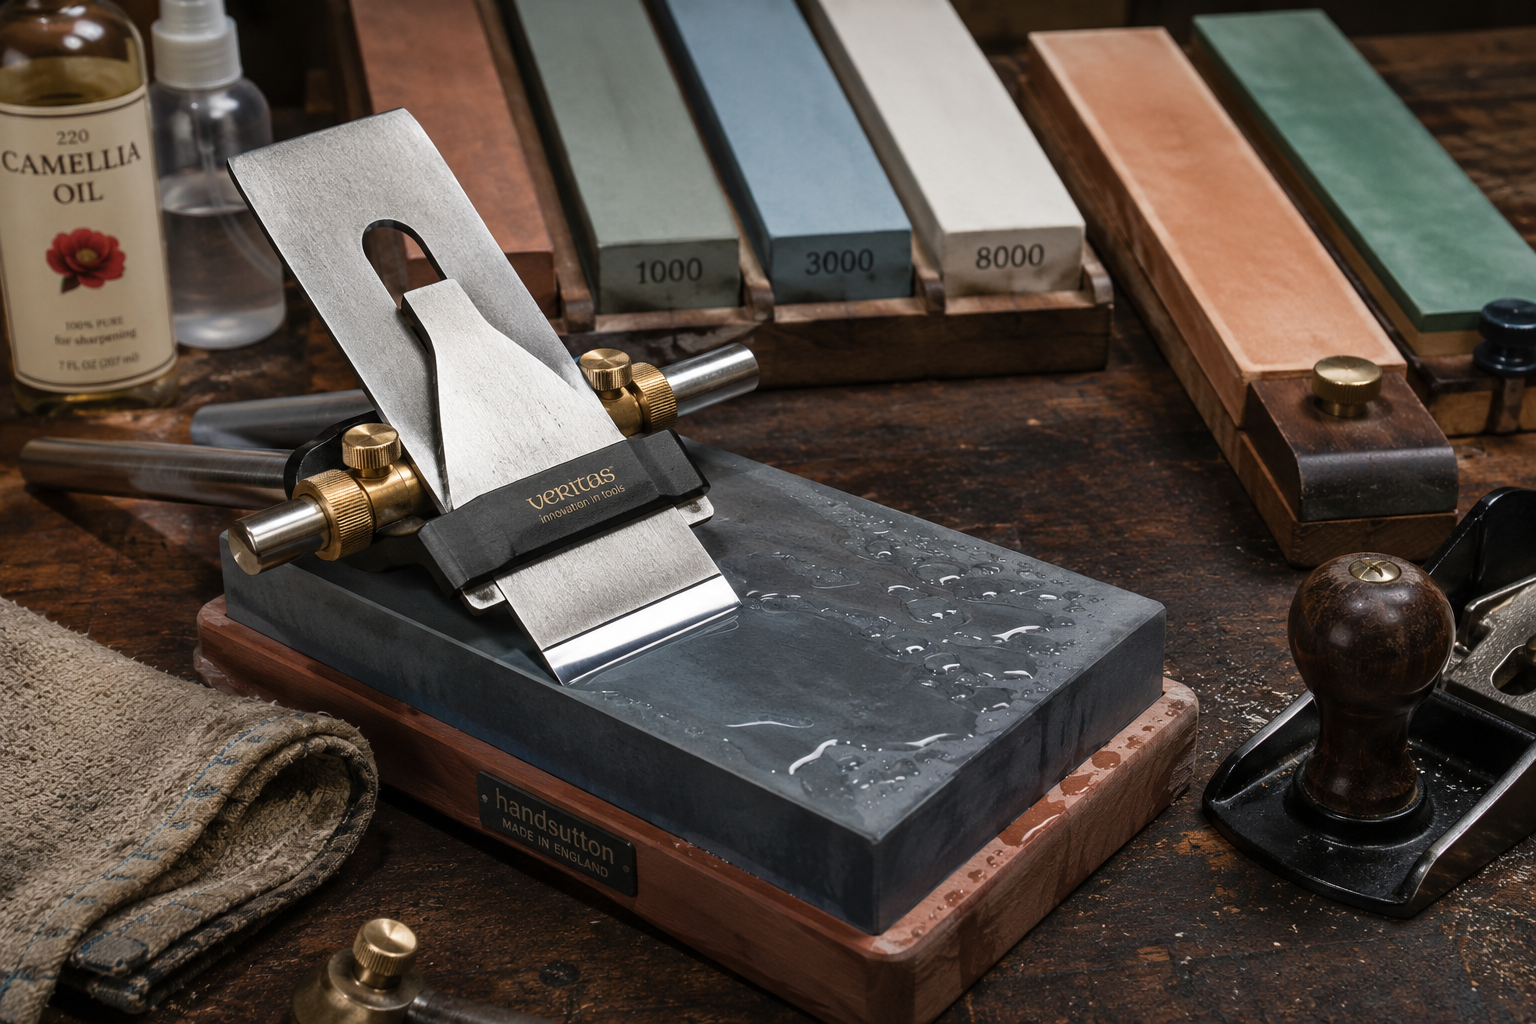
Sharpening Mediums
Several options exist for sharpening:
- Waterstones: Popular for their fast cutting action and ability to create a fine edge. They require flattening and soaking.
- Oilstones: Traditional, durable, but slower cutting.
- Diamond Plates: Versatile, never need flattening, and can be used wet or dry. Excellent for initial flattening and coarse sharpening.
- Sandpaper on Glass: An economical and effective method, especially for beginners.
Recommended Setup (Waterstones/Diamond Plates):
| Grit | Purpose |
|---|---|
| 100-400 | Repair chips, re-establish primary bevel |
| 800-1200 | Initial sharpening, refine bevel |
| 4000-8000 | Hone fine edge |
| 10000+ | Polishing, ultimate sharpness |
The Sharpening Process
- Initial Flattening: Ensure the back of the blade (the non-beveled side) is perfectly flat and polished, especially the first inch or so near the cutting edge. Any inconsistencies here will prevent a keen edge. Start with 1000 grit and work up to 8000.
- Grinding the Primary Bevel: If the blade is significantly damaged or you’re changing the angle, use a coarse stone (100-400 grit) or a grinding wheel.
- Honing the Edge:
- Using a Honing Guide: A honing guide is highly recommended for consistency. Set the blade in the guide to achieve your desired primary or micro-bevel angle.
- Coarse Stone (1000 grit): With the blade in the guide, push it forward and backward over the stone until a “burr” or wire edge forms along the entire length of the back of the blade. This indicates the two bevels have met.
- Fine Stone (4000 grit): Repeat the process on the finer stone until the burr is refined.
- Extra Fine Stone (8000+ grit): Repeat for a mirror-like polish on the bevel.
- Removing the Burr:
- On your finest stone, lay the blade flat on its back and make a few light passes.
- Then, with the bevel facing down, gently pull the blade backward (away from the cutting edge) a few times.
- Alternate these steps until the burr is completely gone.
- Stropping: For an even keener edge, strop the blade on a leather strop charged with honing compound. This further polishes the edge.
A truly sharp blade will slice paper cleanly without snagging and can shave hair. Investing time in sharpening is the single most effective way to improve your handplane results. For further techniques on keeping your tools razor-sharp, consider exploring resources on tool sharpening for cutting boards.
Smoothing Techniques and Hybrid Workflows in Modern Workshops
With a finely tuned and razor-sharp handplane, you’re ready to achieve those coveted, glass-smooth surfaces that define quality woodworking. These smoothing techniques are fundamental to the “Handplane Fundamentals: Tuning, Sharpening, and Smoothing Techniques for Modern Workshops” approach, especially when integrated into efficient hybrid workflows.

Setting the Blade and Chip Breaker
- Blade Projection: Loosen the lever cap, advance the depth adjustment knob until the blade protrudes only slightly from the sole – think a whisper-thin shaving. Re-tighten the lever cap firmly.
- Lateral Adjustment: Use the lateral adjustment lever to ensure the blade is parallel to the mouth opening. You want the same amount of blade protrusion across its entire width.
- Chip Breaker: The chip breaker sits just behind the cutting edge on the blade. For smoothing, set it very close to the edge (1/32″ or less). This helps curl the shaving tightly, preventing tear-out, especially on figured grain.
Essential Smoothing Techniques
- Read the Grain: Always plane with the grain. Planning against it (uphill) will cause tear-out. Learn to identify grain direction by observing the fibers. If tear-out occurs, reverse direction or try a skewing cut.
- Body Mechanics: Use your body weight and maintain a consistent angle.
- Start: Apply pressure to the front knob as you begin the stroke.
- Middle: Distribute pressure evenly over the plane.
- End: Shift pressure to the rear tote as you finish the stroke, preventing the plane from diving.
- Taking Light Shavings: For smoothing, the goal is not to remove a lot of material, but to refine the surface. Take gossamer-thin, continuous shavings. If the plane chatters or clogs, the blade might be dull, set too deep, or the chip breaker is too far from the edge.
- Skewing the Plane: For difficult grain, skewing the plane (angulating it across the direction of travel) can effectively reduce the cutting angle, making it easier to slice through fibers without tear-out.
- Working Across the Grain (Scrub Plane/Traverse Planing): For rapidly flattening a rough surface, a scrub plane or a regular plane with a cambered (curved) blade can be used to take aggressive, diagonal cuts across the grain. This reduces high spots quickly before finer smoothing.
Integrating Handplanes into Modern Hybrid Workflows
While power tools excel at speed and initial dimensioning, handplanes offer unparalleled control and surface quality for the final stages. This is the essence of a modern hybrid workshop.
- Initial Dimensioning with Power Tools: Use a jointer, planer, and table saw to get boards close to their final dimensions. These tools quickly remove bulk material. Building modular wood storage systems can help keep these power tools accessible yet tidy in a compact space.
- Flattening and Squaring with Handplanes: After initial power machining, the handplane can remove any machine marks, minor milling imperfections, and truly flatten a surface for glue-ups. A large jointer plane (#7 or #8) is excellent for this.
- Final Smoothing: For cabinet panels, tabletops, or any visible surface, a well-tuned smoothing plane (#4 or #4 1/2) creates a superior finish. This hand-planed surface takes finish beautifully, often better than heavily sanded surfaces, as it avoids sanding scratches and burnishing. This approach is invaluable for projects like DIY wooden wall clocks where surface aesthetics are paramount.
- Refining Joinery: Specialty planes like shoulder planes and block planes are invaluable for fine-tuning tenons, dados, and rebates, ensuring perfect fit and clean lines. This complements advanced joinery techniques discussed in Advanced Wood Carving Techniques for Decorative Furniture Accents where precision counts.
- Edge Work: Handplanes are excellent for chamfering edges, easing corners, and creating slight decorative bevels, providing a nuanced touch often difficult to achieve with a router without tear-out.
The beauty of a hybrid approach is that it leverages the strengths of both worlds. Power tools offer efficiency, while handplanes provide precision, feedback, and an unparalleled finish quality, especially important for fine woodworking projects in 2026.
Conclusion
Mastering “Handplane Fundamentals: Tuning, Sharpening, and Smoothing Techniques for Modern Workshops” is a transformative journey for any woodworker. It’s not about abandoning modern technology, but rather understanding how the nuanced control and superior surface finish offered by handplanes can elevate your craft to new heights. By committing to thorough restoration, meticulous sharpening, and refined smoothing techniques, you unlock the full potential of these timeless tools.
The integration of handplanes into a hybrid workshop workflow allows you to combine the speed and efficiency of power tools for initial dimensioning with the precision and tactile feedback of hand tools for final shaping and finishing. This approach not only yields aesthetically superior results but also deepens your connection to the material and the craft. As woodworking continues to evolve in 2026, the demand for authentic craftsmanship and exquisite surface quality remains, and the handplane stands ready to deliver. Embrace these fundamentals, and experience the profound satisfaction of truly understanding and working with wood.
Actionable Next Steps:
- Acquire a Handplane: Start with a vintage #4 smoothing plane or a #5 jack plane.
- Commit to Restoration: Thoroughly clean, flatten, and tune your plane using the steps outlined.
- Master Sharpening: Invest in a good sharpening setup (diamond plates or waterstones and a honing guide) and practice regularly. This is the most crucial skill.
- Practice Techniques: Start on scrap wood, focusing on grain direction, consistent body mechanics, and taking thin shavings.
- Integrate: Identify areas in your current projects where a handplane can achieve a better finish or more precise fit than a power tool.
SEO Meta Title: Handplane Fundamentals: Tuning, Sharpening, Smoothing for Workshops SEO Meta Description: Master handplane fundamentals for flawless wood surfaces. Learn tuning, sharpening, smoothing, and hybrid techniques for modern workshops in 2026.
