
The subtle tremor in a dining table as a glass is set down, or the irritating rock of a coffee table when leaning against it, is a universally frustrating experience. This phenomenon, often colloquially termed “table squishy,” transcends mere annoyance; it indicates underlying structural weaknesses that can compromise furniture longevity and user safety. Understanding ‘Table Squishy’: Troubleshooting Common Table Instability Issues and DIY Fixes is essential for anyone who values their furniture and seeks to restore its foundational integrity. In 2026, with an increasing appreciation for handcrafted and well-maintained pieces, knowing how to diagnose and remedy these common stability problems is more relevant than ever, transforming a wobbly irritant into a steady, reliable surface.
Key Takeaways
- “Table squishy” often stems from loose joinery, uneven legs, or warped wood, not just minor surface imbalances.
- A systematic inspection, including checking all fasteners and joint types, is crucial for accurate diagnosis.
- Common DIY fixes range from tightening screws and reinforcing joints with glue to using shims and glides for leveling.
- Preventative measures like regular maintenance and proper furniture placement can significantly extend a table’s stability.
- Addressing instability promptly not only improves functionality but also preserves the value and lifespan of your furniture.
Understanding ‘Table Squishy’: Diagnosing the Root Causes of Table Instability
Before embarking on any repairs, a thorough understanding of why a table might become “squishy” is paramount. Instability rarely stems from a single, obvious defect; rather, it’s often a combination of factors related to construction, material properties, and environmental conditions. Identifying the precise cause is the first critical step in effective troubleshooting.
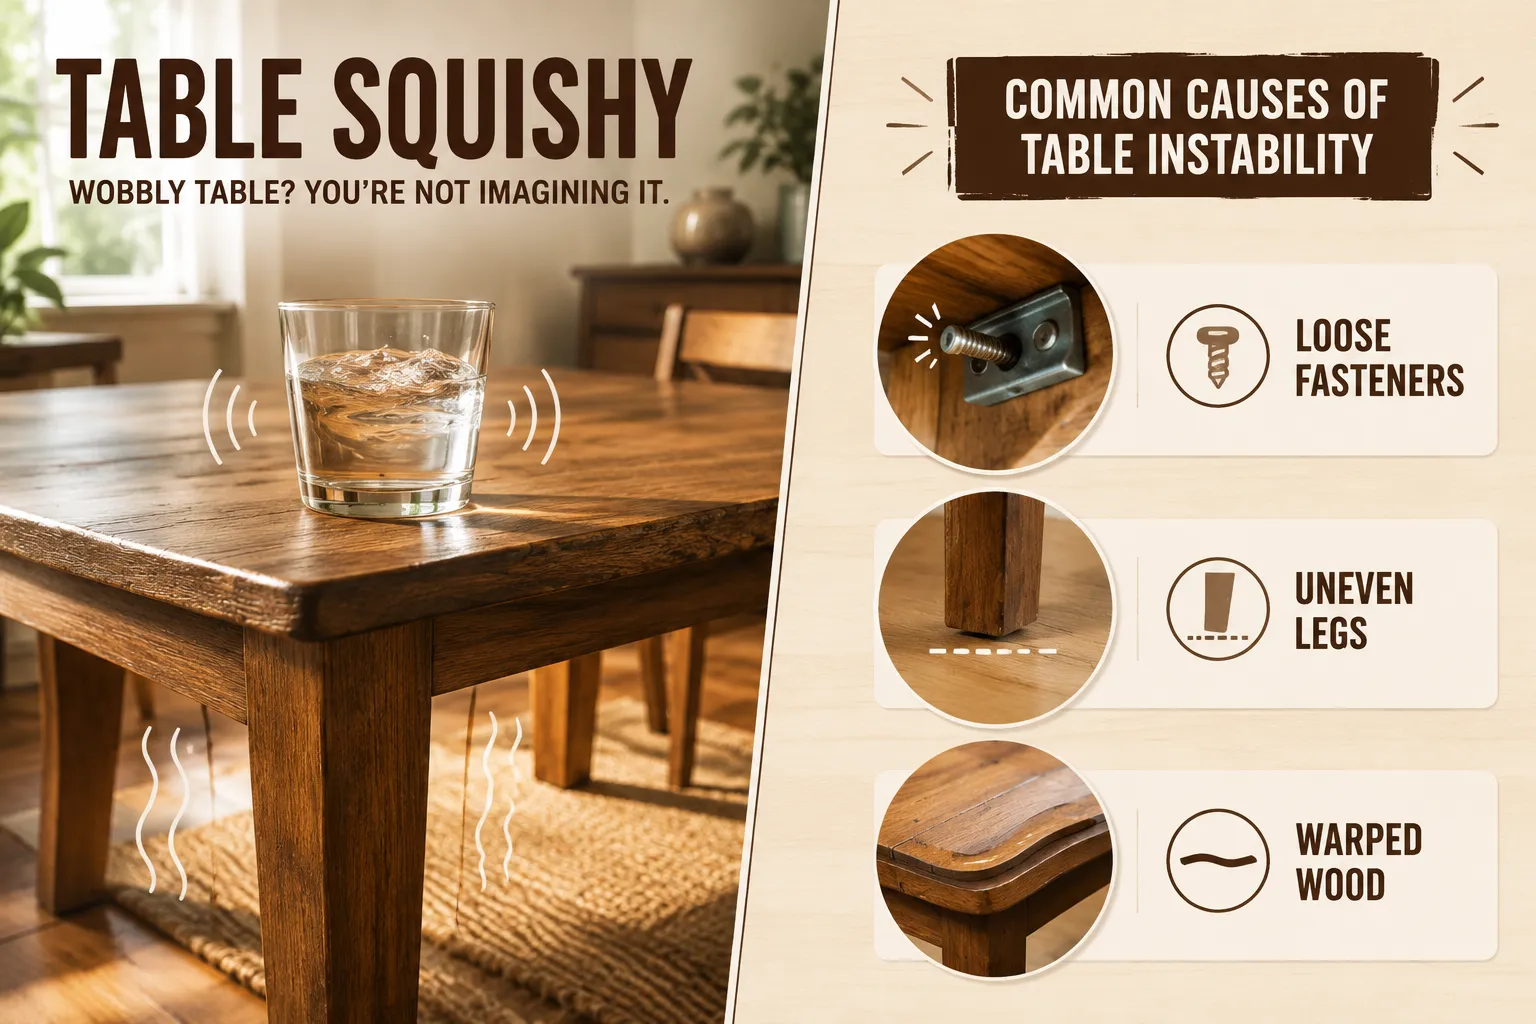
Common Causes of Table Instability
Table instability can be categorized into several primary areas:
- Loose Joinery: This is arguably the most frequent culprit. Over time, the repeated stresses of daily use, temperature fluctuations, and wood movement can cause glues to fail, screws to loosen, or dowels/tenons to shrink, resulting in weak connections between table components. Common joints like mortise and tenon, dowel joints, and simple butt joints secured with screws are all susceptible.
- Uneven Legs or Feet: Even if the joinery is sound, a table can still wobble if its legs are not perfectly uniform in length or if the floor it rests on is uneven. This often manifests as a persistent rocking motion.
- Warped Wood: Wood is a hygroscopic material, meaning it absorbs and releases moisture, causing it to expand and contract. This “wood movement” can lead to warping, twisting, or cupping of table components, especially the tabletop or individual legs, creating imbalances. Understanding this phenomenon is crucial for long-term furniture stability. For more on this, consider learning about Understanding Wood Movement: How to Design and Build Furniture That Lasts Through Seasonal Changes.
- Damaged Components: Cracks in legs, rails, or aprons, or stripped screw holes, can directly compromise the table’s structural integrity. These damages might be due to impact, excessive weight, or material fatigue.
- Substandard Construction: In some cases, the table’s initial construction might have been flawed, using inadequate fasteners, weak joinery techniques, or poor-quality materials. This can lead to premature instability.
Diagnostic Steps for Identifying Instability
A systematic approach to diagnosis will save time and ensure the correct fix is applied.
Step-by-Step Inspection:
- Initial Assessment: Place the table on a known flat surface (like a concrete garage floor or a leveled workbench) to rule out floor unevenness as the primary issue. Gently rock the table from different angles to determine the direction and degree of the wobble.
- Examine the Legs:
- Visual Check: Look for any visible cracks, splits, or bends in the legs.
- Level Test: Use a spirit level on the tabletop to check for overall flatness. Then, use a small level or a ruler to check the individual leg lengths against each other.
- Inspect Joinery: This is often the most critical area.
- Shake Test: Grab each leg firmly and attempt to wiggle it where it connects to the tabletop apron or frame. Any movement here indicates loose joinery.
- Fastener Check: Systematically inspect all screws, bolts, and other fasteners. Look for loose screws, stripped heads, or missing hardware. For joints, gently push and pull to check for play.
- Glue Lines: Examine visible glue lines for any separation. Discoloration or gaps are clear indicators of glue failure.
- Wedge or Pin Joints: If your table uses wedges or pins (common in more traditional joinery), check these for looseness or damage.
- Tabletop Integrity:
- Flatness Check: Use a long straightedge to check the tabletop for warping or cupping. Lay the straightedge across the top in multiple directions.
- Attachment Points: Verify that the tabletop is securely attached to the base. Sometimes the fasteners securing the top can loosen, causing a perceived wobble.
By meticulously going through these diagnostic steps, you can pinpoint the specific issues contributing to your table’s instability.
Common DIY Fixes for ‘Table Squishy’ Issues
Once the root cause of the “table squishy” has been identified, applying the correct DIY fix can restore stability. Many common issues can be resolved with basic woodworking tools and techniques.
Addressing Loose Joinery
Loose joints are a primary source of instability and often require a multi-faceted approach.
Tighten Fasteners:
- Screws: If screws are merely loose, tighten them carefully. Do not over-tighten, especially in softer woods, as this can strip the wood.
- Bolts/Nuts: For tables using bolts and nuts, ensure they are snug. Adding a lock washer can help prevent them from loosening again.
- Stripped Screw Holes: If a screw hole is stripped and no longer holds, several remedies exist:
- Wood Filler: Pack the hole with wood filler, let it dry completely, then pre-drill a pilot hole and reinsert the screw.
- Wood Dowel: A more robust fix involves gluing a wooden dowel (matched to the hole size) into the stripped hole, letting it dry, then cutting it flush, drilling a new pilot hole, and reinserting the screw. This is a durable solution.
- Larger Screw: As a temporary fix, a slightly larger diameter screw can sometimes bite into fresh wood.
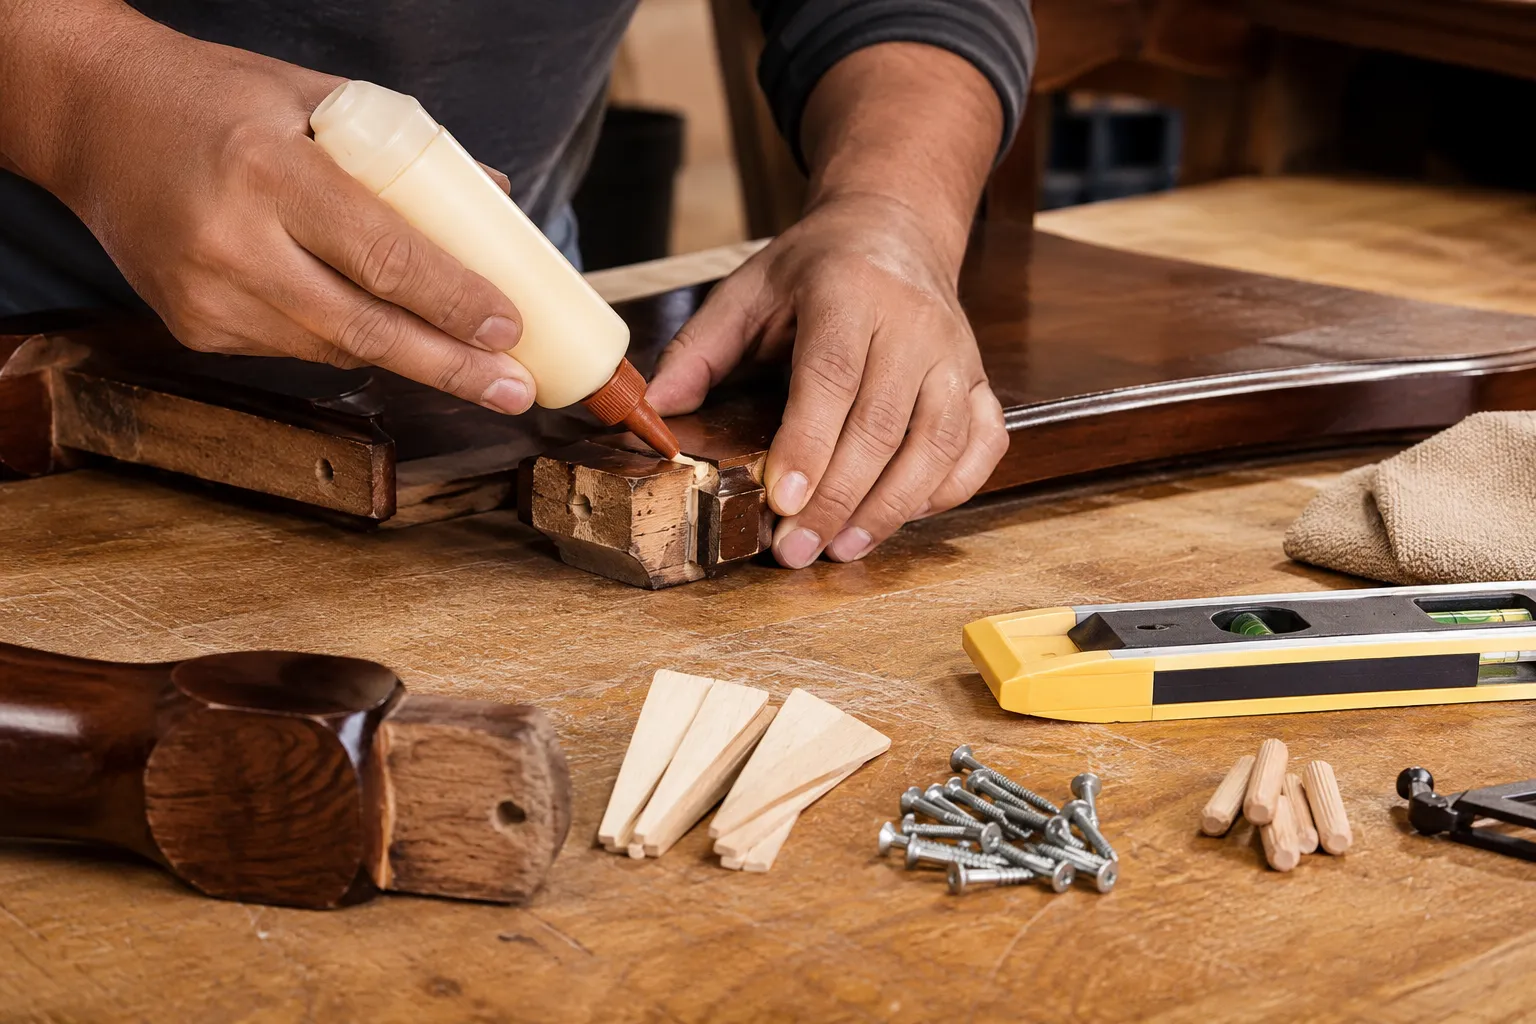
Regluing Joints: When glue has failed, disassembly and regluing are often necessary for a lasting repair.
- Disassembly: Carefully disassemble the loose joint. Mark components to ensure correct reassembly.
- Clean Surfaces: Scrape off all old glue from both mating surfaces. New glue won’t adhere properly to old, dried glue. A chisel or sandpaper can be effective.
- Apply New Glue: Apply a high-quality wood glue (like Titebond or similar) generously to both surfaces of the joint.
- Clamp: Reassemble the joint, ensuring it’s square and flush. Clamp the joint firmly until the glue dries completely, typically 24 hours. Ensure clamps apply even pressure without deforming the wood. For advice on joinery, consider our guide on Mastering Dovetail Joints with Hand Tools: A Step-by-Step Guide for Flawless Wood Joinery.
Reinforcing Weak Joints: For chronically problematic joints, additional reinforcement might be needed.
- Corner Blocks: Adding triangular wooden blocks (often called corner blocks or glue blocks) to the inside corners where legs meet aprons can significantly strengthen the connection. These are typically glued and screwed into place.
- Metal Brackets: For less visible areas or where wood reinforcement is impractical, metal L-brackets can provide considerable additional stability.
- Hidden Fasteners: Consider using specialized hidden fasteners if the aesthetic allows and the joint geometry is suitable. Learning about Mastering Woodworking Screws: Your Ultimate Guide for 2026 can provide further insight into fastener selection.
Correcting Uneven Legs and Wobbles
Once the joinery is sound, address any remaining wobble caused by uneven legs or surfaces.
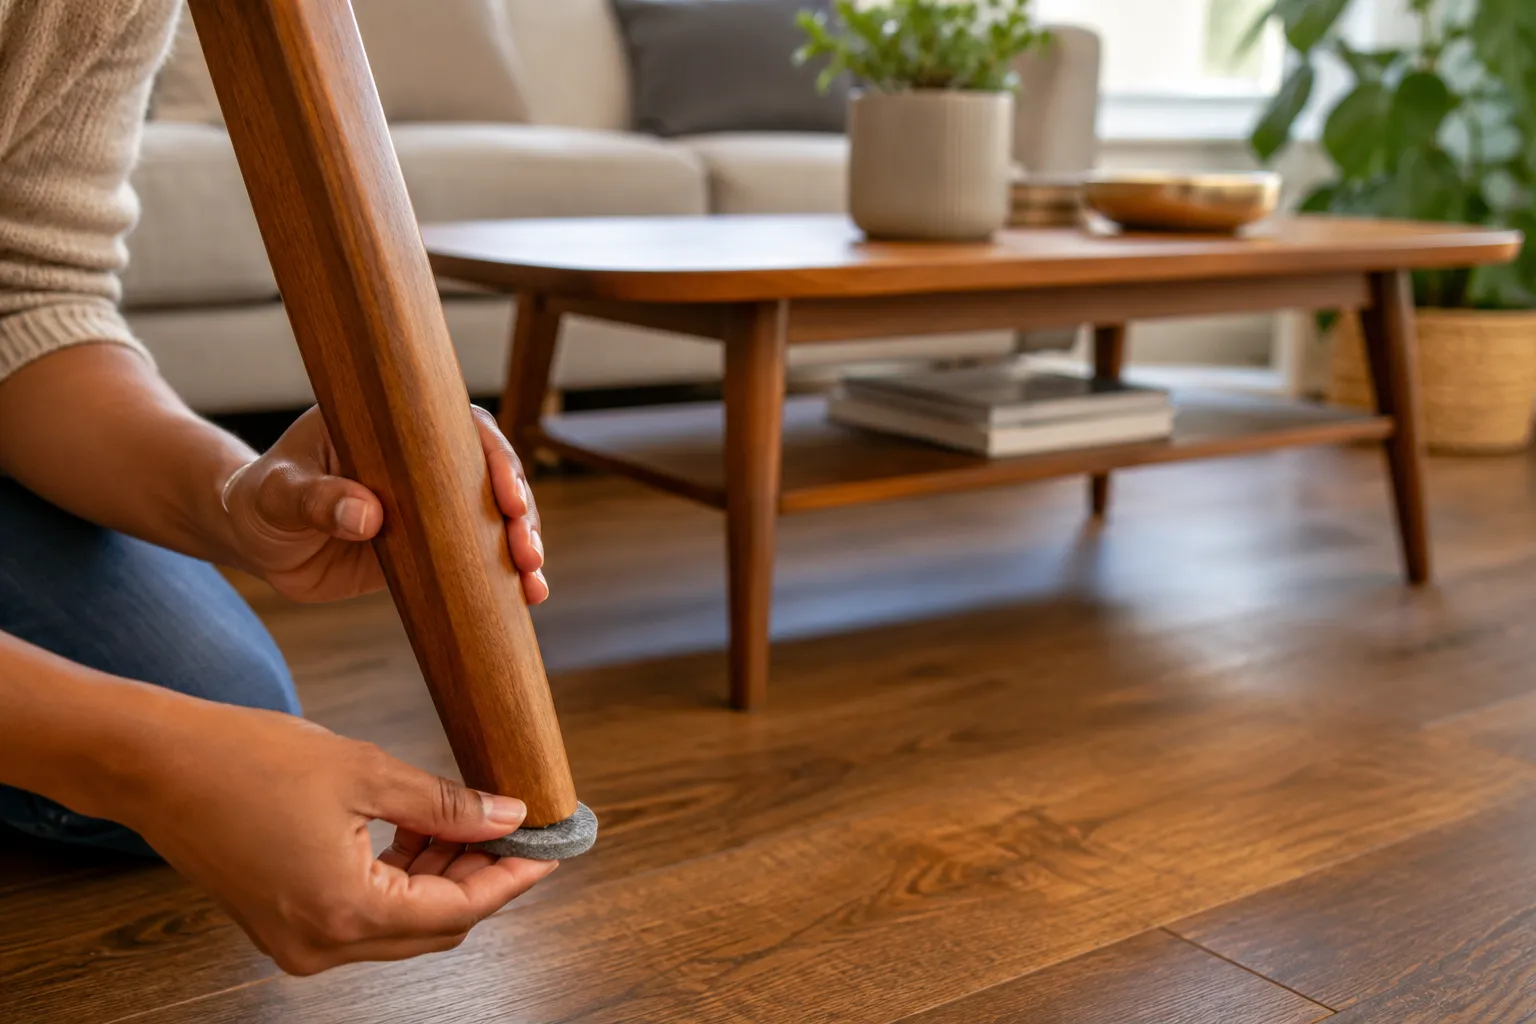
- Shims: For minor height discrepancies, small wooden or plastic shims can be inserted under the shorter leg(s). These should be thin and discreet. Felt pads often come in varying thicknesses and can serve a dual purpose of leveling and floor protection.
- Adjustable Glides: Many furniture pieces benefit from adjustable glides or levelers installed at the bottom of the legs. These allow for precise height adjustments, accommodating uneven floors effortlessly. They are especially useful for dining tables or workbenches.
- Trimming Legs (Extreme Cases): If one leg is significantly longer than the others, and shims are insufficient, the leg may need to be trimmed. This is a delicate operation requiring precision to avoid making the problem worse.
- Measure Accurately: Carefully measure the difference in height.
- Mark Evenly: Elevate the shorter legs to match the longest one, then use a marking gauge or a block of wood and a pencil to draw a precise cut line around the bottom of the longest leg(s).
- Cut Precisely: Use a miter saw or a handsaw with a guide to make a clean, even cut. Practice on scrap wood if you’re unsure.
Fixing Warped or Damaged Components
Warped components require more advanced woodworking techniques.
- Flattening Warped Tabletops:
- Moisture and Weight: For minor warps, sometimes placing the tabletop concave side down on a damp towel in a cool, dry place, and then adding weight evenly across the top, can help flatten it over several days.
- Battens/Breadboard Ends: For more severe warping in solid wood tops, adding parallel wooden battens or traditional breadboard ends to the underside can help counteract warping and keep the top flat. This is a more involved woodworking project.
- Repairing Cracks/Splits:
- Wood Glue and Clamps: Small cracks can be repaired by forcing wood glue into the crack and then clamping it tightly until dry.
- Epoxy: For larger or structural cracks, a two-part epoxy might be more appropriate, offering greater strength.
- Dutchmen/Splines: For significant damage, a “Dutchman” repair (inserting a matching piece of wood) or a spline can restore integrity and blend aesthetically.
Preventative Measures and Maintenance for Table Stability in 2026
Even after successfully addressing existing stability issues, proactive steps can prevent future instances of “table squishy” and extend the life of your furniture. Regular maintenance and careful placement are key.
Routine Maintenance Practices
- Periodic Fastener Checks: Make it a habit to periodically inspect and tighten all screws, bolts, and other fasteners on your tables, particularly those subjected to frequent movement or heavy use. A quarterly check can prevent small looseness from becoming a major issue.
- Joint Inspection: Regularly check glue joints for any signs of separation. If you notice a hairline crack or gap, address it immediately by injecting glue and clamping, before the joint completely fails.
- Cleaning and Conditioning: Keep wood clean and, if applicable, conditioned with appropriate wood finishes. This can help protect against moisture fluctuations that lead to warping. Refer to guides on finishes like Danish Oil vs Linseed: The Ultimate Wood Finishing Guide for best practices.
- Avoid Overloading: Do not subject tables to excessive weight beyond their design capacity. This puts undue stress on joints and components, accelerating wear and tear.
Optimal Furniture Placement and Use
- Level Surfaces: Always place tables on as level a surface as possible. If the floor is significantly uneven, use furniture glides or small, stable shims permanently installed under the legs to compensate.
- Avoid Excessive Moisture/Dryness: Position wooden tables away from direct sources of heat (radiators, direct sunlight) or excessive humidity (unvented bathrooms, damp basements). Extreme fluctuations in moisture can cause wood to warp, contributing to instability. Consider how environmental conditions affect wooden pieces when Building Statement Furniture Pieces: Designing and Constructing Coffee Tables, Benches, and Console Tables That Sell for $500 in 2026.
- Proper Lifting and Moving: When moving a table, always lift it rather than dragging it. Dragging can twist legs, strain joints, and cause screws to loosen or wood to split. For larger tables, enlist help to lift from all sides evenly.
- Protect from Impact: Be mindful of activities around the table that could lead to impacts or excessive force on its legs or frame.
- Use Coasters and Placemats: While not directly related to structural stability, protecting the tabletop surface from moisture rings and scratches contributes to the overall longevity and aesthetic value of the piece. Our article on Engraved Wooden Coasters with Custom Designs: Laser and Hand Carving Techniques for Profitable Sales provides insights into these protective elements.
By integrating these preventative measures and routine maintenance into your furniture care regimen, you can significantly reduce the likelihood of encountering “table squishy” issues, ensuring your tables remain stable and functional for many years to come.
Advanced Considerations and Professional Help
While many “table squishy” problems can be addressed with DIY fixes, some situations may require a more advanced approach or even professional intervention. Recognizing these limits is crucial for both safety and the preservation of your furniture.
When to Seek Professional Help
- Extensive Structural Damage: If a table has multiple broken components, severe warping that DIY methods cannot correct, or highly complex joinery failures (e.g., in antique furniture), a professional furniture restorer or experienced woodworker is often the best resource. They possess the specialized tools, knowledge, and experience to safely and effectively repair significant damage.
- Valuable or Antique Furniture: For antique tables or pieces with significant monetary or sentimental value, attempting DIY repairs without proper expertise can inadvertently cause irreversible damage, diminishing their value. A professional will understand historical joinery techniques and preservation methods.
- Lack of Proper Tools or Skills: Some repairs, such as precise leg trimming or complex re-gluing involving multiple clamps and jigs, require specific tools and a certain level of woodworking skill. If you lack these, a professional can complete the job correctly and efficiently.
- Recurring Issues: If you’ve attempted DIY fixes multiple times and the table continues to develop stability issues, it might indicate a deeper design flaw or material problem that a professional can diagnose and rectify more effectively.
Advanced DIY Techniques (with Caution)
For those with intermediate woodworking skills and access to appropriate tools, certain advanced techniques can be employed. However, these should be approached with caution and a clear understanding of the risks involved.
- Dowel and Tenon Repair: Replacing damaged dowels or tenons in a mortise and tenon joint requires precise drilling, carving, and fitting. This can involve drilling out old dowels or carefully cutting new tenons to match existing mortises. Hand Tool Mastery for Detail Work: Chisels, Hand Planes, and Rasps for Refined Joinery and Finishing can provide some foundational skills for such detailed work.
- Wedge Reinforcement: For through-tenons, adding small, glued wedges to the exposed end of the tenon can expand it within the mortise, creating a very strong mechanical lock. This is a traditional and highly effective method for preventing joint separation.
- Epoxy Reinforcement: For areas where wood is severely degraded or splintered, injecting structural epoxy can stabilize the material before rejoining. This is especially useful for older, brittle wood.
- Custom Bracing: Designing and installing custom wooden bracing or cleating underneath a tabletop or within the table’s apron can significantly stiffen the structure, especially for large tables prone to sway. This requires careful measurement and joinery.
When considering advanced repairs, remember that proper planning, accurate measurements, and the right tools are paramount. Always prioritize safety and, when in doubt, consult a professional. The goal is to restore stability and extend the life of your table, not to cause further damage.
Conclusion
Understanding ‘Table Squishy’: Troubleshooting Common Table Instability Issues and DIY Fixes is not merely about stopping an annoying wobble; it’s about preserving the functionality, aesthetic appeal, and longevity of your furniture. From identifying the subtle signs of loose joinery to implementing robust re-gluing techniques or precise leveling adjustments, the process of restoring a table’s stability is a rewarding endeavor for any homeowner or woodworking enthusiast in 2026.
By systematically diagnosing the root causes, be it loose screws, compromised glue joints, uneven legs, or warped wood, you empower yourself to apply targeted, effective solutions. Regular maintenance, coupled with thoughtful furniture placement and careful handling, forms the bedrock of preventative care, ensuring your tables remain steadfast surfaces for years to come. While many issues are within the scope of DIY repair, recognizing when to seek professional expertise is equally important for valuable or severely damaged pieces. Ultimately, a steady table contributes significantly to the comfort and utility of any space, transforming an erstwhile wobbly nuisance into a reliable and cherished part of your home.
Actionable Next Steps:
- Assess Your Tables: Take a moment to inspect all tables in your home for any signs of “squishy” behavior.
- Gather Tools: Collect basic repair tools such as screwdrivers, wood glue, clamps, shims, and a spirit level.
- Diagnose Systematically: Follow the diagnostic steps outlined in this article to accurately identify the cause of any instability.
- Implement DIY Fixes: Attempt the appropriate DIY repair based on your diagnosis.
- Schedule Maintenance: Integrate periodic fastener and joint checks into your home maintenance routine.
SEO Meta Title: Fixing ‘Table Squishy’: DIY Table Stability Troubleshooting Guide SEO Meta Description: Master ‘table squishy’ issues in 2026 with our DIY guide. Troubleshoot common table instability problems, from loose joints to warped wood, and apply effective fixes.