
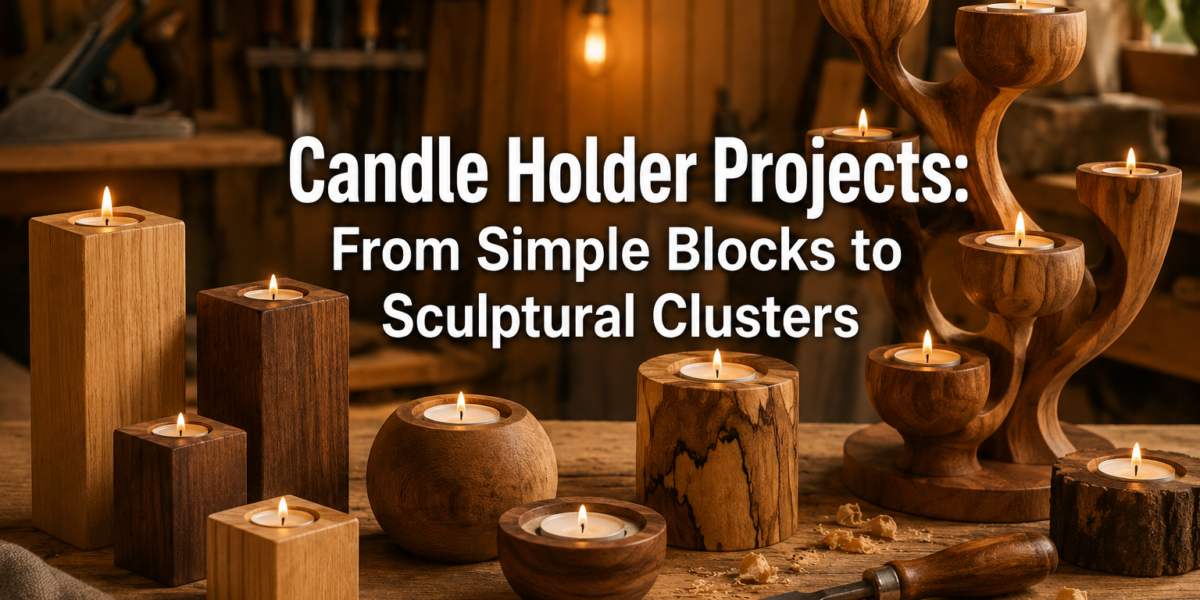

The flicker of a candle casts an unmatched warmth and ambiance, transforming any space into a sanctuary of calm or a vibrant gathering spot. Far beyond their functional purpose, candle holders serve as miniature sculptures, reflecting personal style and craftsmanship. This article, “Candle Holder Projects: From Simple Blocks to Sculptural Clusters,” will guide aspiring woodworkers and seasoned artisans alike through the journey of creating safe, stylish, and highly giftable wooden candle holders in 2026. We’ll begin with straightforward, accessible designs perfect for beginners, gradually progressing to more complex lathe work and intricate joinery techniques that highlight the inherent beauty of wood grain. Whether you aim to craft a thoughtful gift or adorn your own home, understanding the continuum from basic block designs to elaborate clusters is key to unlocking your creative potential.
Key Takeaways
- Start Simple, Grow Confident: Begin with basic block designs using minimal tools to build fundamental woodworking skills.
- Safety First: Always prioritize safety measures, especially when working with power tools and open flames.
- Embrace Wood’s Beauty: Select woods with interesting grains and experiment with finishes to enhance their natural appeal.
- Master Key Techniques: Progress from basic drilling to advanced lathe turning and joinery for increasingly complex designs.
- Gift-Ready Creations: Focus on craftsmanship and design to produce high-quality candle holders perfect for gifting in 2026.
Part 1: Beginner-Friendly Candle Holders – Simple Blocks and Basic Forms
For those just starting in woodworking, crafting a candle holder offers an excellent entry point. These projects require minimal tools and focus on fundamental skills such as accurate cutting, drilling, and finishing. The beauty of these simple designs lies in their clean lines, natural wood aesthetic, and versatility. These “Candle Holder Projects: From Simple Blocks to Sculptural Clusters” are perfect for building confidence.

Choosing Your Wood and Tools
The selection of wood is crucial, even for basic projects. Softwoods like pine or fir are budget-friendly and easy to work with, while hardwoods such as oak, maple, or walnut offer greater durability and stunning grain patterns. For simple block designs, scrap wood is often ideal, aligning with sustainable practices and making these profitable small-batch woodworking projects. Consider exploring sources like urban logging or certified forests for unique wood options Sustainable Wood Sourcing for the Modern Woodworker: Beyond Reclaimed.
Essential Tools for Simple Block Holders:
- Measuring Tape and Pencil: For accurate layout.
- Hand Saw or Miter Saw: For precise cuts.
- Drill Press or Hand Drill: With a Forstner bit (typically 1.5 inches for standard tealights or votives) to create the candle recess. A 3/16 Forstner bit might be useful for pilot holes or smaller decorative elements, but larger sizes are needed for the candle itself.
- Sandpaper (various grits): For smoothing surfaces.
- Wood Finish: Oil, wax, or clear coat to protect and enhance the wood.
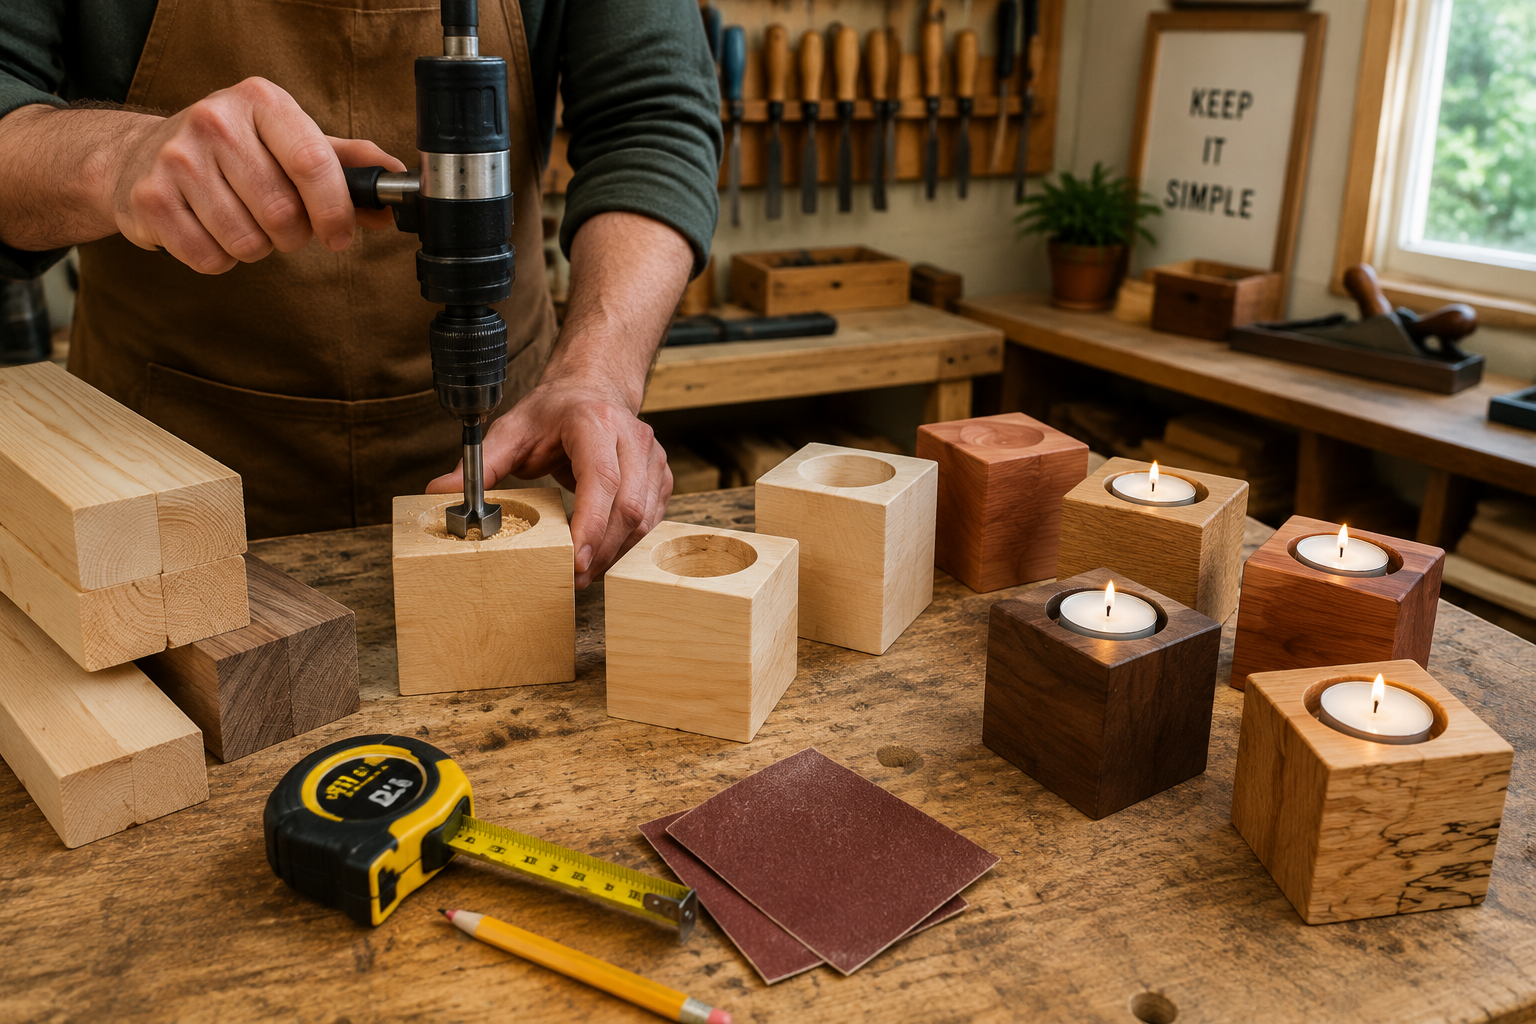
Crafting a Basic Block Candle Holder
- Select and Cut Your Stock: Start with a piece of wood, typically 3-4 inches wide and 3-6 inches long, and at least 1.5 inches thick. Cut it squarely to your desired dimensions.
- Mark the Center: Find the center of the block’s top face. This will be the center point for drilling the candle recess.
- Drill the Recess: Securely clamp your wood to a workbench. Using a drill press is highly recommended for straight, perpendicular holes. If using a hand drill, ensure you hold it steady. Fit your Forstner bit (e.g., 1.5 inches for a standard tealight). Drill to a depth of about 0.5 to 0.75 inches, depending on the candle size. Ensure you do not drill all the way through.
- 💡 Pro Tip: Place a piece of scrap wood under your workpiece to prevent tear-out when the drill bit exits the bottom, even if not drilling entirely through.
- Sanding: Begin with 100-120 grit sandpaper to remove saw marks and rough edges. Progress to 180-220 grit for a smooth finish. Ensure all surfaces, including the inside of the recess, are smooth to the touch.
- Finishing: Apply your chosen finish. Danish oil or linseed oil are excellent choices for emphasizing natural wood grain Danish Oil vs. Linseed: The Ultimate Wood Finishing Guide. Allow it to dry completely according to product instructions.
- Safety Check: Always ensure the candle holder is stable and the candle fits snugly but can be removed easily. Never leave burning candles unattended.

Part 2: Intermediate Techniques – Turned Pillars and Multi-Block Clusters
Once you’ve mastered the basics, it’s time to elevate your candle holder game. This section delves into creating turned pillars on a lathe and assembling multiple blocks into more complex, visually interesting clusters. These “Candle Holder Projects: From Simple Blocks to Sculptural Clusters” introduce new dimensions of design.
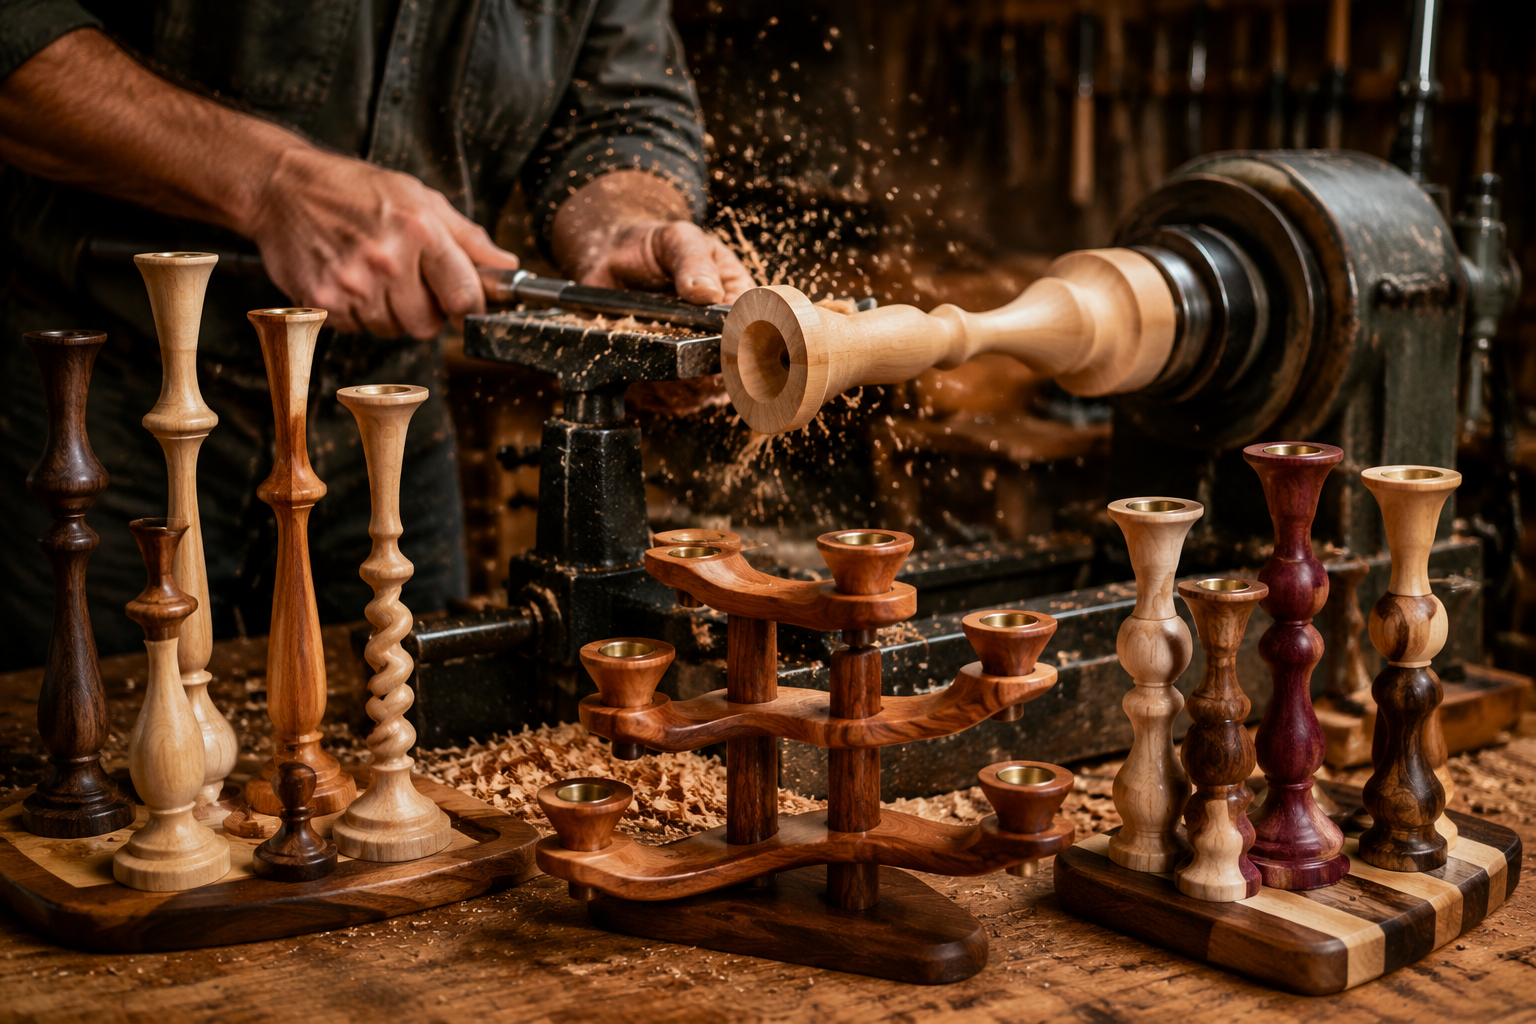
Lathe Turning for Elegant Pillars
Lathe turning opens up a world of flowing curves and intricate profiles, transforming a simple block of wood into a sophisticated pillar candle holder.
Tools for Lathe Turning:
- Wood Lathe: Essential for shaping cylindrical forms.
- Turning Chisels/Gouges: Various profiles for roughing, shaping, and detailing.
- Chuck or Drive/Live Centers: For securing the workpiece.
- Safety Glasses and Dust Mask: Non-negotiable for lathe work.
Steps for Turning a Pillar Candle Holder:
- Prepare the Blank: Select a square piece of wood suitable for turning, ensuring it’s free of defects. Rough-cut it to your desired length and thickness.
- Mount on Lathe: Secure the blank between the drive and live centers, or in a chuck. Ensure it runs true.
- Roughing: Using a roughing gouge, turn the square blank into a cylinder.
- Shaping: With various turning tools (spindle gouges, skew chisels), begin to shape the profile of your candle holder. Think about elegant curves, beads, coves, and tapered sections. Many designs for crafting wooden candle holders utilize these techniques.
- Drilling the Recess (on or off lathe): The candle recess can be drilled while the piece is still on the lathe using a drill chuck in the tailstock, or after the piece is removed, using a drill press. Drilling on the lathe ensures perfect concentricity.
- Sanding and Finishing (on lathe): Sand the piece smooth while it’s still spinning on the lathe, progressing through grits. Apply a friction polish or oil finish for a beautiful sheen.
- Parting Off: Carefully part the finished candle holder from the waste stock using a parting tool.
Assembling Multi-Block Clusters
Creating sculptural clusters involves combining multiple wood pieces to form a cohesive, dynamic arrangement. This often employs joinery techniques that add strength and visual interest.
Design Considerations for Clusters:
- Varying Heights: Use blocks of different heights to create visual hierarchy.
- Mixed Wood Species: Combine contrasting woods (e.g., dark walnut with light maple) for striking effects.
- Angles and Offsets: Introduce angles or stagger blocks for a more sculptural feel.
Joinery Techniques for Clusters:
- Wood Glue and Dowels: For strong, invisible joints. Doweling jigs can greatly improve accuracy Doweling Jigs: A Comprehensive Guide.
- Mortise and Tenon: A classic, robust joint suitable for larger, more structural clusters Hand Tool Joinery for Visible Wood Joints.
- Lap Joints: Simple yet effective for joining pieces at 90-degree angles.
- Screws (with plugs): For quick assembly, though plugs are needed to conceal the fasteners.
Steps for a Multi-Block Cluster:
- Design and Plan: Sketch your desired cluster, determining the size, shape, and arrangement of each component.
- Cut and Drill Individual Blocks: Prepare each block as you would a simple candle holder (cut, mark, drill recess).
- Prepare Joinery: If using dowels, drill corresponding holes in mating pieces. If using mortise and tenon, cut these precisely.
- Dry Fit: Assemble the cluster without glue to ensure all parts fit correctly.
- Glue-Up: Apply wood glue to the joints and clamp the assembly securely. Wipe off any squeeze-out immediately.
- Final Sanding and Finishing: Once the glue is dry, perform any final sanding to smooth transition areas, then apply your chosen finish.

Part 3: Advanced Sculptural Clusters and Gifting Insights for 2026

Pushing the boundaries of “Candle Holder Projects: From Simple Blocks to Sculptural Clusters” involves integrating complex designs, artistic elements, and refined finishing techniques. These advanced projects are not only stunning decorative pieces but also highly marketable custom wooden gifts.
Sculptural Clusters with Artistic Flair
Advanced sculptural clusters might incorporate multiple levels, cantilevered elements, or even integrate other materials like metal accents. The focus here is on creating a statement piece that blends functionality with artistry.
Advanced Design Concepts:

- Modular Elements: Design components that can be rearranged or combined in different ways, akin to modular furniture design.
- Grain Matching: Carefully select and orient wood pieces so their grain patterns flow seamlessly across the assembly.
- Undercutting and Carving: Introduce carved details or undercut sections for dramatic shadows and visual depth.
- Incorporating Live Edge: For a rustic yet modern aesthetic, integrate small live-edge pieces into your cluster.
Finishing for Impact:
The finish can transform a good project into a great one. For advanced pieces, consider finishes that offer durability and accentuate the wood’s character.
- Oil-Varnish Blends: Provide both protection and a rich, hand-rubbed look.
- Lacquer or Polyurethane: For a high-gloss, protective, and durable surface Aerosol Polyurethane: Benefits, Application, and Types.
- Stains and Dyes: To alter wood color while allowing grain to show through. Experiment with unique wood finishing techniques or natural wood finishing techniques.
- Wax Finishes: For a soft, natural luster.
Safety Considerations for Complex Designs
As designs become more intricate, safety remains paramount.
- Stability: Ensure complex clusters are inherently stable and will not tip easily, especially with lit candles. Consider adding weighted bases if necessary.
- Heat Dissipation: Design so that the heat from burning candles does not scorch or ignite adjacent wooden elements. Allow adequate spacing.
- Candle Fit: Recesses should securely hold candles without being too tight to prevent removal, nor too loose, allowing them to wobble. Using glass inserts for votives can add an extra layer of fire safety.
Gifting and Selling Your Creations in 2026
Wooden candle holders, particularly those with a custom or artisanal touch, make exceptional gifts. In 2026, there’s a strong market for unique, handcrafted items.
- Presentation Matters: Consider elegant packaging, perhaps a simple box tied with twine or ribbon. Include a care card for the wood.
- Personalization: Engrave initials, dates, or a short message for a truly custom gift. This elevates their value as custom wooden gifts for the holiday season.
- Photography: High-quality photos of your finished candle holders in an attractive setting are vital for online sales or showcasing your work.
- Market Trends: Research popular styles and wood choices for home decor in 2026 to ensure your designs resonate with buyers. Minimalist, Nordic, and rustic-chic aesthetics remain strong. These projects are ideal for maximizing profit from scrap wood.

Conclusion
From the foundational simplicity of block designs to the intricate beauty of sculptural clusters, the world of “Candle Holder Projects: From Simple Blocks to Sculptural Clusters” offers endless creative possibilities. This journey, from a beginner learning basic cuts and drills to an artisan mastering lathe work and joinery, fosters not only woodworking skill but also an appreciation for the natural elegance of wood.
As you embark on or continue your projects in 2026, remember to prioritize safety, embrace the unique characteristics of each piece of wood, and experiment with different designs and finishes. Whether destined to illuminate your own home or to be cherished as a heartfelt gift, a handcrafted wooden candle holder is a testament to skill, patience, and the enduring appeal of artisan work. Keep practicing, keep designing, and let your creativity shine as brightly as the candles your holders will beautifully display.
Actionable Next Steps:
- Start Small: Begin with a simple block design using scrap wood to practice drilling and finishing.
- Invest in a Forstner Bit: A quality 1.5-inch Forstner bit is indispensable for candle recesses.
- Explore Wood Turning: If you have access to a lathe, try turning a basic pillar to experience the joy of shaping wood.
- Experiment with Finishes: Purchase a few small cans of different finishes (oil, wax, polyurethane) to see how they change the look and feel of your chosen wood.
- Design Your First Cluster: Sketch a multi-block cluster idea, even if it’s just two blocks joined, and plan your cuts and joinery.
SEO Meta Title: Crafting Wooden Candle Holders: Simple to Sculptural in 2026 SEO Meta Description: Explore candle holder projects from easy block designs to intricate sculptural clusters. Learn to craft unique, gift-ready wood holders in 2026.
