
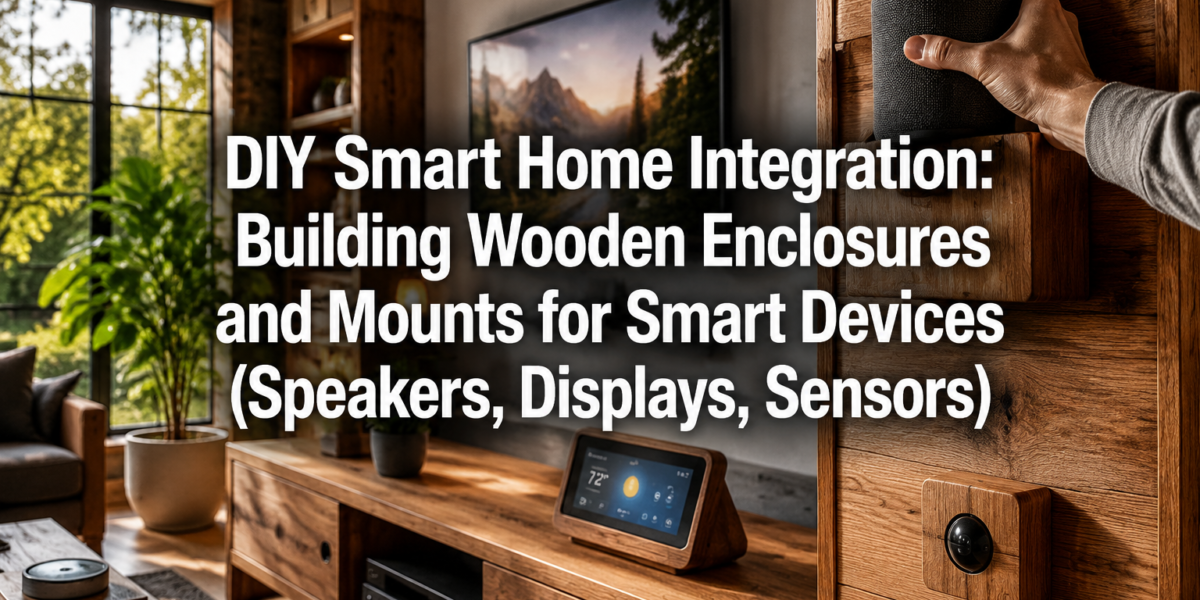

The smart home market is projected to reach nearly $300 billion by 2028, with millions of devices entering homes globally each year. Yet, for many, the sleek plastic and metal aesthetic of modern smart devices often clashes with warmer, more traditional interior designs. This presents a unique opportunity for woodworking enthusiasts and DIYers in 2026: to combine their craftsmanship with smart home technology by creating custom wooden enclosures, mounts, and stands for popular devices like smart speakers, displays, and sensors. This article will guide you through the process of DIY Smart Home Integration: Building Wooden Enclosures and Mounts for Smart Devices (Speakers, Displays, Sensors), ensuring your tech not only functions flawlessly but also enhances your home’s aesthetic.
Key Takeaways

- Custom wooden enclosures offer superior aesthetic integration and acoustic benefits over standard plastic housings.
- Careful planning, precise measurements, and material selection are crucial for successful projects, considering both device functionality and safety.
- Basic to intermediate woodworking skills, including joinery and finishing, are sufficient for most smart device enclosures.
- Ventilation, cable management, and signal integrity must be prioritized during the design and build process.
- Integrating smart devices into custom wooden mounts provides a personalized, high-end look that elevates home decor.
Designing Your Wooden Enclosures and Mounts for Smart Devices
Successful DIY Smart Home Integration: Building Wooden Enclosures and Mounts for Smart Devices (Speakers, Displays, Sensors) begins with thoughtful design. This stage is critical, as it addresses both the aesthetics and the functional requirements of your smart devices.
Assessing Device Specifications and Requirements
Before cutting any wood, thoroughly understand the device you’re housing. Each smart speaker, display, or sensor has unique needs:
- Dimensions: Precisely measure length, width, height, and any irregular shapes. Remember to account for tolerances.
- Ports and Buttons: Identify the location of power inputs, audio jacks, USB ports, and physical buttons. Your enclosure must allow easy access.
- Ventilation: Many devices generate heat. Ensure your design incorporates adequate airflow to prevent overheating, which can degrade performance and shorten device life. Consider vents, open backs, or carefully placed gaps.
- Speaker Grilles/Microphones: For smart speakers, the front grille and microphone arrays must remain unobstructed for optimal sound quality and voice command recognition. Avoid covering them with wood.
- Display Screens: For smart displays, the screen needs full visibility, and touch functionality must not be impaired. Ensure bezels are clear, and cameras (if present) are not blocked.
- Sensors: Environmental sensors (temperature, humidity, motion) require specific placement and an unobstructed line of sight or airflow to function accurately.
Material Selection: Aesthetics and Functionality
The choice of wood greatly impacts the final look and feel of your integrated smart devices. Consider both aesthetic appeal and practical considerations.
- Hardwoods: Oak, walnut, maple, and cherry are durable and offer beautiful grain patterns. They are excellent for creating robust and elegant enclosures. Walnut, for instance, provides a rich, dark contrast, while maple offers a lighter, contemporary feel.
- Softwoods: Pine and cedar are more affordable and easier to work with, making them great for beginners. However, they are softer and more prone to dents.
- Plywood/MDF: These engineered wood products offer stability and can be a good choice for hidden parts or if you plan to paint the enclosure. However, they lack the natural beauty of solid wood.
- Reclaimed Wood: For a unique, rustic, or sustainable touch, consider using reclaimed wood. Our guide on Sourcing Reclaimed and Salvaged Wood offers excellent tips.
For acoustic applications (like speaker enclosures), certain woods can offer better resonance properties. Solid hardwoods often provide a clearer, richer sound than softwoods or engineered materials.
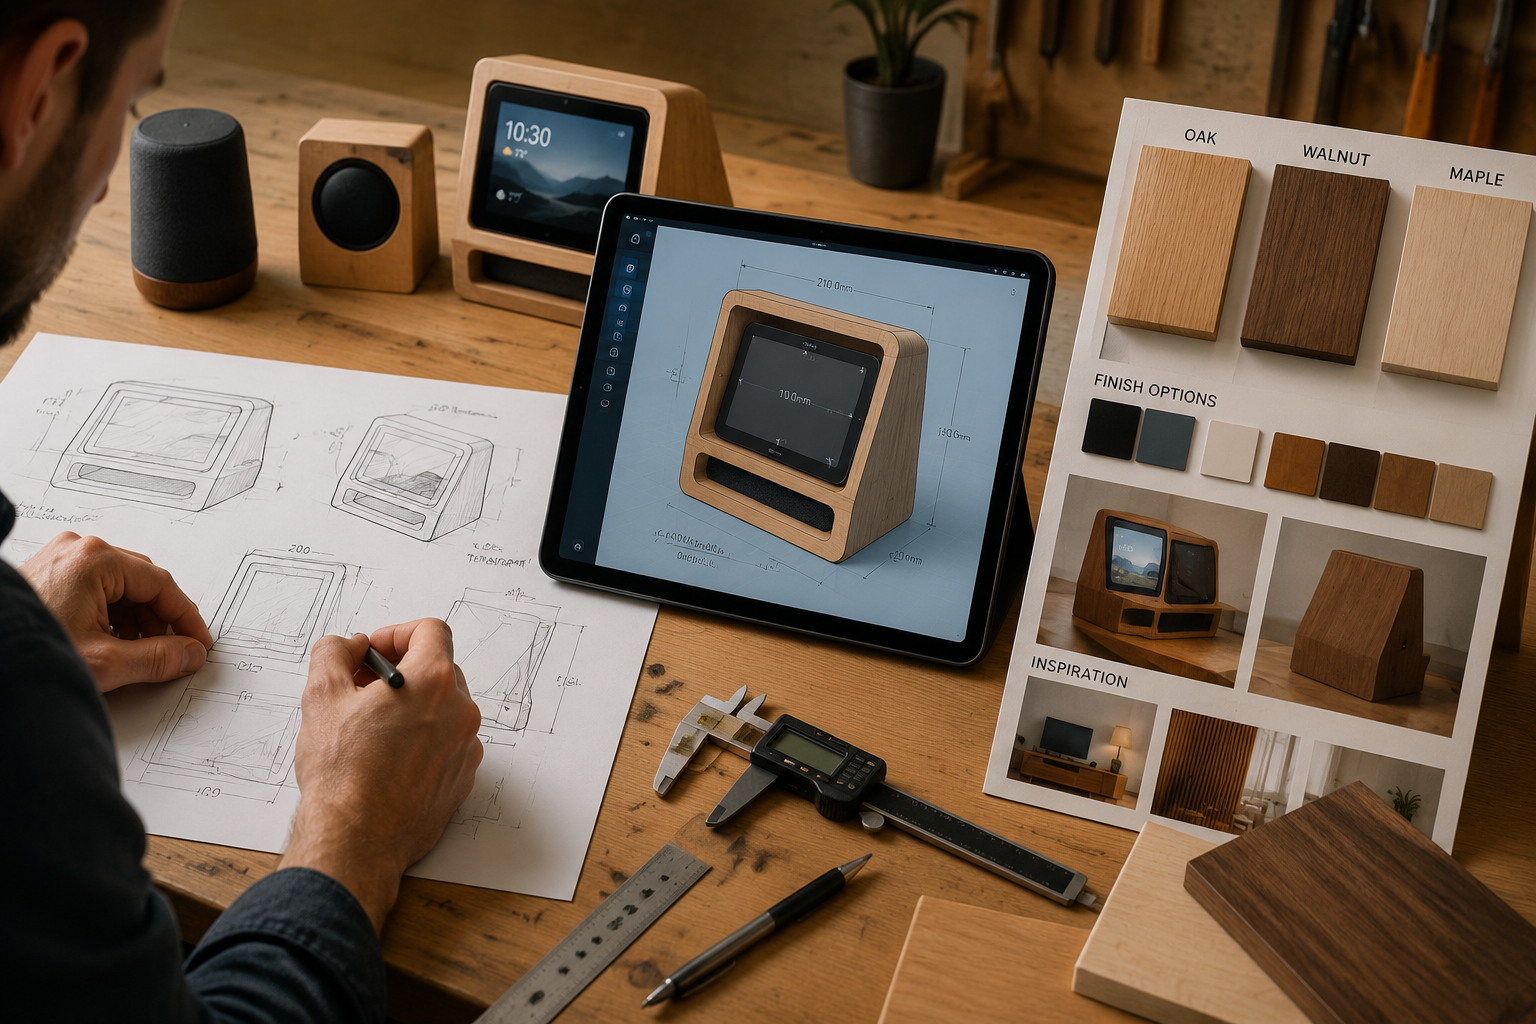

Sketching and Prototyping
Once you have your measurements and material ideas, start sketching!
- Rough Sketches: Begin with hand-drawn sketches to visualize different designs and placement options. Think about how the enclosure will fit into your room’s decor.
- Detailed Plans: Move to more detailed drawings, incorporating all measurements, port locations, and joinery details. Consider using graph paper or drafting software for precision.
- Cardboard Prototypes: For complex designs, building a cardboard or foam core prototype can save valuable time and material. This allows you to test the fit of the device, assess cable routing, and identify potential issues before working with wood.
- Cable Management: Plan how cables will enter and exit the enclosure discreetly. Recessed channels or hidden compartments can keep wires tidy and out of sight. For integrating into a larger system, consider a modular home office desk system that incorporates cable management.
Crafting Wooden Enclosures and Mounts
With a solid design in hand, it’s time to bring your vision to life. This section covers the practical woodworking techniques for DIY Smart Home Integration: Building Wooden Enclosures and Mounts for Smart Devices (Speakers, Displays, Sensors).
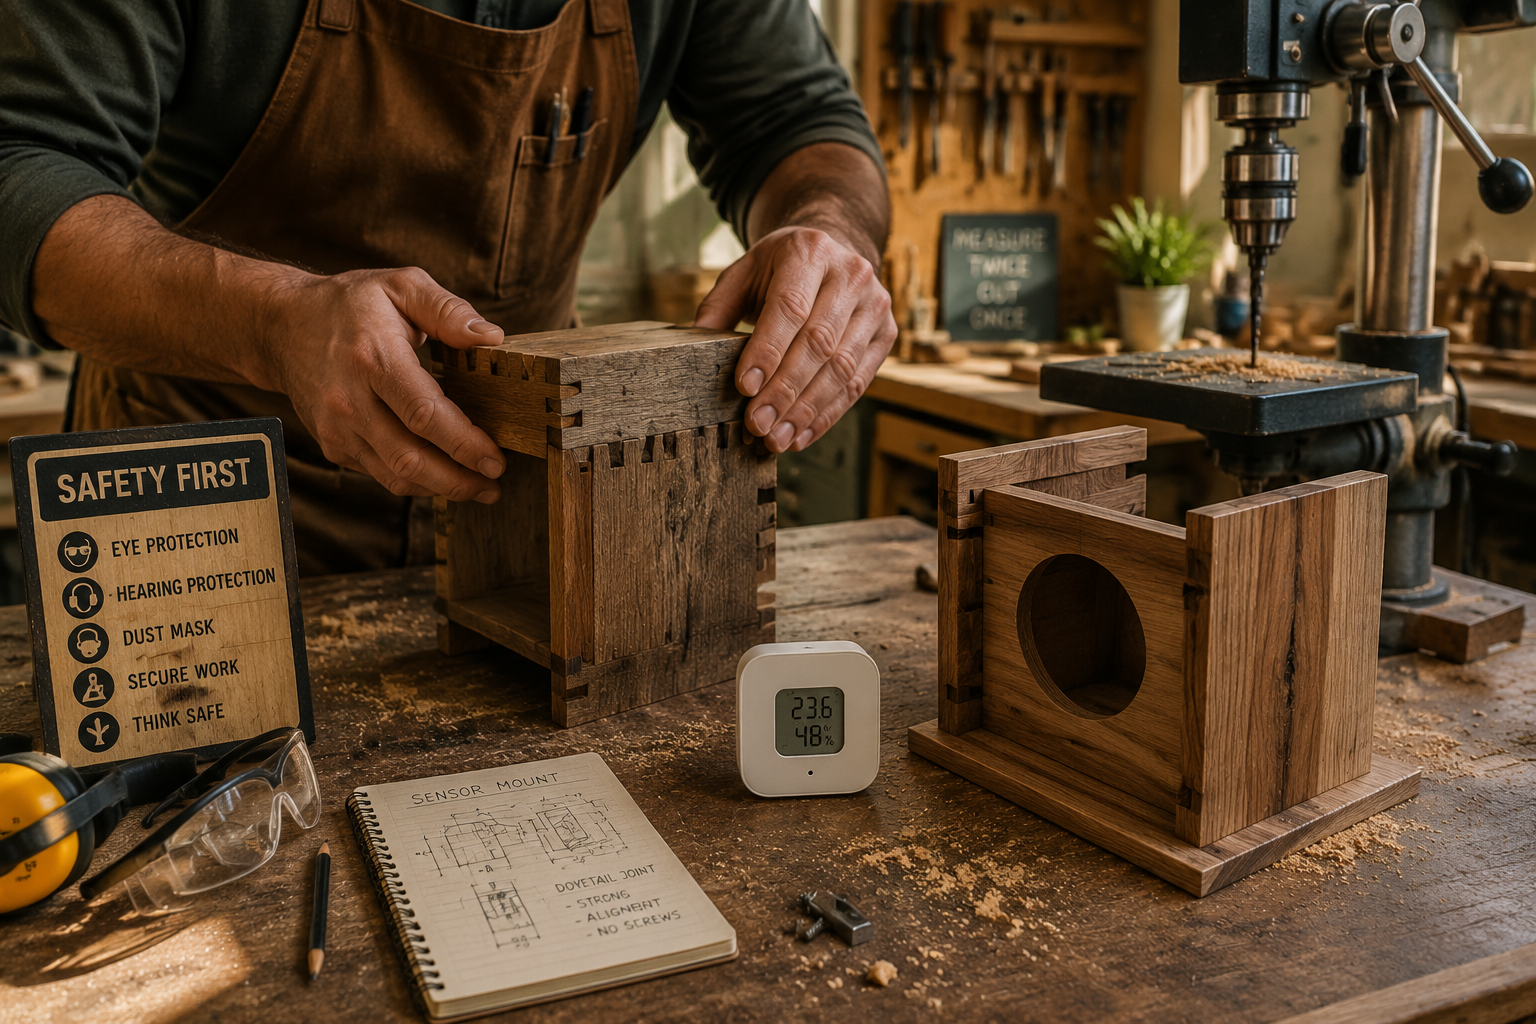
Essential Tools and Safety
Even for small projects, having the right tools and prioritizing safety are paramount.
Basic Tool List:
- Measuring & Marking: Tape measure, ruler, combination square, marking knife, pencil.
- Cutting: Hand saw, jigsaw, circular saw, or table saw (for larger cuts). A coping saw for intricate curves.
- Shaping & Smoothing: Chisels, hand planes, sandpaper (various grits), sanding block, router (for edges and dados).
- Joining: Drill, clamps, wood glue.
- Safety Gear: Safety glasses, hearing protection, dust mask, push sticks (for saws).
Safety First! Always wear appropriate personal protective equipment. Understand how to use your tools safely, and never rush a cut.
Cutting and Joinery Techniques
Precision is key in woodworking, especially when housing electronics.
- Accurate Cuts: Use jigs or guides for straight, square cuts. For small, intricate pieces, a coping saw or even a craft knife can be useful.
- Joinery:
- Butt Joints: Simple, but reinforced with screws, dowels, or biscuits for strength.
- Rabbet Joints: Good for box construction, providing more gluing surface than a butt joint.
- Dado Joints: Ideal for shelves or internal partitions, offering strong, interlocking connections.
- Dovetail or Box Joints: For a high-end aesthetic and superior strength, especially visible on the exterior of an enclosure. Our guide on Hand Tool Joinery for Visible Wood Joints can provide advanced insights.
- Creating Openings: Use a drill for pilot holes, then a jigsaw or coping saw for larger cutouts for screens or speaker grilles. A router with a template can create precise, clean openings.
Consider building a custom wood workbench to ensure you have a stable and organized workspace for these precise tasks.
Assembly and Finishing
Once all pieces are cut and dry-fitted, it’s time for assembly.

- Dry Fit: Always dry-fit all components before applying glue to ensure everything fits perfectly.
- Glue and Clamp: Apply wood glue evenly to mating surfaces and clamp securely. Allow adequate drying time as per the glue manufacturer’s instructions.
- Sanding: Begin with a coarser grit sandpaper (e.g., 80-100 grit) to remove any imperfections, then progressively move to finer grits (150, 220, or even 320) for a smooth finish.
- Finishing Options:
- Stain: Enhances the wood’s natural grain and allows you to match existing decor.
- Paint: Provides a solid color, perfect for a modern, minimalist look or to hide imperfections in less attractive wood.
- Oil Finish: Penetrates the wood, offering a natural, matte look and feel while protecting the surface.
- Polyurethane/Varnish: Creates a durable, protective layer, available in various sheens (matte, satin, gloss).
For achieving specific aesthetic goals, exploring unique wood finishing techniques or mahogany wood finishing techniques can add a professional touch to your custom enclosures.
Integrating Smart Devices and Ensuring Functionality
The final step in DIY Smart Home Integration: Building Wooden Enclosures and Mounts for Smart Devices (Speakers, Displays, Sensors) is to carefully integrate your devices and confirm everything works as expected.
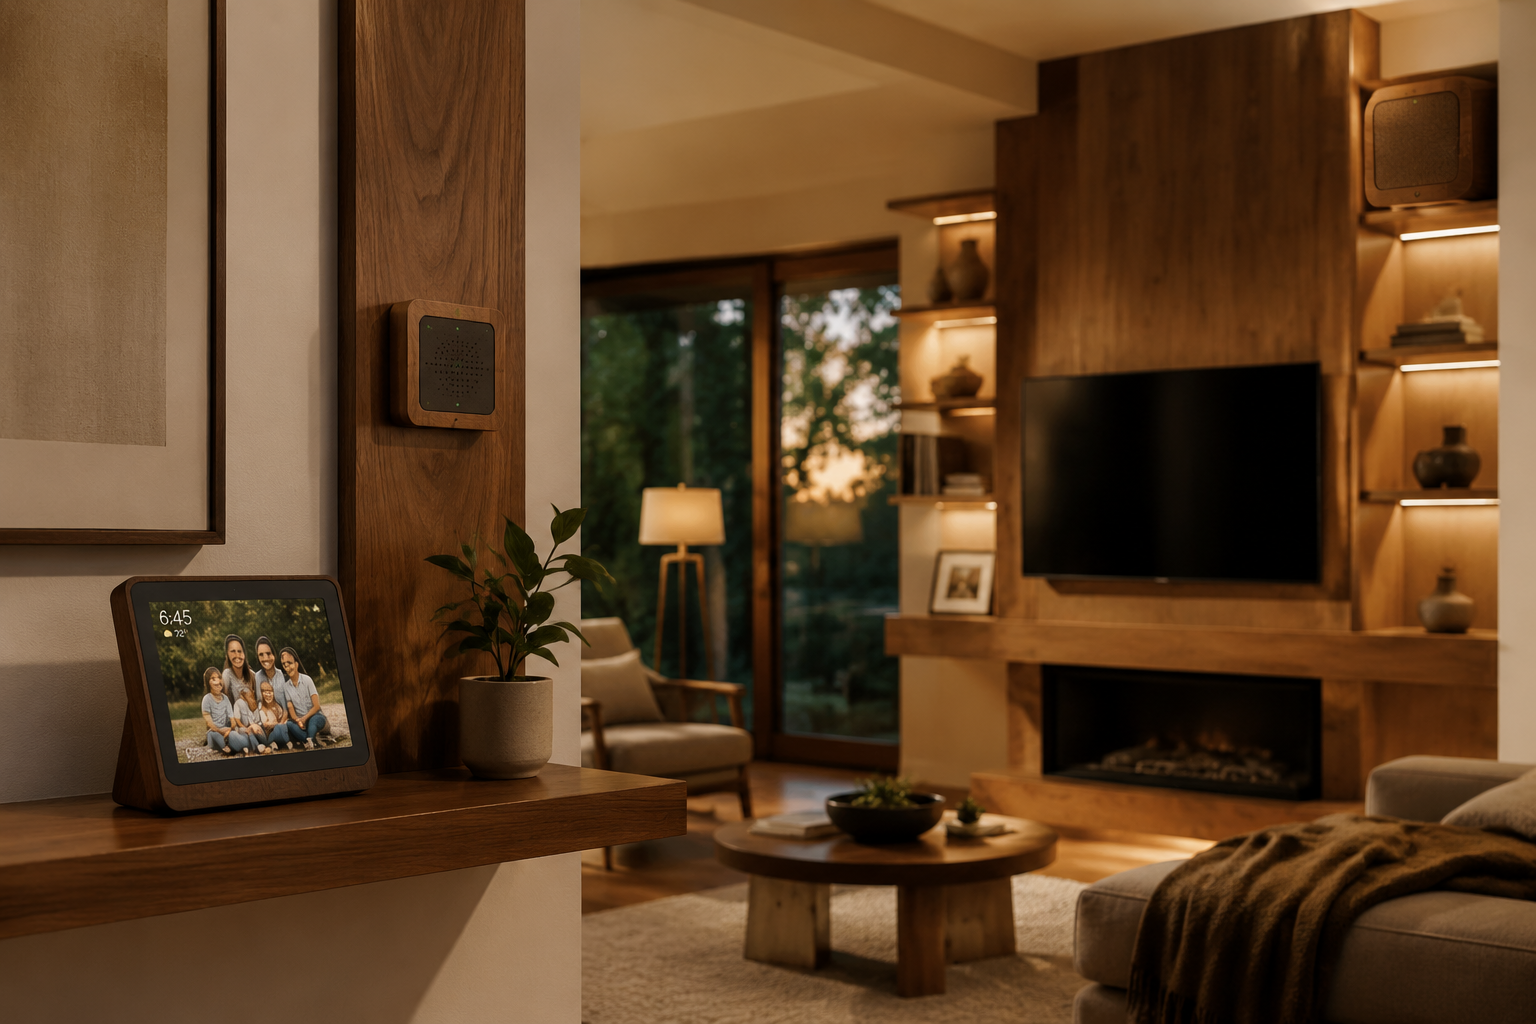
Mounting and Securing Devices
- Internal Mounting: For devices that simply sit within an enclosure, ensure there’s enough space for easy insertion and removal without being too loose. Soft felt pads or small rubber bumpers can prevent scratching and reduce vibrations.
- Mounts: For wall-mounted displays or speakers, sturdy mounting brackets are essential. Design the wooden mount to securely attach to wall studs or use appropriate wall anchors. Hidden hardware can create a seamless look, similar to techniques used in wall-mounted coat racks with hidden hardware.
- Sensors: Small sensors can often be recessed into the wood or mounted flush for a truly integrated appearance. Ensure their sensing elements are fully exposed.
Cable Management and Power
- Concealed Wiring: Design pathways for power cables and any data cables to be hidden within the enclosure or behind the mount. This often involves routing channels in the back panel or creating a small hidden compartment.
- Power Access: Ensure power outlets are easily accessible or extend power discreetly to the device’s location. If running cables through walls, adhere to local electrical codes.
Testing and Troubleshooting
Once your smart device is integrated into its new wooden home, perform thorough testing:
- Power On: Ensure the device powers on correctly and receives sufficient power.
- Functionality Check:
- Smart Speakers: Test voice commands from various distances and angles. Play music to check sound quality.
- Smart Displays: Interact with the touchscreen, test camera functionality (if applicable), and ensure the screen is fully visible.
- Sensors: Verify that the sensor is accurately reading data (e.g., temperature, motion detection) and communicating with your smart home hub.
- Thermal Management: After a few hours of operation, check the device and the enclosure for any excessive heat buildup. If it feels warm to the touch, consider adding more ventilation.
- Signal Integrity: Ensure Wi-Fi, Bluetooth, and other wireless signals are not significantly impeded by the wood. While wood generally doesn’t block signals as much as metal, very thick or dense enclosures could have a minor impact.
By carefully considering these integration steps, your custom wooden enclosures will not only look fantastic but also allow your smart devices to perform optimally.
Conclusion
Integrating smart home technology with the warmth and aesthetic appeal of natural wood offers a unique way to personalize your living space in 2026. By embarking on DIY Smart Home Integration: Building Wooden Enclosures and Mounts for Smart Devices (Speakers, Displays, Sensors), you gain control over both form and function, ensuring your technology enhances, rather than detracts from, your home’s character. From meticulous design and careful material selection to precise joinery and thoughtful finishing, each step in this process allows for creative expression and a truly custom result.
Start by choosing a simple device and a straightforward design to build your confidence. As your skills grow, you can tackle more complex projects, transforming your smart home devices into integrated pieces of furniture that reflect your personal style. The satisfaction of crafting something beautiful and functional with your own hands, while elevating your home’s technology, is an incredibly rewarding experience.
References
- Grand View Research. (2021). Smart Home Market Size, Share & Trends Analysis Report By Application (Smart Kitchen, Smart Lighting, Home Security, HVAC, Entertainment), By Technology, By Region, And Segment Forecasts, 2021 – 2028.
- Fine Woodworking Magazine. (Various Issues). Techniques and Tips for Joinery and Finishing.
- This Old House. (2023). DIY Smart Home Integration: Tips for a Seamless Setup.
