
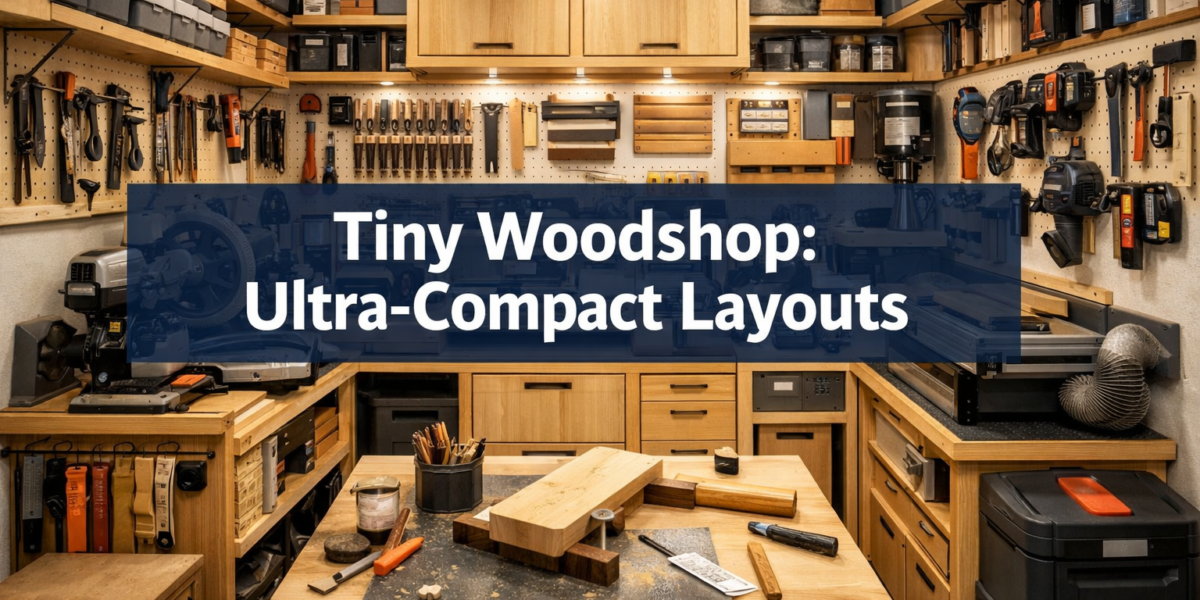
The average garage or shed floor space is a coveted commodity, yet countless aspiring woodworkers feel limited by less than 200 square feet. This article reveals how to transform these humble spaces into highly efficient, fully functional woodworking havens. Far from being a hindrance, a small footprint compels ingenious design and disciplined organization, forcing woodworkers to embrace solutions that enhance productivity and safety. This guide focuses on Maximizing Your Tiny Woodshop: Ultra-Compact Layouts for Garage and Shed Spaces (Under 200 Sq Ft), proving that ambition need not be constrained by square footage.
Key Takeaways
- Small spaces demand multi-functional tools, mobile workbenches, and vertical storage.
- Strategic workflow planning is crucial for safety and efficiency in compact layouts.
- Effective dust collection and lighting are non-negotiable for a healthy and productive tiny woodshop.
- Embrace modularity and DIY solutions to adapt your space to changing project needs.
- Prioritize tools based on project scope and frequently used operations, not perceived necessity.
Strategic Planning for Your Ultra-Compact Woodshop
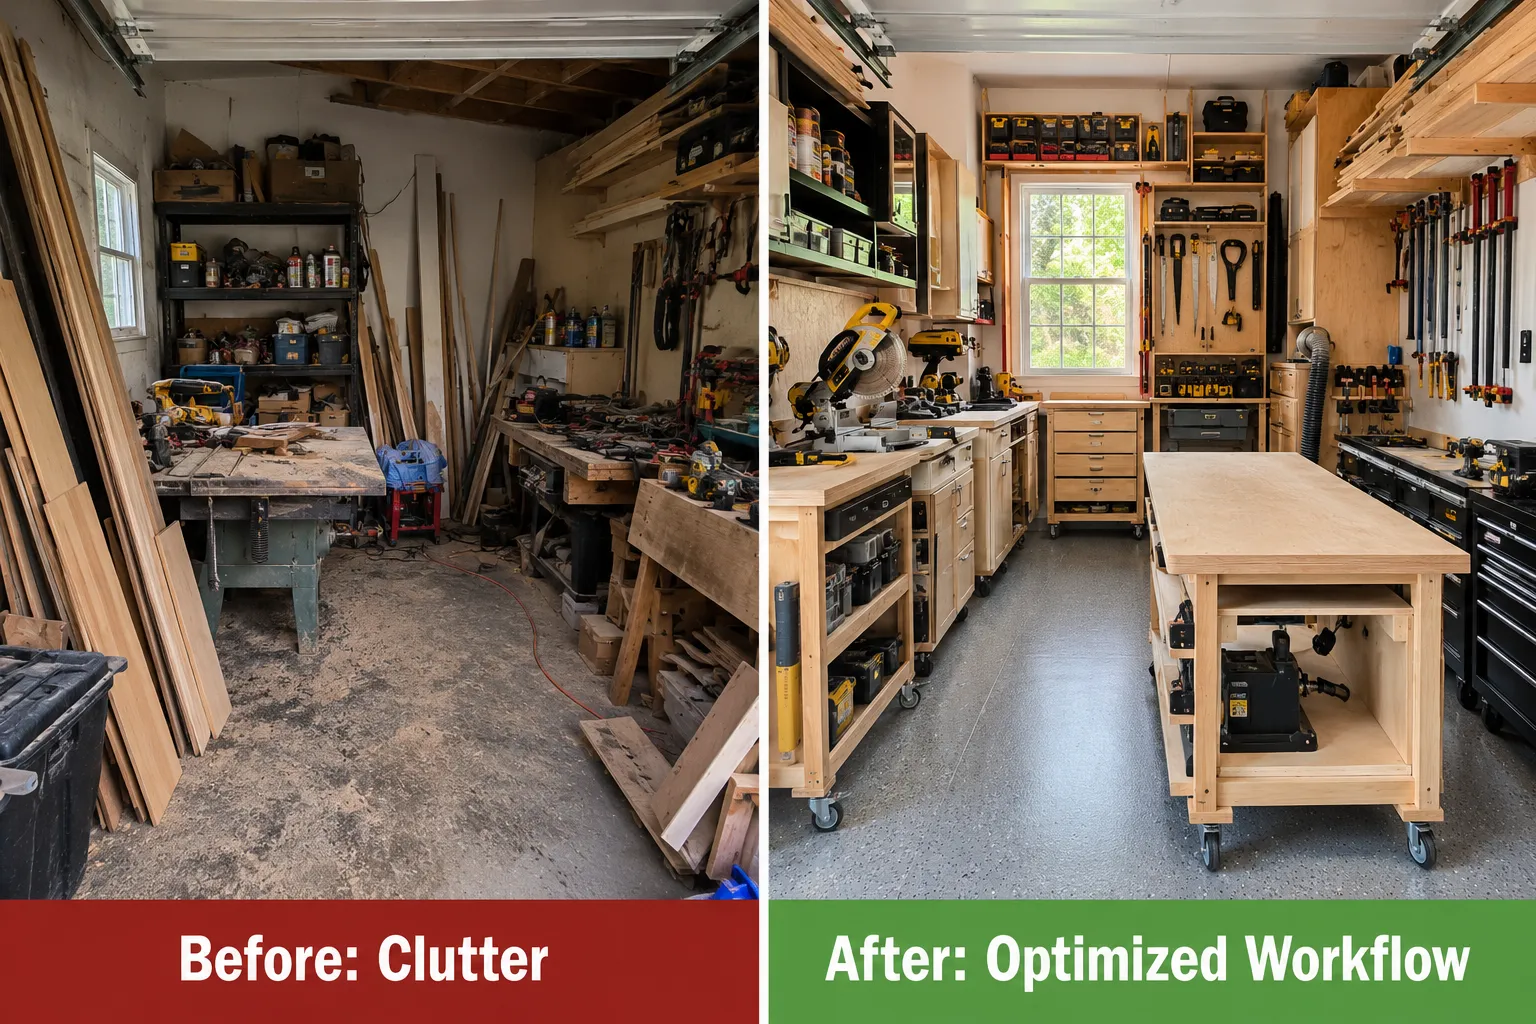
Transforming a limited area into a productive woodworking environment begins long before the first saw dust flies. Strategic planning is the cornerstone of Maximizing Your Tiny Woodshop: Ultra-Compact Layouts for Garage and Shed Spaces (Under 200 Sq Ft). Without a clear vision for workflow, tool placement, and storage, even a well-intentioned setup can quickly devolve into a chaotic and unsafe space.
Assessing Your Space and Needs
Start with a thorough assessment of your garage or shed. Measure the exact dimensions, note the locations of electrical outlets, windows, doors, and any fixed obstacles like support beams or water heaters. Consider the ceiling height, as this influences vertical storage and overhead tool placement.
Next, identify your woodworking goals. Are you primarily doing small craft projects, furniture building, or specialized joinery? This will dictate the types of tools you need and the space required for their operation. For instance, a dedicated furniture maker will need more space for material handling than someone crafting small boxes.
Create a detailed list of all the tools you own or plan to acquire. Categorize them:
- Stationary Tools: Table saw, miter saw, planer, jointer, drill press.
- Handheld Power Tools: Routers, sanders, drills.
- Hand Tools: Chisels, planes, measuring tools.
- Materials: Lumber storage, finishing supplies, hardware.
- Safety Gear: Dust masks, eye protection, hearing protection.
This inventory helps prioritize which tools truly need a dedicated spot, and which can be stored away or be multi-functional.
Designing Your Workflow: The Shop Triangle
In any woodshop, especially a tiny one, an efficient workflow minimizes wasted motion and maximizes productivity. Envision your common work processes:
- Material Storage: Where does raw lumber or sheet goods live?
- Cutting Station: Where do you break down stock (table saw, miter saw)?
- Milling/Shaping: Where do you plane, joint, and route?
- Assembly/Finishing: Where do you glue, clamp, sand, and apply finishes?
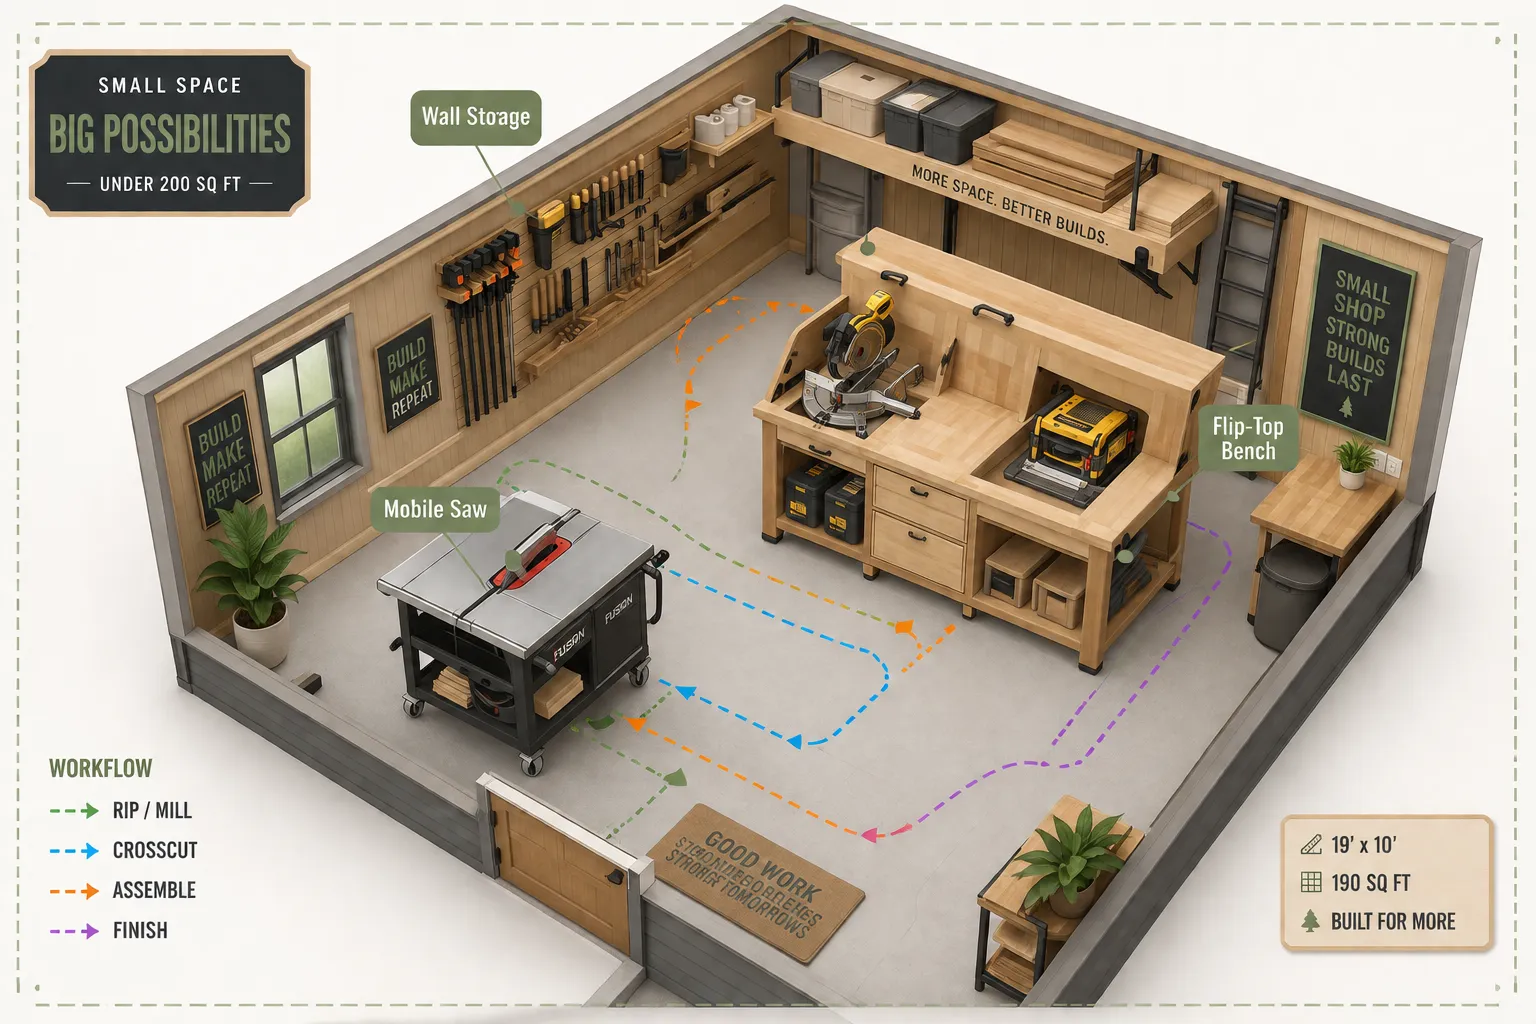
Think of these areas as a “shop triangle” or a linear path, aiming to reduce crisscrossing and backtracking. For example, lumber should ideally move from storage to the cutting station, then to milling, and finally to assembly without obstruction.
In a space under 200 sq ft, this often means overlapping functions. Your outfeed table for the table saw might double as your assembly bench. Your miter saw stand could also serve as a mobile sharpening station. Consider creating a digital or paper layout of your space to experiment with different configurations before moving any heavy machinery.
“A small footprint isn’t a limitation; it’s an invitation to innovate. Every inch must earn its place.”
For those interested in refining their workshop operations, exploring resources like optimizing your small workshop layout can provide additional insights.
Prioritizing Tools for Compact Spaces
It’s tempting to acquire every tool, but a tiny woodshop demands ruthless prioritization. Focus on multi-functional tools and consider compact or portable versions where possible.
Must-Have Tools (and their compact considerations):
- Table Saw: A compact contractor saw or a portable jobsite saw on a rolling stand can be invaluable. Some come with built-in stands that can be folded away.
- Miter Saw: A sliding compound miter saw maximizes cutting capacity. Consider mounting it on a dedicated rolling cart or a flip-top workbench.
- Dust Collection: Crucial for health and cleanliness in a small, enclosed space. A portable dust collector or a DIY shop vac system is often suitable. Learn more about building a DIY workshop dust collection system for small spaces.
- Workbench: A sturdy, multi-functional workbench is paramount. Look for one with integrated storage or the ability to serve as an outfeed table.
- Handheld Power Tools: Routers, sanders, drills are inherently compact. Invest in good quality ones that can be easily stored.
Tools to Consider Carefully (or find alternatives for):
- Large Planers/Jointers: Unless you frequently work with rough lumber, consider a smaller benchtop planer or a hand plane for jointing.
- Band Saws: A compact benchtop model might fit, but a larger floor model is often too bulky.
- Dedicated Drill Press: A drill press attachment for a hand drill can suffice for many tasks, or opt for a benchtop model that can be stored when not in use.
Ultimately, your tool selection should align with the projects you intend to build. For advice on power tool selection, you might find guides like choosing the right DeWalt power tools for your woodworking workshop helpful, even for tiny spaces.
Ultra-Compact Layout Strategies and Storage Solutions
The real magic in Maximizing Your Tiny Woodshop: Ultra-Compact Layouts for Garage and Shed Spaces (Under 200 Sq Ft) lies in smart design and innovative storage. Every surface, every wall, and even the ceiling can become part of your organization scheme.
Embracing Modularity and Mobility
- Mobile Workstations: Put everything on wheels! Your table saw, miter saw stand, drill press, and even your workbench should be easily movable. This allows you to reconfigure your shop for different tasks and clear floor space when needed.
- Flip-Top Workbenches: These are game-changers for tiny shops. A single workbench can house two heavy tools (e.g., a miter saw on one side and a planer or sander on the other). When one tool is in use, the other is neatly tucked underneath.
- Folding and Collapsible Surfaces: Outfeed tables, assembly tables, or even auxiliary work surfaces can be designed to fold against a wall or collapse for storage. A DIY folding console table, for example, could inspire multi-purpose designs for your shop.
- Integrated Tool Storage: Design your workbench or tool stands to include drawers, shelves, or cabinets for tools directly related to that station.
Vertical Storage: Your Best Friend
When floor space is limited, look up! Walls and ceilings offer invaluable real estate for storage.
- Wall-Mounted Cabinets and Shelving: Enclosed cabinets keep dust off tools and supplies, while open shelving provides easy access to frequently used items. Building custom DIY wooden storage solutions for the garage can be a rewarding project in itself.
- French Cleat System: This versatile system allows you to create custom tool holders, shelves, and even small cabinets that can be easily moved and rearranged on your wall. It adapts as your tool collection or workflow changes.
- Magnetic Tool Holders and Pegboards: Perfect for hand tools, small power tools, and frequently used accessories. Ensure they are strategically placed for easy access from your primary workstations.
- Overhead Storage: Install sturdy ceiling racks for lumber, sheet goods, or less frequently used items. Be mindful of weight limits and ensure easy, safe access. For specific outdoor tools, even vertical storage solutions like string trimmer racks and outdoor tool holders can free up valuable shed floor space.
Maximizing Your Tiny Woodshop: Smart Organization Hacks
- Shadow Boards: Outline your tools on a pegboard or wall to ensure everything has a designated home and is returned after use.
- Tool Carts/Roll-Arounds: Beyond stationary tools, create mobile carts for specific tasks (e.g., a finishing cart with sandpaper, brushes, and finishes; a routing cart with bits and accessories).
- Lumber Storage: Vertical lumber racks on walls or a compact horizontal rack under a workbench save significant space. Cut down longer stock outside the shop if necessary.
- Small Parts Organization: Use clear bins, drawers, or labeled containers for screws, nails, hardware, and small accessories. This prevents clutter and saves time.
Essential Considerations for Safety, Lighting, and Environment
Beyond layout and storage, a truly optimized tiny woodshop prioritizes the safety, health, and comfort of the woodworker. These elements are non-negotiable for Maximizing Your Tiny Woodshop: Ultra-Compact Layouts for Garage and Shed Spaces (Under 200 Sq Ft).
Safety First: Mitigating Risks in a Confined Space
A small shop can present unique safety challenges due to limited maneuvering room and proximity to machinery.
- Clear Pathways: Even with mobile tools, always ensure you have clear, unobstructed pathways around machinery. This prevents tripping hazards and allows for quick egress.
- Adequate Outfeed and Infeed Space: Crucially, your table saw and miter saw need sufficient clear space for safely feeding and receiving material. This often requires temporarily moving other tools or using folding extensions.
- Guards and Push Sticks: Always use blade guards, push sticks, and featherboards with your table saw. Never work without appropriate safety gear.
- Emergency Shut-Offs: Know the location of all power switches and consider a master emergency stop button for the entire shop.
- Fire Safety: Keep a fire extinguisher readily accessible. Wood dust is highly flammable.
Lighting Up Your Workspace
Good lighting is critical for accuracy and safety. A dimly lit shop can lead to mistakes and eye strain.
- General Ambient Lighting: Overhead LED shop lights provide bright, even illumination across the entire space. Aim for a high lumen output.
- Task Lighting: Supplement general lighting with adjustable task lamps over your workbench, assembly areas, and specific machinery. This helps eliminate shadows where you need the most detail.
- Natural Light: If your shed or garage has windows, leverage natural light but be mindful of direct sunlight causing glare or heating issues.
Dust Management: A Health Imperative
Wood dust is a significant health hazard, especially in a small, enclosed environment. An effective dust collection system is not optional.
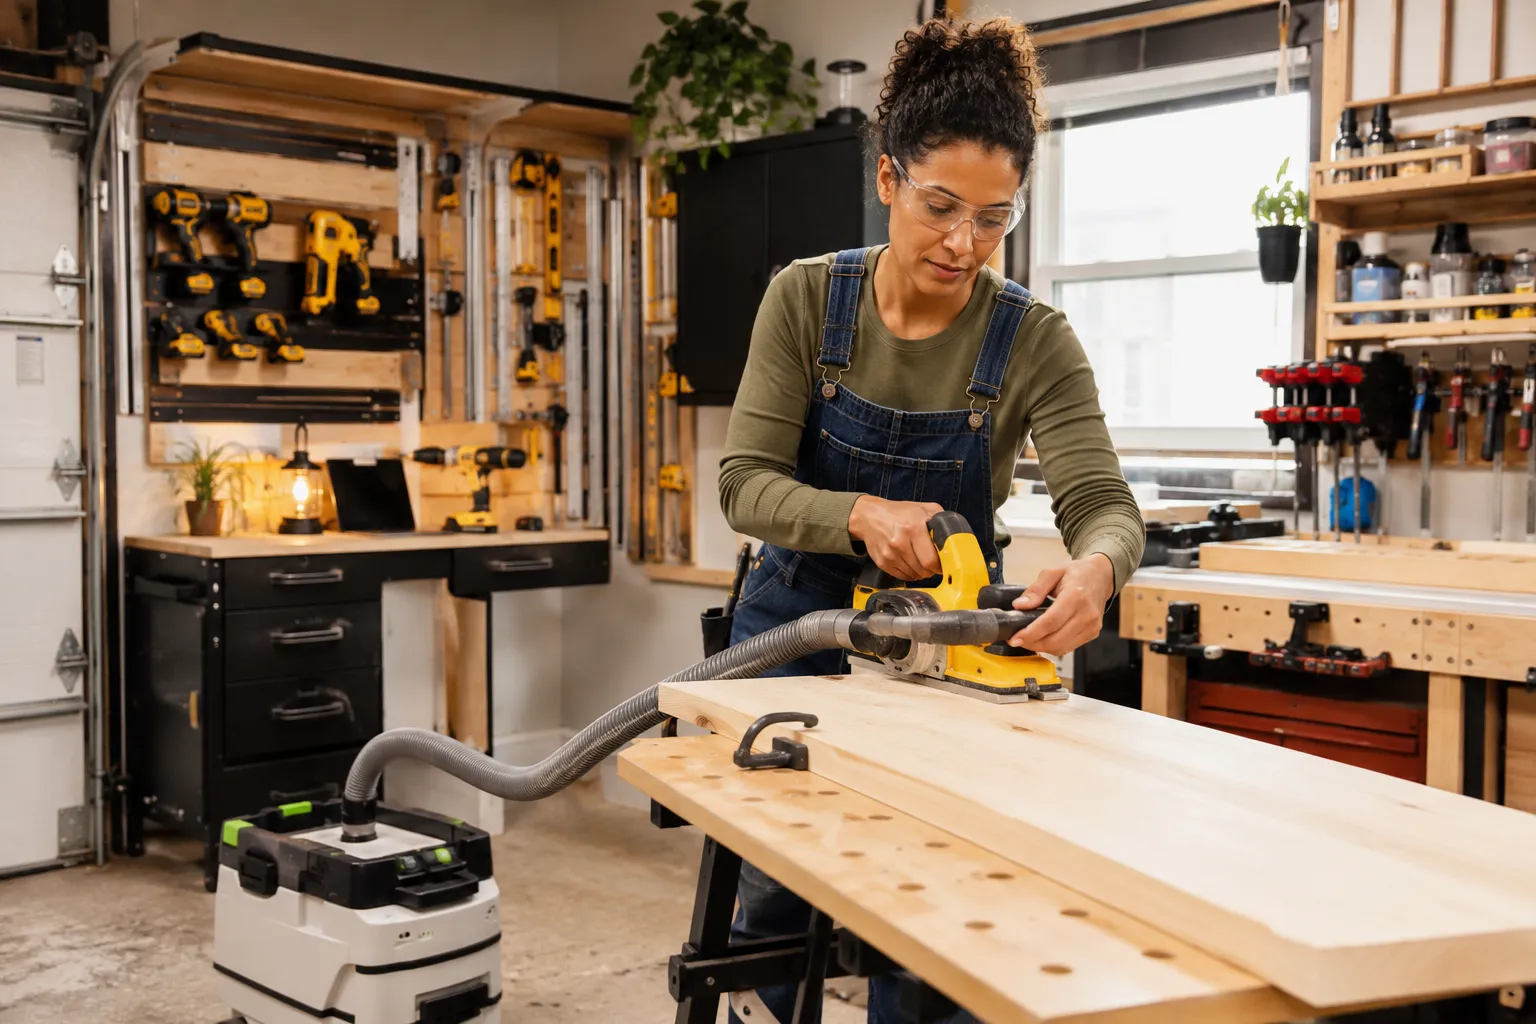
- Point-of-Source Collection: Connect a shop vacuum or dust collector directly to your most dust-producing tools (table saw, planer, sander, miter saw).
- Ambient Air Filtration: An overhead air filter can capture fine dust particles that escape point-of-source collection, cleaning the air you breathe.
- Regular Cleaning: Sweep or vacuum frequently. Avoid using compressed air to clean dusty surfaces as this only disperses fine dust into the air.
- Personal Protective Equipment (PPE): Always wear a dust mask (N95 or better) when generating dust, even with a dust collector. Eye protection and hearing protection are also essential.
For more in-depth solutions for a compact workspace, consider exploring articles like small workshop heating and cooling solutions and DIY soundproofing for small workshops to create an even more comfortable and productive environment in 2026.
Conclusion
Maximizing Your Tiny Woodshop: Ultra-Compact Layouts for Garage and Shed Spaces (Under 200 Sq Ft) is not just about fitting tools into a small room; it’s about crafting an environment where creativity thrives despite physical constraints. By meticulously planning your layout, embracing modular and mobile solutions, exploiting vertical storage, and rigorously adhering to safety and environmental best practices, you can create a highly functional and enjoyable woodworking space. The limitations of a tiny footprint become a catalyst for ingenuity, forcing you to think smarter, build more efficiently, and ultimately, become a more organized and disciplined woodworker.
Your next steps should involve sketching out your ideal layout, even if it’s just on paper. Prioritize the tools you need most and investigate compact or multi-functional alternatives. Start building your storage solutions, a French cleat wall or a mobile workbench can be your first project, immediately enhancing your shop’s functionality. Remember, a well-organized small shop is often more productive and safer than a sprawling, chaotic one.