
Achieving professional-grade finishes on hardwood floors and tabletops requires a meticulous approach, blending art with science. Many DIY enthusiasts jump straight to staining, only to discover blotchy results or uneven sheens, failing to realize that the preparatory steps of sanding and the final protective layers of sealing are just as crucial as the chosen stain. This in-depth guide is designed to equip you with the techniques and knowledge necessary for “Finishing Hardwood Floors and Tabletops: Sanding, Staining, and Sealing for Professional Results,” ensuring high-wear surfaces that are not only beautiful but also built to last for years to come in 2026.
Key Takeaways
- Sanding is Foundation: Proper sanding is the most critical step, determining the final appearance and how well stain and sealant adhere.
- Stain Uniformity: Achieve even stain application by using pre-conditioners, choosing the right applicator, and working in manageable sections.
- Sealing for Durability: Apply multiple, thin coats of a durable sealant appropriate for the wood’s use, ensuring proper drying times between coats.
- Safety First: Always prioritize safety by wearing appropriate personal protective equipment (PPE) and ensuring adequate ventilation.
- Practice Makes Perfect: Test all steps on scrap wood before applying to your main project to avoid costly mistakes.
Preparing for Professional Hardwood Finishing: The Art of Sanding
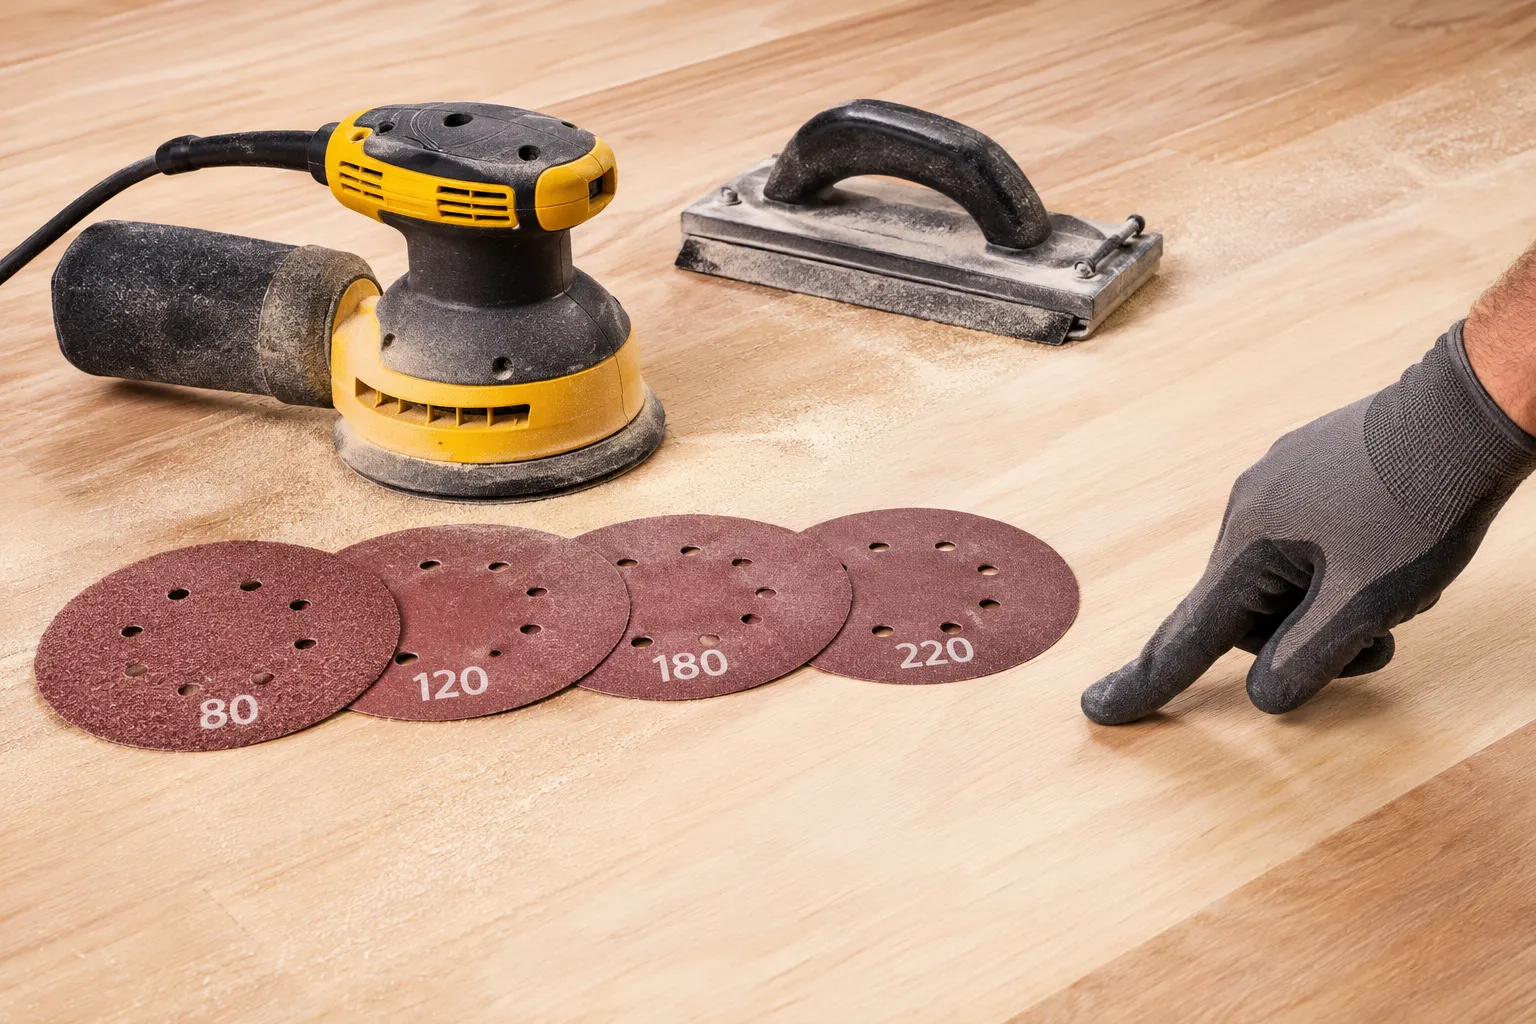
The journey to a professional wood finish begins long before the first drop of stain or sealant is applied. It starts with thorough and precise sanding. Whether you are working on a expansive hardwood floor or a delicate tabletop, the quality of your sanding dictates the uniformity of your stain and the adhesion of your sealant. Ignoring this step, or rushing through it, can lead to uneven color, poor finish durability, and frustrating do-overs.
Essential Tools and Materials for Sanding
To achieve a truly professional sanding job, you’ll need the right equipment.
- For Floors:
- Drum Sander: For large areas of severely worn or unfinished floors. This is an aggressive tool requiring careful handling.
- Random Orbital Floor Sander: Less aggressive than a drum sander, ideal for less damaged floors or for intermediate sanding steps.
- Edge Sander: Necessary for reaching areas close to walls and in corners where larger machines cannot go.
- Handheld Random Orbital Sander: For meticulous work, corners, and detailed areas.
- Detail Sander: For intricate corners and tight spaces.
- Shop Vacuum: With a fine particle filter for dust extraction.
- Tack Cloths: For removing fine dust before finishing.
- For Tabletops:
- Random Orbital Sander: The workhorse for most tabletop sanding.
- Block Sander or Sanding Sponges: For edges and profiles.
- Detail Sander: For corners or intricate designs.
- Hand Sanding Blocks: For fine finish sanding and touch-ups.
- Shop Vacuum and Tack Cloths: As with floors.
The Step-by-Step Sanding Process
The goal of sanding is to create a uniformly smooth surface free of scratches, dents, and old finishes, allowing the new stain and sealant to penetrate and adhere evenly.
Preparation:
- Clear the Area: Remove all furniture, rugs, and décor. For floors, remove baseboards if possible, or protect them with painter’s tape.
- Inspect the Surface: Mark any deep scratches, gouges, or stubborn old finish areas that might need extra attention. For floors, ensure all nails are set below the surface to avoid damaging sandpaper and equipment.
- Clean Thoroughly: Vacuum the entire area to remove loose dirt and debris.
Rough Sanding (Initial Cut):
- Start with a coarse grit sandpaper (e.g., 60-80 grit) to remove old finishes, deep scratches, and level the surface. For floors, use the drum sander or random orbital floor sander. For tabletops, a random orbital sander is usually sufficient.
- Always move the sander with the grain of the wood. For floors, follow a consistent pattern, overlapping each pass by about one-third.
- Change sandpaper frequently as it clogs.
- Caution: Over-sanding in one spot can create depressions in the wood. Keep the sander moving.
Medium Sanding:
- Switch to a medium grit (e.g., 100-120 grit). This step removes the scratches left by the coarse grit.
- Repeat the same methodical process, moving with the grain.
- Vacuum thoroughly after this stage.
Fine Sanding (Finishing Passes):
- Progress to a fine grit (e.g., 150-180 grit, sometimes up to 220 for tabletops or very dark stains). This is crucial for a smooth, blemish-free surface ready for finishing.
- For floors, use the random orbital floor sander or handheld orbital sander for edges and corners. For tabletops, a handheld random orbital sander followed by careful hand sanding with a sanding block will yield the best results.
- Ensure all sanding marks from previous grits are eliminated.
- Vacuum meticulously after each grit change.
- For tabletops, a final hand-sanding with 220 grit (or even 320 for exceptionally smooth finishes) is often performed to remove any swirl marks from orbital sanders.
- Learn more about restoring antique furniture which often involves similar sanding principles.
Dust Removal:
- This is perhaps the most overlooked critical step. After your final sanding pass, vacuum the entire area multiple times.
- Then, use a tack cloth to wipe down the surface. Tack cloths are sticky cloths that pick up microscopic dust particles that vacuums miss. Change cloths frequently.
- For floors, ensure windows are closed to prevent new dust from entering. For tabletops, move to a dust-free environment if possible.
- Wiping with mineral spirits can reveal any missed sanding marks or residual dust. Allow to dry completely before staining.
“The difference between an amateur and a professional finish often comes down to the quality of the prep work. Sanding sets the stage for everything that follows.”
Achieving Flawless Color: Staining Hardwood Floors and Tabletops
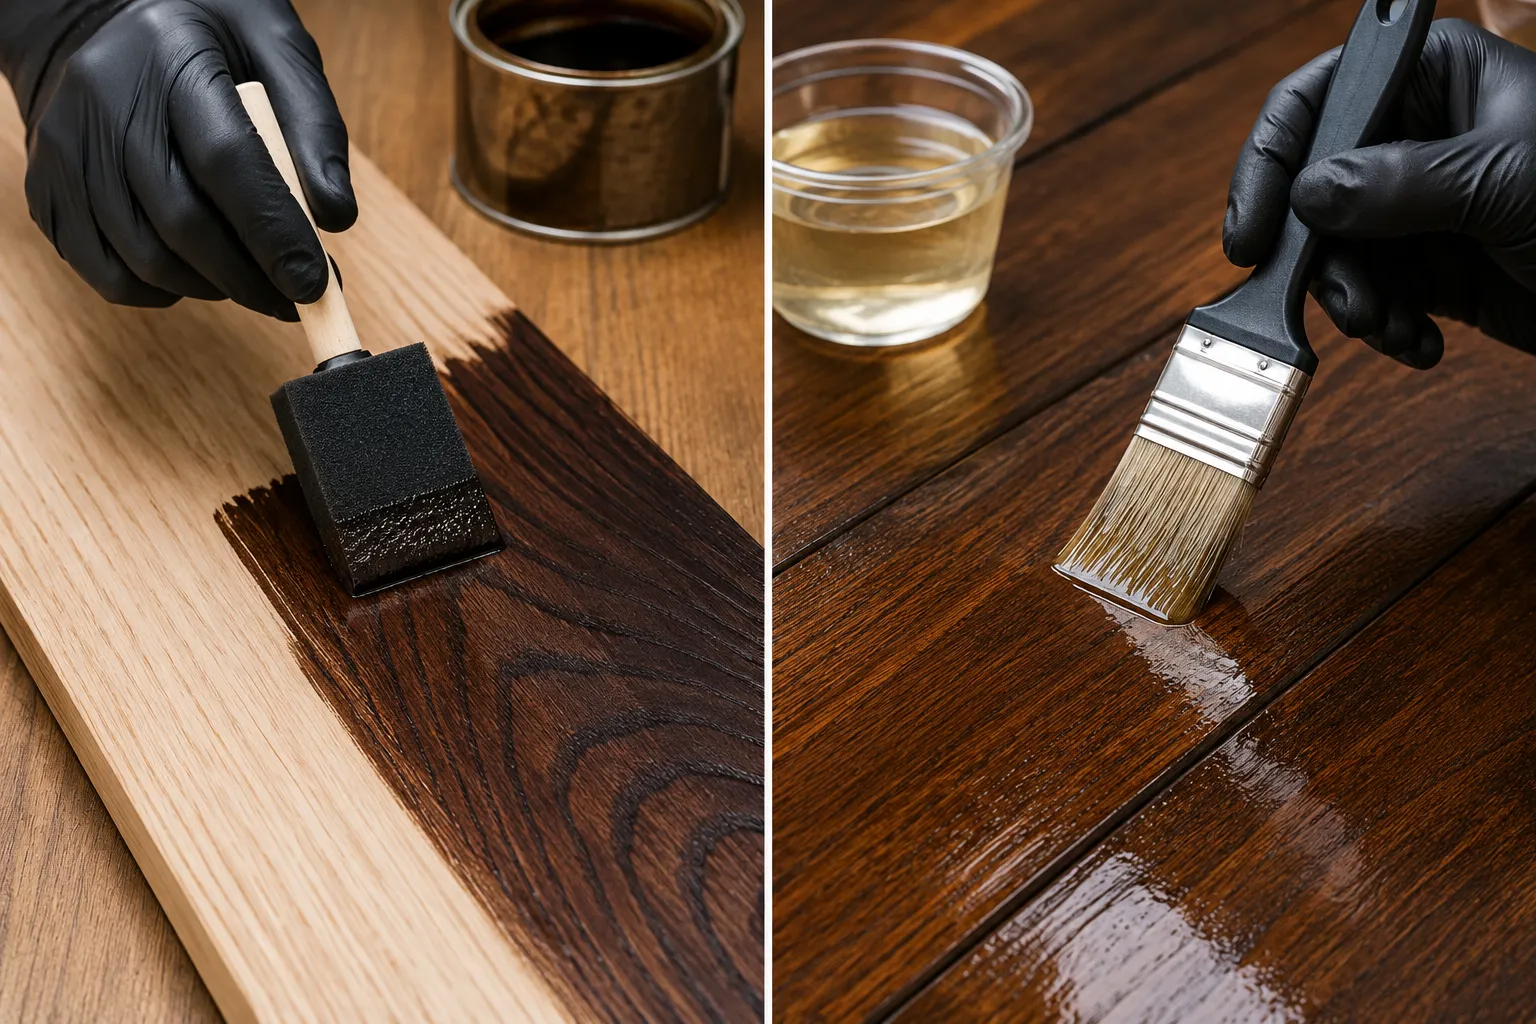
Once your wood surface is perfectly sanded and dust-free, you’re ready to apply stain. This step dramatically changes the appearance of the wood, highlighting its grain and adding depth and character. The key to “Finishing Hardwood Floors and Tabletops: Sanding, Staining, and Sealing for Professional Results” is achieving a uniform color without blotches or streaks.
Choosing Your Stain
The market offers a wide array of wood stains, each with distinct properties.
- Oil-Based Stains: These penetrate deeply, offer a rich color, and provide ample working time. They typically require longer drying times.
- Water-Based Stains: Faster drying, low odor, and easier cleanup. They tend to raise the wood grain slightly, sometimes requiring a light sanding after the first coat.
- Gel Stains: Thicker consistency, less penetration, which makes them excellent for achieving uniform color on woods prone to blotching (like pine or maple). They are also good for vertical surfaces as they don’t drip.
- Dye Stains: Provide very vibrant, transparent colors that highlight the grain without obscuring it. They penetrate deeply and dry quickly.
Consider the type of wood you’re staining. Softer, more porous woods (like pine or birch) tend to absorb stain unevenly, leading to blotchiness. Harder, denser woods (like oak or maple) absorb more uniformly. For challenging woods, consider using a wood conditioner before staining. For more on different finishes, see our guide on mastering wood finishing with oil-based products.
Applying Wood Stain
Safety is paramount. Always work in a well-ventilated area and wear gloves, eye protection, and a respirator, especially with oil-based products.
- Test the Stain: ALWAYS test your chosen stain on a piece of scrap wood of the same type as your project, sanded to the same grit. This allows you to verify the color and absorption.
- Wood Conditioner (Optional but Recommended): If working with blotch-prone woods, apply a pre-stain wood conditioner. This helps the wood absorb the stain more evenly. Follow the manufacturer’s instructions for application and drying time.
- Stain Application:
- Stir, Don’t Shake: Gently stir the stain thoroughly to ensure pigments are evenly distributed. Shaking can create bubbles.
- Apply Generously: Use a natural-bristle brush, foam applicator, or clean rag to apply a generous, even coat of stain. Work in small, manageable sections, moving with the wood grain. For floors, consider a lamb’s wool applicator for larger areas.
- Allow Penetration: Let the stain sit for the time recommended by the manufacturer (typically 5-15 minutes). Longer dwell times result in darker color; shorter times produce lighter color.
- Wipe Off Excess: Using a clean, lint-free cloth, wipe off all excess stain, moving with the grain. Ensure no puddles or uneven areas remain. Failure to remove all excess can lead to sticky patches or a cloudy finish.
- Overlap: When moving to the next section, slightly overlap the previously stained area to ensure seamless blending.
- Evenness is Key: Look at the surface from different angles to check for any unevenness or missed spots.
- Drying Time: Allow the stain to dry completely according to the manufacturer’s instructions. This is crucial before applying any sealant. Drying times can range from a few hours to 24-48 hours, especially for oil-based stains. Poorly dried stain can lead to adhesion issues with the topcoat.
Durable Protection: Sealing Hardwood Floors and Tabletops
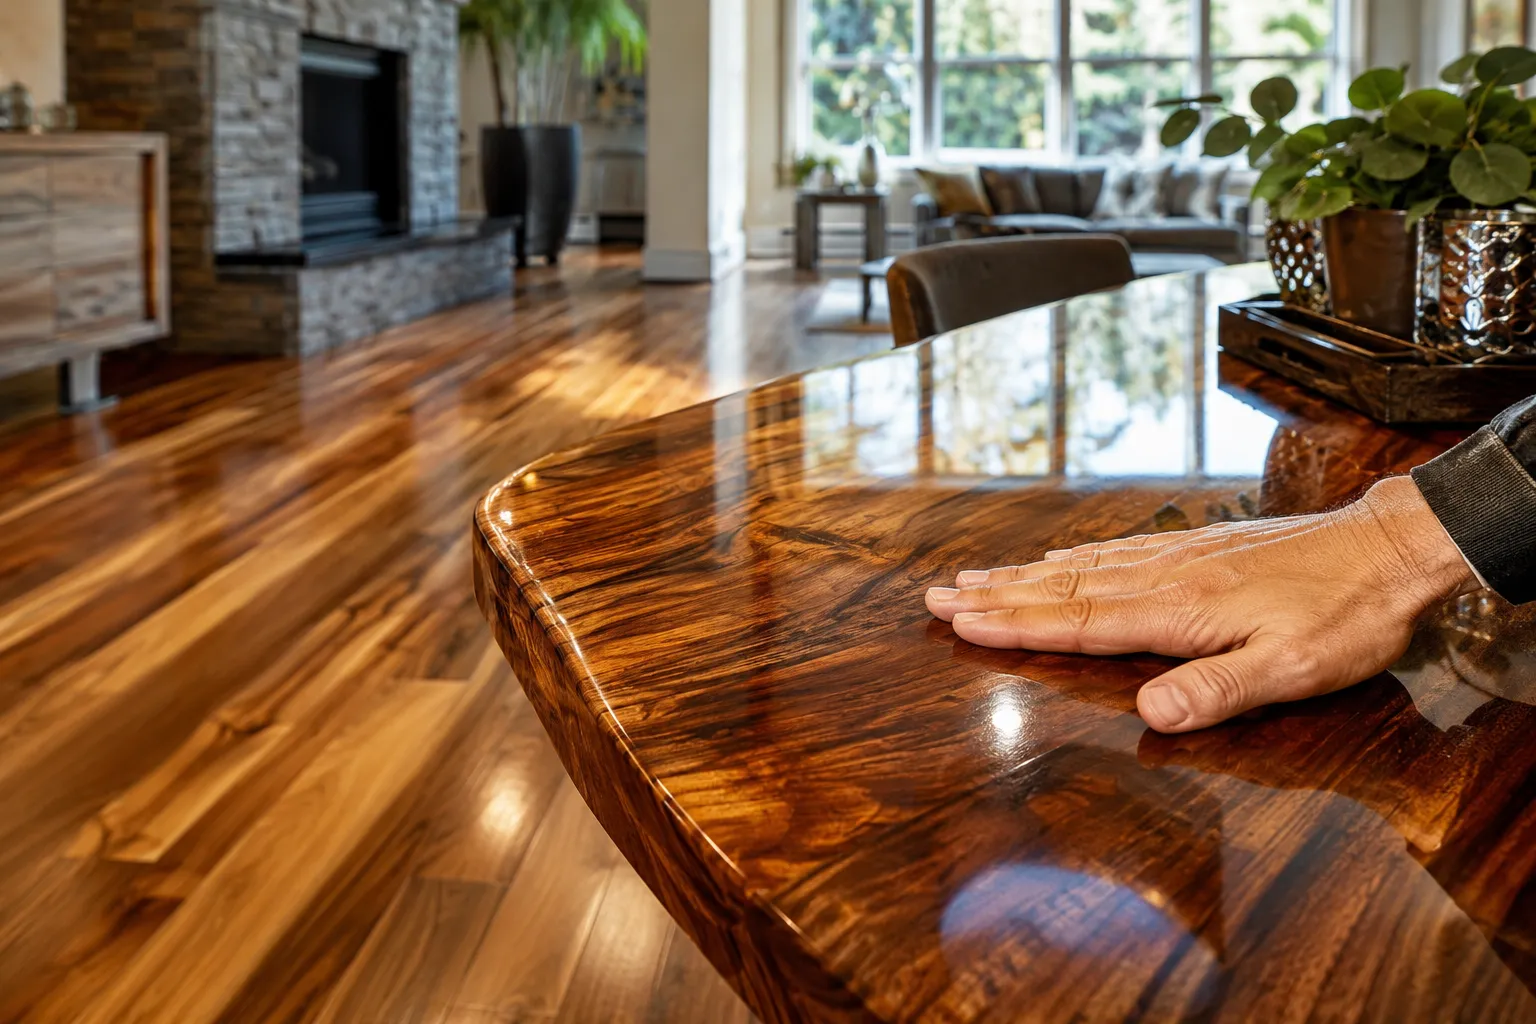
The final, and arguably most important, step in “Finishing Hardwood Floors and Tabletops: Sanding, Staining, and Sealing for Professional Results” is applying a durable protective sealant. This layer shields the wood from moisture, scratches, and daily wear, while enhancing the aesthetic appeal of the stain.
Types of Sealants (Topcoats)
The choice of sealant depends on the desired durability, appearance, and ease of application.
- Polyurethane (Oil-Based): Extremely durable, provides a warm, amber tone, and is highly resistant to abrasion and moisture. It has a strong odor and longer drying times. Excellent for high-traffic floors.
- Polyurethane (Water-Based): Dries faster, low odor, and typically non-yellowing. Less durable than oil-based polyurethane but much easier to work with. Available in various sheens.
- Varnish: A traditional finish, very durable and resistant to water, chemicals, and heat. Contains resins, oil, and solvent. Excellent for tabletops or outdoor furniture like a robust outdoor dining table.
- Lacquer: Dries very fast, produces a smooth, hard finish, often used in professional shops for furniture. Less common for floors due to difficult application for large areas.
- Shellac: A natural resin, easy to apply and repair, but not very water or heat resistant. Often used as a sealer or barrier coat.
- Oil Finishes (Tung Oil, Linseed Oil): Penetrate the wood, offering a natural, matte look. Less protective than film-forming finishes, requiring more frequent reapplication. For more on these, see Tung Oil vs Polyurethane.
Applying the Sealant
Always refer to the manufacturer’s specific instructions for your chosen product. Ventilation, PPE (gloves, respirator, eye protection), and proper room temperature are critical.
- Ensure Stain is Fully Dry: This cannot be stressed enough. If the stain is not completely dry, the sealant will not adhere properly, leading to peeling or bubbling.
- First Coat Application:
- Stir Gently: Never shake sealants, especially polyurethanes, as this can create bubbles. Stir gently but thoroughly.
- Thin Coats: Apply a thin, even coat of your chosen sealant. Thicker coats can lead to poor drying, bubbles, and an uneven finish.
- Applicator: For floors, use a lamb’s wool applicator, T-bar applicator, or a high-quality synthetic roller designed for finishes. For tabletops, a foam brush, high-quality synthetic brush, or a fine-finish roller works well.
- Smooth Strokes: Apply with the grain, maintaining a wet edge to avoid lap marks. Work in manageable sections.
- Inter-Coat Sanding (Optional but Recommended):
- Once the first coat is completely dry (check manufacturer’s recoat time), very lightly sand the surface with 220-320 grit sandpaper or a fine sanding pad. This “de-nibbing” step knocks down any raised grain or dust nibs, promoting better adhesion for subsequent coats.
- Clean off all sanding dust thoroughly with a vacuum and tack cloth.
- Subsequent Coats:
- Apply 2-3 additional thin coats, allowing each to dry fully between applications. Lightly sand and clean between coats, especially after the first. More coats generally mean greater durability.
- For high-traffic areas like floors or heavily used tabletops, 3-4 coats of a durable polyurethane are typically recommended.
- Final Curing:
- While the surface may feel dry to the touch after the last coat, the finish needs time to fully cure and harden. This can take anywhere from a few days to several weeks, depending on the product and environmental conditions.
- Avoid placing heavy furniture or rugs on the surface until it’s fully cured to prevent marring or impressions.
- For wood finishing for statement pieces, patience during the curing phase is key to long-term beauty.
Conclusion
Successfully “Finishing Hardwood Floors and Tabletops: Sanding, Staining, and Sealing for Professional Results” is a rewarding endeavor that significantly enhances the beauty and longevity of your wood pieces. The process, while detailed, is achievable for anyone willing to invest time in proper preparation, careful application, and patience. Remember, the foundation of any great finish lies in meticulous sanding, the character is imparted through thoughtful staining, and the durability is secured by a high-quality sealant. By following these comprehensive steps, you can transform your wood surfaces into professional-grade showpieces that withstand the test of time, proudly serving their purpose in your home in 2026 and beyond.
To ensure the lasting beauty of your newly finished surfaces, establish a routine of gentle cleaning and address spills promptly. Regularly inspect for minor wear and be prepared to reapply finish as needed to maintain optimal protection.
References
- Flexner, B. (2005). Understanding Wood Finishing: How to Select and Apply the Right Finish. Fox Chapel Publishing.
- Jewitt, G. (2014). Wood Finishing 101: The Essential Guide for Beginners. Popular Woodworking Books.