

The average household in 2026 relies heavily on coffee tables, yet a survey revealed that over 70% of homeowners feel their current table lacks either stability, aesthetic appeal, or the personal touch they desire. This statistic highlights a significant opportunity for DIY enthusiasts to craft a piece that meets their exact needs. Building a Round Coffee Table for Beginners: A Stable Base, Simple Joinery, and Clean Finishing offers a practical, rewarding project that empowers novice woodworkers to create a functional and beautiful centerpiece for their living space, bypassing the common pitfalls of wobbly designs and complex construction.
Key Takeaways
- Foundation First: A stable base is paramount for any coffee table, especially round designs, ensuring longevity and safety.
- Simple Joinery: Techniques like pocket hole joinery or reinforced butt joints are accessible for beginners and provide strong connections.
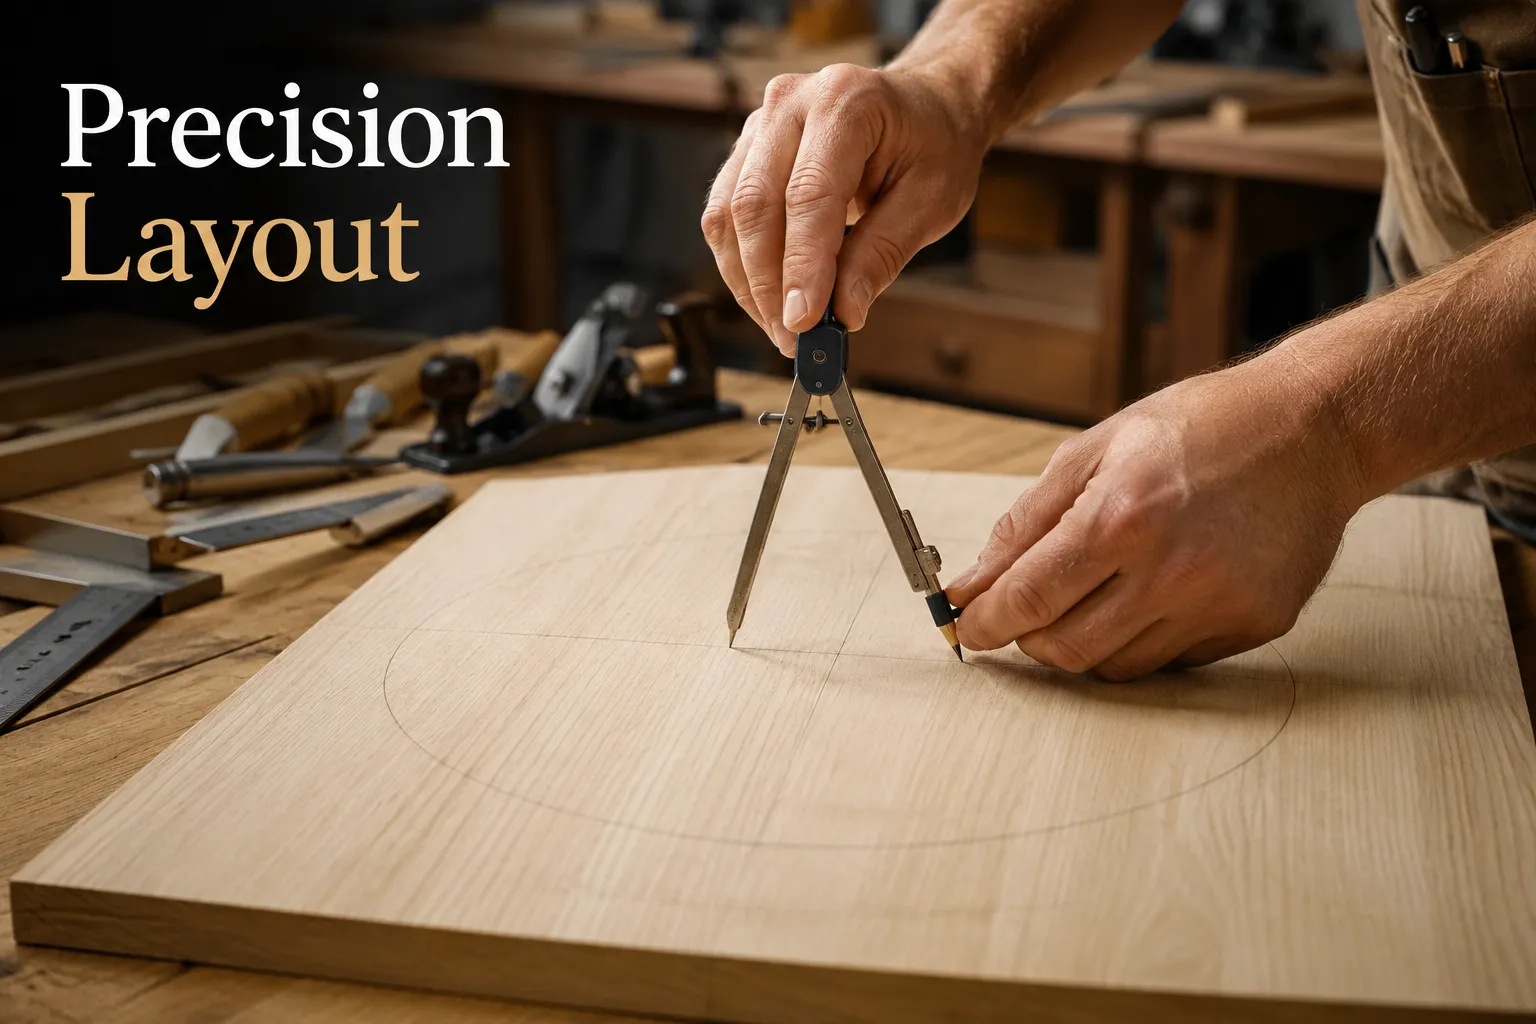
- Precision in Rounding: Accurate cutting and sanding are critical for achieving a perfectly round tabletop and smooth edges.
- Finishing for Durability: Proper sanding, staining, and protective topcoats enhance both the appearance and lifespan of your handmade table.
- Tool Accessibility: This project can be completed with a modest set of power and hand tools, making it ideal for those just starting their woodworking journey.
Designing a Stable Base for Your Round Coffee Table
The foundation of any successful coffee table, particularly a round one, lies in its stability. A wobbly table is not only annoying but can also be a safety hazard. When you’re Building a Round Coffee Table for Beginners: A Stable Base, Simple Joinery, and Clean Finishing, the design of the base is your first critical consideration. For beginners, a three- or four-leg design with a robust apron or stretcher system offers the best balance of stability and ease of construction.
Wood Selection for Stability and Aesthetics
Choosing the right wood is crucial. Hardwoods like oak, maple, or cherry offer excellent durability and a beautiful grain, but they can be more challenging to work with and more expensive. Softer woods like pine or poplar are more forgiving for beginners and are budget-friendly, though they might be more prone to dents. Consider the overall aesthetic you’re aiming for and how it will complement your home’s existing decor. For inspiration on wood choices, explore our guide on choosing the right wood for your project.
Table: Common Wood Choices for Beginner Coffee Table Projects
| Wood Type | Pros | Cons | Ideal For |
|---|---|---|---|
| Pine | Affordable, easy to cut, lightweight | Softer, prone to dents, less durable | Rustic, painted finishes, budget projects |
| Poplar | Affordable, smooth grain, takes paint well | Can be dull in color, less impact resistant | Painted finishes, hidden structural elements |
| Oak | Very durable, attractive grain, stable | More expensive, harder to work, heavy | High-end, natural wood finishes, longevity |
| Maple | Hard, fine grain, strong, takes stain well | More expensive, can be difficult to stain evenly | Modern, smooth finishes, durable tops |
Leg Design and Placement for Optimal Support
For a round coffee table, three or four legs are standard. Three legs often provide inherent stability on uneven surfaces, as a tripod naturally finds balance. Four legs offer a classic look and excellent load-bearing capacity.
- Leg Styles: Simple tapered legs are a great starting point for beginners, as they involve straightforward cuts. You can also opt for straight, square legs. Avoid overly complex leg designs for your first project.
- Apron/Stretcher System: Connecting the legs with an apron (a skirt that runs beneath the tabletop) or stretchers (horizontal supports between legs) significantly increases stability. An apron provides a sturdy surface for attaching the tabletop.
- Placement: For a three-leg design, place legs equidistant around the perimeter. For four legs, aim for a symmetrical square or rectangle pattern, slightly inset from the edge of the tabletop to prevent tipping.
Consider the height of your coffee table carefully. Standard coffee table height typically ranges from 16 to 18 inches, often matching the height of your sofa cushions.
Simple Joinery Techniques for a Strong Coffee Table
The goal when Building a Round Coffee Table for Beginners: A Stable Base, Simple Joinery, and Clean Finishing is to achieve robust connections without complex woodworking joints. This section focuses on methods that are both strong and accessible for those new to woodworking.
Pocket Hole Joinery
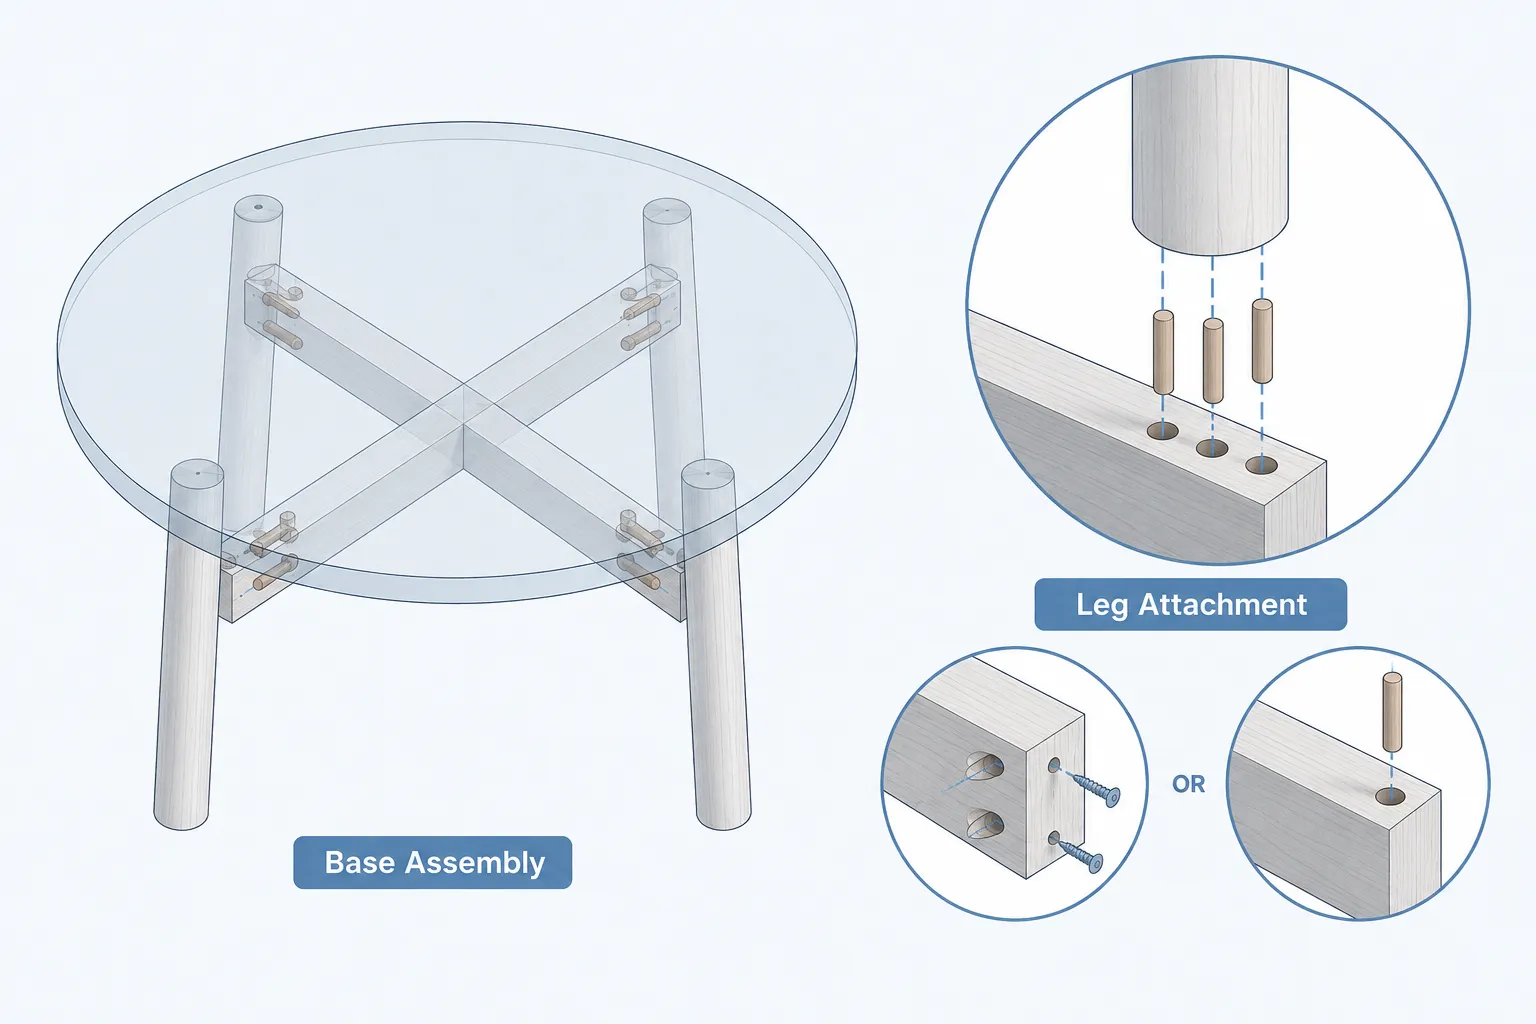
Pocket hole joinery is a favorite among beginners for its simplicity and strength. It involves drilling a pilot hole at an angle into one piece of wood, then joining it to a second piece with a self-tapping screw.
- Tools Required: A pocket hole jig (e.g., Kreg Jig), drill, appropriate pocket hole screws.
- Applications: Ideal for attaching aprons to legs, and the tabletop to the base.
- Advantages: Fast, strong, and easily concealed.
Dowel Joinery
Dowel joinery uses short wooden pins (dowels) inserted into precisely drilled holes to align and reinforce butt joints. This method creates a strong mechanical connection in addition to the glue joint.
- Tools Required: Dowel jig, drill, dowel pins, wood glue.
- Applications: Excellent for attaching apron pieces to one another, or for reinforcing leg-to-apron connections where pocket holes might be visible.
- Advantages: Strong, provides good alignment, and the joint itself is hidden once assembled.
For more on robust connections, consider learning about the ultimate guide to wood adhesives for enhanced strength.
Butt Joints with Reinforcement
A simple butt joint involves joining two pieces of wood end-to-end or edge-to-edge. While a basic butt joint is weak on its own, it can be significantly strengthened with glue and fasteners or dowels.
- Screws and Glue: Use wood glue liberally, clamp the pieces together, and then drive screws through one piece into the other. Ensure screws are appropriate for the wood thickness to prevent splitting.
- Corner Blocks: For leg-to-apron connections, adding triangular corner blocks glued and screwed into the inside corner provides substantial reinforcement.
Attaching the Tabletop
Once your base is assembled, attaching the round tabletop securely is the final joinery step.
- From Below: If you used an apron, drill pilot holes through the top edge of the apron and attach the tabletop with screws. This hides the fasteners.
- Z-Clips or Figure-8 Fasteners: These metal fasteners allow for wood movement (expansion and contraction due to humidity) while securely holding the top. They are routed into the apron and screwed into the underside of the tabletop. This is an advanced beginner technique that greatly enhances the longevity of your table.
- Pocket Holes (for aprons): If your apron is wide enough, pocket holes drilled on the inside edge and screwed into the tabletop provide a strong, hidden connection.
Remember to always pre-drill pilot holes when screwing into wood to prevent splitting, especially near edges or end grain.
Achieving a Clean Finish on Your Round Coffee Table
The finishing process is where your woodworking project truly comes to life, transforming raw wood into a piece of furniture that’s both durable and aesthetically pleasing. For Building a Round Coffee Table for Beginners: A Stable Base, Simple Joinery, and Clean Finishing, a clean, professional finish is crucial to its appeal.
Sanding for Smoothness
Proper sanding is perhaps the most critical step for a clean finish. It removes tool marks, smooths out imperfections, and prepares the wood to accept stain or paint evenly.
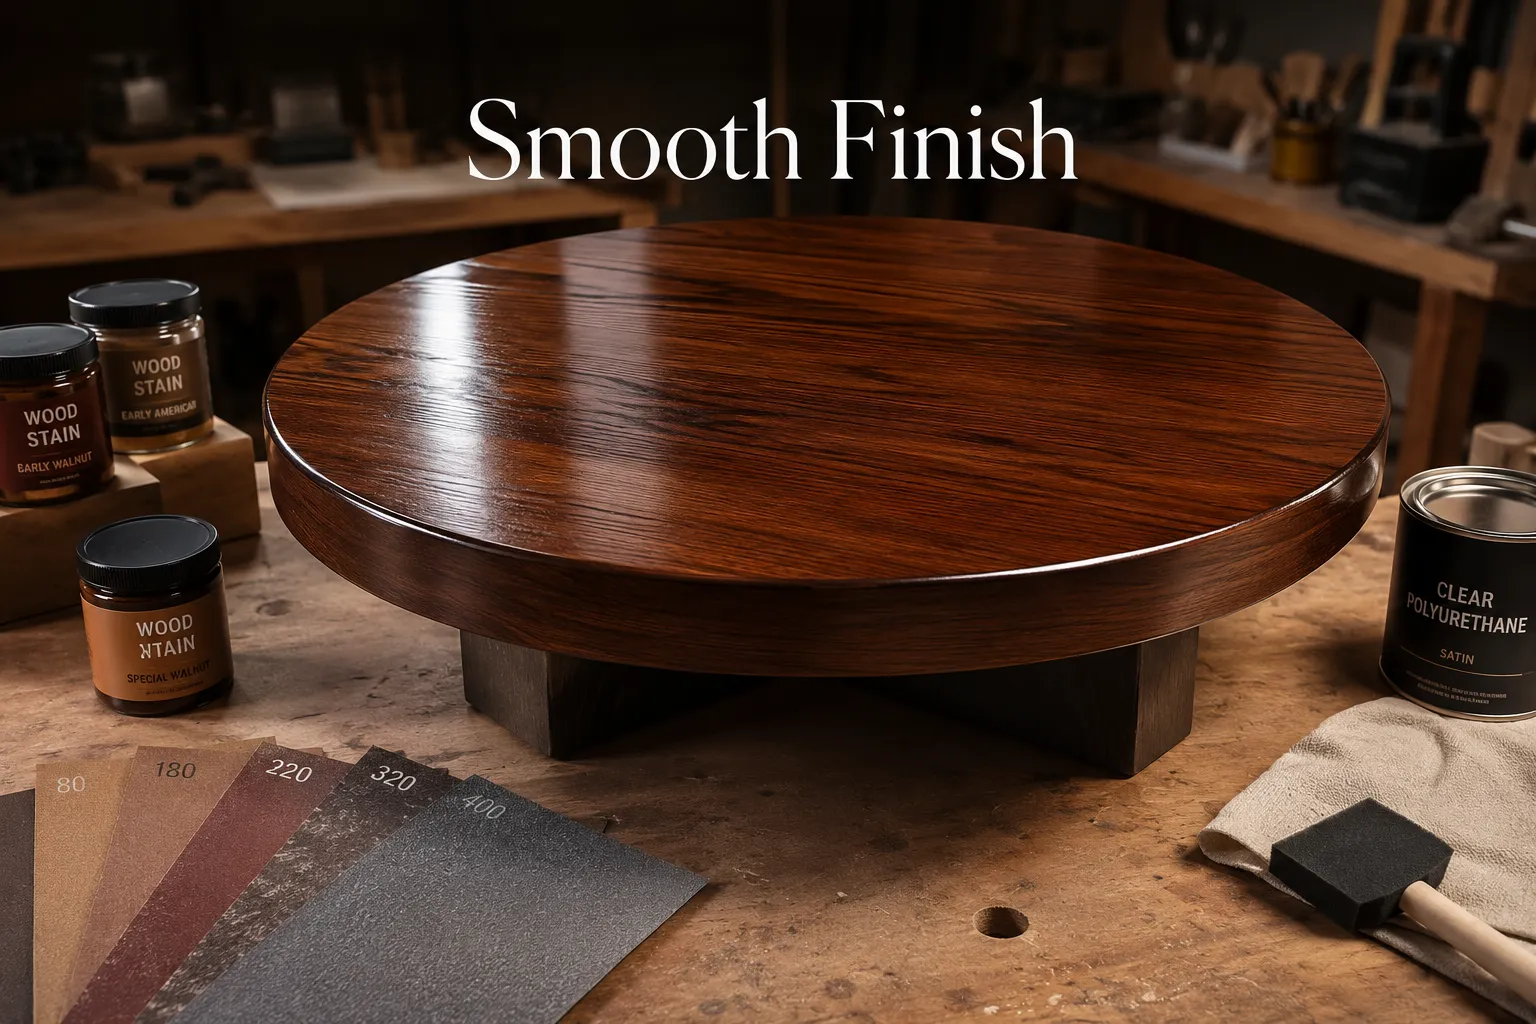
- Start Coarse: Begin with a coarser grit sandpaper (e.g., 80 or 100 grit) to remove any major irregularities.
- Gradually Increase Grit: Work your way up through progressively finer grits (120, 150, 180, 220). Do not skip grits, as skipping can leave deeper scratches that will show through the finish.
- Clean Between Grits: After each grit, thoroughly clean the surface to remove all dust. A shop vacuum followed by a tack cloth is effective. Residual dust can create new scratches with the next grit.
- Edge and Curve Sanding: Pay extra attention to the round edges of your tabletop. Use sanding blocks or contour sanding sponges to maintain the curve and achieve a smooth, consistent feel.
Applying Stains, Paints, or Oils
Once sanded, the wood is ready for its aesthetic treatment.
- Stains: Apply stain evenly with a cloth or brush, wiping off excess according to the product instructions. Always test stain on a scrap piece of the same wood to ensure you like the color. Different wood species absorb stain differently.
- Paints: If painting, a good quality primer is often recommended, especially for softer woods like pine or poplar, to ensure even color and better adhesion. Apply thin, even coats of paint, allowing each coat to dry thoroughly.
- Oils: Penetrating oils (like Danish oil or tung oil) soak into the wood, providing a natural, matte finish that highlights the grain. They are generally easy to apply and repair.
- Food-Safe Finishes: If your coffee table might double as an eating surface or hold food, consider using food-safe finishes.
Protective Topcoats for Longevity
A protective topcoat seals the wood and provides a durable surface that resists moisture, spills, and wear.
- Polyurethane (Oil-Based or Water-Based):
- Oil-based: Very durable, amber tint that deepens over time, strong odor, slower drying time.
- Water-based: Dries clear, low odor, faster drying time, slightly less durable than oil-based but still very good.
- Lacquer: Dries very quickly, provides a hard, clear finish. Best applied with a spray gun, making it more suitable for advanced users.
- Varnish: Similar to polyurethane in durability but often contains resins that make it more resistant to UV light, ideal for pieces that might see sunlight.
Apply topcoats in thin, even layers. Lightly sand with a very fine grit (e.g., 320 or 400) between coats to ensure good adhesion and a super smooth finish. Always follow the manufacturer’s instructions for drying times and recoating. This careful attention to finishing will ensure your coffee table, even your first one, looks professionally made and lasts for years. For techniques on protecting outdoor furniture, which uses similar principles, see our guide on advanced wood finishing for outdoor furniture.
Conclusion
Building a Round Coffee Table for Beginners: A Stable Base, Simple Joinery, and Clean Finishing is a highly achievable project that offers immense satisfaction and a beautiful, functional piece of furniture for your home. By focusing on a stable base design, utilizing straightforward joinery techniques like pocket holes or dowels, and dedicating time to meticulous sanding and finishing, even a novice woodworker can create a coffee table that looks professionally crafted.
The journey from raw lumber to a finished, elegant round coffee table is not just about the end product, but also about the skills gained and the confidence built. This project serves as an excellent stepping stone for more complex furniture builds, laying a solid foundation in essential woodworking practices. As you admire your handmade coffee table, you’ll appreciate not only its aesthetic appeal but also the personal effort and craftsmanship embedded in every joint and every smooth surface.
Actionable Next Steps:
- Gather Your Tools and Materials: Before starting, ensure you have all necessary lumber, fasteners, glue, and finishing supplies.
- Create a Detailed Plan: Sketch your design, including dimensions, leg placement, and joinery methods. This helps visualize the project and identify potential issues early.
- Practice on Scraps: If new to a particular joinery technique or finishing product, practice on scrap pieces of wood first to perfect your method.
- Embrace the Process: Woodworking is a journey of learning. Don’t be discouraged by minor imperfections; they are part of the handmade charm.
- Explore Further Projects: Once your coffee table is complete, consider other beginner-friendly table projects like a DIY folding work table or building a sturdy wooden step stool to continue honing your skills.
SEO Meta Title: Build a Round Coffee Table: Stable Base, Simple Joinery, Clean Finish SEO Meta Description: Master building a round coffee table in 2026 with our beginner’s guide. Learn stable base design, simple joinery, and clean finishing for a beautiful, lasting piece.