
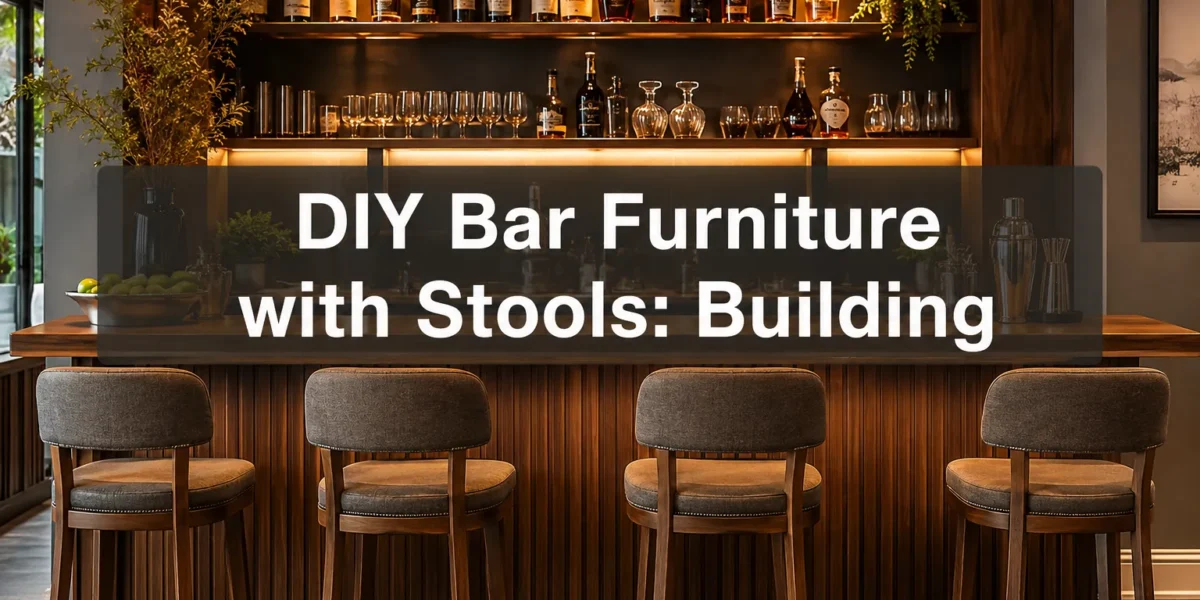
The average homeowner in 2026 spends over $500 annually on entertainment outside the home. What if a significant portion of that budget could be redirected into creating an unparalleled home entertaining experience, starting with custom-built bar furniture? The idea of “DIY Bar Furniture with Stools: Building Cohesive Sets for Home Entertaining” isn’t just about saving money; it’s about infusing your personal style into a functional centerpiece that elevates every gathering. Crafting your own bar and matching stools allows for precise customization, ensuring perfect fit, finish, and flow within your living space, a feat rarely achieved with off-the-shelf options. This guide will walk you through designing, building, and finishing a cohesive bar set that will become the envy of your guests.
Key Takeaways
- Customization is Key: DIY allows for tailored dimensions, materials, and finishes to perfectly match your home’s aesthetic and available space.
- Cohesion Elevates Style: Building matching bar and stools ensures a unified look, creating a professional and inviting entertaining area.
- Planning Prevents Pitfalls: Thorough design, material selection, and tool preparation are crucial for a successful and satisfying build.
- Safety First: Always prioritize safety by wearing appropriate personal protective equipment and understanding tool operation.
- Finishing Touches Matter: The right finish not only protects your furniture but also significantly enhances its visual appeal and durability.
Designing Your DIY Bar Furniture with Stools: Building Cohesive Sets for Home Entertaining
The foundation of any successful woodworking project, especially one as central to home entertaining as a bar set, lies in meticulous design. Before a single cut is made, careful planning ensures that your DIY bar furniture with stools is not only functional but also perfectly integrated into your home’s aesthetic. This initial phase involves considering space, style, materials, and ergonomics.
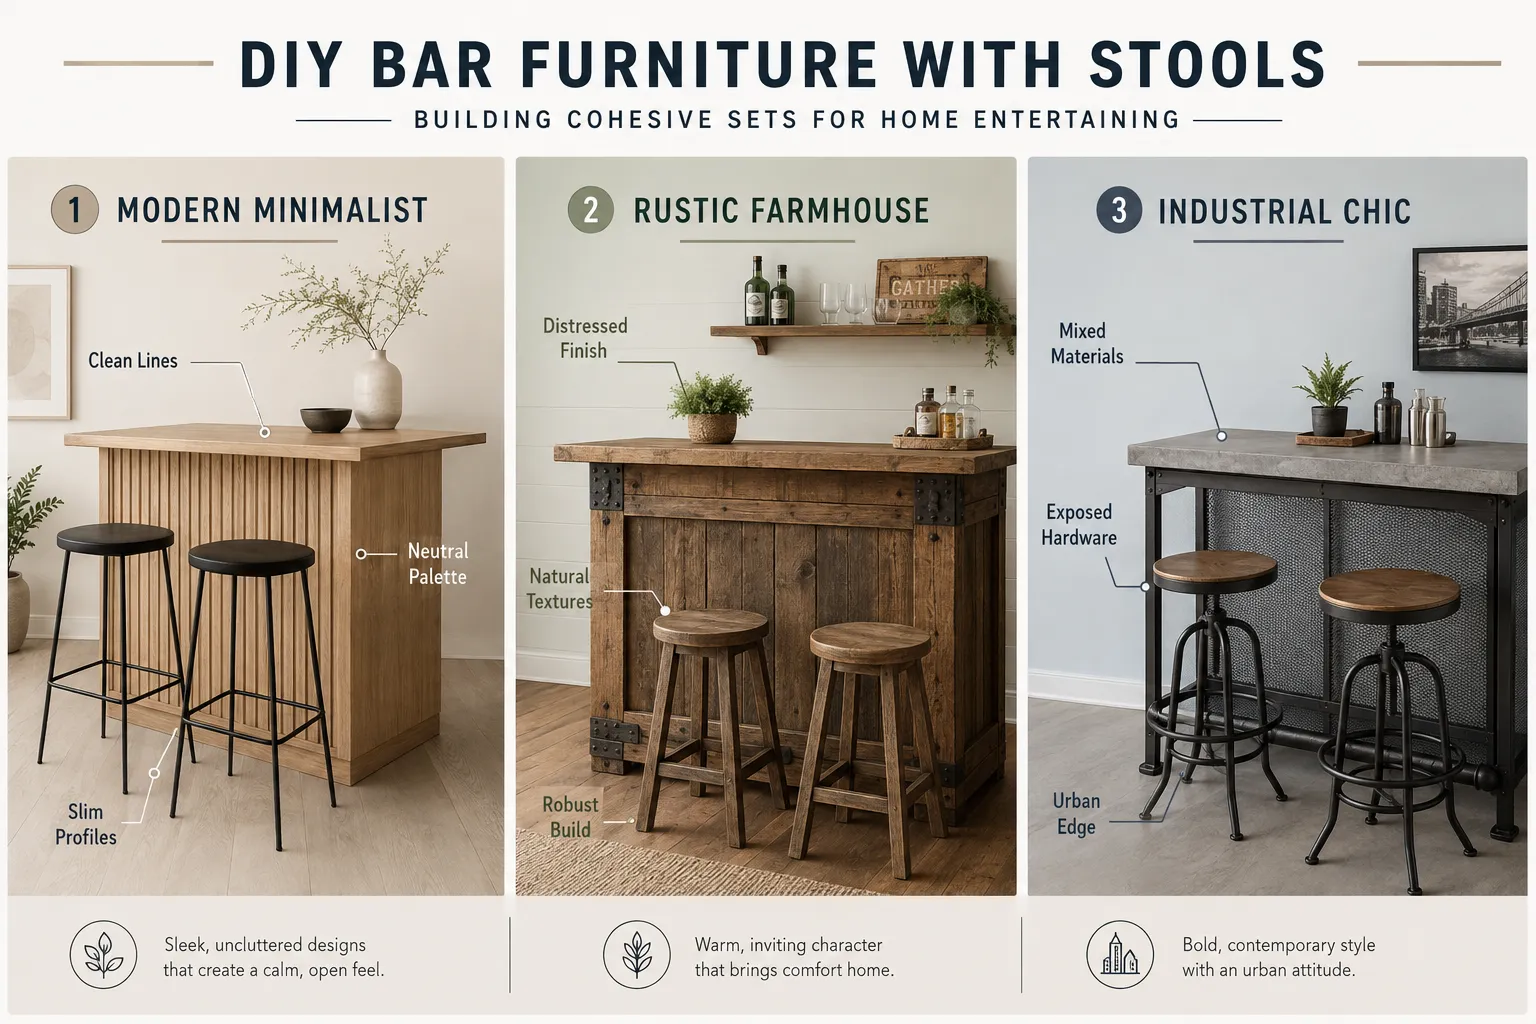
Assessing Your Space and Style
Begin by evaluating the designated area for your bar. Measure the available footprint thoroughly, considering traffic flow and proximity to other furniture. Will it be a standalone bar, an extension of a kitchen island, or integrated into a larger entertainment unit?
Next, define the aesthetic. Do you lean towards modern minimalist, rustic farmhouse, industrial chic, or classic traditional? Your home’s existing decor should heavily influence this decision. For instance, if your living room features warm minimalism in wood design, your bar set should reflect similar principles. Sketching out several ideas can help visualize the final product.
Design Considerations:
- Size and Footprint: How many people do you want to comfortably seat? A larger bar may accommodate more guests but requires significant space.
- Shape: Straight, L-shaped, or U-shaped? The shape dictates capacity and interaction.
- Storage Needs: Will you need shelves for bottles, glassware racks, or drawers for bar tools? Integrating these into the design from the outset is much easier than adding them later.
- Integrated Features: Consider adding a mini-fridge cutout, a sink, or even ambient lighting.
Selecting Materials and Finishes for Cohesion
The choice of materials is paramount to achieving a cohesive set. Wood is a versatile choice, offering a range of aesthetics from light and airy to dark and dramatic. Different wood species have distinct grain patterns, colors, and durability. For instance, oak and maple are durable choices often used in furniture, while pine is more budget-friendly and easier to work with but softer. Consult resources like The Essential Guide To Wood Species For Beginner Furniture Makers to make an informed decision.
For countertops, consider wood, laminate, concrete, or even reclaimed materials. The goal is to choose materials that complement both the bar and the stools, ensuring visual harmony.
| Material Type | Pros | Cons | Best For |
|---|---|---|---|
| Solid Wood | Durable, beautiful, timeless | Expensive, requires maintenance, can scratch | Traditional, Rustic, High-End Modern |
| Plywood | Stable, affordable, easy to work with | Edges need finishing, less visually appealing | Modern, Industrial (when properly finished) |
| Reclaimed Wood | Unique character, sustainable | Irregularities, harder to work with | Rustic, Industrial, Farmhouse |
| MDF | Smooth, affordable, easy to paint | Not water-resistant, less durable | Painted finishes, budget-friendly projects |
Finishes play a crucial role in both protection and aesthetics. Stains can alter wood color while allowing grain to show through, while paints offer opaque coverage and a wider color palette. A clear coat (polyurethane, lacquer, or oil finish) provides protection against spills and wear. Ensure your chosen finish is durable enough for a high-traffic entertaining area.
Ergonomics and Dimensions for Bar and Stools
Ergonomics are critical for comfort. The standard height for a home bar is typically 40-42 inches (101-107 cm), requiring bar stools with a seat height of 28-30 inches (71-76 cm). This leaves approximately 10-12 inches (25-30 cm) between the top of the stool seat and the underside of the bar, allowing comfortable leg room.
When designing your stools, consider features like backrests, footrests, and swivel mechanisms. For maximum comfort, stools should ideally be 17-21 inches (43-53 cm) wide per person, allowing enough elbow room. Building stools that are comfortable and sturdy is just as important as the bar itself, contributing significantly to the overall enjoyment of your DIY bar furniture with stools: building cohesive sets for home entertaining. For deeper insights into bar seating, exploring resources on Bar Stools and Counter Seating: What to Buy vs. What to Build for Your Kitchen Island can be very beneficial.
Construction Phase: Building Your DIY Bar Furniture with Stools
Once your design is finalized and materials are selected, the construction phase begins. This involves careful cutting, joinery, assembly, and ensuring the structural integrity of both the bar and the stools.
Essential Tools and Workspace Setup
A well-organized workspace and the right tools are key to efficiency and safety. For this project, you’ll need:
- Measuring and Marking Tools: Tape measure, ruler, square, marking knife/pencil.
- Cutting Tools: Circular saw, miter saw, jigsaw, or even a table saw for precision cuts. For more complex joinery, a router or hand saws might be needed. Consider optimizing your workspace for efficiency with a portable miter saw stand.
- Drilling Tools: Drill/driver with various bits.
- Clamping Tools: Essential for holding pieces securely during assembly and gluing.
- Sanding Tools: Orbital sander, sanding blocks, various grit sandpaper.
- Safety Gear: Safety glasses, hearing protection, dust mask/respirator, gloves.
Ensure your workspace is well-lit, free of clutter, and has adequate ventilation, especially when applying finishes.
Step-by-Step Bar Construction
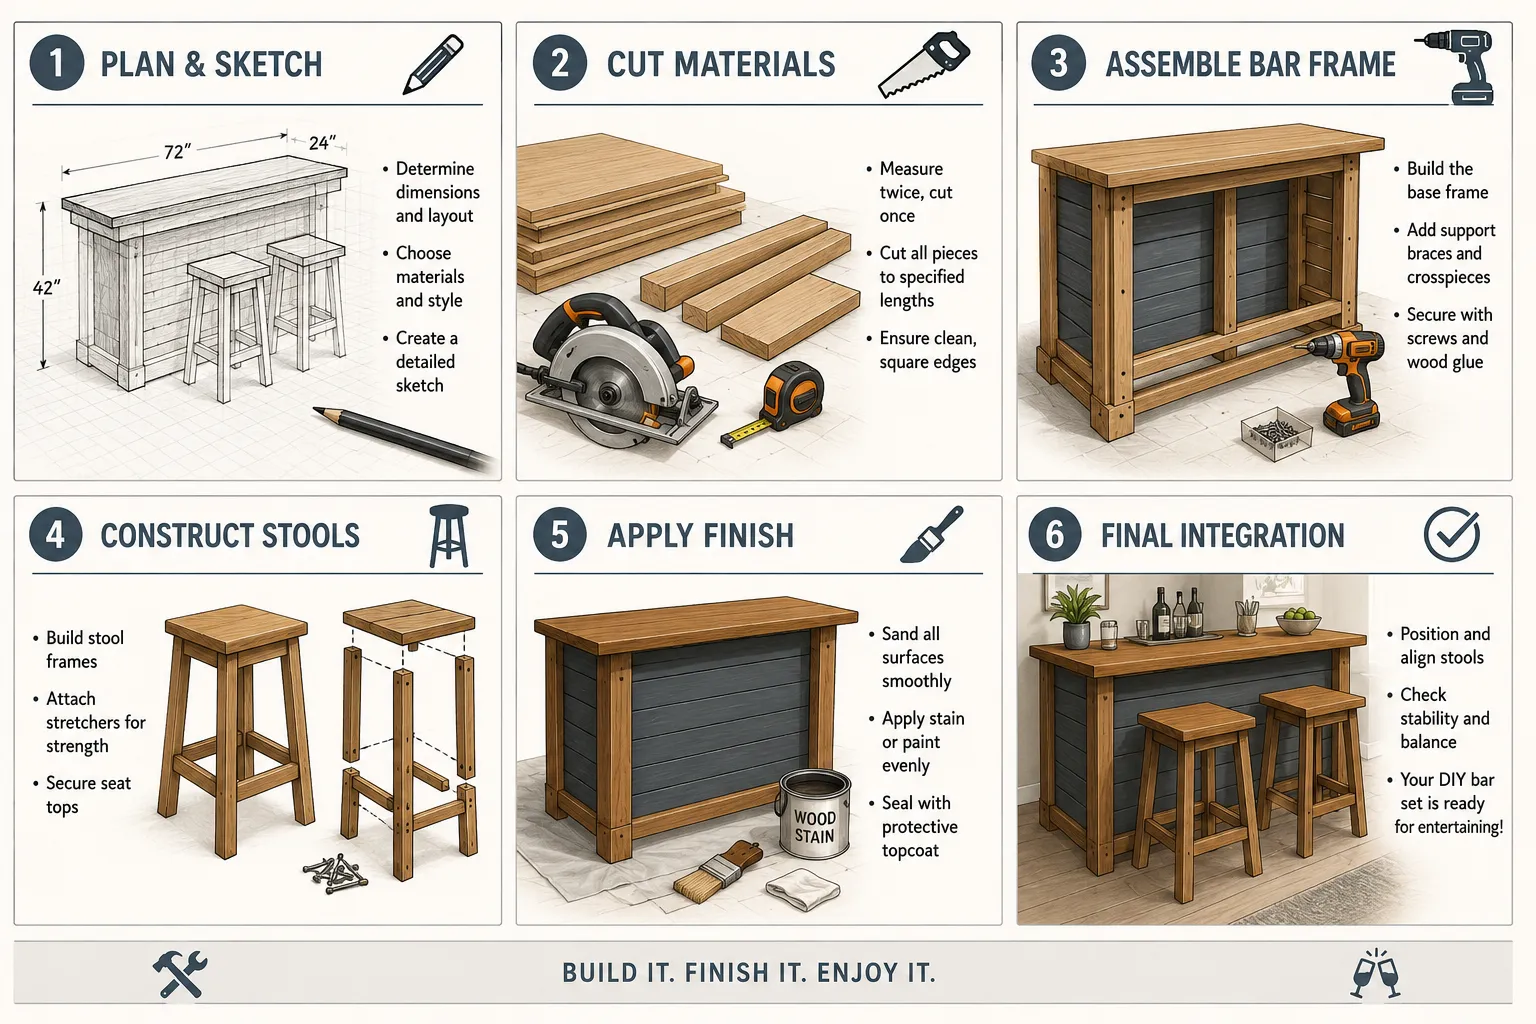
The construction of your bar will generally follow these steps:
- Cut Main Components: Accurately cut all large pieces for the bar’s frame, sides, top, and shelves according to your design plans. Double-check all measurements before cutting.
- Assemble the Frame: Start by assembling the foundational frame. Use strong joinery techniques like pocket screws, dadoes, or mortise and tenon joints for durability. Introduction To Traditional Hand Tool Joinery Exploring Mortise And Tenon With Chisels And Saws can provide guidance on advanced techniques.
- Attach Side Panels and Shelving: Securely fasten the side panels and any interior shelving or dividers. Use wood glue in conjunction with mechanical fasteners (screws, nails) for added strength.
- Install the Countertop: Attach the bar top, ensuring it is perfectly level and securely fastened to the frame. Depending on your design, you may use specialized fasteners that allow for wood movement.
- Integrate Custom Features: Install any planned features like a footrest, bottle racks, or electrical outlets at this stage.
Accuracy and patience are paramount during this phase. Test-fit components before gluing and fastening to avoid errors.
Building Cohesive Bar Stools
Building stools that match your bar in both style and structural integrity is crucial for creating a cohesive set. The general steps for stool construction are:
- Cut Stool Components: Precisely cut all leg, rail, and seat pieces for each stool. Batch cutting multiple identical parts ensures consistency.
- Assemble Leg Frames: Construct the individual leg frames. Pay close attention to angles and alignment to ensure stability. Cross-braces or stretchers are critical for preventing wobbling.
- Attach Seat Supports: Securely attach the framework that will support the seat.
- Fasten Seats: Attach the prepared seat tops. For upholstered seats, this involves attaching the padded and fabric-covered base.
- Add Footrests: Install footrests at the ergonomic height determined during the design phase. These are not only for comfort but also contribute significantly to the stool’s stability.
Consistency in dimensions and joinery across all stools is vital for a truly cohesive look. Use wood glue and robust joinery for long-lasting results. When considering projects for seating, learning about building benches for indoor and outdoor use can also offer transferable skills for sturdy furniture construction.
Finishing and Integrating Your DIY Bar Furniture with Stools
The final stages of your project, sanding, finishing, and integration, are where your hard work truly shines. These steps transform raw wood into a beautiful, durable, and cohesive bar set ready for home entertaining.
Sanding for a Professional Finish
Sanding is perhaps the most tedious yet critical step for achieving a professional look. It removes imperfections, smooths the wood, and prepares it to accept stain or paint evenly.
- Start Coarse, Finish Fine: Begin with a coarser grit sandpaper (e.g., 80-100 grit) to remove saw marks and major imperfections. Gradually move to finer grits (120, 150, 180, 220). For an exceptionally smooth finish, you might go up to 320 or even 400 grit.
- Sand with the Grain: Always sand in the direction of the wood grain to avoid unsightly scratches.
- Clean Between Grits: After each grit, thoroughly clean the dust from the surface using a tack cloth or vacuum. Remaining dust can create scratches with the next finer grit.
- Edge Treatment: Gently ease all sharp edges to prevent chipping and improve comfort.
Take your time with sanding. The effort invested here will dramatically impact the final appearance of your DIY bar furniture with stools: building cohesive sets for home entertaining.
Applying Stains, Paints, and Protective Coats
This is where your chosen aesthetic truly comes to life.
- Staining: If staining, apply it evenly with a brush or rag, wiping off excess according to the product instructions. Test the stain on a scrap piece of the same wood to ensure it achieves the desired color.
- Painting: For painted finishes, apply a primer first for better adhesion and a more uniform color. Apply thin, even coats of paint, allowing adequate drying time between coats. Lightly sand with a very fine grit (e.g., 220-320) between coats for a smoother finish.
- Protective Clear Coat: Once your stain or paint is dry, apply a durable clear coat. Polyurethane, lacquer, and spar urethane are popular choices for bar tops due to their resistance to moisture and abrasion. Apply multiple thin coats, sanding lightly between coats with a very fine grit (e.g., 320-400) for maximum smoothness and protection. Always follow manufacturer instructions for application and drying times.
Ensure consistency in your finishing process across both the bar and the stools to maintain that crucial cohesive look. This consistency helps to unify your DIY bar furniture with stools.
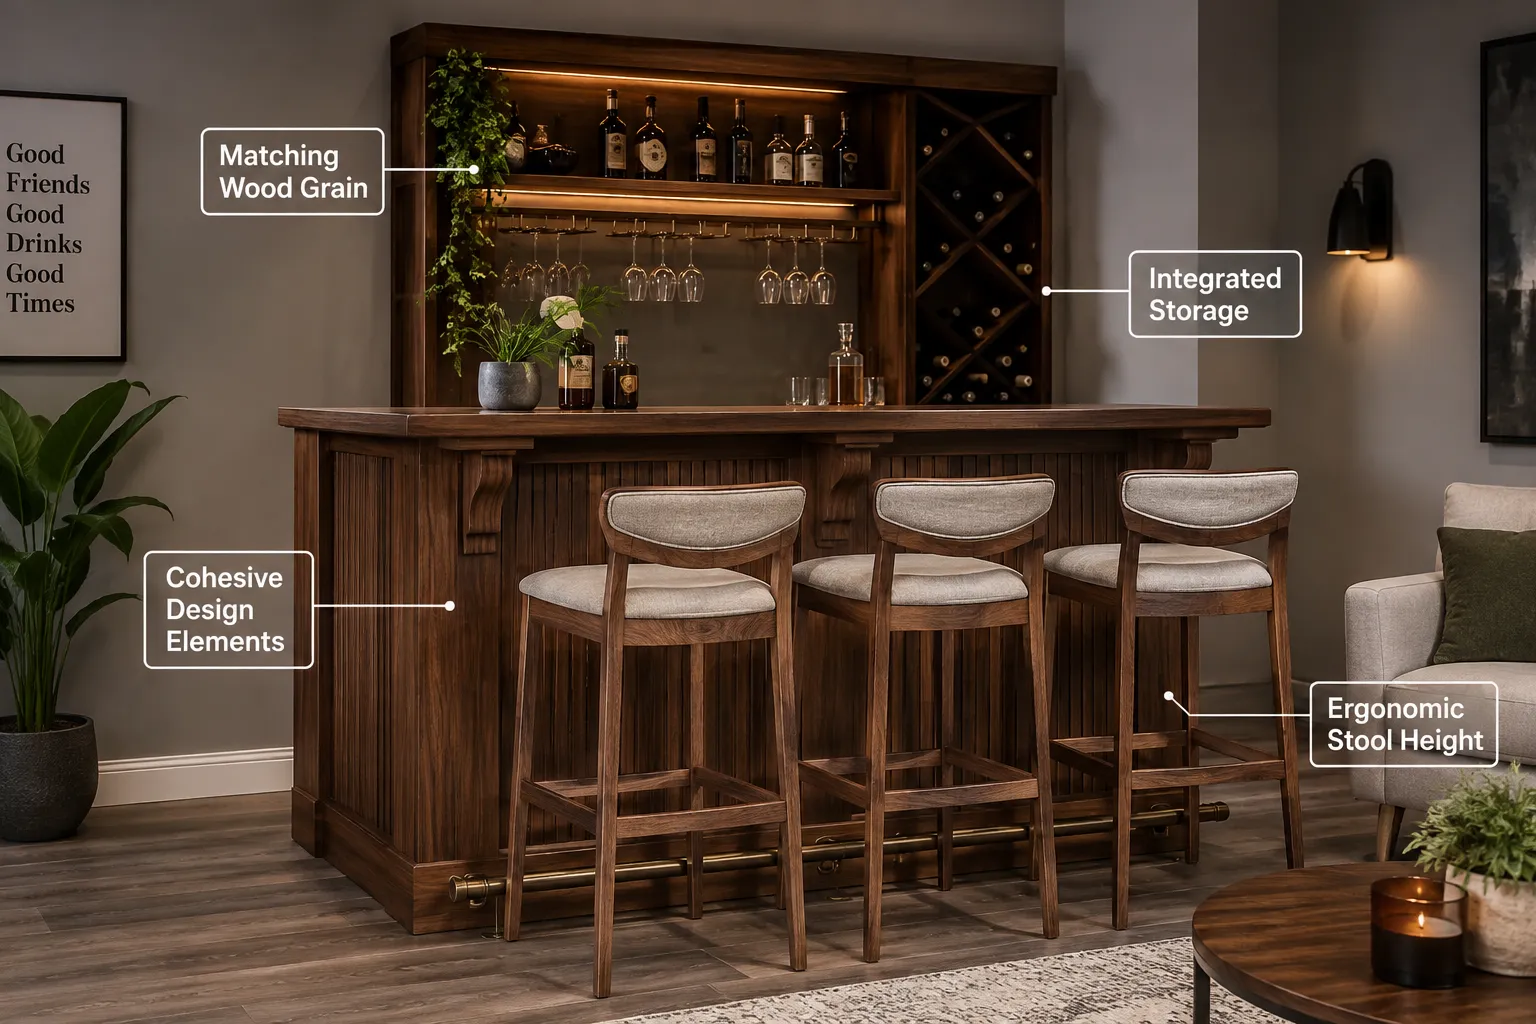
Final Assembly and Placement
With all pieces sanded, stained/painted, and protected, it’s time for final assembly and placement.
- Hardware Installation: Attach any remaining hardware, such as hinges for cabinet doors, drawer pulls, or decorative trim.
- Stool Integration: Place your newly finished stools with the bar. Verify that they fit comfortably, are stable, and that the heights are correct. This is the moment to appreciate the culmination of your efforts in building benches for indoor and outdoor use, tailored specifically for your home’s bar area.
- Area Preparation: Prepare the entertaining area. Clean the floor, ensure adequate lighting, and consider adding non-slip pads to the feet of the bar and stools to protect your floors and prevent movement.
Your DIY bar furniture with stools, a truly cohesive set, is now ready to host countless memorable home entertaining events.
Conclusion
Building your own DIY bar furniture with stools to create a cohesive set for home entertaining is a deeply rewarding project. It offers the unparalleled satisfaction of crafting something beautiful and functional with your own hands, perfectly tailored to your space and style. From the initial design considerations, including space assessment, material selection, and ergonomic planning, to the meticulous construction and the final, protective finishes, every step contributes to a bespoke piece that enhances your home.
This endeavor is more than just woodworking; it’s about investing in your lifestyle, creating a central hub for social gatherings, and showcasing your unique flair. By following thoughtful design principles, employing sound construction techniques, and paying close attention to finishing details, you can achieve a professional-quality bar set that not only serves its purpose but also becomes a cherished part of your home for years to come. So, gather your tools, unleash your creativity, and prepare to elevate your home entertaining game with a truly custom bar experience.
Actionable Next Steps:
- Measure and Map: Accurately measure your intended bar space and sketch out several design concepts.
- Research Materials: Explore different wood species and countertop options, considering durability and aesthetics.
- Gather Tools: Ensure you have all necessary tools, and if needed, check out guides on Power Tool Mastery For Building Console Tables Modern Entryway Furniture For Small Spaces to hone your skills.
- Start Small: If you’re new to woodworking, consider building a single stool first as a practice run before tackling the entire bar.
- Prioritize Safety: Always wear appropriate PPE and understand tool operation before beginning any cuts or assembly.
SEO Meta Title: DIY Bar Furniture & Stools: Build Cohesive Home Bar Sets SEO Meta Description: Learn how to design and build custom DIY bar furniture with matching stools for a cohesive, stylish home entertaining space in 2026. Get expert tips.