
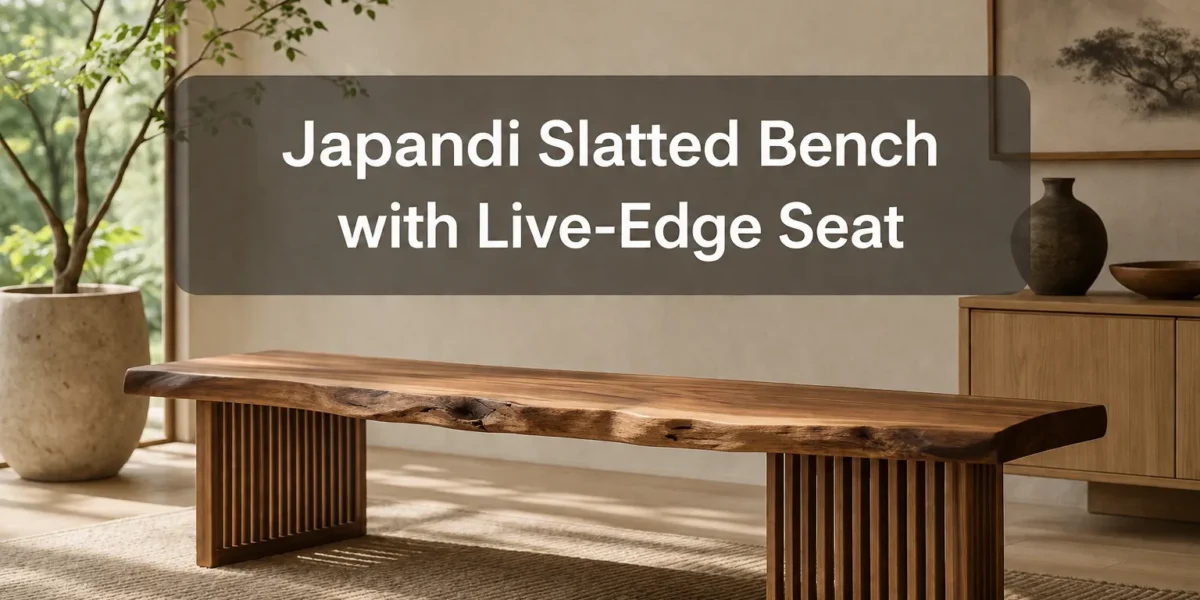
The average household in 2026 is increasingly seeking furniture that offers both profound functionality and aesthetic tranquility. This pursuit has fueled the rise of Japandi design, a harmonious blend of Japanese minimalism and Scandinavian warmth. For intermediate woodworkers, few projects encapsulate this philosophy as perfectly as a Japandi Slatted Bench with Live-Edge Seat: A Minimalist Furniture Project for Intermediate Woodworkers. This project offers a unique opportunity to refine essential woodworking skills while creating a piece that will elevate any modern living space. It combines the clean lines and practical elegance of slatted construction with the organic, raw beauty of a live-edge slab, resulting in a statement piece that is both grounded and sophisticated.
Key Takeaways
- The Japandi Slatted Bench merges Japanese minimalism with Scandinavian functionality, ideal for modern homes.
- This project is designed for intermediate woodworkers, offering a balance of challenging and rewarding techniques.
- Selecting the right live-edge slab is crucial for the bench’s aesthetic appeal and structural integrity.
- Precision in cutting and joinery is paramount for achieving the clean, minimalist look of the slatted base.
- Proper finishing techniques are essential to protect the wood and enhance its natural beauty, especially for the live-edge.
Understanding the Japandi Aesthetic and Project Appeal
The Japandi aesthetic is not merely a style; it’s a philosophy. It embraces simplicity, natural materials, clean lines, and a sense of calm. The “Japandi Slatted Bench with Live-Edge Seat: A Minimalist Furniture Project for Intermediate Woodworkers” inherently embodies these principles. The slatted base, with its geometric regularity, echoes Japanese shoji screens and Scandinavian functional design. The live-edge seat introduces an element of wabi-sabi, the acceptance of imperfection and transience, celebrating the natural form of the wood. This juxtaposition creates a visually dynamic yet deeply harmonious piece.
For intermediate woodworkers, this project serves as an excellent vehicle for skill development. It involves precise milling, careful joinery (often mortise and tenon or robust dados), and thoughtful wood selection. Unlike complex cabinetry, the bench’s relatively straightforward form allows for a focus on execution and finish, rather than intricate mechanisms. It’s a chance to apply learned techniques to a functional, aesthetically pleasing object.
Why Choose a Live-Edge Slab?
A live-edge slab is a piece of wood that retains its natural edge, often with bark still attached or simply smoothed. Incorporating a live-edge seat introduces an organic, sculptural quality that contrasts beautifully with the rectilinear base. Each live-edge slab is unique, meaning every bench will possess its own distinct character. When choosing a live-edge slab, consider the following:
- Wood Species: Hardwoods like walnut, oak, maple, or cherry are excellent choices for their durability and beautiful grain. Walnut offers rich, dark tones, while maple provides a lighter, more contemporary feel. Learn more about choosing the right wood for your project.
- Slab Condition: Look for slabs that are fully dried to prevent future warping or cracking. Inspect for major checks, cracks, or insect damage. Minor imperfections can often be incorporated or filled with epoxy.
- Dimensions: Ensure the slab is thick enough (typically 1.5 to 2 inches) for stability and to maintain a substantial look. The length and width should align with your desired bench dimensions, allowing for some overhang on the base.
- Edge Character: The beauty of live-edge lies in its unique shape. Consider how the natural curves and undulations will interact with the straight lines of the slatted base. For a deeper dive, explore Live-Edge Design Principles: Letting Wood Character Shine in.
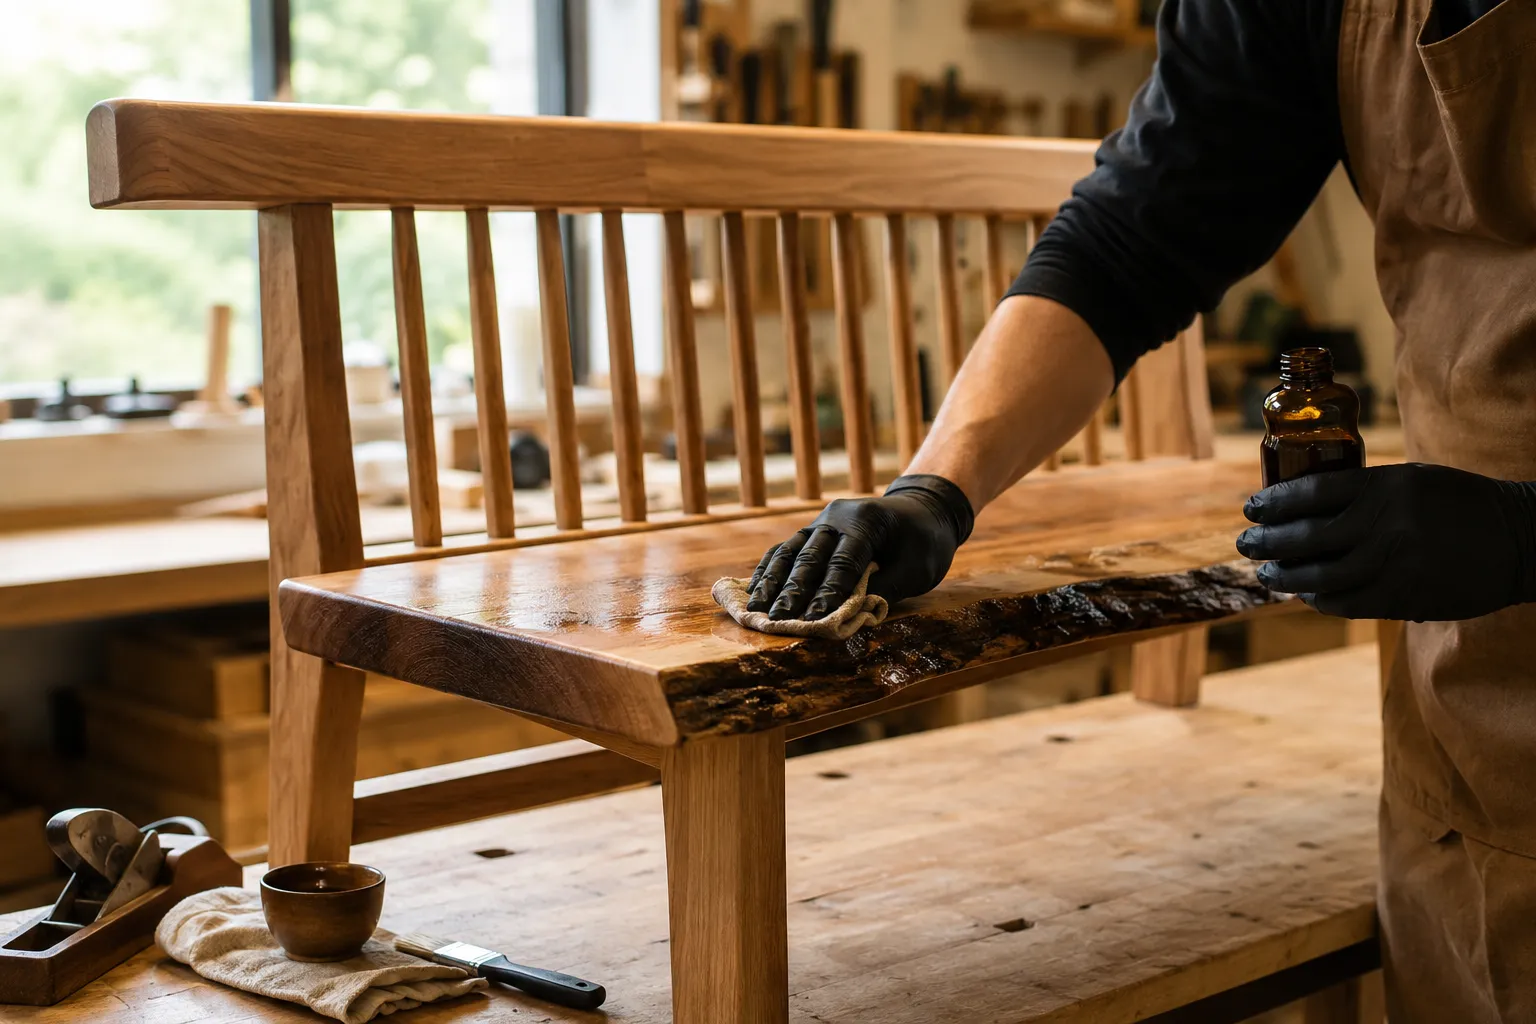
Designing Your Japandi Slatted Bench with Live-Edge Seat
The design phase for your Japandi Slatted Bench with Live-Edge Seat is where functional requirements meet artistic vision. While the core concept is minimalist, specific dimensions and joinery choices will define the final look and durability.
Essential Dimensions and Proportions
A standard bench height is typically around 18 inches, providing comfortable seating. The depth can range from 12 to 16 inches, depending on desired seating area and available space. The length will be dictated by your chosen live-edge slab and its intended placement.
Consider the following for optimal proportions:
- Overall Height: 17-18 inches (including slab thickness).
- Overall Depth: 12-16 inches.
- Overall Length: Matches your chosen live-edge slab, typically 40-60 inches.
- Slat Width: 1.5 to 2 inches for a robust appearance.
- Slat Spacing: Equal spacing between slats, usually 0.5 to 0.75 inches, creates a balanced visual rhythm.
- Leg Dimensions: Legs should be substantial enough to support the bench, typically 1.5 to 2 inches square.
A well-designed bench balances negative space (between slats) with solid elements, creating visual lightness despite its sturdy construction.
Joinery Considerations for Durability and Aesthetics
For an intermediate woodworker, strong, clean joinery is key. Mortise and tenon joints are ideal for connecting the legs to the rails and for securing the slats. They offer exceptional strength and a traditional, high-quality look.
Common Joinery Techniques:
- Mortise and Tenon: Excellent for leg-to-rail connections, providing superior strength. Can be cut with a mortiser, drill press, or even hand tools.
- Dados/Grooves: Suitable for securing slats within rails, ensuring even spacing and strong attachment. A router or table saw with a dado stack can make quick work of these.
- Domino or Dowel Joints: Offer good strength for slat-to-rail connections if mortise and tenon seems too advanced for a specific application.
Precision is paramount in joinery. Taking the time to accurately measure and cut each joint will result in a professional-looking and durable bench. For an introduction to various woodworking joints, consider exploring resources on beginner’s guide to hand tool joinery.
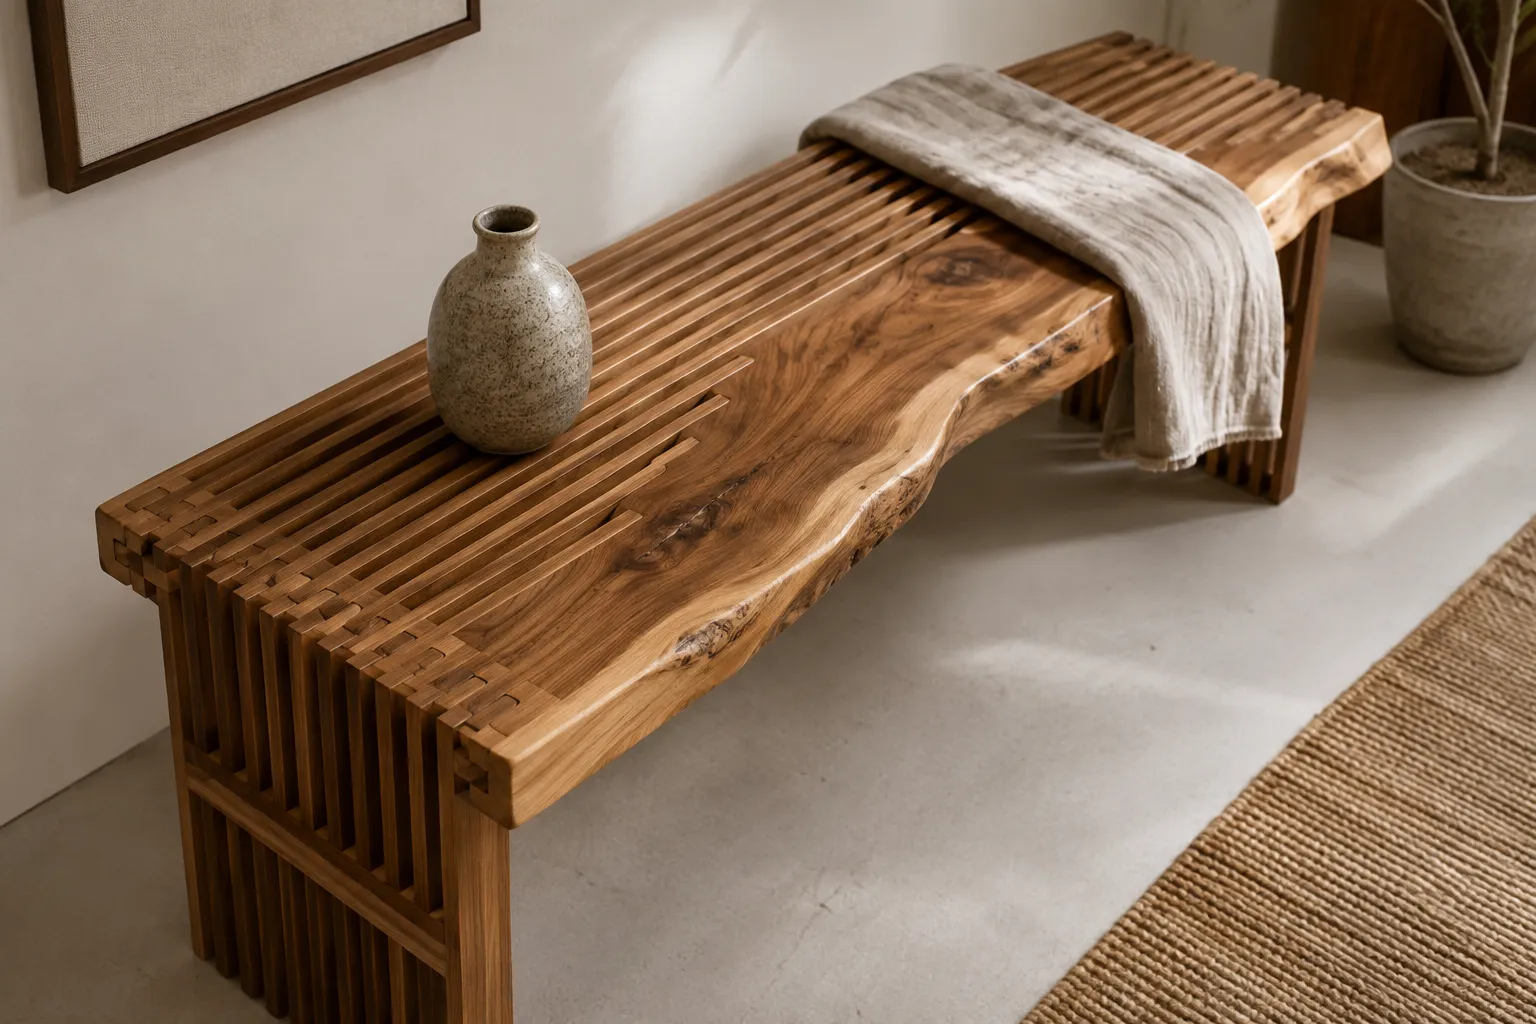
Construction: Bringing the Japandi Slatted Bench to Life
Building the Japandi Slatted Bench with Live-Edge Seat is a rewarding process that combines careful planning with precise execution. This section outlines the key steps, from preparing your lumber to final assembly.
Lumber Preparation and Milling
The foundation of any quality woodworking project is accurately milled lumber. For the slatted base, select a stable hardwood like white oak, ash, or maple, which complements the live-edge slab.
Steps for Lumber Preparation:
- Rough Cut: Cut your lumber slightly oversized using a table saw with a built-in stand or miter saw.
- Face Jointing: Flatten one face of each board using a jointer.
- Edge Jointing: Joint one edge of each board, ensuring it is 90 degrees to the jointed face.
- Planing: Plane the boards to their final thickness, making sure both faces are parallel. This is crucial for consistent slat and rail dimensions. For best results, use a planer after jointing.
- Rip to Width: Rip the boards to their final width for legs, rails, and slats.
- Crosscut to Length: Crosscut all components to their precise final lengths.
Accurate milling prevents issues down the line, ensuring square and true components that fit together seamlessly.
Joinery and Assembly of the Slatted Base
With your lumber milled, it’s time for joinery and assembly.
Constructing the Side Frames:
- Create two identical side frames. Each frame will consist of two legs and two rails (top and bottom).
- Cut mortises into the legs and tenons onto the ends of the rails.
- Dry-fit the joints to ensure a tight, flush fit. Adjust as necessary.
- Glue and clamp the side frames, ensuring they are square.
Integrating the Slats:
- Once the side frames are cured, prepare the long rails that will connect the two side frames. These rails will support the slats and the live-edge top.
- Cut dados or mortises into the long rails to accept the ends of the slats. Ensure consistent spacing.
- Dry-fit the slats into the dados/mortises. This is a critical step for a uniform appearance.
- Assemble the entire base: connect the two side frames with the long rails, incorporating the slats. Use wood glue and clamps, checking for squareness and flatness as you go.
“The beauty of Japandi lies in its understated elegance. Every joint, every surface, should be meticulously crafted to create a sense of calm and precision.”
Attaching the Live-Edge Seat
Attaching the live-edge seat requires careful consideration to allow for wood movement.
- Prepare the Slab: Clean the live edge, removing any loose bark and sanding it smooth. Sand the top and bottom surfaces of the slab to a fine grit.
- Finishing the Slab: Apply a durable finish to the live-edge slab. An oil-based finish (like tung oil or Rubio Monocoat) enhances the natural grain and offers good protection while maintaining a natural feel. Consider wood finishing for statement pieces for more options.
- Mounting Hardware: Use slotted fasteners (Z-clips, tabletop fasteners, or specialized figure-8 fasteners) that allow the solid wood slab to expand and contract with humidity changes without cracking the base. Drill pilot holes into the underside of the live-edge slab and the top rails of the base.
- Align and Secure: Carefully position the live-edge slab onto the base, ensuring it is centered with your desired overhang. Attach the fasteners.
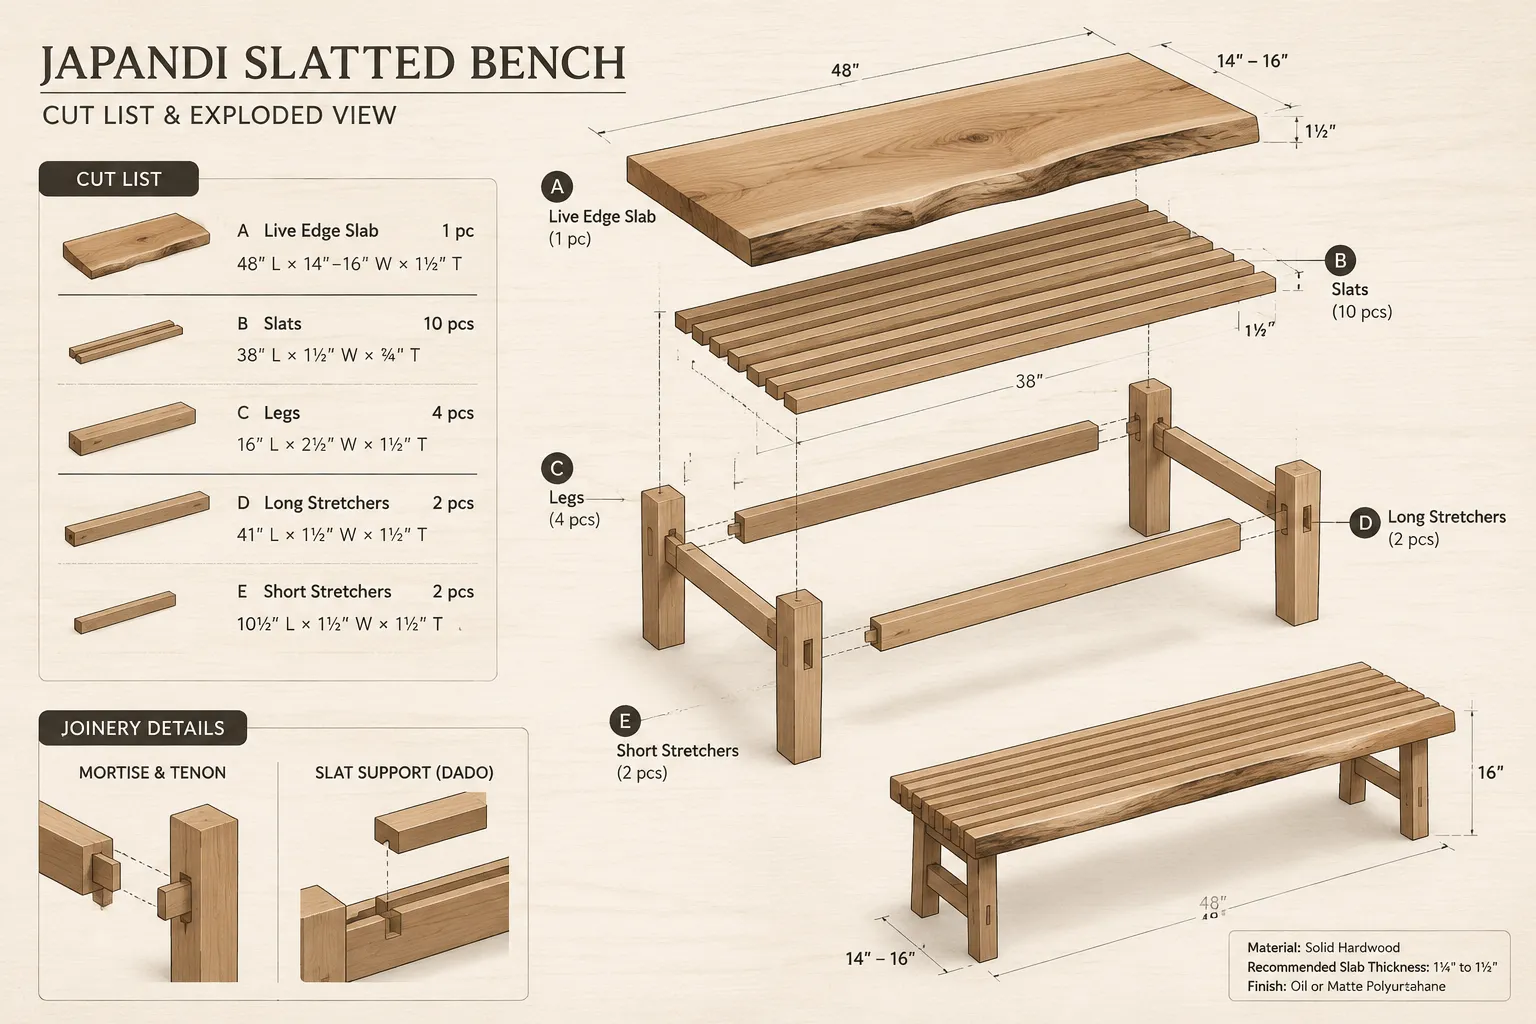
Finishing and Maintenance
The finishing process is where your Japandi Slatted Bench with Live-Edge Seat truly comes to life, enhancing the wood’s natural beauty and protecting it for years to come.
Finishing the Slatted Base
For the slatted base, a finish that complements the live-edge top is ideal.
- Sanding: Thoroughly sand all surfaces of the base, progressively moving through grits from 120, 150, 180, to 220. Ensure all glue squeeze-out is removed.
- Dust Removal: Use a tack cloth or compressed air to remove all sanding dust.
- Finish Application:
- Oil Finish: A hardwax oil or penetrating oil provides a natural, low-sheen look that is very in line with Japandi aesthetics. It’s durable and easy to repair. Apply according to manufacturer’s instructions, typically multiple thin coats.
- Water-Based Polyurethane: For a slightly more durable, protective layer with minimal ambering, a water-based polyurethane can be used. Apply thin coats, sanding lightly between coats with a fine grit (320-400).
- Lacquer: A professional spray lacquer can offer a very smooth, durable finish, but requires proper ventilation and spray equipment.
Choose a finish that allows the grain to show through, celebrating the wood itself.
Protecting the Live-Edge Seat
The live-edge seat, being the primary contact surface, requires a robust yet natural-feeling finish.
- Initial Sanding: Sand the live-edge slab up to 220 or 320 grit for a silky smooth feel.
- Natural Oil Finishes: These are often preferred for live-edge pieces as they penetrate the wood, offer protection, and highlight the unique grain and character without creating a plastic-like film. Brands like Rubio Monocoat, Osmo Polyx-Oil, or pure tung oil are excellent choices. Apply in thin coats, wiping off excess.
- Epoxy (Optional): If your live-edge slab has significant voids or cracks, these can be filled with clear or tinted epoxy before the final oil finish. For advanced techniques involving epoxy and live-edge, refer to our guide on building a modern live edge coffee table with epoxy river.
Allow sufficient curing time for all finishes before putting the bench into use.
Ongoing Maintenance
To ensure your Japandi Slatted Bench with Live-Edge Seat remains a beautiful focal point for years, follow these maintenance tips:
- Regular Cleaning: Wipe down the bench with a soft, dry cloth. For stubborn marks, use a slightly damp cloth with mild soap, then dry immediately.
- Avoid Harsh Cleaners: Chemical-based cleaners can damage the finish. Stick to gentle, wood-safe products.
- Protect from Moisture and Heat: Use coasters if placing drinks on the bench, and avoid placing hot items directly on the surface.
- Humidity Control: Wood is a hygroscopic material, meaning it absorbs and releases moisture. Maintain a consistent humidity level in your home to minimize wood movement and prevent cracking.
- Reapplication of Finish: Oil finishes may benefit from reapplication every few years, especially on high-traffic areas, to refresh their protection and luster.
Proper care will preserve the integrity and beauty of your handcrafted bench, allowing its Japandi essence to endure.
Conclusion
The Japandi Slatted Bench with Live-Edge Seat: A Minimalist Furniture Project for Intermediate Woodworkers is more than just a piece of furniture; it’s a testament to thoughtful design, skilled craftsmanship, and the beauty of natural materials. This project challenges intermediate woodworkers to hone their precision, embrace careful joinery, and appreciate the unique character of wood. The resulting bench will be a functional and aesthetic anchor in any room, embodying the calm, simple elegance of the Japandi style. By combining the linear purity of the slatted base with the organic drama of a live-edge top, you create a piece that is both timeless and deeply personal. Embarking on this project not only yields a stunning addition to your home but also provides invaluable experience that will serve as a foundation for future woodworking endeavors.
Actionable Next Steps:
- Source Your Slab: Begin by finding the perfect live-edge slab that speaks to you. Its unique shape and character will heavily influence the final design.
- Refine Your Plan: Based on your chosen slab, finalize your dimensions for the base and create a detailed cut list.
- Gather Your Tools: Ensure you have access to a table saw, jointer, planer, and a router or mortiser for precise joinery.
- Practice Joinery: If new to mortise and tenon, practice on scrap wood before committing to your project lumber.
- Enjoy the Process: Approach each step with patience and attention to detail. The journey of creation is as rewarding as the final product.
Meta Title: Japandi Slatted Bench with Live-Edge Seat Project for Woodworkers Meta Description: Build a stunning Japandi slatted bench with a unique live-edge seat. This intermediate woodworking project combines minimalist design with natural wood beauty in 2026.