
The perception that achieving a truly dark, moody, and durable finish on fine woodworking pieces requires complex, multi-step lacquering or polyurethane systems is a common misconception in 2026. In reality, a Matte Hardwax Oil Finishing Guide: How to Achieve Dark, Moody Tones on Coffee Tables and Cabinets offers a simpler, more robust, and aesthetically superior approach for many woodworkers. Hardwax oils provide exceptional protection while enhancing the natural beauty of the wood, allowing the grain to shine through a deep, low-sheen finish that is both tactile and visually rich. This guide will walk you through the process, from initial surface preparation to final curing, ensuring you achieve a sophisticated, dark aesthetic on your coffee tables and cabinets.
Key Takeaways
- Proper Surface Preparation is Paramount: Achieving a flawless dark hardwax oil finish begins with meticulous sanding and cleaning to ensure even absorption and prevent blotchiness.
- Staining Before Oil is Key for Dark Tones: To get truly deep, moody colors, pre-staining the wood with an oil-based or gel stain before applying hardwax oil is essential.
- Hardwax Oil Application Requires Thin Coats: Apply hardwax oil in very thin, even coats, buffing thoroughly to remove excess and ensure proper penetration and curing.
- Adhere to Curing Times for Durability: Allow adequate curing time between coats and before putting the piece into service to achieve maximum hardness and protection.
- Maintain with Care: Hardwax oil finishes are repairable and easily maintained with specific cleaning and re-oiling products, extending the life and beauty of your furniture.
Mastering Surface Preparation for Dark Tones
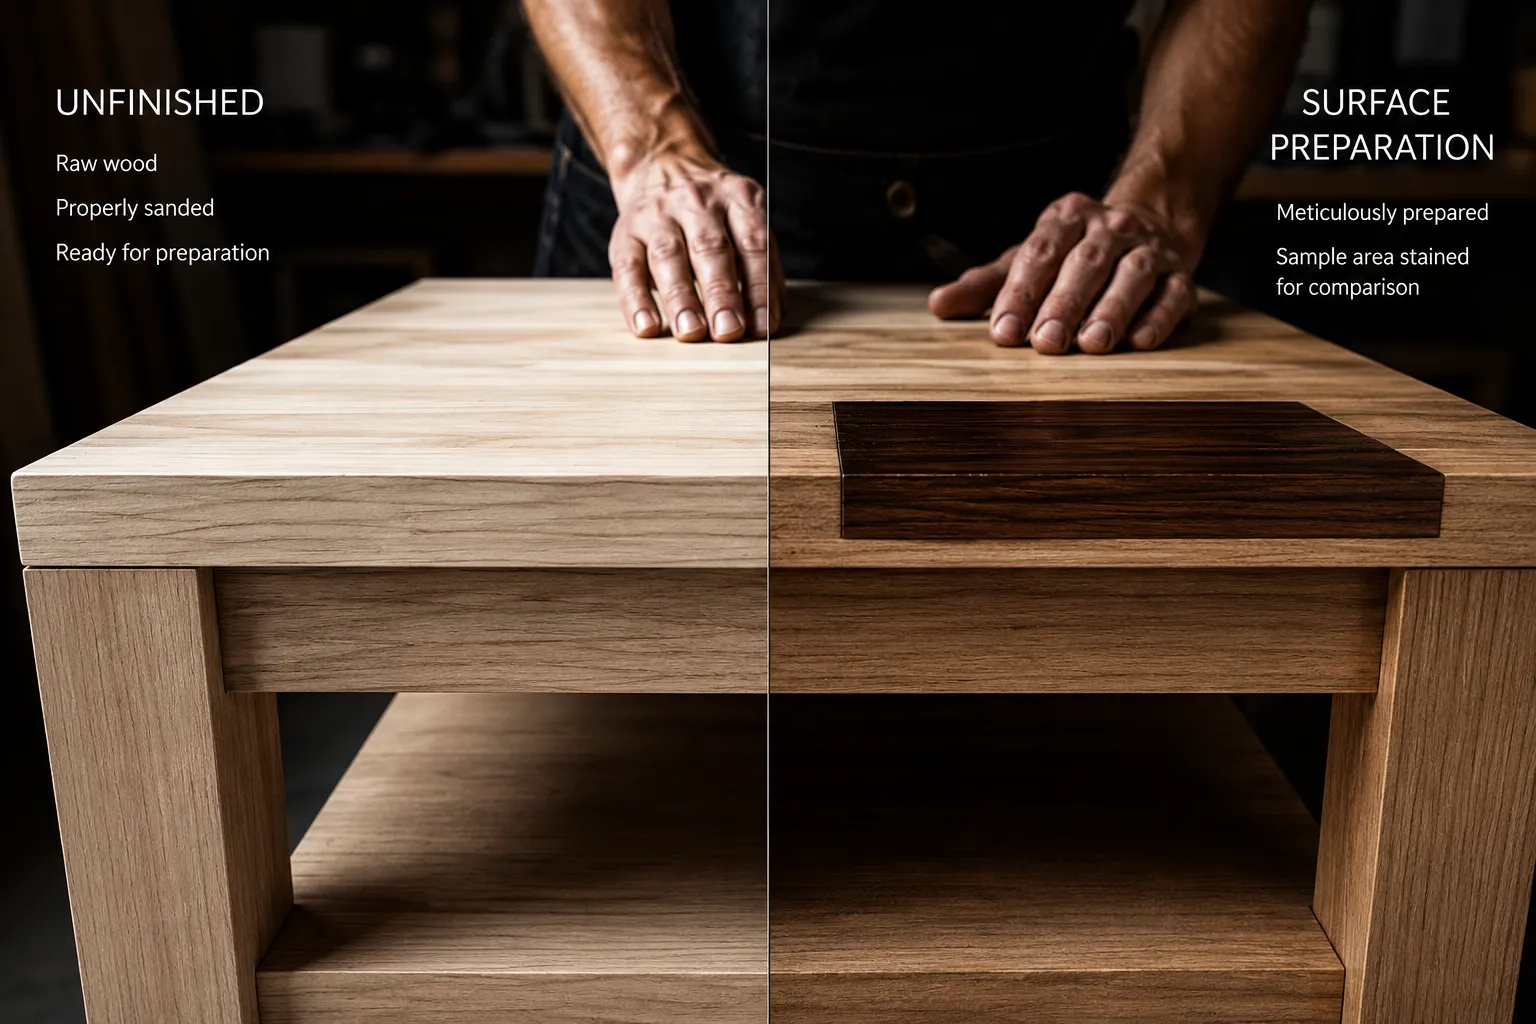
The foundation of any exceptional finish, especially when aiming for dark, moody tones, lies in meticulous surface preparation. Without proper sanding and cleaning, even the highest quality hardwax oil and stain will yield unsatisfactory results. This section of our Matte Hardwax Oil Finishing Guide: How to Achieve Dark, Moody Tones on Coffee Tables and Cabinets details the crucial steps to ensure your wood is ready for a professional-grade finish.
Sanding Protocol for Even Absorption
Start with a coarse grit sandpaper, typically 80 or 100-grit, to remove any mill marks, scratches, or imperfections. Progress through successive grits, ensuring you thoroughly sand out the scratches from the previous grit before moving on. For hardwax oils, it is generally recommended to stop at a maximum of 150 or 180-grit. Sanding finer than 180-grit can “burnish” the wood, closing off the pores and hindering the oil’s ability to penetrate deeply, which is critical for achieving rich, dark tones and good protection.
- Initial Sanding: Begin with 80-100 grit to remove major imperfections.
- Intermediate Sanding: Move to 120-grit to refine the surface.
- Final Sanding: Finish with 150-180 grit. Ensure all previous scratch patterns are eliminated.
Sand with the grain of the wood. Cross-grain sanding, especially with coarser grits, can leave noticeable scratches that will become glaringly obvious once a dark stain and oil are applied. For projects like a custom round coffee table or cabinets, pay extra attention to edges and corners, ensuring they are smooth and free of burrs. Achieving a flawless surface is key to showcasing the deep, moody tones you desire. For more advanced techniques, explore guides on advanced sanding and finishing for a flawless surface.
Cleaning and Conditioning the Wood
After sanding, thorough cleaning is paramount. Dust, even microscopic particles, can interfere with stain and oil adhesion and lead to an uneven finish.
- Dust Removal: Use compressed air, a vacuum with a brush attachment, or a tack cloth to remove all sanding dust. A damp cloth (dampened with mineral spirits or denatured alcohol, depending on your stain/oil compatibility) can be used to wipe the surface, lifting any remaining fine dust. Allow the wood to dry completely if using a damp cloth.
- Grain Raising (Optional but Recommended for Even Staining): For open-grained woods, a slight grain raise can help achieve a more even stain application. Lightly mist the wood surface with water, let it dry completely (which might take several hours), and then lightly sand with your final grit (150-180) to knock down the raised fibers. This step creates a smoother surface that accepts stain more uniformly.
- Pre-Stain Conditioner (for Blotchy Woods): If working with woods prone to blotching (e.g., pine, maple, birch, cherry), applying a pre-stain wood conditioner is highly recommended. These conditioners help to equalize the wood’s porosity, allowing the stain to penetrate more evenly and reduce splotchiness. Always follow the manufacturer’s instructions for application and drying times.
Achieving Dark, Moody Tones with Hardwax Oil
Once your surface is impeccably prepared, the real magic of creating dark, moody tones begins. This involves a strategic combination of staining and hardwax oil application.
The Art of Staining for Depth
To achieve truly deep, rich, and moody colors, hardwax oil alone is often insufficient, as it primarily enhances the natural wood color. Pre-staining is the critical step.
- Choosing Your Stain: Select an oil-based or gel stain that is compatible with hardwax oil. Water-based stains can sometimes react negatively with oil-based hardwax oils, causing adhesion issues or cloudiness. Test your stain and hardwax oil combination on scrap wood first. Opt for dark browns, grays, or even black stains to achieve the desired moody effect.
- Application Method: Apply the stain evenly with a brush, rag, or foam applicator, working in small sections. Allow the stain to penetrate for the recommended time (check manufacturer instructions), then wipe off all excess thoroughly with a clean, lint-free cloth. Leaving excess stain on the surface can lead to a sticky, uneven finish and issues with hardwax oil adhesion.
- Multiple Coats (Optional): If you desire an even deeper tone, you can apply a second coat of stain after the first has dried completely, wiping off excess as before. Always allow adequate drying time for the stain before proceeding to the hardwax oil. This can range from 24 to 72 hours, depending on the product and environmental conditions. Impatience at this stage can ruin your entire finish.
Applying Matte Hardwax Oil for Protection and Sheen
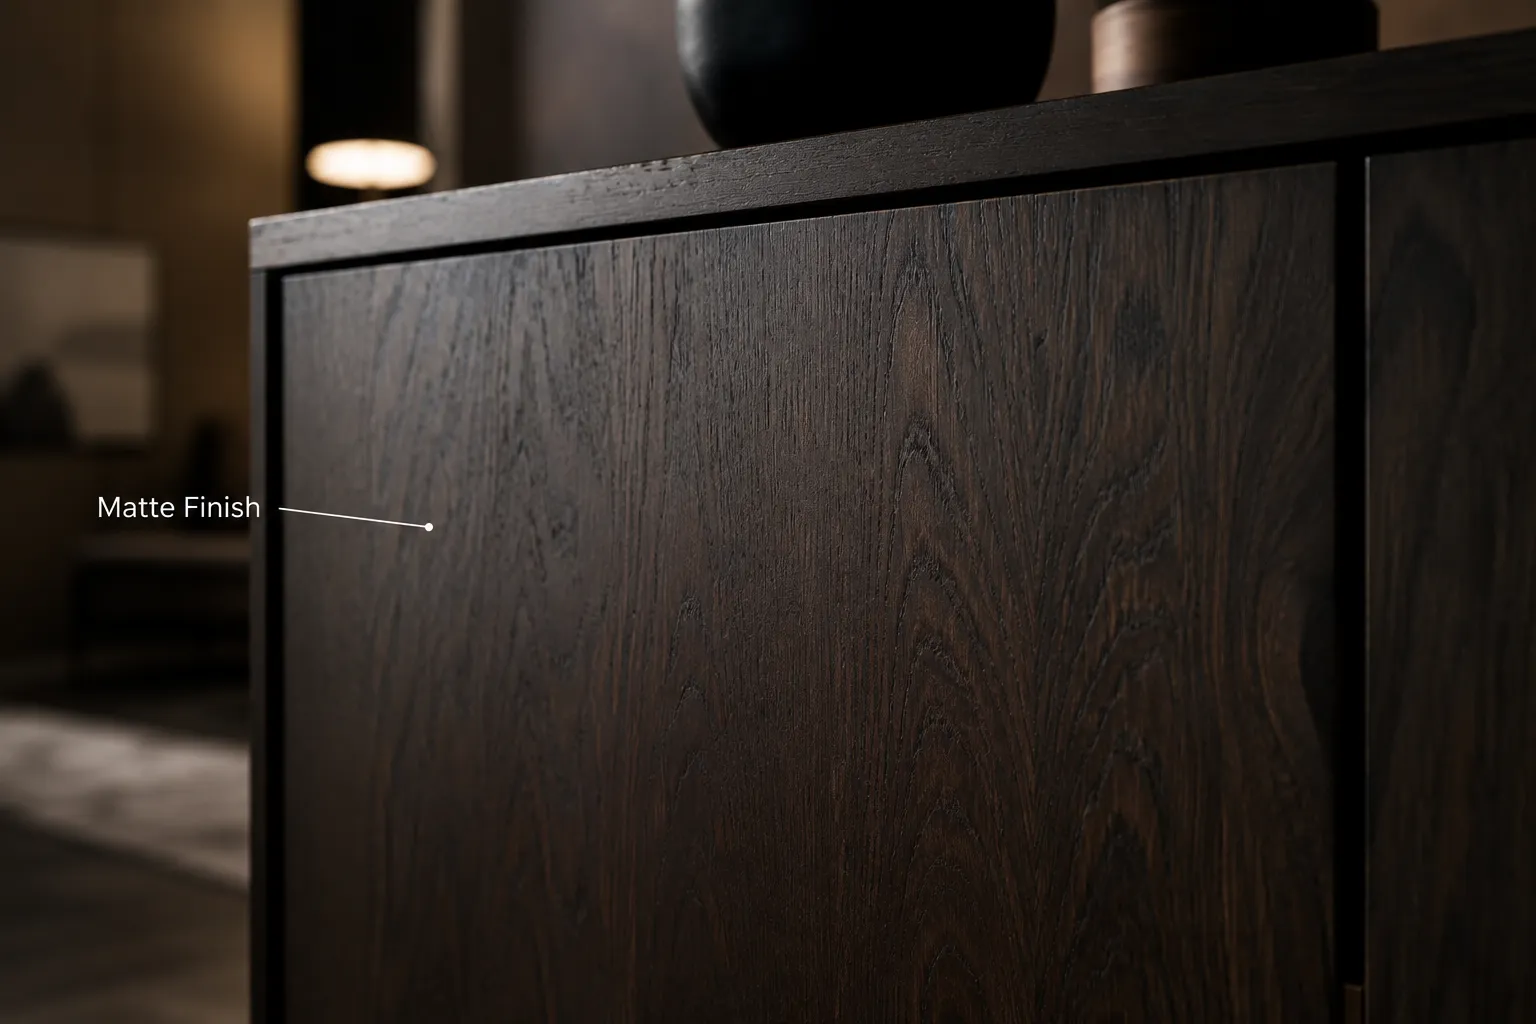
Hardwax oils are a blend of natural oils (like linseed, tung, or sunflower oil) and waxes (carnauba, candelilla). They penetrate the wood fibers, nourishing and protecting them from within, while the waxes form a durable, low-sheen surface layer that is incredibly resistant to moisture and wear.
First Coat: Penetration is Key:
- Stir the hardwax oil thoroughly before and during use.
- Apply a very thin, even coat of hardwax oil using a natural bristle brush, foam roller, or a lint-free cloth. Work in manageable sections.
- Allow the oil to penetrate for the time specified by the manufacturer (typically 10-20 minutes).
- Crucially, wipe off ALL EXCESS OIL with a clean, lint-free cloth or a white pad. This step is critical. Any oil left on the surface will cure sticky, uneven, and can prevent subsequent coats from adhering properly. You should not be able to see or feel any wet oil on the surface after wiping.
- Allow the first coat to dry completely. This can take 12-24 hours. Good ventilation is essential.
Subsequent Coats: Building Durability and Depth:
- Lightly abrade the surface between coats with a fine sanding pad (e.g., 220-grit sanding sponge or a non-abrasive white pad) to ensure good adhesion for the next layer. Dust off thoroughly.
- Apply a second (and optionally, a third) thin coat of hardwax oil, following the same penetration and wipe-off procedure as the first coat. For high-traffic surfaces like coffee tables or kitchen cabinets, three coats offer maximum durability.
- Always wipe off excess after each coat. The goal is to build up the finish in the wood, not on it.
Curing and Full Hardness
While hardwax oil feels dry to the touch within 12-24 hours, it takes significantly longer to achieve full hardness and chemical resistance.
- Light Use: Most hardwax oils allow for light use after 24-48 hours.
- Full Cure: Full cure can take anywhere from 7 to 21 days, depending on the product, humidity, and temperature. During this time, avoid heavy objects, spills, or aggressive cleaning. Using your new custom round dining table with pedestal base before it’s fully cured can compromise the finish.
Common Mistakes and Maintenance for Your Matte Hardwax Oil Finish
Even with a detailed Matte Hardwax Oil Finishing Guide: How to Achieve Dark, Moody Tones on Coffee Tables and Cabinets, common pitfalls can occur. Understanding these and knowing how to properly maintain your finish will ensure your furniture remains beautiful for years.
Avoiding Common Hardwax Oil Finishing Mistakes
- Insufficient Surface Preparation: Not sanding properly or failing to clean dust leads to uneven stain absorption, visible scratches, and poor oil adhesion.
- Leaving Excess Stain or Oil: This is arguably the most common mistake. Un-wiped stain or oil will remain sticky, create an uneven texture, and can prevent proper curing. Always wipe off all excess. If you’ve left too much on, you may need to re-sand and start over.
- Applying Too Thick Coats: Hardwax oils are designed to be applied thinly. Thick coats won’t penetrate better and will likely lead to curing issues, stickiness, and a less durable finish.
- Ignoring Drying and Curing Times: Rushing the process leads to a soft, vulnerable finish that easily scratches, stains, or peels. Be patient.
- Incompatible Products: Using a stain that isn’t compatible with your chosen hardwax oil can cause a host of problems, from poor adhesion to discoloration. Always test on scrap. Consider eco-friendly options for both wood and finishes by reviewing guides on sustainable wood sourcing and eco-friendly finishing.
Long-Term Care and Maintenance
One of the significant advantages of hardwax oil is its repairability and ease of maintenance. Unlike lacquers or polyurethanes, hardwax oil finishes do not “chip” or “peel” and can often be spot-repaired without needing to refinish the entire piece.
- Regular Cleaning: For daily cleaning, simply wipe surfaces with a damp cloth. For tougher grime, use a cleaning product specifically designed for hardwax oil finishes, which often contains a small amount of oil to replenish the finish. Avoid harsh chemical cleaners, abrasive pads, or excessive water.
- Spot Repairs: Small scratches, scuffs, or worn areas can often be repaired by lightly sanding the affected area (with a fine grit, like 220-grit) and then reapplying a thin coat of hardwax oil, blending it into the surrounding area. Wipe off excess immediately.
- Rejuvenation/Re-oiling: Over time, especially on high-use surfaces like coffee tables, the hardwax oil finish may start to look dry or worn. This is an indication that it’s time for a maintenance coat. Clean the surface thoroughly, lightly abrade if necessary, and then apply another thin coat of hardwax oil, wiping off all excess. This process breathes new life into the finish and restores its protection. For furniture like live edge coffee tables or kitchen cutting boards, regular maintenance is crucial.
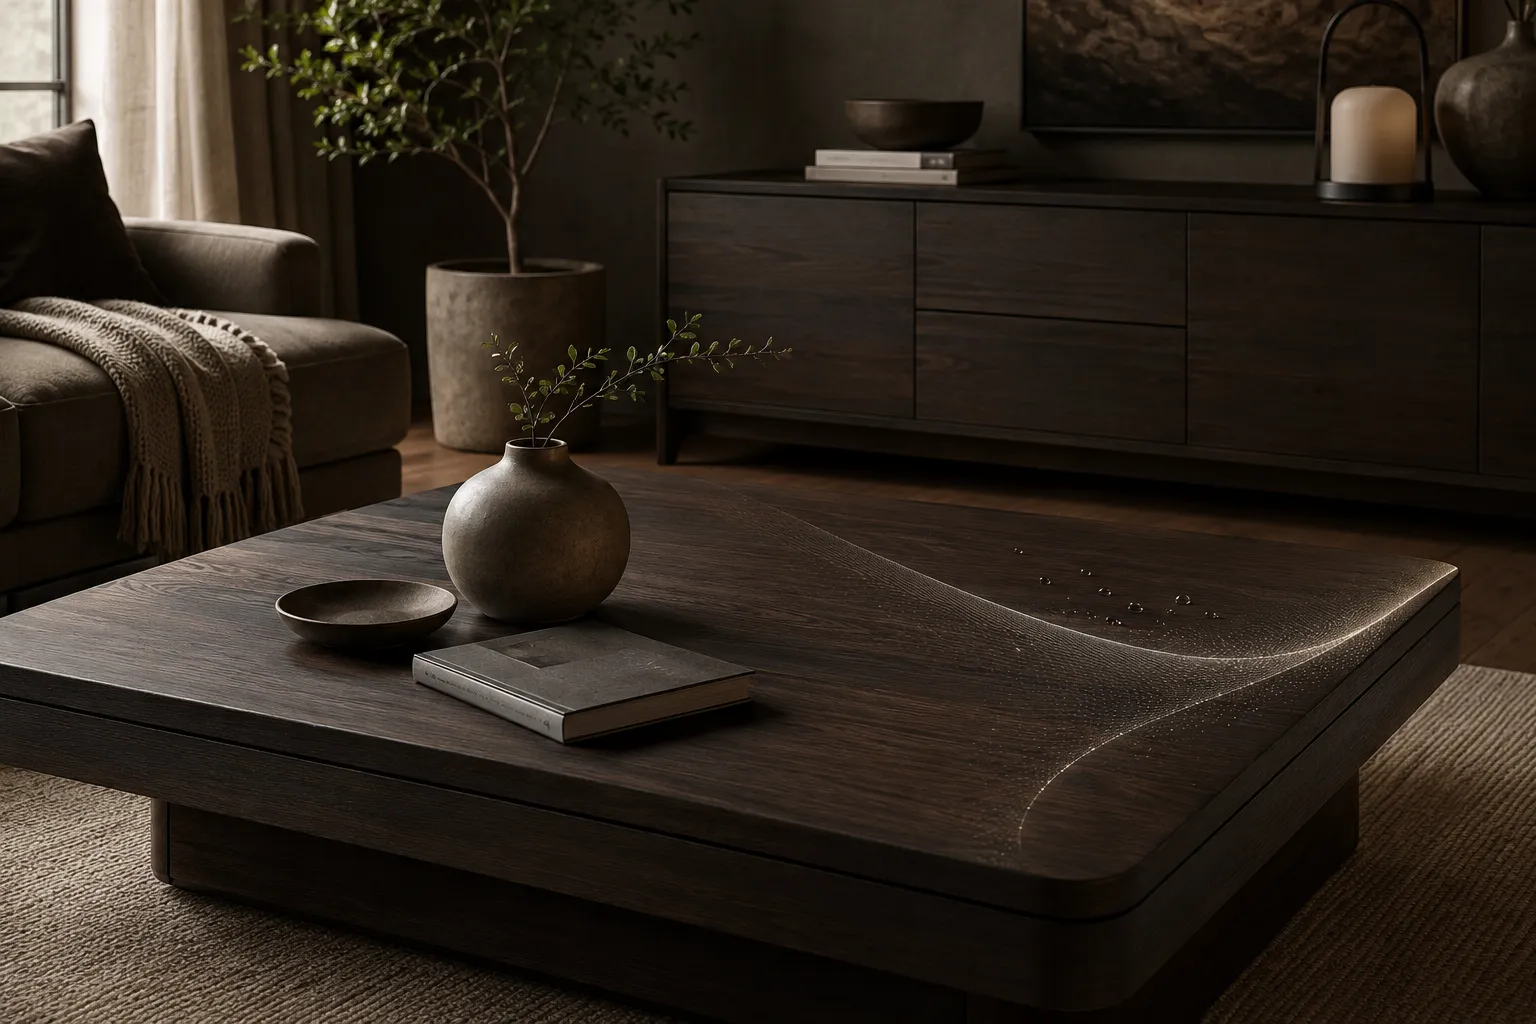
Understanding the nuances of maintaining your hardwax oil finish will ensure its longevity and continued beauty. This durable, repairable, and aesthetically pleasing finish is an excellent choice for crafting dark, moody furniture that stands the test of time and trends in 2026.
Conclusion
Achieving stunning, dark, and moody tones on your coffee tables and cabinets with a matte hardwax oil finish is a rewarding process that combines careful preparation with strategic application. By meticulously sanding your wood, selecting compatible dark stains, and applying thin, even coats of hardwax oil with diligent wiping, you can create a sophisticated and durable surface that enhances the natural character of the wood. Remember the importance of patience, allowing adequate drying and curing times to ensure the finish reaches its full potential. With proper maintenance, your hardwax oil finished pieces will offer lasting beauty and protection, becoming cherished elements of your home for many years to come. Embrace this Matte Hardwax Oil Finishing Guide: How to Achieve Dark, Moody Tones on Coffee Tables and Cabinets to transform your woodworking projects into elegant, statement-making furniture.
SEO Meta Title: Matte Hardwax Oil Guide: Dark, Moody Tones on Wood Furniture SEO Meta Description: Learn how to achieve dark, moody tones on coffee tables & cabinets using matte hardwax oil. Guide covers prep, staining, application, & common mistakes.