

The profound satisfaction derived from transforming a simple block of wood into a functional or decorative object is a timeless pursuit, often overlooked in our increasingly digital 2026. However, rediscovering the tactile pleasure of creating with one’s hands is a powerful antidote to modern stresses. This article delves into The Art of Scandi-Style Wood Carving: Beginner Projects and Tool Essentials, offering a comprehensive guide to mastering this elegant and accessible craft. Scandinavian wood carving, with its emphasis on natural materials, clean lines, and functional beauty, provides an ideal entry point for anyone eager to explore the world of carving.
Key Takeaways
- Scandi-style carving is beginner-friendly: Its focus on simple tools and natural forms makes it accessible for newcomers.
- Essential tools are few but specific: A sharp sloyd knife, hooked knife, and a sharpening kit are fundamental investments.
- Safety first: Always prioritize safety gear and proper cutting techniques to prevent injury.
- Start with simple projects: Spoons, kuksas, and small decorative items are perfect for developing foundational skills.
- Practice and patience are key: Consistent effort will lead to improved technique and beautiful results.
Unveiling the Essence of Scandi-Style Wood Carving
Scandinavian wood carving is celebrated for its minimalist aesthetic, ergonomic designs, and deep connection to nature. Unlike more ornate carving traditions, Scandi-style embraces the natural grain and character of the wood, often highlighting its inherent beauty with simple, functional forms. This approach makes it incredibly appealing to beginners, as the emphasis is on developing control with basic tools rather than intricate, complex patterns. The philosophy often revolves around “sloyd” carving, a Swedish term referring to handicraft in an educational context, stressing self-reliance and the development of practical skills.

The beauty of Scandi carving lies in its directness. Often, a single piece of wood is transformed into an object using just a few hand tools, allowing the carver to intimately connect with the material. The results are typically smooth, comfortable to hold, and aesthetically pleasing, reflecting a “warm minimalism” that perfectly balances clean design with textured, natural materials. For those interested in deeper woodworking knowledge, exploring broader hand tool mastery can further refine their skills. Find more insights here: Hand Tool Mastery for Detail Work: Chisels, Hand Planes, and.
Why Choose Scandi-Style for Beginners?
- Limited Tool Investment: You don’t need a workshop full of expensive power tools. A few quality hand tools are sufficient.
- Forgiving Nature: The organic shapes are often more forgiving of slight imperfections than rigid, geometric designs.
- Functional Outcomes: Many beginner projects, like spoons or butter spreaders, result in useful items.
- Connection to Nature: Working with natural wood fosters a sense of calm and connection to the environment.
- Skill Building: It builds fundamental knife skills, control, and an understanding of wood grain.


Essential Tools for The Art of Scandi-Style Wood Carving: Beginner Projects and Tool Essentials
Before you even make your first cut, assembling the right tools is paramount. Quality tools, kept sharp, will make the carving process safer, more enjoyable, and yield better results. Resist the urge to buy cheap tools; a sharp blade is a safe blade. Dull tools require more force, increasing the risk of slips and injury.
Core Tool Kit
Here’s a breakdown of the essential tools every beginner needs for Scandi-style wood carving:
| Tool Category | Specific Tool & Purpose | Why It’s Essential for Beginners |
|---|---|---|
| Carving Knives | 🔪 Sloyd Knife: A versatile, straight-bladed knife used for general shaping, roughing out, and detailed cuts. Look for a comfortable handle and a robust blade. | This is your primary carving tool, capable of most cuts. Mastering the sloyd knife is foundational. |
| 🥄 Hooked Knife (or Spoon Knife): Features a curved blade, specifically designed for hollowing out bowls, spoons, and kuksas. Available in left-hand, right-hand, and double-edged versions. | Indispensable for creating the concavities needed in many traditional Scandi projects. | |
| Sharpening System | 🪓 Sharpening Stone (Whetstone) or Stropping Compound with Leather Strop: Essential for maintaining a razor-sharp edge on all your carving tools. Dull tools are dangerous and frustrating. | A sharp edge is critical for clean cuts and safety. Learning to sharpen is a core skill for any carver. For a deeper dive, check out our guide: The Ultimate Guide to Sharpening Woodworking Chisels and Planes:. |
| Safety Gear | 🧤 Cut-Resistant Gloves: Protect your non-carving hand (the one holding the wood). | Absolutely non-negotiable for beginners to prevent cuts. |
| 👍 Thumb Guard/Finger Tape: An extra layer of protection for the thumb of your carving hand, which often acts as a pivot point. | Reinforces safety, especially when making controlled push cuts. | |
| Wood Blanks | 🌳 Softwoods like Basswood, Birch, or Willow: Easy to carve, making them ideal for beginners. Green wood (freshly cut) is often easier to carve than seasoned, dry wood. | These woods are forgiving and allow beginners to focus on technique without fighting tough grain. |
Sourcing Your Wood
For beginners, local craft stores often carry basswood blocks or dowels. Alternatively, look for fallen branches in your yard or local parks (with permission!). Green wood from birch, willow, or fruit trees like apple and cherry are excellent choices. They are softer and carve more easily than dried wood, though they may require a longer drying period after carving to prevent cracking.
Master Basic Techniques and Safety First
Before diving into specific projects, understanding fundamental carving techniques and unwavering commitment to safety are crucial. These elements form the bedrock of The Art of Scandi-Style Wood Carving: Beginner Projects and Tool Essentials.
Safety Protocols: Non-Negotiable
- Always Wear Protection: Cut-resistant gloves on your non-carving hand and a thumb guard are mandatory. Safety glasses are also recommended.
- Carve Away from Your Body: This is the golden rule. Plan your cuts so that if your knife slips, it moves away from you, not towards your fingers, legs, or body.
- Control Your Cuts: Use controlled, deliberate movements. Avoid aggressive, forceful cuts that could lead to slips.
- Maintain a Sharp Edge: A sharp knife cuts cleanly with less effort, reducing the chance of slips. Sharpen frequently.
- Proper Grip: Hold the wood firmly but not rigidly. Your non-carving hand should guide and support the wood, keeping fingers clear of the blade’s path.
- Stable Workspace: Carve in a well-lit area with a stable surface. A non-slip mat can prevent your wood blank from moving.
Fundamental Carving Cuts
- Push Cut (Thumb Push): The most common and controlled cut. Your carving hand pushes the knife forward, while your non-carving thumb presses against the back of the blade (or the wood itself) to provide leverage and control. This allows for precise material removal.
- Pull Cut: Less common for general shaping, but useful for detailing or clearing waste. The blade is drawn towards you, with extreme caution.
- Paring Cut: Similar to peeling an apple. One hand holds the knife, the other holds the wood, and the blade shaves thin layers off the surface.
- Stop Cut: A cut made across the grain, typically used to define a boundary or prevent splitting beyond a certain point.
- Leverage Cuts: Using the piece of wood itself as a lever against the blade to remove material, especially effective with a hooked knife for hollowing.

Beginner Projects for Scandi-Style Wood Carving
With your tools sharpened and safety principles ingrained, it’s time to tackle your first projects. These beginner-friendly items are perfect for developing your skills in The Art of Scandi-Style Wood Carving: Beginner Projects and Tool Essentials.
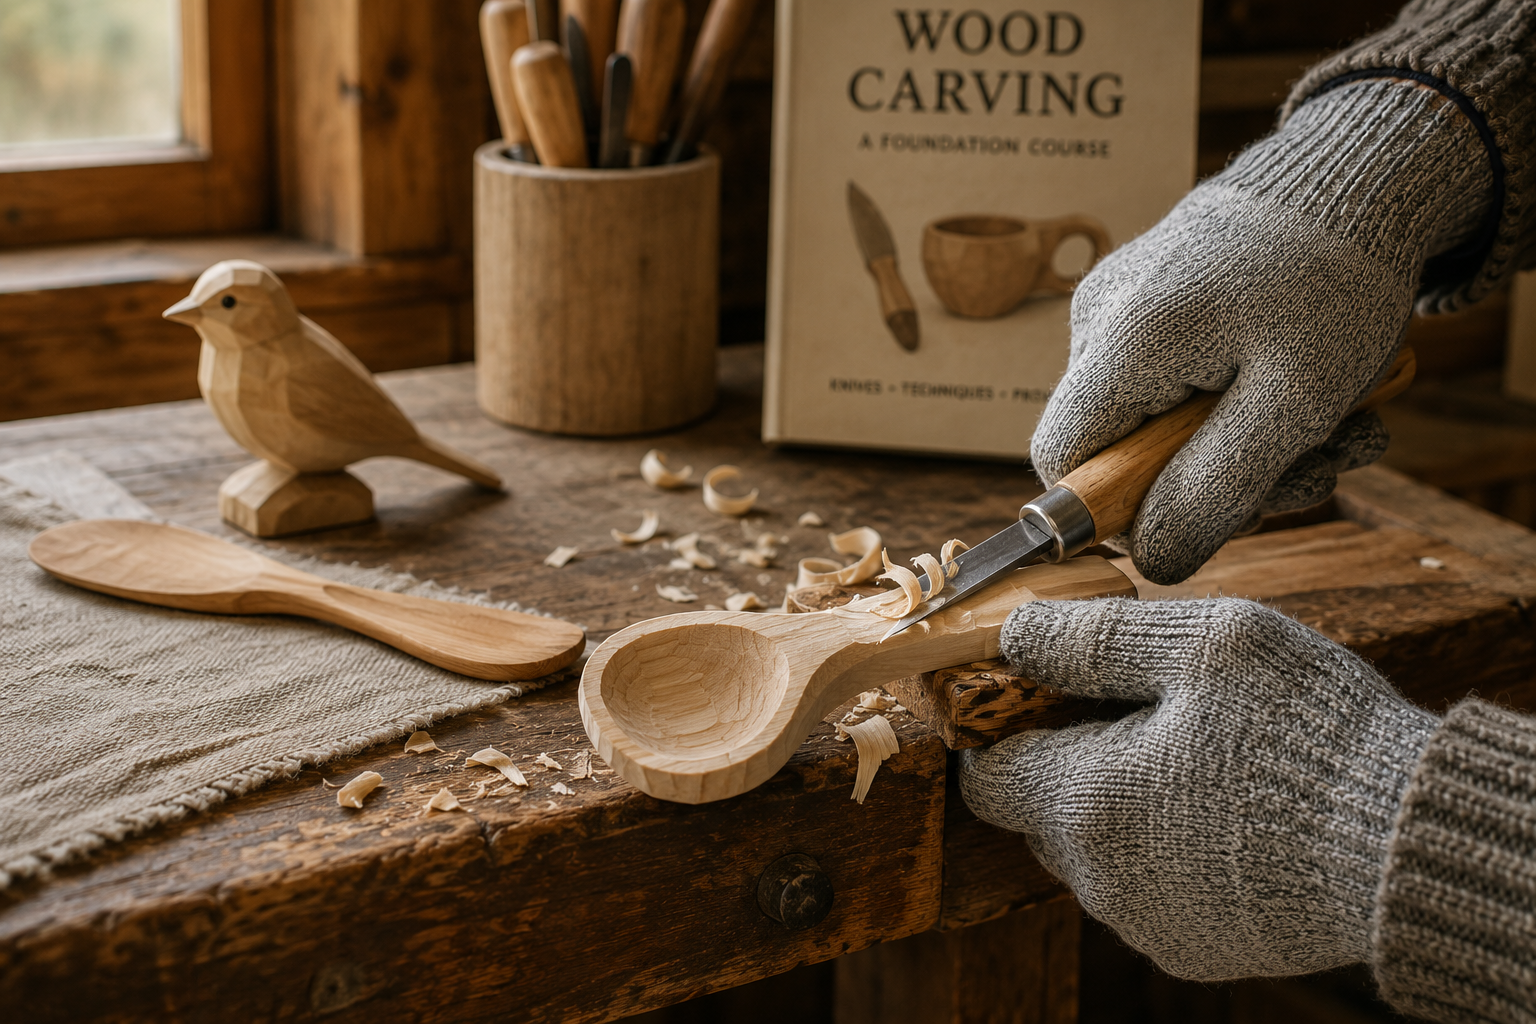
Project 1: The Wooden Spoon
Carving a wooden spoon is a rite of passage for many Scandi-style carvers. It teaches you fundamental shaping, hollowing, and finishing techniques.
Materials:
- A green wood branch or block (birch, apple, cherry, or basswood) roughly 2″ x 2″ x 10″.
- Sloyd knife
- Hooked knife
- Pencil
- Saw (optional, for roughing out)
Steps:
- Design & Rough Out: Draw your spoon shape (bowl, handle) onto your wood blank. Use a saw to remove large waste areas, if desired, to get a rough profile. Alternatively, use your sloyd knife to aggressively remove material, always carving away from yourself.
- Shape the Handle: Use your sloyd knife to refine the handle’s shape, tapering it comfortably. Aim for an ergonomic feel.
- Define the Bowl: With your sloyd knife, begin to define the outer shape of the spoon bowl.
- Hollow the Bowl: This is where the hooked knife shines. Use controlled leverage cuts, pushing the hooked blade into the wood and rotating it to scoop out material. Always work from the center outwards, removing thin curls.
- Refine & Smooth: Once the basic shape is achieved, use light, sweeping cuts with your sloyd knife to smooth all surfaces. Pay attention to the transitions between the bowl and handle.
- Finishing: Sand lightly if desired (though many prefer the knife-finished surface), then apply a food-safe oil like tung oil, walnut oil, or mineral oil. For more information on profitable small woodworking projects like these, see: Profitable Beginner Woodworking: Picture Frames, Cutting Boa.
Project 2: The Kuksa (Wooden Drinking Cup)
A traditional Finnish drinking cup, the kuksa is a beautiful, functional project that further develops your hollowing skills.
Materials:

- A seasoned burl or a thick block of birch or other hard wood.
- Sloyd knife
- Hooked knife
- Small gouge (optional, for deeper hollowing)
- Pencil
Steps:
- Select & Prepare: Choose a piece of wood suitable for a cup (often from a burl for its natural strength and character). Draw the basic outline of your kuksa.
- Rough Out: Use your sloyd knife to carve the exterior shape of the cup, including the handle.
- Hollow the Interior: Begin hollowing the inside using your hooked knife. Start small and gradually widen the bowl, taking thin shavings. If using a burl, be mindful of grain changes. A small gouge can help remove larger chunks.
- Refine Exterior & Handle: Once the interior is hollowed, refine the exterior curves and the handle for comfort.
- Smooth & Finish: Smooth all surfaces with careful knife cuts. For kuksas, traditionally, they are not heavily sanded. They are often treated with strong coffee or salted water, then oiled to seal and preserve.
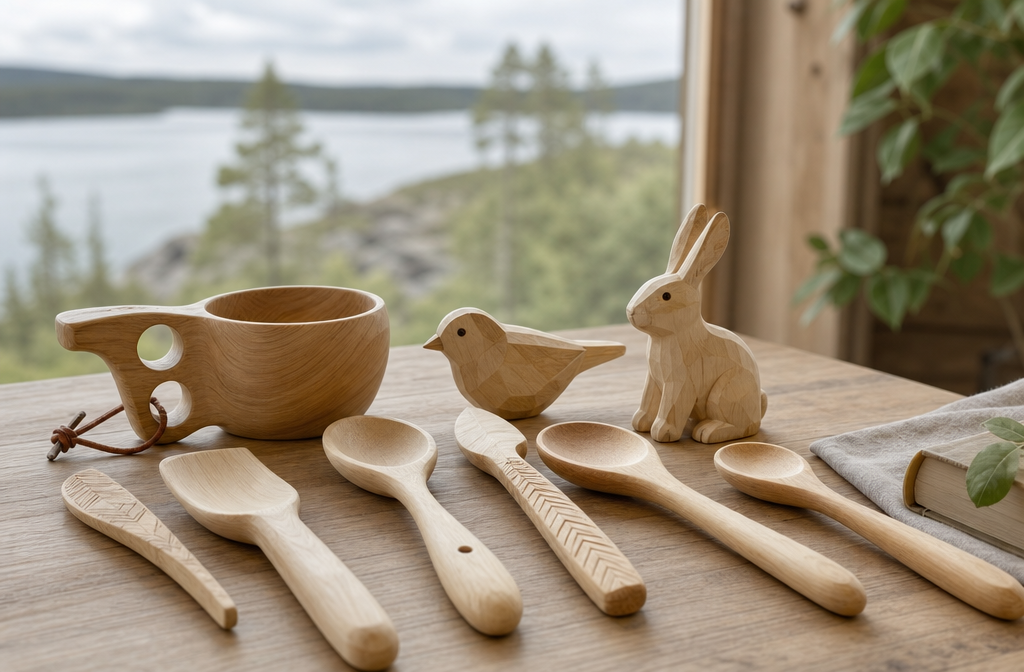
Project 3: Small Decorative Items (Birds, Geometric Shapes)
These projects are excellent for practicing detail work and understanding different wood grains.
Materials:
- Small blocks of basswood or pine.
- Sloyd knife
- Pencil
Steps:
- Sketch: Draw a simple outline of a bird, a leaf, or a geometric form on your wood block.
- Rough Out: Carefully remove wood around your design to reveal the basic shape. Always carve away from your lines initially.
- Refine Details: Use smaller, more precise push and paring cuts to define feathers, eyes, or sharp edges on geometric designs.
- Smooth: Lightly smooth the surfaces. These items can be left natural, oiled, or painted.
- Display: These make lovely gifts or home decor items. Consider these as potential items for crafting custom wooden gifts for the holiday season: Crafting Custom Wooden Gifts for the Holiday Season: Profitable.

Finishing Your Carvings
After carving, consider how you want to finish your pieces. For functional items like spoons and kuksas, food-safe oils are essential. For decorative items, you might opt for natural oils, waxes, or even light painting. The key is to enhance the wood’s natural beauty and protect it.
Conclusion
Embarking on The Art of Scandi-Style Wood Carving: Beginner Projects and Tool Essentials is a rewarding journey into a craft that combines practicality, artistry, and a deep appreciation for natural materials. Starting with a few quality tools, a commitment to safety, and simple projects like spoons, kuksas, or small decorative items, beginners can quickly develop foundational skills. The minimalist aesthetic and functional elegance of Scandinavian carving make it an incredibly satisfying pursuit, offering not just beautiful objects but also a calming, meditative creative outlet. As you progress, you might even consider building your own portable workbench to facilitate your carving in various settings, which you can learn about here: Building a Portable Workbench: Designs for Small Spaces and On-the-Go.
So, grab a sharp knife, a piece of wood, and begin your journey. The quiet satisfaction of seeing a form emerge from a raw material, guided by your own hands, is an experience that truly enriches life in 2026 and beyond.
Actionable Next Steps:
- Invest in Quality Tools: Purchase a good sloyd knife, hooked knife, and a basic sharpening kit. Prioritize sharpness and comfort.
- Gather Wood: Find some soft, forgiving wood like basswood or green birch to start.
- Learn to Sharpen: Practice sharpening your tools. A sharp tool is your best friend in carving.
- Prioritize Safety: Always wear protective gear and practice safe cutting techniques.
- Start Small: Begin with a simple project like a butter spreader or a small spoon to build confidence and muscle memory.
References:
- Alexander, M. (1987). Woodcarving: A Complete Course. Guild of Master Craftsman Publications.
- Lash, J. (2018). Spoon Carving: The New Look of a Traditional Craft. Laurence King Publishing.
- Malo, B. (1976). Wood Sculpture. Sterling Publishing Co., Inc.
